
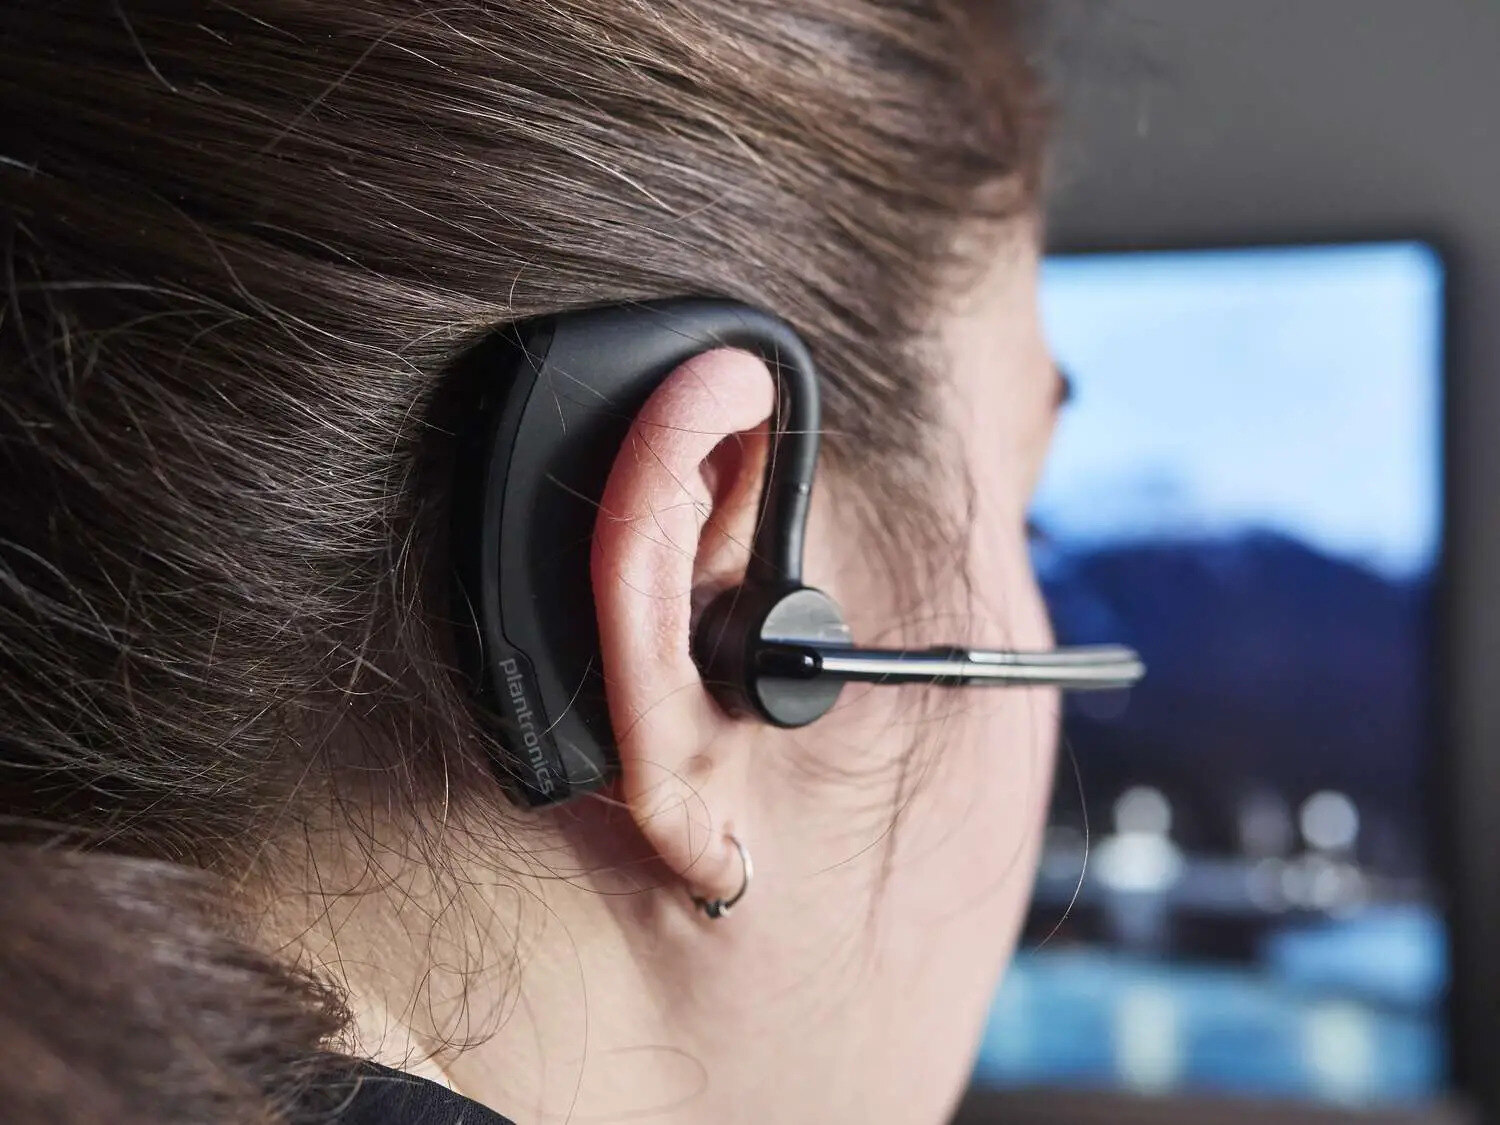
Are you tired of untangling headphone cables every time you want to listen to your favorite tunes or answer a call? Well, look no further! In this article, we will guide you on how to pair your Plantronics wireless headphones with your smartphone or other devices. Plantronics is a renowned brand known for its high-quality wireless audio products that offer convenience and freedom of movement. By following a few simple steps, you can enjoy the freedom of wireless audio with your Plantronics headphones. Whether you’re an avid music lover, a fitness enthusiast, or someone who simply wants to make hands-free calls, pairing your Plantronics wireless headphones is a necessary step. So, let’s dive in and discover how to pair your Plantronics headphones for an enhanced audio experience.
Inside This Article
- Overview
- Step 1: Checking Compatibility
- Step 2: Charging the Headphones
- Step 3: Turning on Bluetooth
- Step 4: Pairing the Headphones
- Step 5: Testing the Connection
- Conclusion
- FAQs
Overview
Are you ready to experience the freedom of wireless headphones? Plantronics is a trusted brand when it comes to high-quality audio accessories. Their wireless headphones offer impressive sound quality and the convenience of Bluetooth connectivity. In this article, we will walk you through the steps to pair your Plantronics wireless headphones with your device. Whether you’re using an Android phone, an iPhone, or any other Bluetooth-compatible device, we’ve got you covered.
Paring your Plantronics wireless headphones is a simple process that ensures a seamless connection between your device and the headphones. Once paired, you’ll be able to enjoy your music, podcasts, and phone calls without the hassle of tangled wires. So, let’s get started on this quick and easy setup journey.
But before we proceed to the pairing process, let’s first check the compatibility of your Plantronics wireless headphones with your device. This will save you time and ensure that you have a successful pairing experience.
Step 1: Checking Compatibility
Before you begin the pairing process for your Plantronics wireless headphones, it is important to ensure that your device is compatible with them. Plantronics headphones are designed to work with a wide range of devices, including smartphones, tablets, computers, and audio players.
To check compatibility, start by referring to the user manual or the product description of your headphones. Look for the list of supported devices or the Bluetooth version requirement. This will give you a better idea of whether your device is compatible or not.
You can also visit the Plantronics website or contact their customer support for more information. They have a dedicated support page or a helpline where you can inquire about the compatibility of specific headphone models with your device. This will help you avoid any potential issues during the pairing process.
It is worth noting that most modern smartphones, tablets, and computers are equipped with Bluetooth technology, which makes them compatible with Plantronics wireless headphones. However, it is always a good practice to double-check the compatibility to ensure a seamless pairing experience.
Step 2: Charging the Headphones
One of the essential steps in setting up your Plantronics wireless headphones is to ensure that they are properly charged. By charging the headphones, you can enjoy uninterrupted music playback and extended usage. Here’s how to charge your Plantronics wireless headphones:
1. Connect the charging cable to the headphones: Locate the charging port on your Plantronics wireless headphones. It is usually located on the bottom or side of the headphones. Plug the charging cable into the charging port firmly.
2. Connect the other end of the charging cable: Plug the other end of the charging cable into a USB port on your computer or a USB wall adapter. Ensure that the USB port or adapter is working correctly.
3. Charging indications: Once the charging cable is connected, you will notice the headphones’ charging indicators. This could be an LED light that turns on or blinks when charging. Refer to your headphone’s user manual to understand the specific charging indications.
4. Charging time: Plantronics headphones usually take a few hours to fully charge. It is recommended to leave them connected until the charging indicators show a full charge. This will ensure that your headphones have enough power for uninterrupted use.
5. Disconnecting the headphones from the charger: Once your Plantronics wireless headphones are fully charged, carefully disconnect the charging cable from both the headphones and the USB port or adapter. Ensure that you do this gently to avoid damaging the charging port.
Charging your Plantronics wireless headphones correctly is crucial for optimal performance. It is essential to follow the manufacturer’s instructions and charging guidelines provided with your headphones. By charging them properly, you can enjoy extended listening sessions without interruptions.
Step 3: Turning on Bluetooth
Once you have ensured the compatibility of your Plantronics wireless headphones and charged them, the next step is to turn on Bluetooth on your device. Bluetooth is a wireless technology that allows your headphones to connect to your smartphone, tablet, or any other Bluetooth-enabled device.
To turn on Bluetooth, follow these simple steps:
- Open the settings menu on your device. This can usually be done by swiping down from the top of the screen and tapping on the gear icon.
- Look for the “Bluetooth” option in the settings menu and tap on it.
- Toggle the switch to turn on Bluetooth. It may take a few moments for your device to scan for available Bluetooth devices.
Once Bluetooth is turned on, you will see a list of nearby devices that are ready to pair. Your Plantronics wireless headphones should appear in this list. If they don’t, make sure the headphones are in pairing mode.
It is also important to note that some devices may have different steps or slightly different terminology for turning on Bluetooth. These instructions are general guidelines, and you may need to consult your device’s user manual for specific instructions.
Now that Bluetooth is turned on, you’re one step closer to enjoying the wireless freedom of your Plantronics headphones. The next step in the pairing process is to actually connect your headphones to your device, which will be covered in the next section.
Step 4: Pairing the Headphones
Once you have turned on the Bluetooth on your device and ensured that your Plantronics wireless headphones are in pairing mode, you are ready to proceed with the pairing process. Follow the steps below to pair your headphones:
1. On your device, navigate to the Bluetooth settings. This can typically be found in the settings menu or the quick settings panel.
2. In the Bluetooth settings, make sure that Bluetooth is turned on and your device is discoverable. This will allow your headphones to detect and connect to your device.
3. On your Plantronics wireless headphones, press and hold the pairing button until the indicator light starts flashing. This is usually denoted by a Bluetooth symbol or a specific pairing icon.
4. Wait for your device to detect the headphones. Once the headphones are detected, you will see them listed in the available devices section on your device’s Bluetooth settings.
5. Tap on the name of your Plantronics wireless headphones on your device’s Bluetooth settings to initiate the pairing process. Some devices may require a PIN code for pairing. If prompted, enter the PIN code provided in the headphone’s user manual.
6. After successful pairing, you will see a confirmation message on your device, indicating that the headphones are connected.
7. Test the connection by playing some audio on your device. Ensure that the sound is coming through the headphones and adjust the volume as needed.
Congratulations! You have successfully paired your Plantronics wireless headphones with your device. Now you can enjoy your favorite music, movies, and calls wirelessly with superior sound quality.
Step 5: Testing the Connection
Once you have successfully paired your Plantronics wireless headphones with your device, it’s time to test the connection. This step ensures that the headphones are working properly and that you can enjoy a seamless audio experience.
To test the connection, play any audio or video content on your device that you would normally use with your headphones. It could be a favorite song, a podcast, or a YouTube video. Make sure the volume on your device is turned up to a moderate level.
Next, put on your Plantronics wireless headphones and ensure that they are properly positioned on your head. Check that the ear cups are covering your ears comfortably, and the headband is in the right position for a secure fit.
Listen closely to the audio coming through the headphones. Pay attention to the clarity, volume, and any distortion or interference. The audio should be clear and crisp without any static or noise. Adjust the volume on the headphones if needed to suit your preferences.
If you encounter any issues with the audio quality, there are a few troubleshooting steps you can try. First, ensure that the headphones are fully charged. Low battery levels can affect the audio performance. If the issue persists, try moving closer to your device to minimize any potential Bluetooth interference.
Additionally, you can check if there are any software updates available for your headphones. Manufacturers often release firmware updates to improve performance and address any known issues. Visit the Plantronics website or check their support page for instructions on how to update the firmware.
Lastly, if you’re still experiencing problems, try unpairing and re-pairing the headphones with your device. This process can help reset the connection and resolve any connectivity issues. Refer back to the previous steps to unpair and pair your Plantronics wireless headphones.
By following these steps and thoroughly testing the connection, you can ensure that your Plantronics wireless headphones are functioning optimally and providing you with an immersive audio experience. Now, you can enjoy your favorite content without any audio interruptions or quality concerns.
After learning about how to pair Plantronics wireless headphones, it becomes clear that the process is simple and straightforward. Whether you are using Bluetooth or a USB dongle, following the step-by-step instructions provided by Plantronics will ensure a successful pairing experience.
Having wireless headphones offers a multitude of benefits, such as freedom of movement and convenience. With the ability to connect to various devices, including smartphones, tablets, and computers, you can enjoy your favorite music, podcasts, and videos without the hassle of wires.
Remember to keep your headphones charged and within close proximity to the device you wish to pair them with for optimal performance. With the right pairing method and a little patience, you’ll be able to immerse yourself in the world of wireless audio and embrace the freedom it provides.
FAQs
Q: Can I pair Plantronics wireless headphones with my iPhone?
Yes, absolutely! Plantronics wireless headphones are designed to be compatible with a wide range of devices, including iPhones. Simply enable Bluetooth on your iPhone, put your Plantronics headphones in pairing mode, and select them from the list of available devices on your iPhone’s Bluetooth settings.
Q: How do I put my Plantronics headphones in pairing mode?
Putting your Plantronics headphones in pairing mode is usually a simple process. Start by ensuring that the headphones are powered on. Then, consult your headphones’ user manual or follow these general steps:
– Press and hold the power button or the dedicated pairing button (if available) for a few seconds. This will activate the pairing mode, indicated by a flashing or steady LED light.
– Once in pairing mode, your headphones should appear on the list of available devices on your smartphone or any other Bluetooth-enabled device you are trying to pair them with.
Q: Can I pair my Plantronics headphones with multiple devices?
Yes, Plantronics wireless headphones often support multi-point connectivity, allowing you to pair them with more than one device simultaneously. This feature allows you to easily switch between devices without the need to re-pair each time. Consult your headphones’ user manual or check the product specifications to ensure this feature is available on your specific model.
Q: How do I reset my Plantronics wireless headphones?
If you’re experiencing any issues with your Plantronics headphones, performing a reset can often resolve them. To reset your headphones, follow these steps:
– Make sure your headphones are powered on.
– Depending on your model, try one of the following options:
– For some models, pressing and holding the power or pairing button for about 10 seconds should initiate the reset process.
– For other models, you might need to simultaneously press and hold specific buttons for a certain duration to perform a reset. Refer to your headphones’ user manual for the exact steps.
– Once the reset is complete, your Plantronics headphones should be restored to their factory settings.
Q: How do I know if my Plantronics headphones are paired successfully?
Once your Plantronics headphones are successfully paired with your device, you should hear a confirmation beep or a voice prompt. Additionally, the LED light on the headphones should turn solid or stop flashing, indicating a stable connection. You can also check the list of connected devices in your device’s Bluetooth settings to ensure that your Plantronics headphones are listed as paired.