
Are you struggling to re-pair your Skullcandy wireless earbuds? Don’t worry, we’ve got you covered! In this article, we will walk you through the step-by-step process of re-pairing your Skullcandy wireless earbuds, so you can enjoy your favorite tunes without any interruptions. Whether you’re using them with your smartphone, tablet, or any other Bluetooth-enabled device, we have the tips and tricks to help you get your earbuds back up and running in no time. So, let’s dive in and discover how to easily re-pair your Skullcandy wireless earbuds and enjoy uninterrupted audio bliss!
Inside This Article
- Overview
- Step 1: Turn on the Bluetooth
- Step 2: Enter pairing mode
- Step 3: Connect with your device
- Step 4: Test the connection
- Troubleshooting Tips
- Conclusion
- FAQs
Overview
Skullcandy wireless earbuds offer a convenient and immersive audio experience. Whether you’re working out at the gym, commuting to work, or simply relaxing at home, these earbuds provide the freedom to move without being tethered to your device. However, there may be times when you need to re-pair your Skullcandy wireless earbuds with your device.
Re-pairing your earbuds is a simple process that ensures a seamless connection and optimal audio performance. In this guide, we will walk you through the step-by-step process of re-pairing your Skullcandy wireless earbuds, so you can continue to enjoy your favorite music and podcasts without any interruptions.
Before we dive into the steps, make sure to turn on the Bluetooth functionality on your device. This will allow your earbuds to establish a wireless connection with your device.
Now, let’s get started with the re-pairing process!
Step 1: Turn on the Bluetooth
Before you can pair your Skullcandy wireless earbuds with your device, you need to make sure that the Bluetooth feature is enabled. Follow these simple steps to turn on the Bluetooth:
- Go to the settings menu on your device. This can usually be found in the main menu or by swiping down from the top of the screen and accessing the quick settings.
- Look for the Bluetooth option and tap on it to open the Bluetooth settings.
- Toggle the Bluetooth switch to the “On” position. This will enable the Bluetooth functionality on your device.
- Once the Bluetooth is turned on, you will see a list of available devices that can be paired with your device.
By following these steps, you have successfully turned on the Bluetooth feature on your device. Now, you are ready to move on to the next step and enter pairing mode with your Skullcandy wireless earbuds.
Step 2: Enter pairing mode
In order to connect your Skullcandy wireless earbuds to your device, you need to put them into pairing mode. Follow the steps below to enter pairing mode:
1. Start by turning on your Skullcandy earbuds. Make sure they have enough battery power to initiate the pairing process.
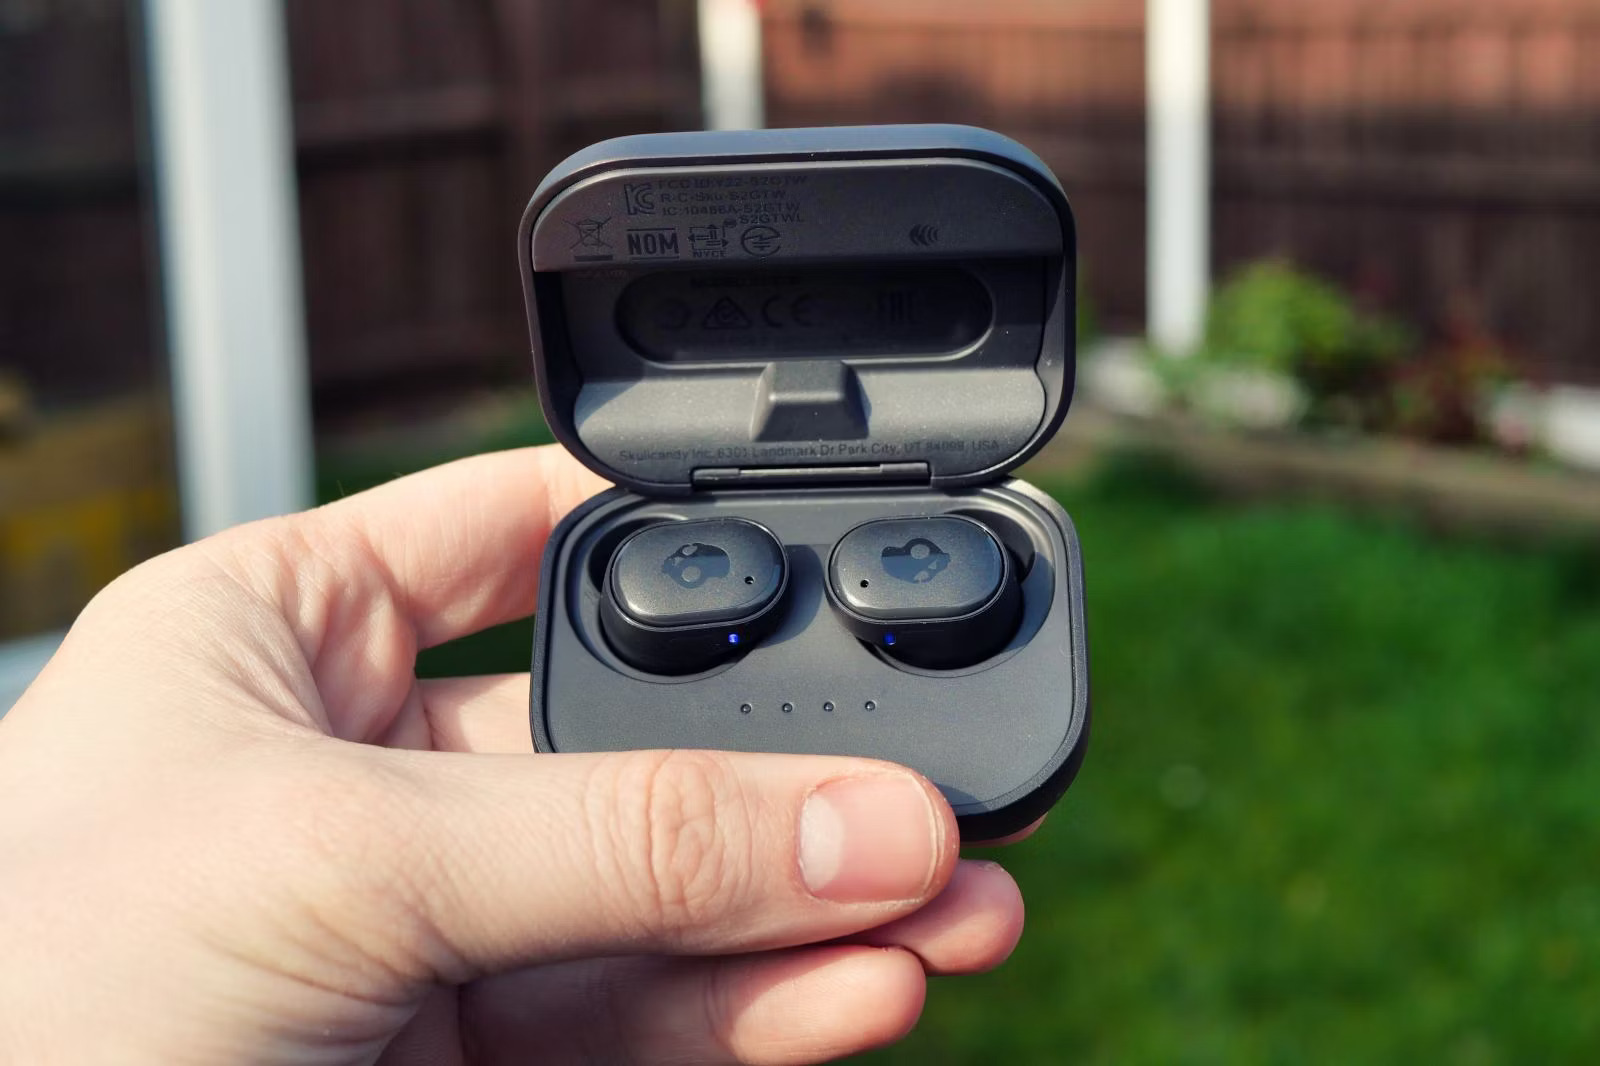
2. Once the earbuds are turned on, locate the pairing button or switch. It is usually located on one of the earbuds or the charging case.
3. Press and hold the pairing button or switch until you see an LED light flashing. This indicates that the earbuds are now in pairing mode.
4. Keep your device’s Bluetooth settings open and in discoverable mode. This will allow the earbuds to connect to your device.
5. On your device, search for available Bluetooth devices and select the name of your Skullcandy earbuds from the list of available options.
6. If prompted, enter the PIN or passkey provided with your earbuds to complete the pairing process. Some models may not require a passkey.
7. Once your device successfully connects to the earbuds, you should hear a confirmation sound or see a notification on your device’s screen.
8. Test the connection by playing audio on your device. The sound should now be coming through your Skullcandy wireless earbuds.
9. If the connection is not successful, repeat the above steps and ensure that both your device and the earbuds are in range of each other.
Entering pairing mode is a crucial step in connecting your Skullcandy wireless earbuds to your device. By following these steps carefully, you can enjoy your favorite music wirelessly and hassle-free.
Step 3: Connect with your device
Now that your Skullcandy wireless earbuds are in pairing mode, it’s time to connect them to your device. Follow these simple steps to establish a connection:
1. Open the Bluetooth settings on your device: On your smartphone or tablet, navigate to the settings menu and find the Bluetooth option. Tap on it to open the Bluetooth settings.
2. Enable Bluetooth pairing: Make sure that Bluetooth is turned on. You should see a list of available devices in range, including your Skullcandy earbuds.
3. Select your Skullcandy earbuds: Look for the name or model number of your Skullcandy earbuds in the list of available devices. Tap on it to select and connect to your earbuds.
4. Confirm the connection: Once you’ve selected your Skullcandy earbuds, your device will attempt to establish a connection. You may be prompted to enter a pairing code or verify the connection. Follow any on-screen instructions to confirm the connection.
5. Successful connection: Once the connection is successfully established, you will see a notification on your device confirming the pairing. You can now enjoy the audio from your device through your Skullcandy wireless earbuds.
Remember, the exact steps may vary depending on the device you are connecting to. If you encounter any difficulties, refer to the user manual or support documentation for your specific device.
Step 4: Test the connection
Once you have successfully connected your Skullcandy wireless earbuds to your device, it’s crucial to test the connection to ensure everything is working as expected. Here are some simple steps to help you verify the connection:
1. Play music or a podcast: Start playing your favorite music or audio content on your device. This will help you confirm if the audio is being transmitted to your earbuds.
2. Check the sound quality: Pay attention to the sound quality coming from your Skullcandy earbuds. Is the audio clear, crisp, and without any distortion? If you notice any issues with the sound quality, it could indicate a weak connection or a problem with the earbuds themselves.
3. Move around: While testing the connection, try moving around the room or going into different areas of your home or office. This will help you determine if the connection remains stable even when you’re not in close proximity to your device. If the audio starts cutting out or becomes unstable, it may be worth moving closer to your device or checking for any potential obstructions that could be interfering with the signal.
4. Test the controls: Depending on the model of your Skullcandy earbuds, there may be additional functionalities and controls available. Test out these features, such as volume control, track skipping, or answering phone calls, to ensure they are working properly.
5. Pair with another device: To further validate the connection, try pairing your Skullcandy earbuds with another compatible device, such as a smartphone or tablet. This will help determine if the issue lies with your original device or the earbuds themselves.
6. Check battery life: Lastly, keep an eye on the battery life of your Skullcandy earbuds. Low battery levels can lead to audio dropout or other connectivity issues. Ensure your earbuds are adequately charged and monitor their battery life for optimal performance.
By following these steps and testing the connection of your Skullcandy wireless earbuds, you can ensure a seamless audio experience and troubleshoot any potential issues you may encounter. Remember to refer to the user manual or contact Skullcandy customer support for further assistance if needed.
Troubleshooting Tips
Even though pairing your Skullcandy wireless earbuds with your device is usually a seamless process, sometimes you may encounter issues that prevent a successful connection. To help you troubleshoot these problems, here are some tips to try:
1. Ensure Bluetooth is turned on: Before attempting to pair your earbuds, make sure the Bluetooth feature on your device is turned on. Check the settings menu on your phone or computer to enable Bluetooth.
2. Put your earbuds in pairing mode: Depending on the Skullcandy earbuds model you have, there may be different ways to activate pairing mode. Consult the user manual or visit the Skullcandy website for instructions specific to your earbuds.
3. Reset your earbuds: If you’re having trouble connecting to your device, try resetting your earbuds. This can be done by turning off the earbuds and then holding the power button for several seconds until the LED indicator flashes. Release the button and try pairing again.
4. Clear device memory: Sometimes, the device you are trying to connect to may have difficulty finding your earbuds if it has memory of previously paired devices. Go into the Bluetooth settings on your device and remove any old or unused pairings. Then, try pairing again with your Skullcandy earbuds.
5. Check for firmware updates: Skullcandy occasionally releases firmware updates for their wireless earbuds. These updates can help resolve compatibility issues and improve performance. Visit the Skullcandy website or use their mobile app to check for any available updates for your specific model.
6. Check for interference: Sometimes, external factors can interfere with the Bluetooth connection between your earbuds and device. Move away from other electronic devices, and ensure there are no obstructions between your earbuds and device. This can help improve the signal strength and connection stability.
7. Try with different devices: If you’re still unable to pair your earbuds with your current device, try connecting them to a different device. This will help determine if the issue lies with the earbuds or the original device you were trying to pair with. If the earbuds connect successfully to a different device, the problem may be with the original device.
8. Contact Skullcandy support: If you’ve exhausted all troubleshooting options and are still experiencing difficulties, it’s best to reach out to Skullcandy customer support for further assistance. They have a team of knowledgeable experts who can provide guidance and solutions to resolve any persistent pairing issues.
By following these troubleshooting tips, you should be able to successfully pair your Skullcandy wireless earbuds and enjoy your favorite music or make hands-free calls without any interruptions.
Conclusion
As you can see, re-pairing your Skullcandy wireless earbuds is a simple process that can save you from frustration and headaches. By following the steps outlined in this article, you can easily reconnect your earbuds to your device and enjoy seamless audio once again.
Remember to consult the user manual for your specific model of Skullcandy earbuds, as the pairing process may vary slightly. Additionally, keep in mind that some troubleshooting steps, such as resetting the earbuds or your device, may be necessary in certain circumstances.
With the knowledge gained here, you’ll be equipped to handle any re-pairing issues that may arise with your Skullcandy wireless earbuds. Don’t let connectivity problems stand in the way of your music enjoyment—take control and get back to the beats!
FAQs
1. How do I pair Skullcandy wireless earbuds to my device?
To pair your Skullcandy wireless earbuds to your device, follow these steps:
- Make sure your device’s Bluetooth is turned on.
- Put your Skullcandy wireless earbuds in pairing mode. This can usually be done by pressing and holding the power button or the designated pairing button on the earbuds.
- On your device, go to the Bluetooth settings and search for available devices.
- Select your Skullcandy earbuds from the list of available devices. Your device should then connect to the earbuds.
2. How do I reset my Skullcandy wireless earbuds?
If you are experiencing connectivity or pairing issues with your Skullcandy wireless earbuds, you may need to reset them. Here’s how you can do it:
- Clear the Bluetooth pairing history on your device by unpairing the earbuds from your device’s Bluetooth settings.
- Place your earbuds back into the charging case and close the lid.
- With the lid closed, press and hold the button on the case until the LED lights on the case start flashing, indicating that the earbuds are resetting.
- Once the reset is complete, open the lid of the charging case, and your earbuds should be ready to pair again.
3. How do I improve the sound quality of my Skullcandy wireless earbuds?
To enhance the sound quality of your Skullcandy wireless earbuds, you can try the following:
- Ensure that your earbuds are correctly positioned in your ears for optimal audio delivery.
- Experiment with the different earbud tips included in the package to find the best fit for your ears.
- Make sure that the volume on your device is set to an appropriate level.
- Keep your earbuds and device free from any obstructions or interference that could affect the wireless connection.
4. Can I use my Skullcandy wireless earbuds for making calls?
Yes, you can use your Skullcandy wireless earbuds for making calls. They are equipped with a built-in microphone that allows you to answer calls, communicate, and control audio playback. Make sure your earbuds are connected to your device via Bluetooth, and you can use them as a hands-free calling solution.
5. How do I charge my Skullcandy wireless earbuds?
To charge your Skullcandy wireless earbuds, follow these steps:
- Place the earbuds back into the charging case.
- Connect the charging cable to the USB port of the case.
- Plug the other end of the charging cable into a power source.
- The LED lights on the case should indicate that the earbuds are charging. Once fully charged, the lights will turn solid or switch off, depending on the model.