
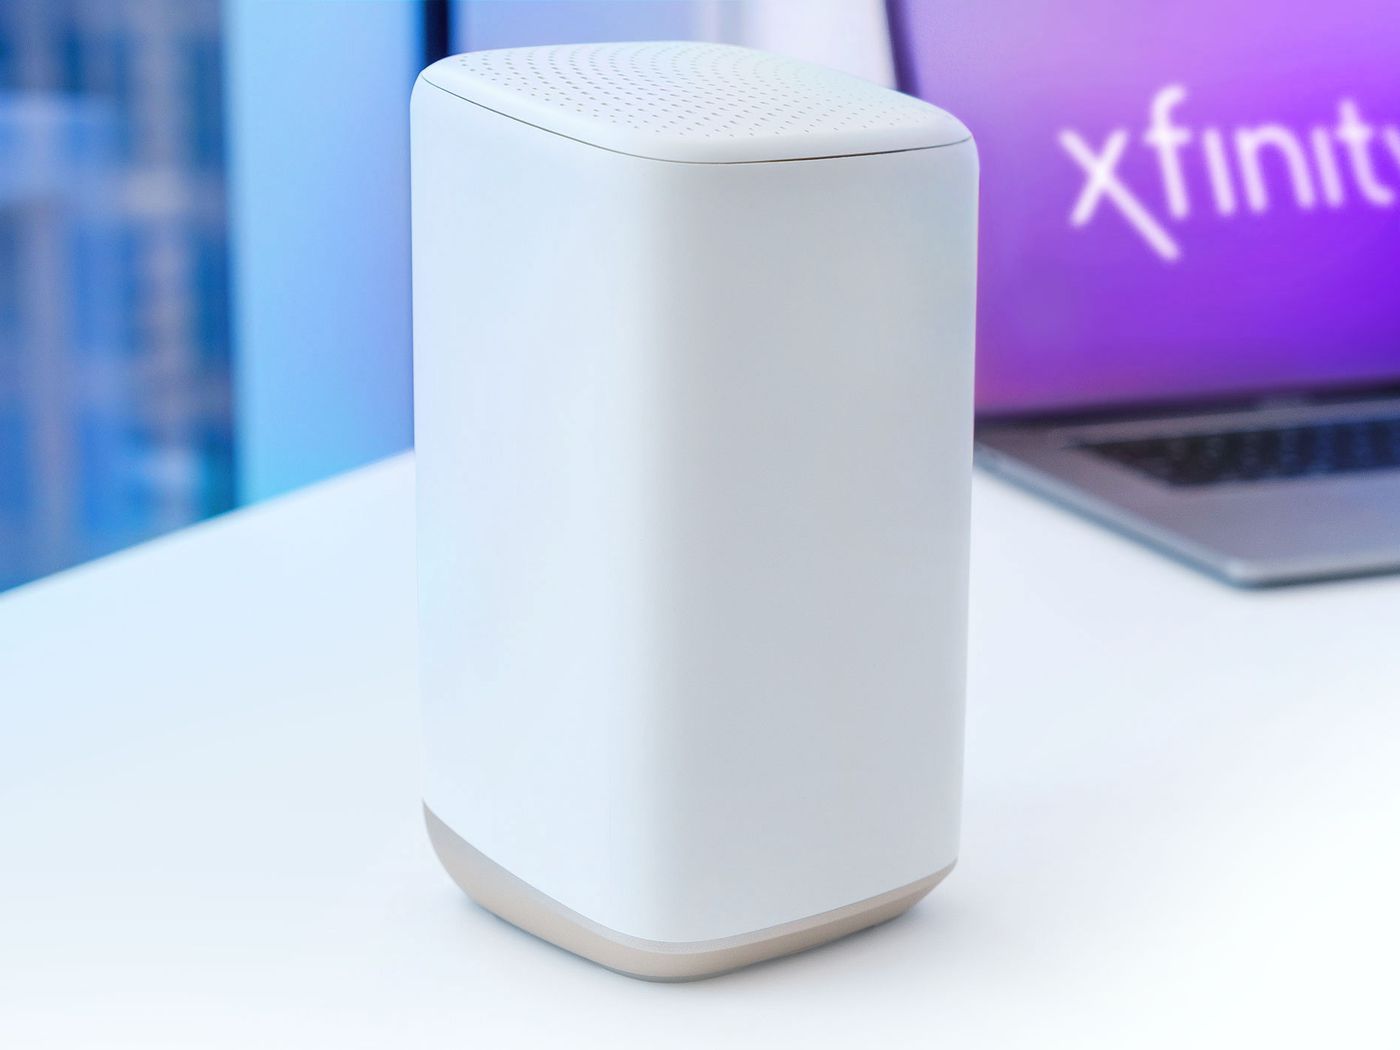
If you’re looking to set up your Comcast router for wireless connectivity, you’ve come to the right place. In today’s digital age, having a reliable and secure wireless network is essential, and with Comcast’s advanced router options, you can enjoy seamless internet access in your home or office.
In this guide, we’ll walk you through the step-by-step process of setting up your Comcast router for wireless use. Whether you’re a tech-savvy individual or someone who is new to networking, our instructions will help you get your wireless network up and running in no time. So, let’s dive in and begin the process of setting up your Comcast router for wireless connectivity.
Inside This Article
- Step 1: Gather the necessary equipment
- Step 2: Connect the router to the modem
- Step 3: Access the router’s settings
- Step 4: Configure the wireless network settings
- Step 5: Set up a secure password
- Step 6: Connect devices to the wireless network
- Step 7: Troubleshooting common issues
- Conclusion
- FAQs
Step 1: Gather the necessary equipment
Before you begin setting up your Comcast router wireless, it is essential to gather all the necessary equipment. Having everything you need readily available will help streamline the process and ensure a smooth installation. Here are the items you should have:
-
Comcast router: This is the device that will provide the wireless signal for your home or office network. Make sure you have the correct model for your specific Internet plan.
-
Modem: The modem is responsible for connecting your home or office to the Internet. You will need a modem compatible with Comcast services.
-
Ethernet cables: You will need at least one Ethernet cable to connect the router to the modem. It is advisable to have a few extra cables in case you need to make additional connections.
-
Power cables: Make sure you have the appropriate power cables for both the router and the modem.
-
Computer or mobile device: You will need a device to access the router’s settings and configure the wireless network. This can be a computer, laptop, tablet, or smartphone.
By ensuring you have all the necessary equipment, you will be ready to proceed to the next step of setting up your Comcast router wireless.
Step 2: Connect the router to the modem
Connecting your router to the modem is an essential step in setting up your Comcast wireless network. This process allows your router to receive the internet signal from the modem and distribute it to your devices wirelessly. Follow the steps below to properly connect your router to the modem:
- Locate the modem provided by Comcast. It is usually a small box that connects to your cable or DSL line.
- Identify the Ethernet port on the back of the modem. This port is where you will connect your router.
- Take one end of the Ethernet cable and plug it into the Ethernet port on the modem.
- Now, take the other end of the Ethernet cable and insert it into the WAN or Internet port on the router. This port is usually labeled as such.
- Ensure that the cable is securely connected to both the modem and router.
- Power on both the modem and the router. Wait for them to fully boot up and establish a connection.
Once the modem and router have established a connection, you are now ready to move on to the next step of accessing the router’s settings and configuring your wireless network.
Step 3: Access the router’s settings
Now that you have connected your Comcast router to the modem, it’s time to access the router’s settings. This step will allow you to configure important aspects of your wireless network, such as the network name (SSID) and security settings.
1. Open a web browser on your computer or mobile device that is connected to the router’s network.
2. In the address bar, type in the default IP address for Comcast routers. This is typically “192.168.0.1” or “10.0.0.1”. Press Enter.
3. You will be directed to the Comcast router login page. Here, you will need to enter the router’s username and password. If you haven’t changed the default login credentials, you can find them on the router’s label or in the instruction manual.
4. Once you have entered the correct login information, click on the “Login” button or press Enter.
5. Congratulations! You have successfully accessed the router’s settings page. Here, you will find various options and settings that you can customize to suit your needs.
6. Take some time to explore the different tabs and sections in the router’s settings. You can configure the wireless network name (SSID), set a unique password, enable guest networks, manage parental controls, and much more.
7. Make the necessary changes to the settings according to your preferences. Remember to save any changes you make before exiting the settings page.
8. Once you have configured the router’s settings, it’s a good idea to restart the router to apply the changes. This can be done by either turning the router off and on or using the restart option in the router’s settings.
9. After the router has restarted, you can now connect your devices to the wireless network using the new settings you have configured.
Accessing your Comcast router’s settings is essential for customizing and securing your wireless network. By following these steps, you can easily access the router’s settings page and make the necessary changes to create a personalized and secure wireless network.
Step 4: Configure the wireless network settings
Configuring the wireless network settings on your Comcast router is essential for a smooth and secure wireless connection. To ensure seamless connectivity and optimal performance for all your devices, follow these steps:
1. Open a web browser on a device that is connected to the Comcast router.
2. Type the router’s default IP address in the address bar of the web browser. The default IP address is often ‘192.168.1.1’, but it can vary depending on the router model. Refer to the router documentation or look for this information on the router itself.
3. Press ‘Enter’ on your keyboard to access the router’s admin login page.
4. Enter the default username and password for the router. If you have not changed them, the default credentials can usually be found in the router’s documentation or on a sticker on the router.
5. Once you have logged into the router’s admin interface, navigate to the wireless settings section. This may be labeled as ‘Wireless’, ‘Wireless Settings’, or ‘Wi-Fi Settings’ depending on your router’s firmware.
6. In the wireless settings, you will find options to configure the network name (SSID) and the wireless channel. The network name is the name that will appear when scanning for available Wi-Fi networks. Choose a unique and recognizable name that is easy to remember.
7. Select the appropriate wireless channel. The default channel is usually set to ‘Auto’, which is fine for most scenarios. However, if you experience interference or slow speeds, you can try changing the channel to a less congested one.
8. If available, choose the appropriate security mode for your wireless network. WPA2-PSK (AES) is recommended as it provides strong encryption and better security. Enter a strong and unique password in the security key field, which will be required to connect to the Wi-Fi network.
9. After making any necessary changes, click ‘Apply’ or ‘Save’ to save the settings. The router will then apply the new configuration.
10. Once the router has finished applying the changes, restart the router. This will ensure that the new wireless settings are implemented successfully.
By following these steps, you will be able to configure the wireless network settings on your Comcast router, creating a secure and reliable Wi-Fi network for all your devices to connect to.
Step 5: Set up a secure password
Setting up a secure password for your Comcast router is essential to protect your wireless network from unauthorized access. A strong password ensures that only authorized users can connect to your network and helps prevent any potential security breaches. Follow these steps to set up a secure password:
- Access the router’s settings by entering the router’s IP address into your web browser. The default IP address for Comcast routers is usually “10.0.0.1” or “192.168.1.1”. If you’re unsure about the IP address, you can find it in the router’s manual or contact Comcast customer support.
- Enter your router’s login credentials when prompted. Usually, the default username is “admin,” and the default password is “password”. However, it’s a good practice to change these default credentials to enhance security.
- Once you’re logged in, navigate to the wireless settings section of the router’s interface. Look for options related to password or security settings.
- Select a strong password that is a combination of uppercase and lowercase letters, numbers, and special characters. It’s advisable to avoid using easily guessable passwords, such as your name, birthdate, or common words. Aim for a password that is at least 12 characters long.
- Confirm the new password and save the changes. Make sure to keep a record of the password in a secure location or use a password manager to avoid forgetting it.
By setting up a strong and secure password for your Comcast router, you can minimize the risk of unauthorized access to your network and protect your personal information. It’s also recommended to change the password periodically to further enhance security.
Step 6: Connect devices to the wireless network
Now that you have successfully set up your Comcast router’s wireless network, it’s time to connect your devices. Whether you have a smartphone, tablet, laptop, or any other wireless-enabled device, the process is straightforward and can be completed in just a few simple steps.
To connect your device to the wireless network, follow these steps:
- On your device, navigate to the Wi-Fi settings. This can usually be found in the settings menu or by tapping on the Wi-Fi icon in the notification bar.
- Scan for available Wi-Fi networks. Your Comcast router’s network name (SSID) should appear in the list of available networks.
- Select your Comcast network from the list. It will usually have the “xfinity” prefix followed by a series of digits or letters.
- If prompted, enter the network password. This is the password you set up in the previous step.
- Once you have entered the password, click or tap on the “Connect” or “Join” button.
After completing these steps, your device should now be connected to your Comcast router’s wireless network. You can verify the connection by opening a web browser or any app that requires an internet connection.
It’s important to note that you may need to repeat these steps for each device you want to connect to the network. However, once a device is connected, it will typically remember the network and automatically connect whenever it is in range.
If you encounter any issues while connecting your devices, ensure that you have entered the correct network name and password. Double-check the password for any uppercase or lowercase letters, special characters, or numbers. If you are still experiencing difficulties, try restarting your device or resetting your Comcast router.
Remember to keep your network password secure and avoid sharing it with others unless necessary. This will help protect your network from unauthorized access and ensure a safe and reliable internet connection.
With your devices successfully connected to your Comcast router’s wireless network, you can now enjoy fast and convenient internet access throughout your home or office space.
Step 7: Troubleshooting common issues
Setting up a wireless network can sometimes come with its fair share of challenges. Fortunately, most issues can be easily resolved with a few troubleshooting steps. Here are a few common issues you may encounter and how to fix them:
1. Slow or intermittent connection
If you’re experiencing a slow or intermittent connection, the first step is to check your internet speed. You can do this by running a speed test using an online tool. If the speed is significantly lower than your subscribed plan, try resetting your router and modem. Additionally, make sure there are no obstructions between your devices and the router and consider repositioning the router for better coverage.
2. Network not appearing on available networks list
If your wireless network is not showing up on the list of available networks, double-check that your router is properly connected to the modem and powered on. You may also need to adjust the wireless channel settings on your router as interference from other devices can sometimes cause network visibility issues.
3. Unable to connect to the wireless network
If you’re having trouble connecting to the Wi-Fi network, ensure that you have entered the correct network name (SSID) and password. It’s easy to make typing errors, so double-check the characters and try again. You can also try restarting your device or forgetting the network and reconnecting to it.
4. Limited range or weak signal
If you’re experiencing a limited range or weak signal, try adjusting the placement of your router to a central location within your home or office. Additionally, make sure that there are no large objects or walls obstructing the signal. If the problem persists, consider using Wi-Fi range extenders or mesh network systems to boost the signal in dead zones.
5. Security/authentication issues
If you’re encountering security or authentication issues when connecting to your network, ensure that you have configured the correct security protocol (e.g., WPA2) and entered the correct password. If you’re still having trouble, try disabling any firewall or VPN software temporarily to see if that resolves the issue.
6. Router firmware issues
If your router is outdated or running on old firmware, it can cause various network issues. Check if there are any firmware updates available for your router model and install them. Updating the firmware can often address connectivity issues and improve overall performance.
7. Device compatibility problems
Sometimes certain devices may have trouble connecting to specific router models due to compatibility issues. In such cases, check if there are any firmware or driver updates available for the device. You may also need to consult the device’s manufacturer or the router’s support documentation for any specific compatibility requirements.
8. Complete network outage
If you’re facing a complete network outage where no devices can connect to the internet, check if the cable connections between your modem and router are secure. If everything seems to be properly connected, contact your internet service provider (ISP) to ensure there are no service outages in your area.
By troubleshooting these common issues, you can resolve most Wi-Fi connectivity problems and ensure a smooth wireless experience. If you are still unable to fix the issue, don’t hesitate to reach out to your internet service provider or seek assistance from a technical support professional.
Conclusion
Setting up a Comcast router for wireless connectivity doesn’t have to be a daunting task. By following the step-by-step instructions outlined in this article, you can easily get your router up and running in no time. Remember to connect all the necessary cables, access the router’s settings page, and configure the wireless network according to your preferences.
Having a reliable and secure wireless connection is essential in today’s digital world. With a Comcast router, you can enjoy high-speed internet access and seamless connectivity for all your devices. Whether you’re streaming movies, gaming, or working from home, a properly set up Comcast router will ensure a smooth and hassle-free experience.
So, don’t let the setup process intimidate you. Take the plunge, follow the instructions, and enjoy the convenience and freedom of wireless connectivity with your Comcast router.
FAQs
1. How do I set up a Comcast router wireless?
To set up a Comcast router for wireless connectivity, follow these steps:
1. Connect your Comcast router to the modem using an ethernet cable.
2. Power on the router and modem.
3. On your computer or mobile device, open a web browser and enter the default IP address for your Comcast router (usually 192.168.1.1 or 10.0.0.1) in the address bar.
4. Enter the default username and password for the router (often “admin” and “password” respectively) and log in.
5. Follow the on-screen instructions to configure the wireless settings, including setting up a network name (SSID) and password.
6. Save the changes and wait for the router to restart.
7. Connect your wireless devices to the newly created wireless network using the network name and password you configured.
Done! Your Comcast router is now set up for wireless connectivity.
2. How can I change the Wi-Fi password on my Comcast router?
To change the Wi-Fi password on your Comcast router, you need to access the router’s settings page:
1. Open a web browser on a device connected to the Comcast router.
2. Enter the default IP address for your router (usually 192.168.1.1 or 10.0.0.1) in the address bar and press Enter.
3. Log in to the router’s settings page using the administrator username and password.
4. Navigate to the wireless settings section and select the option to change the password.
5. Enter your new desired Wi-Fi password and save the changes.
Your Wi-Fi password will now be updated, and all connected devices will need to reconnect using the new password.
3. What should I do if I forget my Comcast router’s login password?
If you forget the login password for your Comcast router, you can perform a factory reset to restore it to its default settings:
1. Locate the small reset button on the back or bottom of your Comcast router.
2. Use a paperclip or a similar tool to press and hold the reset button for about 10 seconds.
3. Release the button once the router’s lights start blinking.
4. Wait for the router to reboot and revert to its factory settings.
5. After the reset, you can use the default username and password (usually “admin” for both) to log in to the router’s settings page.
Remember to reconfigure any custom settings that were previously set on the router.
4. How can I check the connected devices on my Comcast router?
To check the connected devices on your Comcast router, perform the following steps:
1. Open a web browser on a device connected to the Comcast router.
2. Enter the default IP address for your router (usually 192.168.1.1 or 10.0.0.1) in the address bar and press Enter.
3. Log in to the router’s settings page using the administrator username and password.
4. Look for the “Connected Devices” or “Device List” section in the router’s settings.
5. Here, you will find a list of all the devices currently connected to your Comcast router, including their IP addresses and MAC addresses.
Take note that some routers may have different names for this section, so refer to the router’s manual for specific instructions.
5. How can I improve the wireless signal strength of my Comcast router?
To improve the wireless signal strength of your Comcast router, consider the following tips:
1. Position the router in a central location within your home or office, away from walls or obstructions.
2. Ensure that the router is placed at an optimal height, such as on a shelf or mounted on a wall.
3. Avoid interference from other electronic devices by keeping the router separate from appliances, cordless phones, or microwaves.
4. Use a newer router model with support for the latest Wi-Fi standards (e.g., 802.11ac) for higher performance.
5. Extend the range of your Wi-Fi by adding a wireless range extender or using powerline adapters with Wi-Fi capabilities.
6. Make sure to update your router’s firmware regularly to benefit from performance improvements and bug fixes.
Implementing these tips can help optimize your wireless signal strength and provide a better browsing experience.