
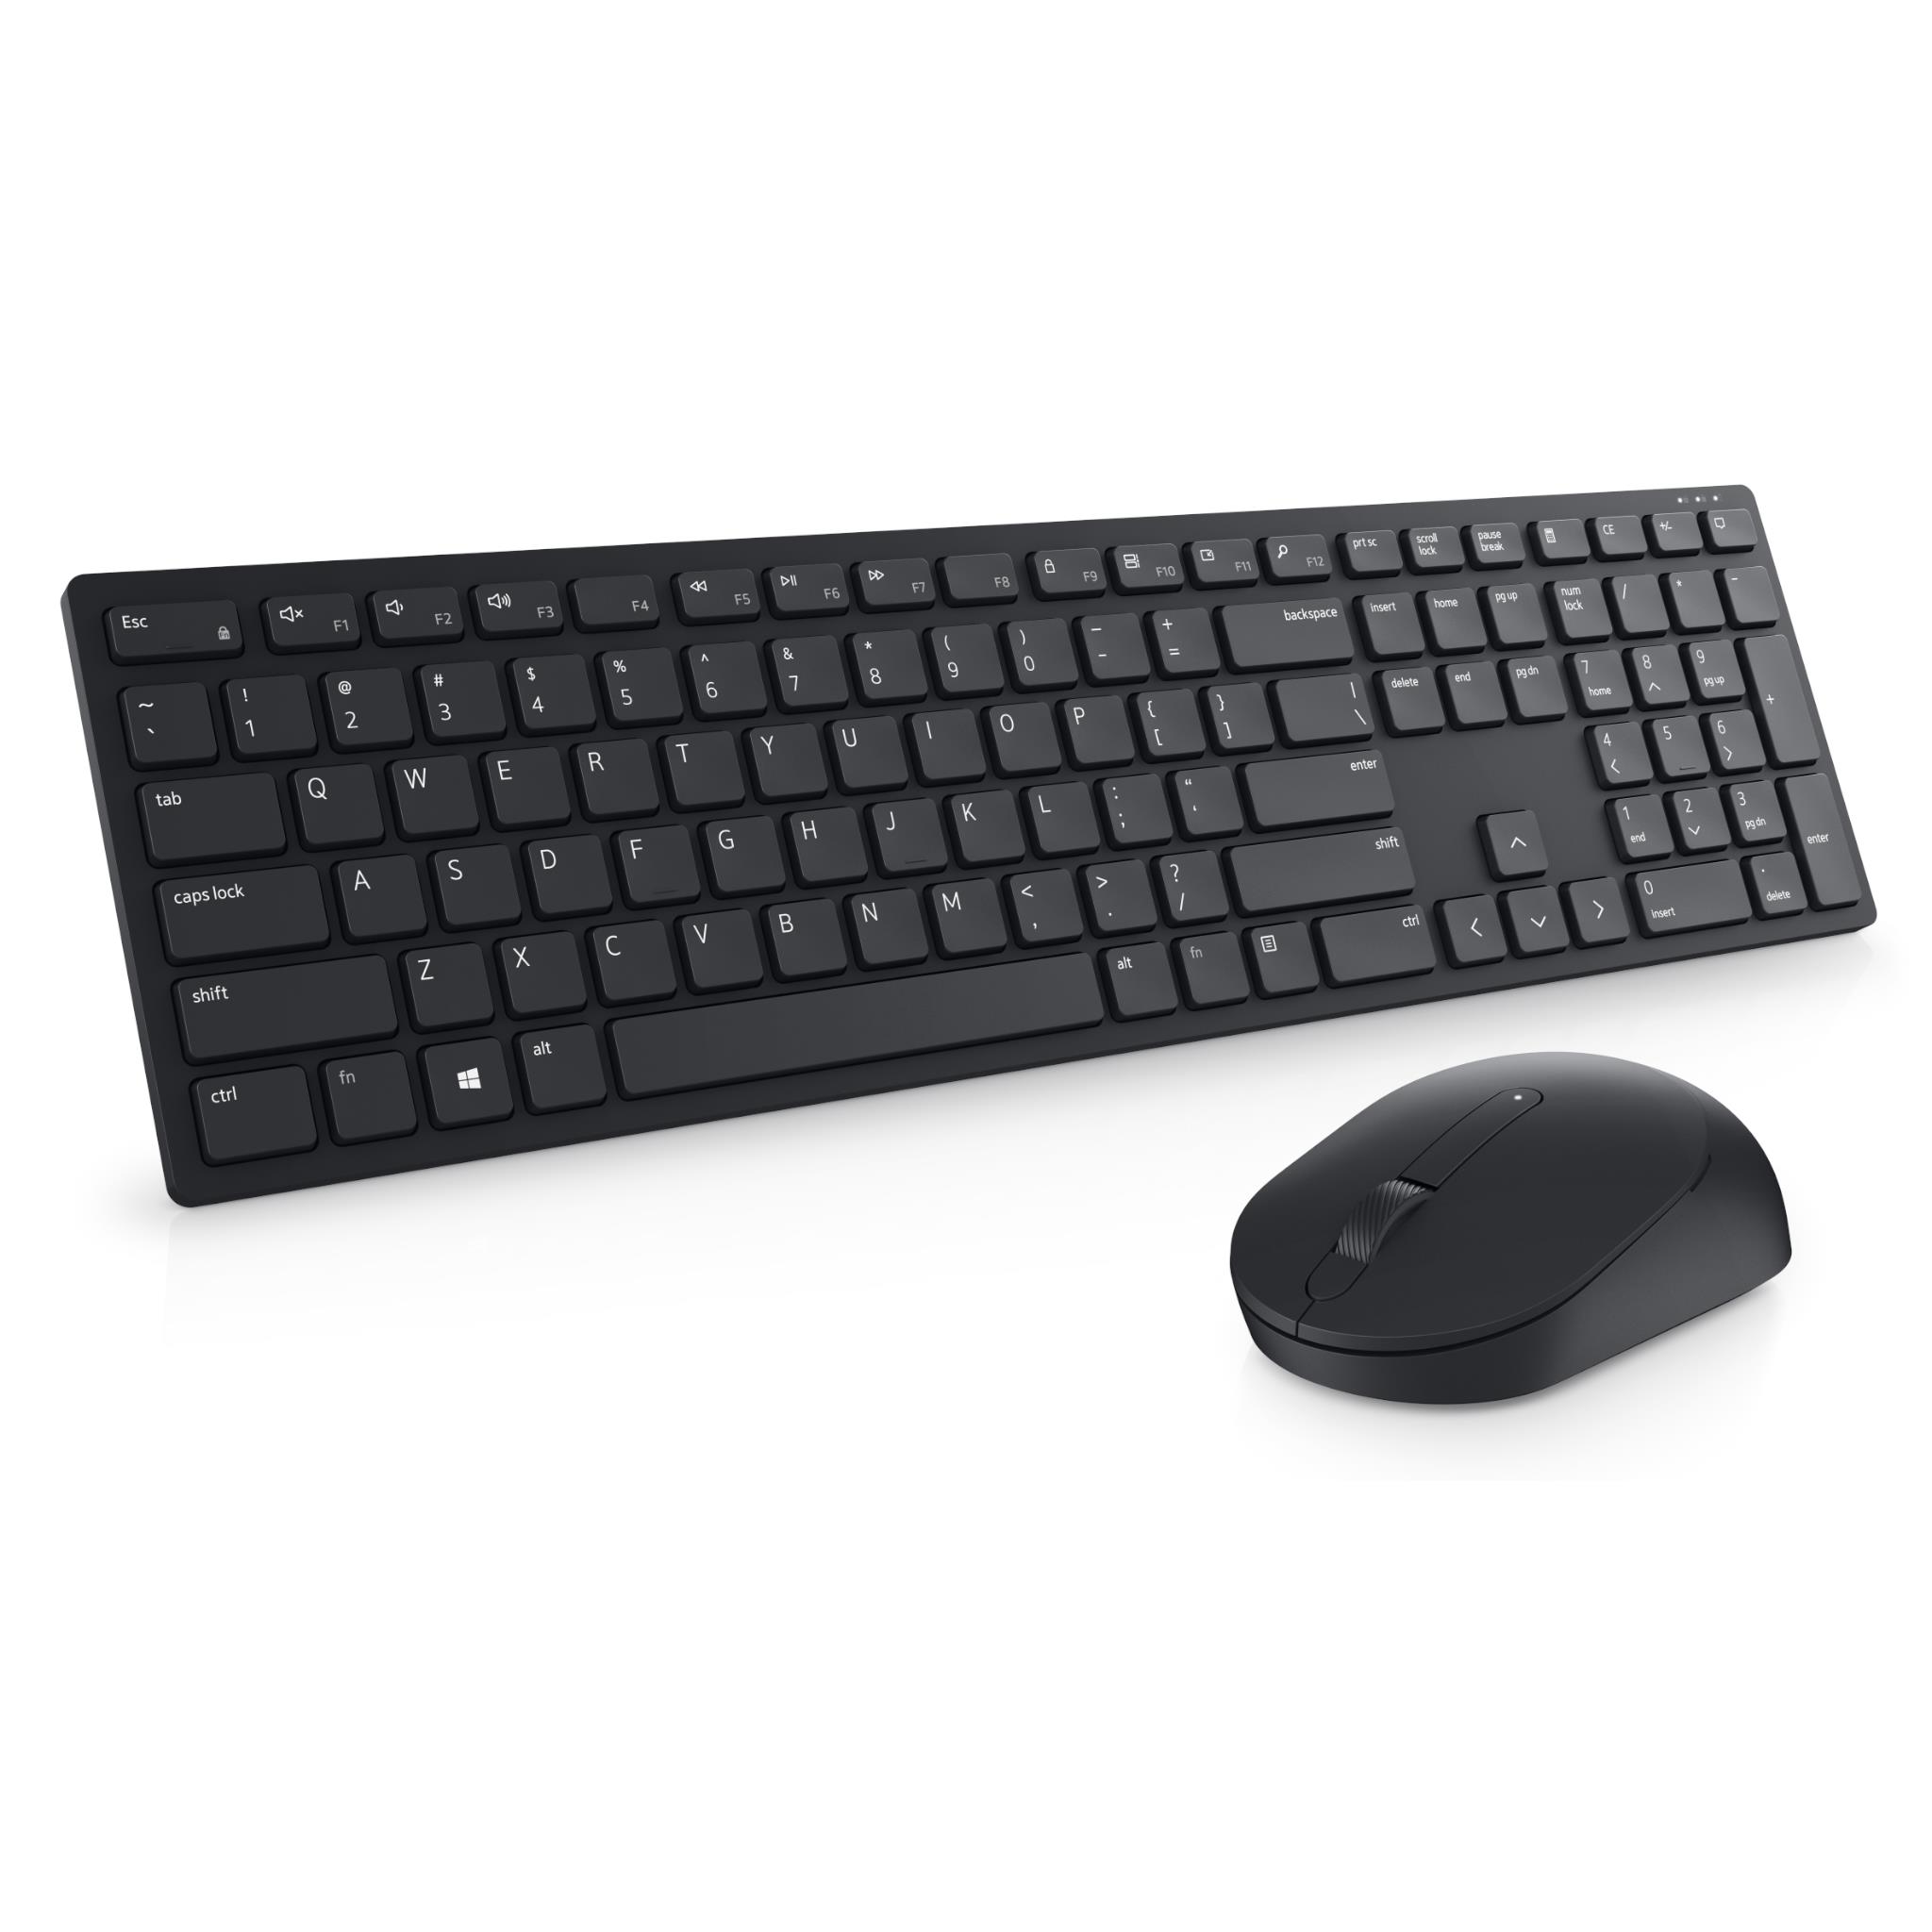
In today’s fast-paced, technology-driven world, having a wireless keyboard can greatly enhance your computing experience. If you own a Dell computer, connecting a wireless keyboard to it can be a game-changer in terms of convenience and efficiency. With a wireless keyboard, you can say goodbye to tangled wires and limited mobility, allowing you to work or play from a comfortable distance.
However, if you’re not familiar with the process, connecting a wireless keyboard to your Dell computer can seem a bit daunting. But fret not! In this article, we will walk you through the simple steps on how to connect a wireless keyboard to your Dell computer. Whether you’re using a desktop or a laptop, the process is essentially the same, and once you’re familiar with it, you’ll be happily typing away on your wireless keyboard in no time!
Inside This Article
- Wireless Keyboard Dell: A User Guide
- How to Connect Wireless Keyboard Dell to Your Device
- Troubleshooting Common Connectivity Issues
- Tips and Best Practices for Using Dell Wireless Keyboards
- Conclusion
- FAQs
Wireless Keyboard Dell: A User Guide
Welcome to our user guide for the Dell wireless keyboard. In this article, we will provide you with step-by-step instructions on how to connect your Dell wireless keyboard to your device. Whether you’re using a laptop, desktop, or tablet, this guide will help you set up your wireless keyboard effortlessly.
Before we dive into the connection process, let’s take a moment to understand the advantages of using wireless keyboards. Firstly, they offer you the freedom to work or play without being tethered to your device. You can sit back, relax, and type from a distance. Secondly, wireless keyboards eliminate the clutter of cables, providing a clean and organized workspace. Finally, they are highly portable, allowing you to easily move them from one location to another.
Now, you might be wondering why you should choose a Dell wireless keyboard over other brands. Dell is a reputable and trusted name in the technology industry. Their wireless keyboards are designed to provide a seamless and reliable connection, ensuring a comfortable typing experience. With Dell, you can expect excellent build quality, ergonomic designs, and compatibility with a wide range of devices.
How to Connect Wireless Keyboard Dell to Your Device
- Check the Compatibility of Your Device: Before attempting to connect your Dell wireless keyboard, ensure that it is compatible with your device. Most Dell wireless keyboards are compatible with Windows, macOS, and Linux operating systems.
- Prepare the Wireless Keyboard for Connection: Insert the batteries into the battery compartment of the keyboard. Make sure to follow the correct polarity as indicated.
- Connect the Wireless Keyboard using USB Receiver: If your Dell wireless keyboard comes with a USB receiver, plug the receiver into an available USB port on your device. The receiver will automatically establish a connection with the keyboard.
- Connect the Wireless Keyboard via Bluetooth: If your Dell wireless keyboard supports Bluetooth connectivity, turn on the Bluetooth on your device. Put the keyboard into pairing mode by pressing the dedicated pairing button or following the instructions provided in the user manual. Once in pairing mode, select the keyboard on your device’s Bluetooth settings to establish a connection.
Troubleshooting Common Connectivity Issues
If you encounter any connectivity issues with your Dell wireless keyboard, here are a few troubleshooting steps you can try:
- Ensure Proper Power Supply: Double-check that the batteries in your keyboard are properly inserted and have sufficient charge. If necessary, replace them with fresh batteries.
- Resetting the Wireless Keyboard: Some Dell wireless keyboards have a reset button. Press it to reset the connection and allow your device to rediscover the keyboard.
- Updating Device Drivers: Ensure that your device has the latest drivers installed. Visit the Dell website and download the appropriate drivers for your wireless keyboard model.
- Contacting Dell Support for Assistance: If all else fails, don’t hesitate to reach out to Dell support for further assistance. They have a dedicated team of experts who can help you resolve any connectivity issues.
Tips and Best Practices for Using Dell Wireless Keyboards
To enhance your experience with the Dell wireless keyboard, here are some tips and best practices:
- Proper Placement of USB Receiver: For optimal performance, ensure that the USB receiver is positioned in a location with minimal interference. Avoid placing it near other devices that may cause signal interference.
- Maintaining Battery Life: To prolong the battery life of your wireless keyboard, remember to turn it off when not in use. Additionally, reducing the keyboard’s backlight intensity, if applicable, can help conserve battery power.
- Cleaning and Maintenance: Regularly clean your wireless keyboard to remove dust and debris. Use a soft, lint-free cloth dampened with a mild cleaning solution to wipe the keys and surfaces gently.
- Customizing Keyboard Settings: Explore the keyboard settings on your device to customize the keyboard according to your preferences. You can adjust functions, assign hotkeys, and personalize the typing experience to suit your needs.
With this user guide, you should now have all the information you need to connect and effectively use your Dell wireless keyboard. Enjoy the wireless freedom and enhance your productivity with Dell’s reliable and ergonomic keyboards.
Should you have any further questions or encounter any issues, don’t hesitate to reach out to Dell’s customer support for assistance. Happy typing!
How to Connect Wireless Keyboard Dell to Your Device
If you’ve recently purchased a wireless keyboard from Dell and are wondering how to connect it to your device, you’ve come to the right place. In this guide, we’ll walk you through the step-by-step process of connecting your Dell wireless keyboard to ensure a smooth and hassle-free experience.
1. Check the Compatibility of Your Device
Before you begin the connection process, it’s important to check the compatibility of your device with the Dell wireless keyboard. Make sure that your device supports a USB receiver or has built-in Bluetooth capabilities. This will ensure that the wireless keyboard can establish a seamless connection with your device.
2. Prepare the Wireless Keyboard for Connection
Now that you’ve confirmed the compatibility, it’s time to prepare the wireless keyboard for connection. Start by inserting batteries into the keyboard and ensuring that they are properly installed. Then, locate the power button on the keyboard and turn it on. The keyboard should now be in pairing mode, ready to establish a connection.
3. Connect the Wireless Keyboard using USB Receiver
If your device supports a USB receiver, connecting your Dell wireless keyboard is a breeze. Simply plug the USB receiver into an available USB port on your device. Your device should automatically recognize the receiver and establish a connection with the keyboard. In some cases, you may need to install device-specific drivers provided by Dell.
4. Connect the Wireless Keyboard via Bluetooth
If your device has built-in Bluetooth capabilities, connecting your Dell wireless keyboard is just as easy. Start by enabling Bluetooth on your device. On the Dell wireless keyboard, locate the Bluetooth pairing button, usually located at the bottom or back of the keyboard. Press and hold the button until the Bluetooth indicator light starts flashing. On your device, navigate to the Bluetooth settings and search for available devices. Select the Dell wireless keyboard from the list and follow any on-screen prompts to complete the pairing process.
That’s it! You’ve successfully connected your wireless keyboard from Dell to your device. Now you can enjoy the convenience and flexibility of typing wirelessly. Should you encounter any issues during the connection process, refer to the troubleshooting section or contact Dell support for assistance.
Troubleshooting Common Connectivity Issues
When connecting your Dell wireless keyboard, you may encounter some common connectivity issues. Don’t worry, we’ve got you covered! In this section, we will discuss the steps you can take to troubleshoot and resolve these problems.
1. Ensure Proper Power Supply: The first step in troubleshooting connectivity issues is to check the power supply of your wireless keyboard. Make sure that the batteries are properly inserted and have sufficient charge. If you are using a rechargeable wireless keyboard, ensure that it is fully charged.
2. Resetting the Wireless Keyboard: Sometimes, a simple reset can resolve connectivity issues. Look for a reset button or switch on your Dell wireless keyboard. Press and hold it for a few seconds to initiate the reset process. After resetting, try reconnecting the keyboard to your device.
3. Updating Device Drivers: Outdated or incompatible device drivers can cause connectivity problems. To resolve this, visit the Dell support website and download the latest drivers for your specific keyboard model. Install the drivers on your device and then try connecting the wireless keyboard again.
4. Contacting Dell Support for Assistance: If you have tried the above troubleshooting steps but are still experiencing connectivity issues with your Dell wireless keyboard, it may be time to reach out to Dell support. They have a team of experts who can provide further assistance and guidance in resolving the problem.
Remember, when troubleshooting connectivity issues, it’s important to be patient and follow the steps systematically. Sometimes the solution is just a simple adjustment away. If all else fails, don’t hesitate to reach out to Dell support for professional help.
Tips and Best Practices for Using Dell Wireless Keyboards
When it comes to using your Dell wireless keyboard, there are a few tips and best practices to keep in mind. These will not only ensure a smooth and efficient typing experience but also help prolong the lifespan of your device. Let’s take a look at some of these tips:
1. Proper Placement of USB Receiver: The USB receiver is a crucial component that allows your wireless keyboard to communicate with your device. To ensure optimal connectivity, it’s essential to place the receiver in a location that is unobstructed and free from interference. Avoid placing it too far away from the keyboard or behind metal objects that can hinder the signal.
2. Maintaining Battery Life: Wireless keyboards are powered by batteries, and it’s important to preserve their lifespan. To do so, make sure to turn off the keyboard when not in use. Many models come with a power switch or sleep mode that helps conserve battery power. Additionally, consider using rechargeable batteries to reduce waste and save costs in the long run.
3. Cleaning and Maintenance: Regular maintenance is key to keeping your wireless keyboard in top condition. Use a soft, lint-free cloth to wipe away dust and grime from the keys and surfaces. Avoid using harsh chemicals or abrasive materials that can damage the keys or the surrounding area. For deep cleaning, gently remove the keys and clean them individually using a mild cleaning solution and a soft brush.
4. Customizing Keyboard Settings: Dell wireless keyboards often come with customizable settings that allow you to personalize your typing experience. Take advantage of these features to adjust key sensitivity, assign shortcuts, or change the keyboard layout to better suit your needs. Refer to the user manual or Dell’s website for instructions on how to access and modify these settings.
By following these tips and best practices, you can ensure a seamless and enjoyable typing experience with your Dell wireless keyboard. Remember to prioritize proper placement of the USB receiver, maintain battery life, keep your keyboard clean, and customize the settings to your liking. These practices will not only enhance your productivity but also maximize the longevity of your device.
Conclusion
In conclusion, connecting a wireless keyboard to your Dell device is a convenient and practical way to enhance your typing experience. Whether you’re using a laptop, desktop, or tablet, the process is relatively simple and straightforward.
By following the step-by-step instructions outlined in this article, you can easily pair your wireless keyboard with your Dell device and enjoy the freedom of cordless typing. The ability to move around and work from a comfortable distance can greatly improve productivity and reduce strain on your wrists and hands.
Remember to ensure that your keyboard is compatible with your Dell device and that the batteries are properly inserted to avoid any connectivity issues. With a wireless keyboard, you can enjoy a clutter-free workspace without compromising on typing performance.
So, go ahead and connect your wireless keyboard to your Dell device, and experience the convenience and versatility it brings to your computing experience!
FAQs
1. How do I connect a wireless keyboard to a Dell computer?
To connect a wireless keyboard to a Dell computer, follow these steps:
– Make sure the keyboard has fresh batteries and is turned on.
– On your Dell computer, go to the Start menu and open the Settings app.
– In the Settings app, click on “Devices” and then select “Bluetooth & other devices.”
– Turn on Bluetooth if it’s not already enabled.
– Press the Connect button on the wireless keyboard.
– On your Dell computer, click on the “+” button under “Add Bluetooth or other device.”
– Select “Bluetooth” and wait for your computer to scan for available devices.
– When your wireless keyboard appears in the list of available devices, click on it to connect.
– Your Dell computer will pair with the wireless keyboard, and you should be able to use it.
2. Why is my wireless keyboard not connecting to my Dell computer?
There could be several reasons why your wireless keyboard is not connecting to your Dell computer. Some troubleshooting steps you can try include:
– Ensuring that the keyboard is turned on and has fresh batteries.
– Restarting your Dell computer and trying to connect the keyboard again.
– Checking that Bluetooth is enabled on your computer and trying to connect the keyboard in different USB ports.
– Resetting the connection between the keyboard and the computer by removing the device from the Bluetooth settings and then pairing it again.
– Updating the drivers for your Bluetooth adapter.
If none of these steps work, consider contacting Dell support for further assistance.
3. Can I connect multiple wireless keyboards to my Dell computer?
Most Dell computers support the connection of multiple Bluetooth devices, including wireless keyboards. However, it is essential to check your Dell computer’s specifications and the Bluetooth version it supports. If your computer supports Bluetooth 4.0 or higher, you should be able to connect multiple wireless keyboards simultaneously. Keep in mind that some keyboards may have limitations on the number of devices they can connect to at the same time. Refer to the keyboard’s user manual or the manufacturer’s website for specific information.
4. Are wireless keyboards compatible with all Dell computers?
Wireless keyboards are generally compatible with most Dell computers that have Bluetooth capabilities. However, it is important to check the system requirements and compatibility specifications of both the keyboard and your Dell computer. Some older Dell models may not have Bluetooth support, in which case you may need to use a USB receiver or adapter to connect a wireless keyboard. It is recommended to refer to the manufacturer’s specifications or contact Dell support if you have any concerns about the compatibility of a specific wireless keyboard with your Dell computer.
5. How far away can I use a wireless keyboard with my Dell computer?
The range of a wireless keyboard can vary depending on the specific model and technology used. In general, most wireless keyboards have a range of up to 30 feet (10 meters) from the computer. However, factors such as obstacles, interference, and battery strength can affect the effective range. It’s also worth noting that the further away you are from the computer, the more likely you may experience latency or drop in connection. To ensure optimal performance, it is recommended to use the wireless keyboard within a reasonable range and maintain a clear line of sight between the keyboard and the computer.