
Introduction:
Are you tired of being confined to a small screen while gaming on your PC? Do you want the convenience and freedom of playing your favorite games on a big screen TV? If so, you’ll be thrilled to learn about the PC wireless gaming receiver. This nifty device allows you to connect your PC to your TV wirelessly, giving you the ultimate gaming experience without the hassle of cables.
Whether you’re a casual gamer or a hardcore enthusiast, the PC wireless gaming receiver is a must-have accessory. Not only does it offer seamless connectivity, but it also provides an immersive gaming experience with enhanced graphics and audio. In this article, we will guide you through the process of using a PC wireless gaming receiver, from setting it up to troubleshooting common issues. So, let’s dive in and unleash the full potential of your gaming rig!
Inside This Article
- Connecting the PC Wireless Gaming Receiver to Your Computer
- Installing the Necessary Drivers for the Receiver
- Pairing the Receiver with Your Wireless Gaming Controller
- Troubleshooting Common Issues with the PC Wireless Gaming Receiver
- Conclusion
- FAQs
Connecting the PC Wireless Gaming Receiver to Your Computer
If you’re an avid gamer, you know the importance of having a reliable and responsive controller for your PC gaming sessions. While many gamers prefer wired controllers, using a wireless gaming receiver can offer more freedom and flexibility during gameplay. In this article, we will guide you through the process of connecting a PC wireless gaming receiver to your computer.
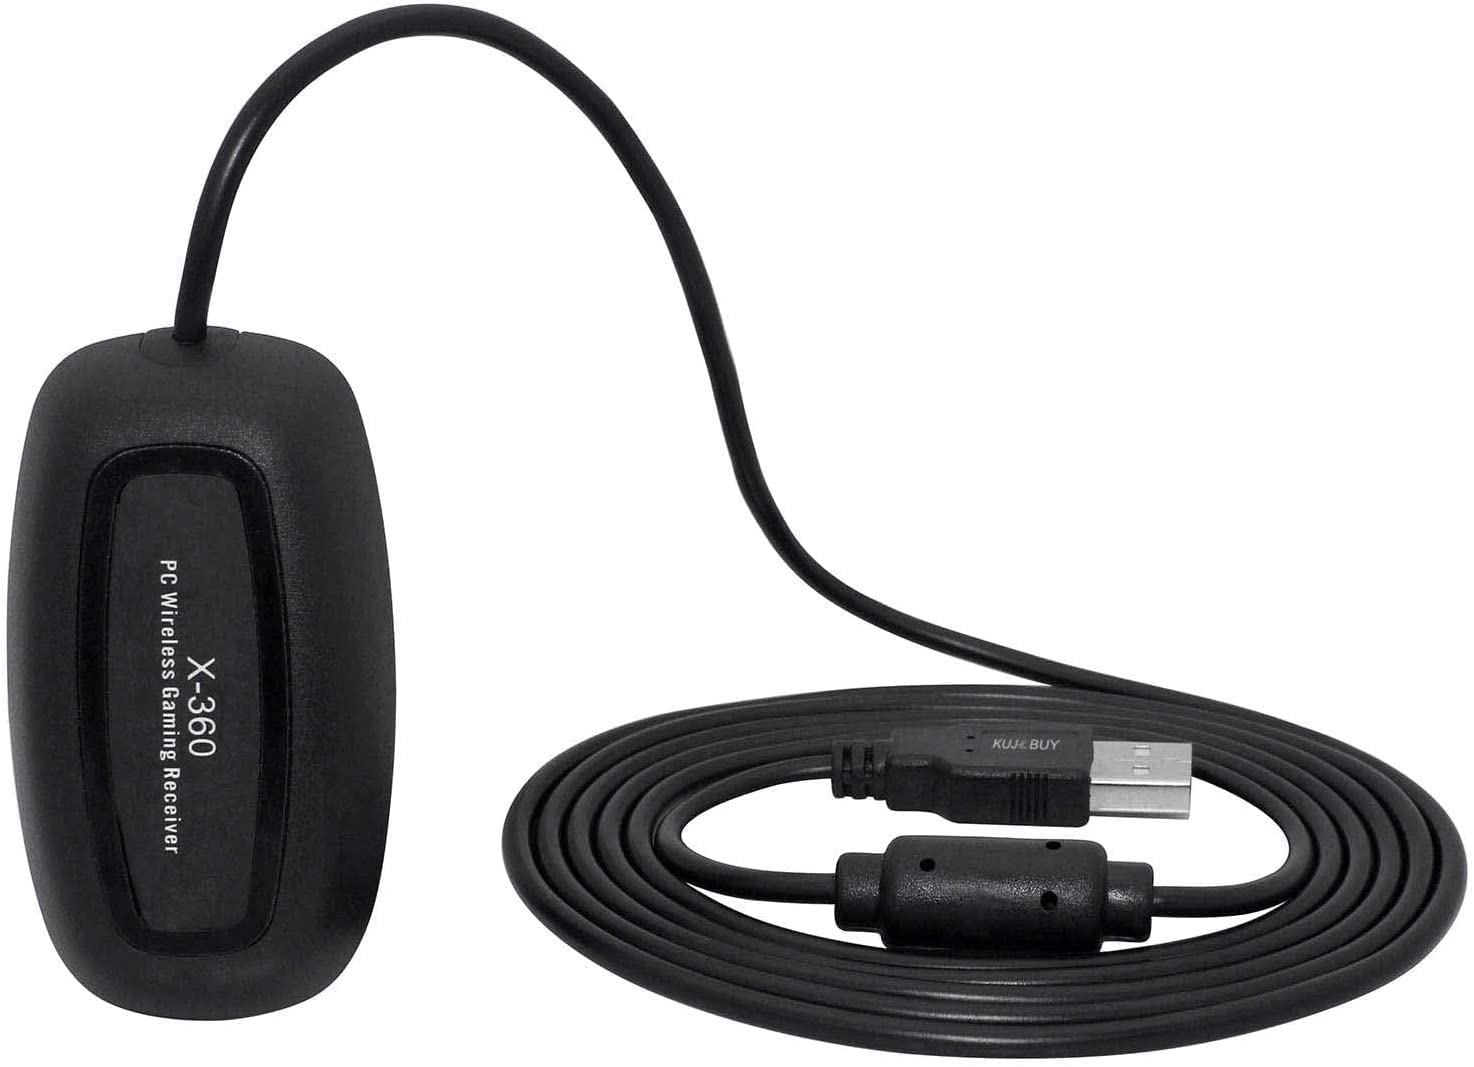
The first step in connecting the PC wireless gaming receiver is to locate an available USB port on your computer. Most modern computers have multiple USB ports located on the front or back of the device. Once you’ve identified a USB port, carefully insert the receiver into the port, making sure it is securely connected.
After successfully plugging in the receiver, you may need to wait a few moments for your computer to recognize the new device. Depending on your operating system, you may see a notification on your screen indicating that a new USB device has been detected. If your computer does not automatically detect the receiver, you may need to manually install the necessary drivers.
Before moving on to driver installation, ensure that your computer is connected to the internet. This is important because the driver installation process requires downloading the latest software from the manufacturer’s website. Open your preferred web browser and search for the official website of the receiver’s manufacturer.
Once you’ve landed on the manufacturer’s website, navigate to the support or downloads section and search for the specific drivers for your model of wireless gaming receiver. Download the drivers and save them to a location on your computer where you can easily access them, such as your desktop or downloads folder.
After downloading the drivers, locate the file and double-click on it to begin the installation process. Follow the on-screen prompts to complete the installation, and make sure to accept any terms or conditions if prompted. Once the installation is complete, restart your computer to ensure that the drivers are properly installed.
Upon restarting your computer, your wireless gaming receiver should now be recognized and ready to pair with your gaming controller. To initiate the pairing process, turn on your gaming controller and press the sync button located on both the controller and the receiver. Wait for a few seconds, and the controller should establish a connection with the receiver.
Once the pairing is successful, you should notice the LED indicator on the receiver and controller light up, indicating a solid connection. You can now start using your wireless gaming receiver and controller to enjoy seamless and responsive gameplay on your PC.
Installing the Necessary Drivers for the Receiver
When it comes to using a PC wireless gaming receiver, installing the necessary drivers is crucial. These drivers allow the receiver to communicate with your computer and enable seamless connectivity with your wireless gaming controller. Here are the steps to follow for a successful driver installation:
- Check compatibility: Before installing any drivers, ensure that the PC wireless gaming receiver is compatible with your operating system. Check the manufacturer’s website or user manual for compatibility information.
- Download the drivers: Go to the manufacturer’s website and navigate to the support or downloads section. Look for the appropriate drivers for your specific receiver model and operating system. Download the drivers to your computer.
- Run the installer: Locate the downloaded driver file on your computer and double-click on it to run the installer. Follow the on-screen prompts to begin the installation process.
- Read and accept the terms: During the installation, you may be presented with a license agreement or terms of use. Read through them carefully and click on the necessary buttons to accept the terms and proceed with the installation.
- Follow installation instructions: The driver installer may have specific instructions or prompts that you need to follow. Pay attention to any additional software that may be bundled with the drivers and choose whether or not to install it.
- Restart your computer: Once the installation is complete, it is recommended to restart your computer. This helps ensure that the drivers are properly loaded and configured.
- Verify driver installation: After restarting, check the Device Manager on your computer to confirm if the drivers have been successfully installed. Look for the PC wireless gaming receiver under the “Universal Serial Bus devices” or “Human Interface Devices” section.
By following these steps, you can easily install the necessary drivers for your PC wireless gaming receiver. This will ensure that your receiver is recognized by your computer and ready to connect with your wireless gaming controller, providing you with an immersive gaming experience.
Pairing the Receiver with Your Wireless Gaming Controller
Once you have successfully connected the PC Wireless Gaming Receiver to your computer and installed the necessary drivers, it’s time to pair the receiver with your wireless gaming controller. This step is crucial as it allows your controller to communicate with the receiver and enables you to enjoy a seamless gaming experience.
To begin the pairing process, ensure that your wireless gaming controller is turned on and within range of the receiver. Most controllers have a designated button for pairing, usually located on the front or top of the controller. Look for a small button labeled “Pair” or “Connect.”
Press and hold the pairing button on your wireless gaming controller for a few seconds. This will activate the pairing mode and allow the controller to search for the receiver.
Next, locate the pairing button on the PC Wireless Gaming Receiver. The button is usually a small recessed button located on the receiver itself. Press and hold this button for a few seconds until you see the LED light on the receiver start blinking rapidly.
Once the LED light is blinking, it means that the receiver is in pairing mode and ready to connect with your gaming controller. At this point, release the pairing button on both the controller and the receiver.
After releasing the buttons, the controller and receiver will start communicating with each other and establish a connection. As they pair, the LED light on the receiver will stop blinking and remain steady, indicating a successful pairing.
To confirm that the pairing process was successful, test the controller by pressing the buttons or moving the analog sticks. If the controller responds to your commands, congratulations! You have successfully paired your wireless gaming controller with the PC Wireless Gaming Receiver.
In some cases, you may encounter difficulties in pairing your controller with the receiver. If this happens, make sure that you are within range of the receiver and that there are no obstructions interfering with the signal. Additionally, double-check that your controller and receiver have fresh batteries or are adequately charged.
If you are still having trouble pairing the controller, you can try resetting both the receiver and the controller and repeating the pairing process. Refer to the user manual of your specific controller and receiver for instructions on how to reset them.
Once your controller is paired with the PC Wireless Gaming Receiver, you can start enjoying your favorite games on your computer with the freedom and convenience of a wireless controller. Get ready to dive into the virtual world and experience gaming like never before!
Troubleshooting Common Issues with the PC Wireless Gaming Receiver
While the PC Wireless Gaming Receiver is a convenient device, it is not immune to potential issues. Here are some common problems that users may encounter and troubleshooting tips to help you resolve them quickly:
-
No Power or Signal: If the receiver is not powering on or unable to establish a signal with the controller, try the following steps:
- Check the USB connection: Ensure that the receiver is securely plugged into a USB port on your computer.
- Replace the batteries: If you’re using a wireless controller, make sure the batteries are fresh and properly inserted.
- Re-pair the controller: Sometimes the connection between the controller and the receiver gets disrupted. Try re-pairing them by pressing the pairing buttons on both devices.
-
Driver Installation Issues: If you’re experiencing problems with driver installation, follow these steps:
- Check for driver compatibility: Ensure that the drivers you’re installing are compatible with your operating system.
- Update the drivers: Visit the manufacturer’s website and download the latest drivers for the receiver.
- Uninstall and reinstall the drivers: Sometimes, reinstalling the drivers can resolve any issues with the installation process.
-
Interference or Range Issues: If you’re experiencing interference or limited range with the wireless signal, try the following:
- Move closer to the receiver: Ensure that you’re within range of the receiver and there are no obstacles blocking the signal.
- Reduce interference: Keep devices that emit electromagnetic signals, such as routers or wireless phones, away from the receiver to minimize interference.
- Optimize signal strength: Adjust the position of the receiver and controller for optimal signal strength.
-
Controller Connectivity Issues: If you’re unable to connect or sync your controller with the receiver, try these troubleshooting steps:
- Reset the controller: Press the reset button on the back of the controller and try to connect it again.
- Check controller compatibility: Ensure that the controller you’re using is compatible with the PC Wireless Gaming Receiver.
- Update firmware: If available, update the firmware on your controller to ensure compatibility and stability.
-
Driver Conflict: In some cases, driver conflicts can cause issues with the PC Wireless Gaming Receiver. Follow these steps to resolve conflicts:
- Remove conflicting drivers: Uninstall any other drivers or software that may be conflicting with the receiver’s drivers.
- Restart your computer: After removing conflicting drivers, restart your computer to ensure a clean system state.
- Reinstall the receiver drivers: Once the conflicting drivers are removed, reinstall the drivers for the PC Wireless Gaming Receiver.
If you’ve tried these troubleshooting tips and are still experiencing issues with the PC Wireless Gaming Receiver, it may be helpful to reach out to the manufacturer’s support team for further assistance. They can provide more specific guidance based on your setup and any known issues. With a little patience and persistence, you’ll be back to enjoying your wireless gaming experience in no time!
In conclusion, the PC Wireless Gaming Receiver is a valuable tool for gamers looking to connect their wireless controllers to their PC. This device provides a convenient and efficient solution that enables seamless gaming experiences without the need for cumbersome wires. Whether you’re playing games on your PC or participating in online multiplayer battles, the PC Wireless Gaming Receiver ensures you have the freedom to move around and enjoy gaming with ease.
FAQs
Q: What is a PC wireless gaming receiver?
A: A PC wireless gaming receiver is a device that allows you to connect wireless gaming controllers, such as those designed for Xbox 360, to your PC. It acts as a bridge between your controller and your computer, enabling you to play games with ease.
Q: How does a PC wireless gaming receiver work?
A: The PC wireless gaming receiver plugs into a USB port on your computer. It then wirelessly connects to your gaming controller, allowing you to use it as if it were directly connected to your PC. This eliminates the need for cables and provides more flexibility in terms of movement during gameplay.
Q: Can I use a PC wireless gaming receiver with any controller?
A: PC wireless gaming receivers are specifically designed to work with certain gaming controllers. The most common and widely supported receiver is the one for Xbox 360 controllers. However, there are also receivers available for other types of controllers, such as PlayStation controllers. It’s important to ensure compatibility before purchasing a receiver.
Q: How do I set up a PC wireless gaming receiver?
A: Setting up a PC wireless gaming receiver is relatively straightforward. First, you need to install the necessary drivers for the receiver on your PC. These drivers can usually be downloaded from the manufacturer’s website. Once the drivers are installed, you can connect the receiver to a USB port on your computer. The receiver will then detect and sync with your gaming controller. Follow any additional on-screen instructions, if provided, to complete the setup process.
Q: Are there any limitations to using a PC wireless gaming receiver?
A: While PC wireless gaming receivers offer convenience and flexibility, there are a few limitations to keep in mind. Firstly, not all games are compatible with wireless controllers, so you may need to check game compatibility before using a wireless controller. Additionally, the range of the wireless connection can vary depending on factors such as interference and the specific receiver model. It’s recommended to stay within a reasonable distance from your PC to maintain a stable connection.