
Setting up a gamepad on a PC opens up a world of exciting gaming possibilities. Whether you prefer action-packed adventures, immersive role-playing games, or intense racing simulations, using a gamepad can greatly enhance your gaming experience. However, the process of setting up a gamepad on your computer may seem daunting if you’re not familiar with the necessary steps.
In this article, we will guide you through the process of setting up a gamepad on your PC. From connecting the gamepad to configuring it for optimal gameplay, we will cover all the essential steps. Whether you have a wired or wireless gamepad, we’ve got you covered. So grab your gamepad, and let’s dive into the world of seamless gaming on your PC!
Inside This Article
- Required Gamepad Drivers
- Connecting the Gamepad to your PC
- Configuring Gamepad Controls in Windows
- Troubleshooting Gamepad Issues
- Conclusion
- FAQs
Required Gamepad Drivers
When setting up a gamepad on your PC, one of the essential steps is to ensure you have the necessary drivers installed. Gamepad drivers act as the communication bridge between your gamepad and your operating system, allowing them to work together seamlessly. While some gamepads come with their own drivers, others rely on generic or pre-installed drivers. To ensure optimal performance and compatibility, it is always recommended to install the specific drivers provided by the gamepad manufacturer.
Before starting the driver installation process, it’s essential to visit the website of the gamepad manufacturer. Navigate to the support or downloads section of the website, where you will usually find a dedicated section for downloading drivers. Look for the appropriate driver for your specific gamepad model and download it to your computer.
Once the driver file is downloaded, locate it in your computer’s downloads folder or the location where it was saved. Double-click on the driver file to initiate the installation process. Follow the on-screen instructions provided by the driver installer, which typically involve accepting the end-user license agreement, selecting the installation location, and clicking on the “Install” or “Next” button.
After the installation process is complete, restart your computer to ensure that the drivers are properly installed and loaded. Once your computer has restarted, connect your gamepad to your PC using the appropriate USB cable or wireless connection.
Upon connecting the gamepad, your operating system should automatically detect the device and configure it using the installed drivers. However, in some cases, you may need to manually set up the gamepad controls, which will be covered in the next section.
It’s worth mentioning that some modern operating systems, such as Windows 10, have a comprehensive database of drivers and can automatically install generic drivers for many gamepads. While these drivers may work in some cases, they may not offer the same level of functionality as the manufacturer’s specific drivers. Therefore, it’s always recommended to install the official drivers to maximize your gaming experience.
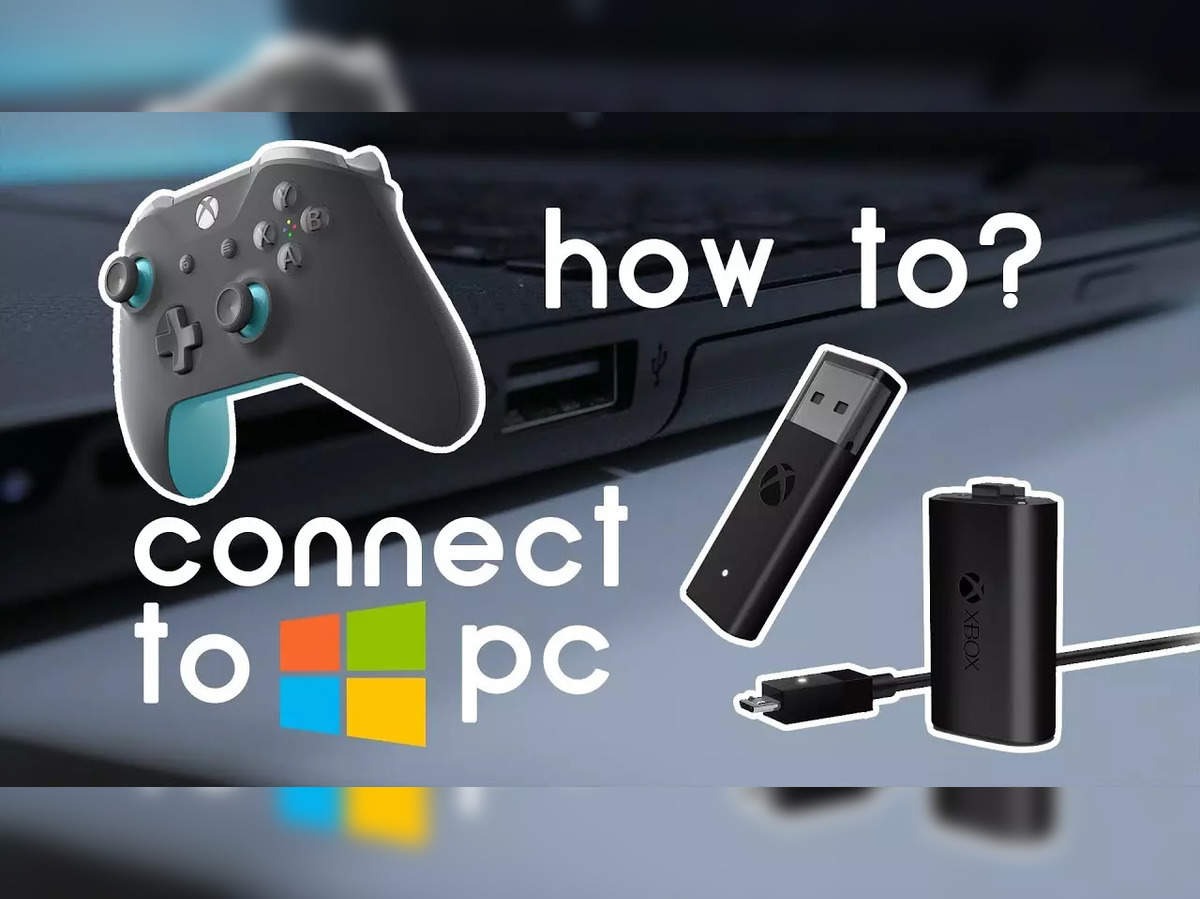
Connecting the Gamepad to your PC
Connecting your gamepad to your PC is a straightforward process that will allow you to enjoy your favorite games with ease. Whether you’re using a wired or wireless gamepad, here are the steps to get started:
1. Plug in the Gamepad:
If you have a wired gamepad, simply connect one end of the USB cable to your gamepad and the other end to a vacant USB port on your PC. Windows will automatically detect the gamepad and install the necessary drivers.
If you have a wireless gamepad, you’ll need to connect the wireless receiver to your PC. Plug the receiver into a USB port and make sure it’s in pairing mode.
2. Pairing the Wireless Gamepad:
If you’re using a wireless gamepad, you’ll need to pair it with the wireless receiver. Most wireless gamepads have a small button on the back or underside that you need to press and hold to put it into pairing mode. Then, press the corresponding button on the wireless receiver. Once the gamepad and receiver are successfully paired, the gamepad will be ready to use.
3. Installing Gamepad Drivers:
In some cases, your PC may require you to install specific drivers for your gamepad. If your gamepad didn’t come with a driver installation disc, you can usually find the drivers on the manufacturer’s website. Download the appropriate drivers for your gamepad model and follow the on-screen instructions to install them on your PC.
4. Testing the Gamepad:
Once you’ve connected and installed the necessary drivers, it’s a good idea to test the gamepad to ensure everything is working correctly. You can do this by opening the control panel on your PC and navigating to the gamepad settings. From there, you can test the buttons, triggers, and joysticks to make sure they are responding accurately.
And that’s it! You’ve successfully connected your gamepad to your PC. Now you can start playing your favorite games with the comfort and precision that a gamepad provides. Remember, if you ever run into any issues, you can consult the troubleshooting section or reach out to the gamepad manufacturer for assistance.
Configuring Gamepad Controls in Windows
Once you have connected your gamepad to your PC and installed the necessary drivers, the next step is to configure the gamepad controls in Windows. This will ensure that your gamepad is fully functional and provides an optimal gaming experience. Here’s how you can do it:
1. Open the Control Panel on your PC by clicking on the “Start” button and selecting “Control Panel” from the menu.
2. In the Control Panel, click on the “Devices and Printers” option. This will display a list of all devices connected to your PC.
3. Locate your gamepad in the list of devices and right-click on it. From the context menu, select “Game controller settings.”
4. In the Game Controllers dialog box, select your gamepad and click on the “Properties” button.
5. The Game Controller Properties window will open, displaying a list of buttons and axes on your gamepad. This window allows you to customize the controls according to your preferences.
6. To configure a button, click on it in the button list and then press the corresponding button on your gamepad. You can repeat this process for each button on your gamepad.
7. Similarly, you can configure the axes by moving the corresponding joystick or control on your gamepad.
8. You can also adjust the sensitivity of the axes by moving the slider under the “Settings” section.
9. Once you have configured all the buttons and axes, click on the “Apply” button to save your changes.
10. Test your gamepad controls by clicking on the “Properties” button again and confirming that all the buttons and axes are responding correctly.
11. Once you are satisfied with the configuration, close the Game Controller Properties window and start playing your favorite games!
Remember, the steps to configure gamepad controls may vary slightly depending on the version of Windows you are using. However, the general process remains the same.
By configuring the gamepad controls in Windows, you can personalize your gaming experience and have full control over your gameplay. So, take some time to fine-tune your gamepad settings and get ready to immerse yourself in the world of gaming!
Troubleshooting Gamepad Issues
Despite their convenience and versatility, gamepads can sometimes encounter issues that can be frustrating to deal with. Here are some common gamepad problems and troubleshooting steps to help you resolve them:
1. Gamepad not recognized: If your gamepad is not being recognized by your PC, make sure it is properly connected. Check if the USB cable is securely plugged in. Try connecting the gamepad to a different USB port on your computer. If it still doesn’t work, try restarting your PC and then reconnecting the gamepad.
2. Buttons not responsive: If the buttons on your gamepad are not responding as expected, it could be due to calibration issues. Try calibrating your gamepad by going to the Control Panel in Windows, selecting “Devices and Printers,” right-clicking on your gamepad, and choosing “Game Controller Settings.” From there, you can calibrate the gamepad and ensure that all the buttons are functioning properly.
3. Stick or D-pad drifting: If you notice that the sticks or D-pad on your gamepad are not returning to the neutral position or are registering input even when not being touched, it could be due to drift. This can sometimes happen over time with regular use. To fix it, you can try recalibrating the sticks or cleaning the contacts underneath the sticks. If the issue persists, you may need to replace the gamepad.
4. Gamepad not working in specific games: If your gamepad works fine in some games but not in others, it could be due to compatibility issues. Make sure that the game you are trying to play supports gamepad input. You may also need to check for game-specific settings or configurations within the game’s options menu. If all else fails, you can try using third-party software or utilities that allow you to remap gamepad controls.
5. Wireless gamepad connectivity issues: If you’re using a wireless gamepad and experiencing connectivity problems, ensure that the batteries are charged or replaced if necessary. Verify that the wireless receiver is properly connected to your PC and not experiencing any interference from other devices. If range is an issue, try moving closer to the receiver or removing any obstacles between the gamepad and the receiver.
By following these troubleshooting steps, you can overcome many common gamepad issues. If the problem persists, you may need to seek help from the manufacturer’s support team or consider replacing your gamepad. Remember to keep your gamepad drivers up to date and to refer to the manufacturer’s documentation for specific troubleshooting instructions.
Conclusion
Setting up a gamepad on your PC can greatly enhance your gaming experience. Whether you’re a casual gamer or a hardcore enthusiast, having a properly configured gamepad can provide more precise controls and a more immersive gameplay experience.
By following the steps outlined in this guide, you can easily connect and configure your gamepad to work seamlessly with your PC. From installing the necessary drivers to calibrating the buttons and joysticks, you’ll be ready to jump into your favorite games in no time.
Remember to regularly check for software updates and firmware upgrades for your gamepad to ensure compatibility and optimal performance. And don’t forget to explore the different customization options available, such as button mapping and sensitivity adjustments, to tailor your gamepad settings to your preferences.
So, go ahead and unleash the full potential of your PC gaming experience by setting up a gamepad that fits your style. Whether you prefer a traditional Xbox controller or a specialized gaming controller, the choice is yours. Happy gaming!
FAQs
1. Can I use a gamepad on my PC?
Yes, you can use a gamepad on your PC. Most gamepads today are compatible with PCs, and you can connect them either wired or wirelessly depending on the model.
2. Do I need any special software to set up a gamepad on my PC?
In most cases, no special software is required. Modern gamepads are usually plug-and-play devices that automatically work with your PC. However, some gamepads may require you to install specific drivers or software provided by the manufacturer.
3. How do I connect a gamepad to my PC?
If your gamepad has a wired connection, simply plug it into an available USB port on your PC. If it is a wireless gamepad, you may need to use a USB receiver or connect via Bluetooth. Follow the manufacturer’s instructions for the specific gamepad model you have.
4. Can I customize the controls on my gamepad?
Yes, most gamepads have customizable controls. You can usually remap buttons and adjust sensitivity settings to suit your preferences. This can typically be done through the gamepad’s software or through the settings menu of the game you’re playing.
5. What games can I play with a gamepad on my PC?
You can play a wide variety of games with a gamepad on your PC. Most modern PC games are designed with gamepad support in mind, especially those that are also available on gaming consoles. From platformers and racing games to action and sports titles, a gamepad offers a more immersive gaming experience. However, it’s worth noting that not all PC games may have full gamepad compatibility, so it’s always a good idea to check the game’s system requirements or consult user reviews before purchasing or installing a gamepad for a specific title.