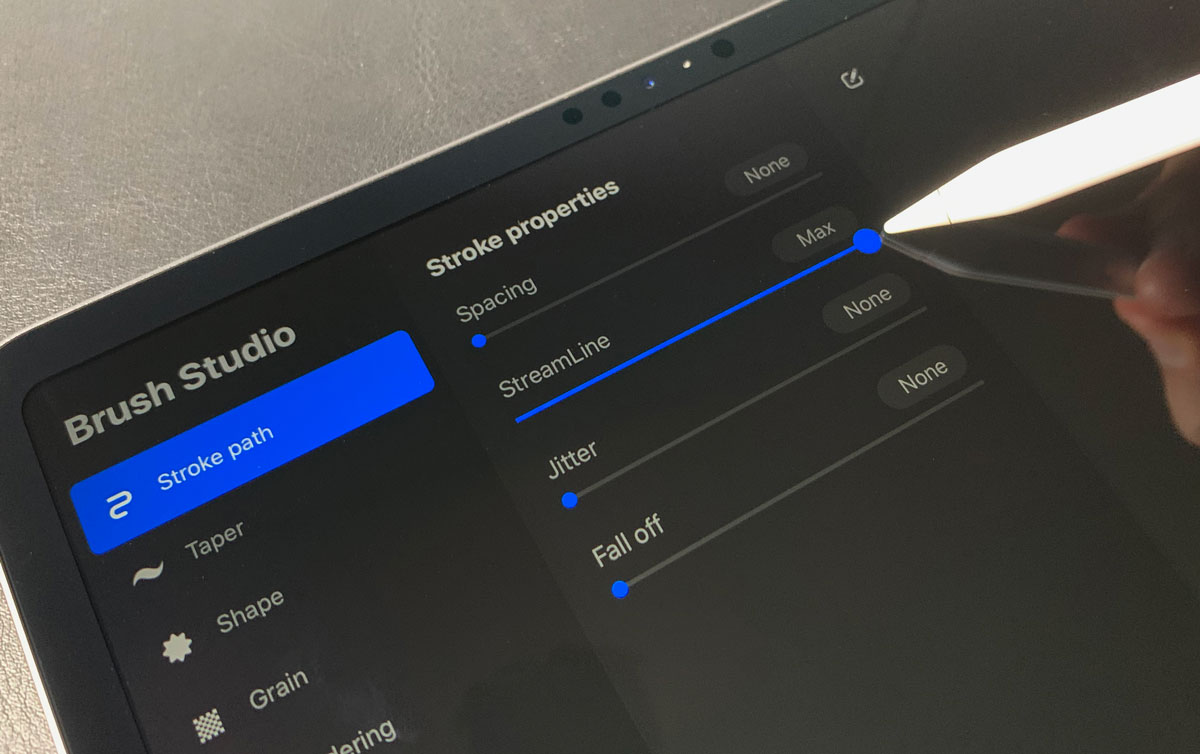
Tutorials focused on customizing drawing tools within the Procreate app for iPad. This content is designed for digital artists, illustrators, and anyone using their phone or tablet for creative work who wants more control over how their stylus and brushes behave. The articles here address specific, practical adjustments that change the look and feel of your digital lines and strokes.
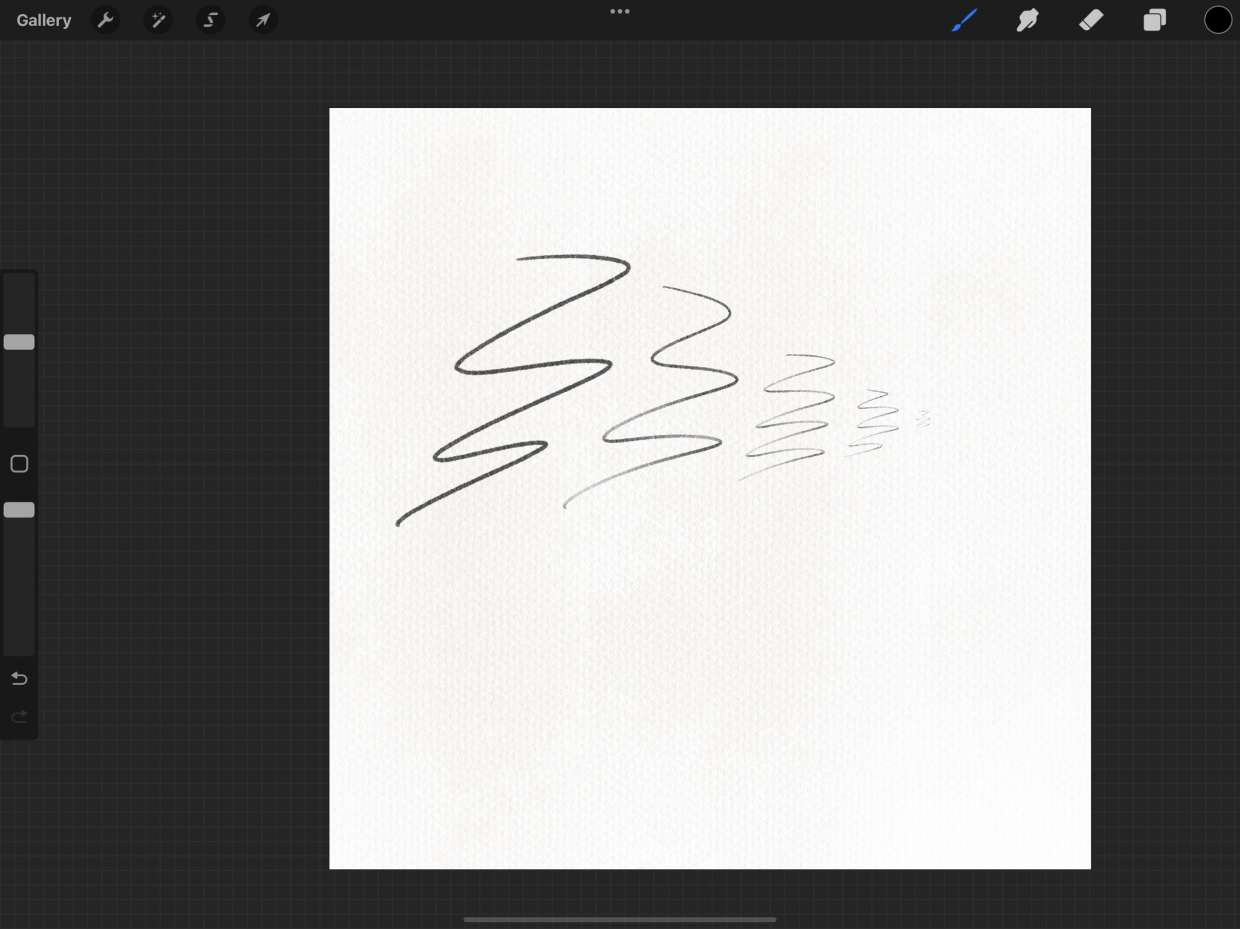
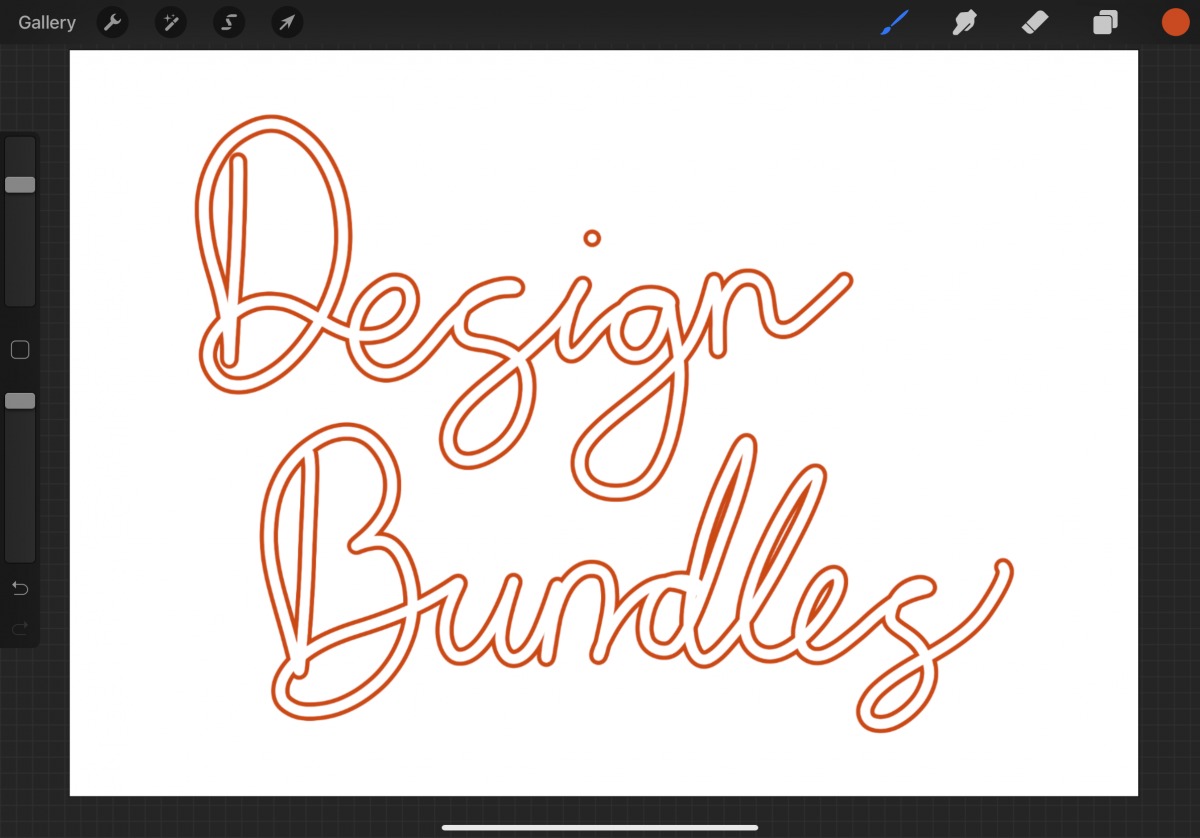
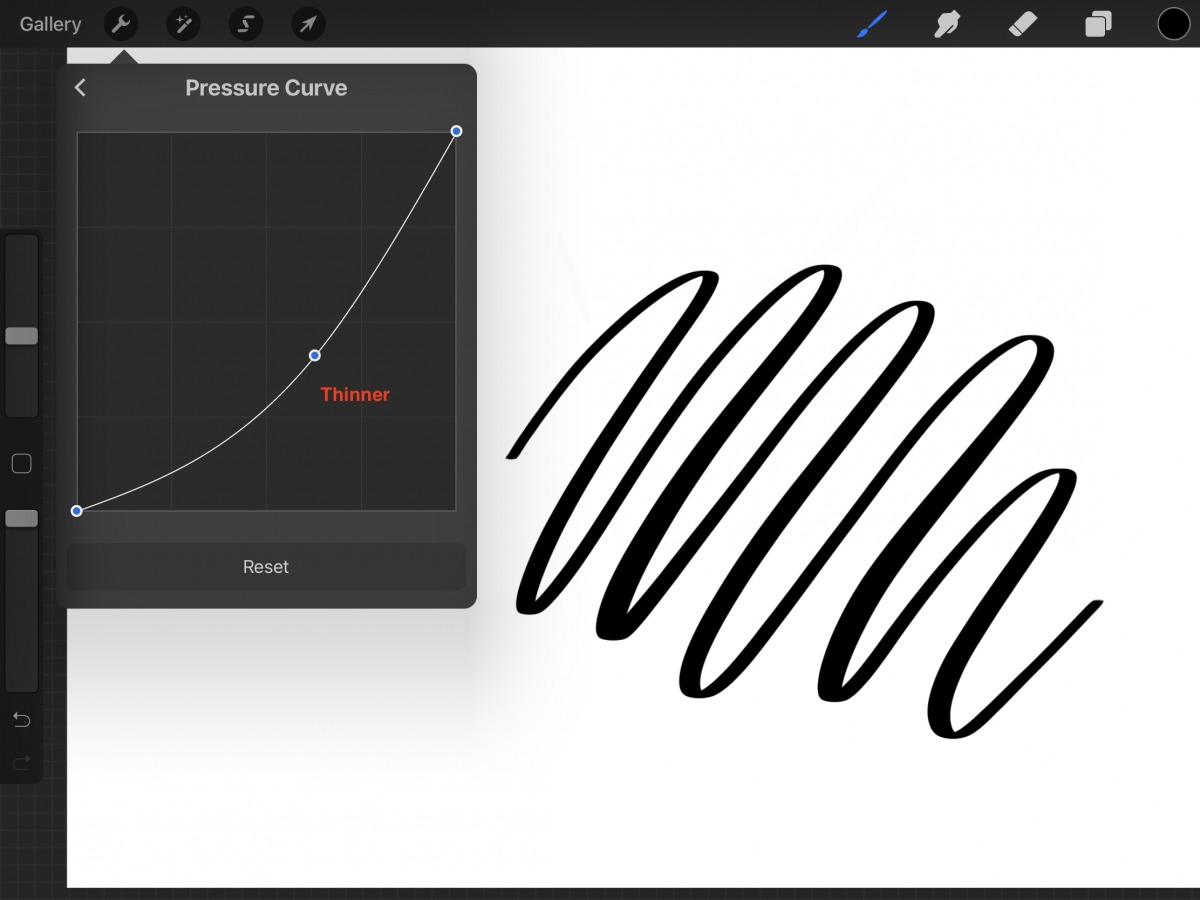
The problems these articles solve fall into two main areas: controlling line quality and managing brush behavior. For line quality, you can learn how to smooth lines in Procreate to eliminate shaky strokes, how to make lines thicker in Procreate for bolder outlines, and how to make an outline brush in Procreate to create clean, separated shapes. For brush behavior, the guides show you how to turn off pressure sensitivity in Procreate when you want consistent line width regardless of stylus pressure, and how to render on Procreate to achieve polished, finished artwork. Each tutorial helps you perform a single, clear task so you can get the exact drawing result you need without extra steps.