
If you’re an aspiring digital artist or a seasoned pro, you’re probably familiar with Procreate, the popular digital art application for iPad. One of the many amazing features of Procreate is the ability to customize and adjust brush settings, including the thickness of your lines. Being able to make lines thicker in Procreate can add depth and impact to your artwork, giving it a unique and professional look. In this article, we’ll explore the various methods and techniques you can use to increase the thickness of your lines in Procreate. Whether you’re looking to draw bold outlines, create stylized lettering, or add emphasis to certain elements, we’ve got you covered. So, let’s dive in and discover how to make your lines thicker in Procreate!
Inside This Article
- Adjusting Line Thickness in Procreate
- Understanding the Brush Library
- Changing Brush Properties
- Using Pressure Sensitivity
- Customizing Brush Settings
- Conclusion
- FAQs
Adjusting Line Thickness in Procreate
Procreate is a powerful digital art app that allows artists to create stunning illustrations and artwork on their iPads. One essential skill for creating visually dynamic pieces is the ability to adjust the line thickness. Whether you want bold and thick lines or delicate and thin strokes, Procreate offers various tools and techniques to achieve your desired line thickness.
Here are some methods you can use to make lines thicker in Procreate:
1. Understanding the Brush Library
The Brush Library in Procreate is an extensive collection of pre-designed brushes with various settings. To adjust the line thickness, you can select a brush from the library that has a larger size or is specifically designed to create thicker lines. Experiment with different brushes in the library to find the one that best suits your needs.
2. Changing Brush Properties
Procreate allows you to modify the properties of brushes in your library to achieve the desired line thickness. You can adjust the size, opacity, and flow of the brush to make the lines thicker or thinner. By increasing the size and flow values, you can create more substantial and bolder lines. Play around with these settings until you achieve the desired effect.
3. Using Pressure Sensitivity
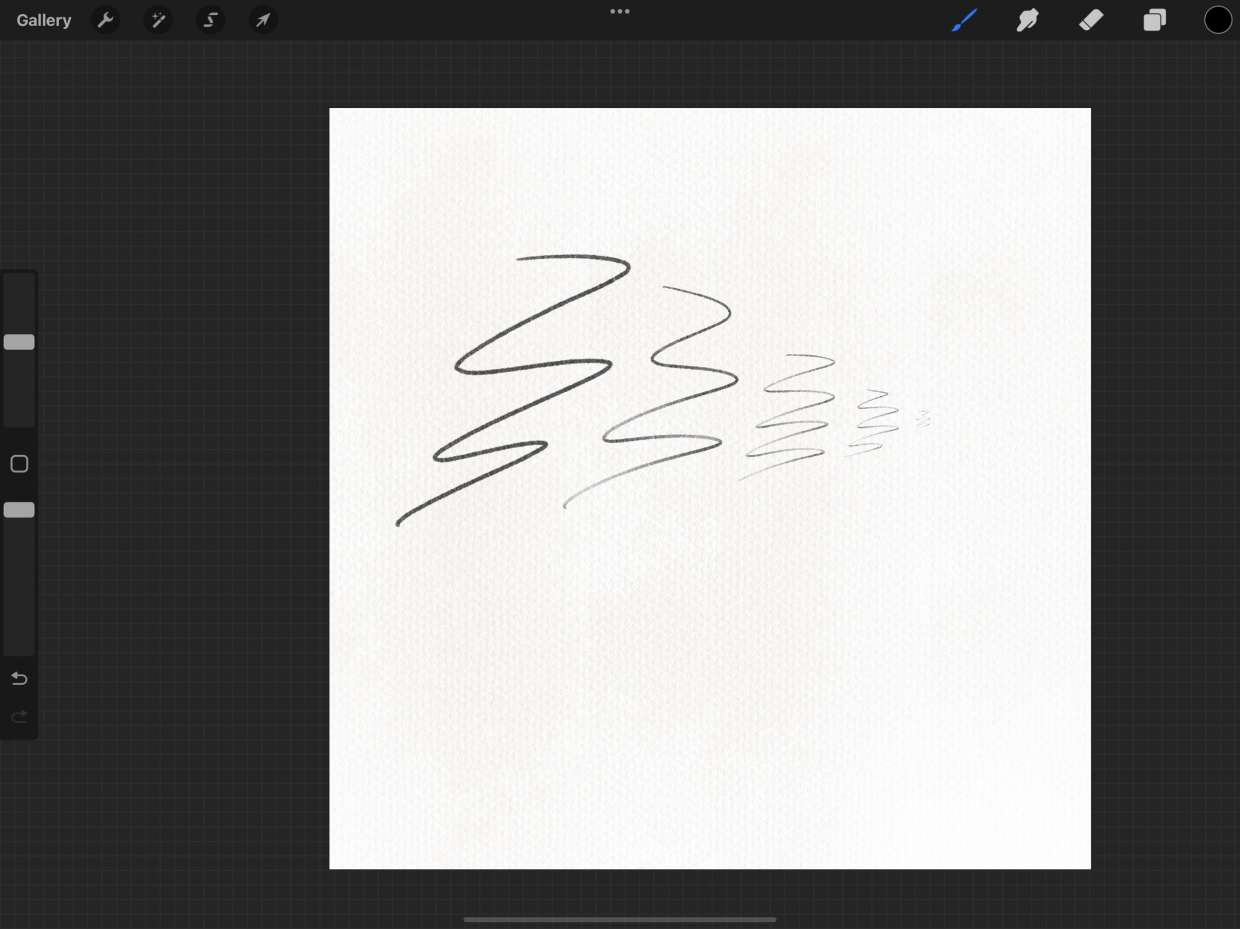
If you’re using a stylus or an iPad with Apple Pencil, you can take advantage of the pressure sensitivity feature in Procreate. By applying more pressure while drawing, you can make the lines thicker, and by applying lighter pressure, you can create thinner lines. Use this technique to add depth and dimension to your artwork by varying the line thickness in different areas.
4. Customizing Brush Settings
If none of the pre-designed brushes in the library meet your requirements, Procreate allows you to create custom brushes. You can adjust various parameters such as shape, scattering, and texture to create brushes that produce thicker lines. This level of customization gives you complete control over the line thickness and allows you to achieve unique and personalized effects in your artwork.
By utilizing these methods, you can easily adjust the line thickness in Procreate and unlock new possibilities for your digital art. Experiment with different techniques, brushes, and settings to find the perfect combination that suits your artistic style and vision.
Understanding the Brush Library
When it comes to adjusting line thickness in Procreate, the Brush Library is a vital tool to familiarize yourself with. The Brush Library houses a variety of brush options, each with its own unique properties and settings that can greatly impact the thickness of your lines.
To access the Brush Library, simply tap on the brush icon located at the top of the screen in Procreate. This will open up a wide array of brush categories for you to choose from. From basic brushes to specialized brushes like pencils, markers, and fine liners, the Brush Library has something for every artistic need.
Once you have selected a brush category, you can further explore the available brushes within that category. Each brush has its own thumbnail preview, allowing you to see the general stroke and thickness it produces. This can help you determine which brush will work best for achieving your desired line thickness.
Additionally, the Brush Library allows you to organize your brushes into sets. This is particularly useful if you have created custom brushes or want to group brushes with similar characteristics. By creating sets, you can easily access and switch between different brushes, making it more convenient to adjust line thickness on the go.
Remember, understanding the Brush Library is the first step to mastering line thickness in Procreate. Take some time to explore the different brush categories, experiment with different brushes, and discover which ones best suit your artistic style and line thickness preferences.
Changing Brush Properties
One of the easiest ways to make lines thicker in Procreate is by adjusting the brush properties. Procreate offers a wide range of brushes with different line thickness options to choose from. Here’s how you can change the brush properties:
1. Open the Brush Library by tapping on the brush icon in the top toolbar.
2. Scroll through the library to find the brush you want to modify and tap on it to select it.
3. Once the brush is selected, you will see various options and settings for the brush.
4. Look for the “Size” or “Thickness” option and adjust the slider or input a specific value to increase the line thickness.
5. Additionally, you can also explore other settings like opacity, flow, and blend mode to further customize the brush and create thicker lines.
6. Experiment with different brush settings to achieve the desired line thickness. Remember that each brush has its own unique properties, so don’t be afraid to try out different brushes to find the perfect one for your artwork.
By changing the brush properties, you have the flexibility to create lines that vary in thickness, making your artwork more dynamic and visually appealing in Procreate.
Using Pressure Sensitivity
When it comes to creating thicker lines in Procreate, one incredibly useful feature is pressure sensitivity. With pressure sensitivity, you can vary the line thickness based on the amount of pressure applied to your stylus or Apple Pencil while drawing.
To take advantage of pressure sensitivity, you’ll need to make sure it is enabled in your brush settings. Follow these steps to adjust the pressure sensitivity settings:
- Open the Brush Library in Procreate.
- Select the brush you want to adjust.
- Tap on the “Brush Settings” tab.
- Scroll down to the “Pencil” section.
- Adjust the “Pressure Curve” to increase or decrease the sensitivity.
By tweaking the pressure curve, you can customize how the app responds to the pressure applied to the screen. A steeper curve will create more drastic changes in line thickness with varying pressure, while a flatter curve will produce more subtle variations.
Experiment with different pressure curves and stroke intensities to find the perfect combination for the desired line thickness. Remember, practice makes perfect, so take the time to experiment and get familiar with the pressure sensitivity feature.
It’s also worth mentioning that not all brushes in Procreate support pressure sensitivity. Some brushes have fixed thickness or are designed to achieve specific effects. So, when selecting a brush, make sure it is compatible with pressure sensitivity if you want to achieve thicker lines through this method.
Using pressure sensitivity in Procreate gives you more control over the thickness of your brush strokes. Whether you’re looking to create bold outlines or add depth to your digital art, this feature is your key to achieving the desired line thickness with ease.
Customizing Brush Settings
When it comes to making lines thicker in Procreate, customizing brush settings is a powerful tool at your disposal. By adjusting various parameters, you can create brushes that produce thicker and more pronounced lines. Here’s how you can do it:
1. Start by selecting the desired brush from the Brush Library. You can choose from a wide range of predefined brushes or create your own.
2. Once you have the brush selected, tap on the “Brush Settings” icon located in the toolbar. This will open up the brush customization panel.
3. In the brush settings panel, you’ll find a variety of options to modify the brush properties. Look for the “Stroke” section, where you can make adjustments to the size, opacity, and other parameters that affect the thickness of the lines.
4. Experiment with the “Size” slider to increase the thickness of the brush strokes. By dragging the slider to the right, you can make the lines thicker and more prominent.
5. Additionally, you can explore other parameters such as “Spacing” and “Jitter” to add variation and texture to your lines. These settings can give your artwork a unique and artistic touch.
6. Procreate also allows you to adjust the “Pressure” sensitivity of the brush. By enabling pressure sensitivity, the thickness of the lines will vary based on the pressure you apply with your stylus or finger.
7. One handy feature is the ability to save your custom brush settings as a new brush preset. Simply tap on the “+” icon in the brush settings panel and give your new brush a name. This way, you can easily access and use your custom brush in future projects.
With the flexibility of customizing brush settings in Procreate, you have endless possibilities to create lines that suit your artistic style. Whether you prefer thick bold strokes or delicate fine lines, you can easily achieve the desired effect by adjusting the brush properties to your liking.
In conclusion, learning how to make lines thicker in Procreate can be a useful skill for digital artists and designers. By adjusting the brush settings, opacity, and pressure sensitivity, you can create bold, expressive strokes that add depth and emphasis to your artwork. Whether you want to create bold outlines, shading, or textural effects, Procreate offers a range of tools and features to help you achieve your desired thicker lines.
With practice and experimentation, you can develop your own unique style and techniques for creating thick lines in Procreate. Remember to explore different brushes, adjust settings, and leverage the power of layers to add dimension and depth to your artwork. So, don’t be afraid to experiment and push the boundaries of what you can do with thicker lines in Procreate. Happy creating!
FAQs
1. How do I make lines thicker in Procreate?
To make lines thicker in Procreate, you can use the Brush Studio tool. Open the Brush Library, select the brush that you want to modify, and tap on the brush settings icon. From there, you can adjust the Size and/or Opacity sliders to increase the thickness of the lines. Experiment with these settings until you achieve your desired thickness.
2. Can I make specific parts of a line thicker in Procreate?
Yes, Procreate allows you to selectively thicken certain parts of a line. To do this, you can use the Smudge tool. First, make sure you have a brush with the desired thickness selected. Then, use the Smudge tool to push the pixels of the line inwards, creating a thicker appearance. This technique is especially useful for adding depth and dimension to your artwork.
3. Is it possible to adjust line thickness after drawing in Procreate?
Yes, Procreate offers a feature called “Smoother” that allows you to adjust the thickness of lines after they have been drawn. To use this feature, select the “Smoother” tool from the toolbar, and then drag your finger or stylus over the lines you want to adjust. As you do so, the lines will be automatically smoothed and their thickness may change accordingly.
4. Are there any shortcuts for quickly adjusting line thickness in Procreate?
While there are no specific shortcuts for adjusting line thickness in Procreate, you can use gestures to make the process quicker. For example, you can pinch two fingers together on the canvas to zoom in, allowing for more precise adjustments. On the other hand, spreading two fingers apart will zoom out, making it easier to see the overall impact of your adjustments. These gestures can help you navigate and modify your artwork more efficiently.
5. Can I use pressure sensitivity to control line thickness in Procreate?
Yes, Procreate supports pressure sensitivity when working with compatible stylus devices. This means that as you apply more pressure to the stylus while drawing, the lines will become thicker. Conversely, reducing pressure will result in thinner lines. However, keep in mind that this feature is dependent on the capabilities of your stylus, so make sure it is pressure-sensitive and properly paired with your device.