
If you’re a digital artist or illustrator using Procreate, you know that having a diverse range of brushes is essential for creating stunning artwork. And one type of brush that is often used is the outline brush. An outline brush can be incredibly versatile, allowing you to add depth, definition, and emphasis to your illustrations.
In this article, we will show you how to make an outline brush in Procreate. Whether you want a crisp and clean outline or a more textured and organic look, we’ve got you covered. We’ll provide step-by-step instructions, accompanied by helpful tips and insights, so you can create your own custom outline brush that suits your artistic style.
Inside This Article
- Creating a New Brush in Procreate
- Customizing the Brush Shape
- Adjusting the Brush Properties
- Saving and Using the Outline Brush
- Conclusion
- FAQs
Creating a New Brush in Procreate
Procreate is a powerful digital art and illustration app that allows you to create stunning artwork on your iPad. One of the key features of Procreate is the ability to create custom brushes, which can help you achieve unique and personalized effects in your artwork. In this section, we will explore how to create a new brush in Procreate.
To begin, open Procreate on your iPad and navigate to the Brushes menu. You can access this menu by tapping on the brush icon located at the top right corner of the screen. Once you are in the Brushes menu, you will see a list of pre-existing brushes that come with Procreate.
To create a new brush, tap on the plus icon at the top left corner of the Brushes menu. This will open up the Brush Library, where you can find a wide variety of brush types to choose from. You can browse through different brush categories such as “Calligraphy,” “Painting,” “Sketching,” and more.
Once you have selected a brush category, you can further refine your search by scrolling through the different brush sets within that category. Each brush set contains a collection of brushes with unique characteristics and styles. Tap on a brush set to preview the brushes it contains.
When you find a brush that you want to use, simply tap on it to create a new brush based on that preset. Procreate will automatically generate a new brush with default settings, and you can start using it right away. However, if you want to customize the brush further, you can tap on the brush thumbnail to access the Brush Studio.
In the Brush Studio, you have complete control over the brush settings. You can adjust the size, opacity, spacing, and other parameters to fine-tune the brush to your liking. Procreate offers a wide range of options, allowing you to create brushes that simulate a variety of traditional art tools, such as pencils, brushes, and even airbrushes.
Furthermore, you can also experiment with the different brush settings to create unique effects. For example, you can modify the shape, angle, and scatter of the brush to achieve different textures and strokes. Additionally, you can add dynamics to the brush, such as pressure sensitivity and tilt, to mimic the behavior of real art tools.
Once you have customized the brush to your satisfaction, you can save it by tapping on the “Done” button at the top right corner of the screen. The newly created brush will then be added to your brush library, where you can easily access it whenever you need it.
Creating a new brush in Procreate gives you the flexibility to unleash your creativity and create artwork with your own unique style. Whether you want to replicate the look of traditional art tools or explore abstract and experimental effects, Procreate’s brush customization options can help you achieve the desired results.
So go ahead and start creating your own brushes in Procreate, and let your imagination run wild!
Customizing the Brush Shape
One of the key features of Procreate is the ability to customize the shape of your brush. This allows you to create unique and personalized brushes that suit your artistic style and preferences. Here are some steps to help you customize the brush shape in Procreate:
1. Open Procreate and select the brush you want to customize from the brush library. You can choose from a wide range of pre-made brushes or create a new brush from scratch.
2. Once you have selected the brush, tap on the “Brush Settings” icon located at the top right corner of the screen. This will open the brush settings panel.
3. In the brush settings panel, you will find various options to customize the brush shape. The first option is the “Shape” tab. Tap on it to access the shape customization options.
4. In the shape customization options, you can adjust the size, angle, and roundness of the brush. Use the sliders to increase or decrease the values according to your preference. You can also manually input specific values for more precise customization.
5. Additionally, Procreate offers a wide range of brush shapes to choose from. You can select different shapes like square, triangle, or even custom shapes imported from other sources. Tap on the “Shape Source” option to explore the available shape options.
6. Another way to customize the brush shape in Procreate is by using the “Apple Pencil Pressure” option. This allows you to adjust the brush size based on the pressure you apply while drawing. Simply toggle on the “Apple Pencil Pressure” option and experiment with different pressure settings.
7. To further customize the brush shape, you can also enable the “Taper” and “Jitter” options. Taper adds variation to the brush size at the start and end of your strokes, while Jitter adds random variations to the brush shape. Play around with these settings to create dynamic and interesting brush effects.
8. Once you are satisfied with the customizations, tap the back arrow to exit the brush settings. Your customized brush will be saved automatically and ready to use in your artwork.
Customizing the brush shape in Procreate allows you to unlock endless possibilities for creating unique and expressive digital art. Take some time to experiment with different settings and explore the various options available. With a bit of practice and creativity, you will be able to create brushes that perfectly match your artistic vision.
Adjusting the Brush Properties
Once you’ve created a new brush and customized its shape, the next step in making an outline brush in Procreate is to adjust its properties. This allows you to fine-tune the stroke, texture, and other characteristics to achieve the desired effect. Here’s how you can adjust the brush properties:
1. Opacity: One of the key properties to consider is the opacity of the brush. This determines the transparency of the stroke, allowing you to control how solid or translucent the outline appears.
2. Size: Adjusting the size of the brush is another important factor. You can increase or decrease the size to create thicker or thinner outlines, depending on your preference and the level of detail you want to achieve.
3. Hardness: The hardness of the brush determines the level of edge crispness. A lower hardness value creates softer and more feathered edges, while a higher value results in sharper and more defined edges.
4. Scatter: The scatter property adds randomness to the brush stroke, creating a scattered or textured effect. You can adjust the scatter amount to create a more organic and varied outline appearance.
5. Grain: Grain adds a subtle texture to the brush stroke. Adjusting the grain property can give your outline brush a more textured or smooth appearance, depending on your desired aesthetic.
6. Streamline: The streamline property helps to smooth out your brush strokes, reducing any shakiness or unevenness. Adjusting this property can make your outline brush strokes appear more fluid and polished.
7. Taper: Tapering allows you to adjust the brush stroke’s width at the beginning and end. This property can be useful for creating tapered or tapered stroke effects, adding variation to your outline brush.
8. Noise: The noise property introduces subtle variations in the brush stroke, creating a grainy or speckled effect. Adjusting the noise amount can give your outline brush a more textured and dynamic appearance.
9. Dynamics: Procreate provides various dynamic properties that allow you to add further complexity and realism to your brush stroke. These dynamics include pressure, tilt, and velocity, which respond to the pressure, angle, and speed of your pen or stylus.
By adjusting these brush properties, you can create an outline brush that perfectly suits your artistic style and desired outcome. Don’t be afraid to experiment and tweak each property until you achieve the desired effect.
Saving and Using the Outline Brush
Once you have customized and perfected your outline brush in Procreate, it’s time to save it for future use. Procreate makes it easy to save and access your brushes, ensuring that you can use your outline brush in multiple projects and sessions.
To save your outline brush, follow these simple steps:
- Click on the ‘Brush’ icon in the top menu of Procreate.
- Tap on any brush slot to open the brush library.
- Swipe left to access the ‘Ink’ category.
- Tap on the ‘Outline’ brush you have created.
- Click on the ‘Settings’ cogwheel icon in the top menu.
- Select ‘Duplicate’ to create a copy of the brush.
- Tap on the duplicated brush to open its settings.
- Click on ‘General’ and give your brush a unique name.
- Click on ‘Brush Properties’ to refine any additional settings.
- Tap ‘Done’ to save your brush.
By following these steps, you can save your outline brush with a custom name, making it easily accessible whenever you need it. Now, let’s move on to using the outline brush in your artwork.
Using the outline brush is as simple as selecting it from the brush library and applying it to your canvas. Here’s how to use the outline brush:
- Tap on the ‘Brush’ icon in the top menu.
- Open the brush library by tapping on any brush slot.
- Navigate to the ‘Ink’ category.
- Select the outline brush you saved.
- Choose the desired size and opacity for your brush.
- Start drawing on your canvas using the outline brush.
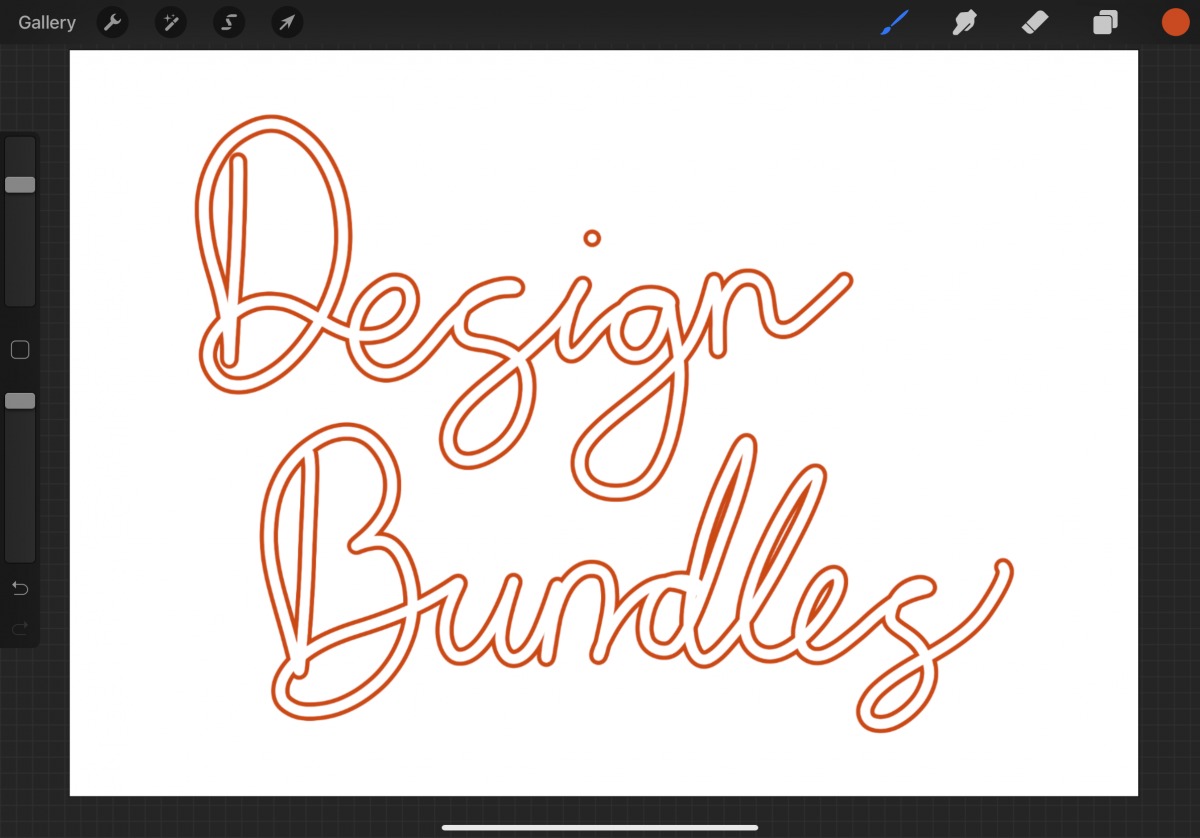
With your outline brush selected, you can now add crisp and clean outlines to your artwork. Whether you’re creating illustrations, lettering, or graphic designs, the outline brush can add that extra touch of professionalism and style.
Remember, you can always modify the size and opacity of your brush while you’re working. Simply click the ‘Brush’ icon and adjust the settings in real-time.
Now that you know how to save and use the outline brush in Procreate, you can start incorporating it into your creative projects. Experiment with different sizes, opacities, and techniques to create stunning outlines that enhance the visual impact of your artwork.
So go ahead, unleash your creativity, and let the outline brush in Procreate take your digital art to the next level.
In conclusion, creating an outline brush in Procreate can significantly enhance your digital artwork. The ability to add clean and crisp outlines to your designs adds depth, definition, and a professional touch. By following the steps outlined in this article, you can easily customize your brush settings and create a brush that perfectly suits your artistic style.
With Procreate’s extensive customization options, you can experiment with various brush settings, stroke properties, and texture effects to create unique and eye-catching outlines. Whether you’re an illustrator, designer, or hobbyist, having the ability to create custom outline brushes will undoubtedly elevate the quality of your artwork.
So, unleash your creativity and start experimenting with Procreate’s outline brushes. Give your artwork that extra pop and watch it come to life with defined lines and contours. Happy creating!
FAQs
1. What is a cell phone operating system?
A cell phone operating system is the software that allows your phone to run and perform various functions. It serves as the interface between the hardware and the user, enabling you to interact with different applications, settings, and features on your phone.
2. Why is the operating system important for cell phones?
The operating system plays a crucial role in the overall functionality and performance of a cell phone. It determines the user experience, the availability of apps and updates, security features, and overall device optimization. It also allows for compatibility with different hardware components and provides a platform for developers to create new and innovative applications.
3. Which are the popular operating systems for cell phones?
There are several popular operating systems for cell phones, including Android, iOS, Windows Phone, and BlackBerry OS. Android, developed by Google, is widely used across a range of devices, offering flexibility and customization. iOS, developed by Apple, is exclusive to iPhones and iPads and is known for its smooth performance and security features. Windows Phone, developed by Microsoft, provides a unique user interface and seamless integration with Windows devices. BlackBerry OS, although less popular today, was known for its strong security features and productivity-focused design.
4. Can I change the operating system on my cell phone?
In most cases, changing the operating system on your cell phone is not a straightforward process. It often requires complex procedures, such as rooting (for Android devices) or jailbreaking (for iOS devices), which may void your warranty and put your device at risk. Additionally, not all devices are compatible with alternative operating systems. It is important to research and understand the specific requirements and risks before attempting to change the operating system on your cell phone.
5. How often should I update the operating system on my cell phone?
It is recommended to regularly update the operating system on your cell phone to ensure optimal performance and security. Operating system updates often include bug fixes, performance improvements, and security patches to protect against vulnerabilities. Manufacturers and developers release updates periodically, so it is advisable to regularly check for and install these updates to keep your device running smoothly and securely.