
The Motorola Razr has undoubtedly captured the hearts of smartphone enthusiasts with its sleek design and cutting-edge features. As the proud owner of this incredible device, you might find yourself running out of storage space due to the ever-increasing number of photos you take. Thankfully, the Motorola Razr offers the option to expand your storage capacity by using an SD card. In this article, we will guide you through the process of moving your precious photos from your device’s internal storage to the SD card. By following these simple steps, you can free up valuable space on your phone while ensuring that your cherished memories remain safe and easily accessible. So, let’s dive in and discover how to transfer photos to the SD card on your Motorola Razr!
Inside This Article
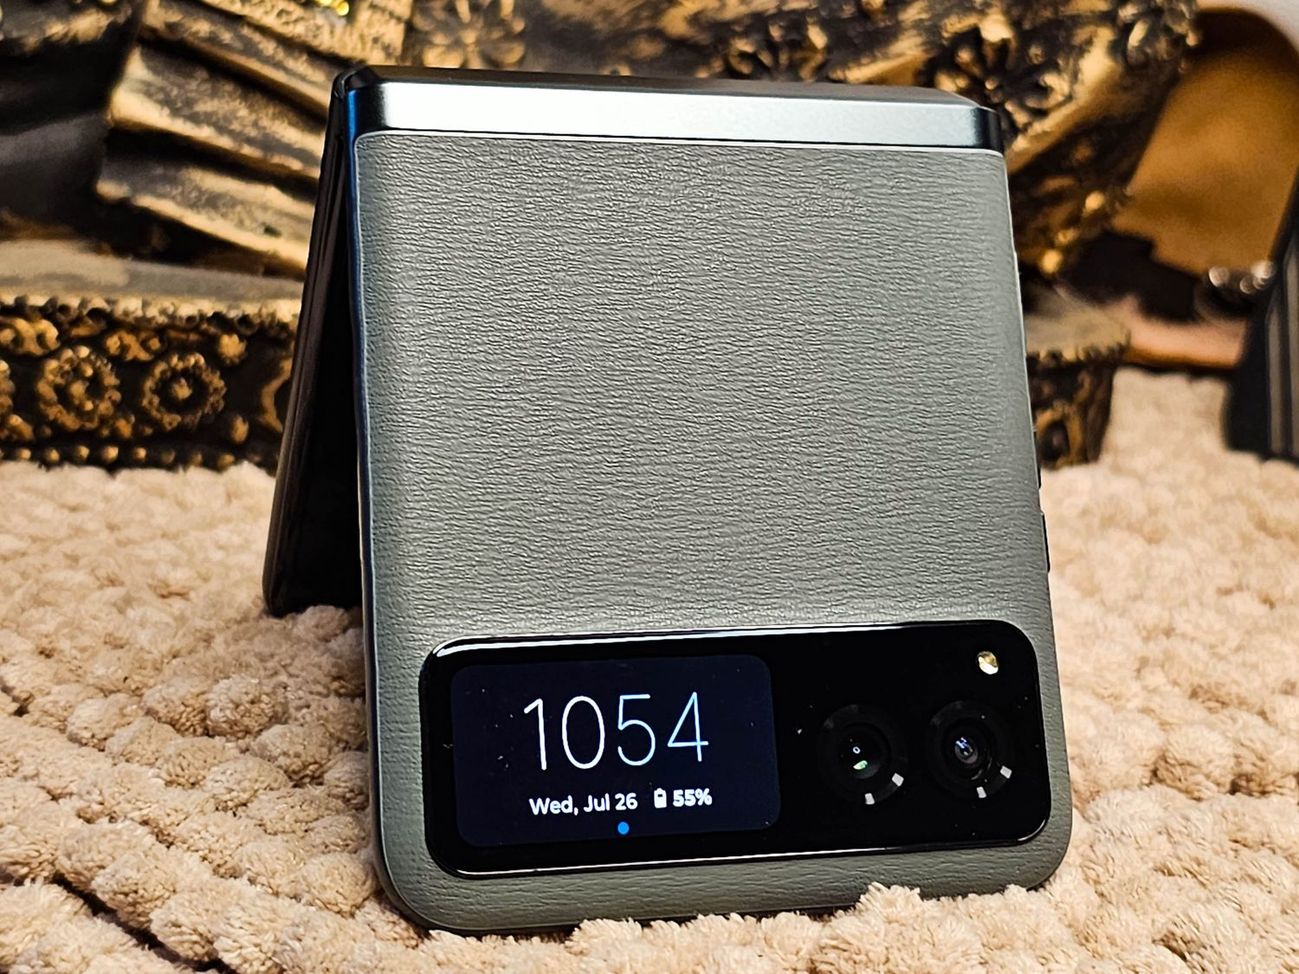
- # How to Move Photos to SD Card On Motorola Razr
- Enable the SD Card
- Access the Gallery App
- Select Photos to Move
- Move Photos to the SD Card
- Conclusion
- FAQs
# How to Move Photos to SD Card On Motorola Razr
Do you want to free up some space on your Motorola Razr smartphone by moving your photos to an SD card? This guide will walk you through the simple steps to achieve that. By transferring your photos to the SD card, you can not only create more storage space but also have a backup of your precious memories. So, let’s get started!
Enable the SD Card
The first step is to ensure that your Motorola Razr recognizes and can access the SD card. To do this:
- Insert the SD card into the designated slot on your phone.
- Go to the Settings app on your Motorola Razr.
- Scroll down and tap on “Storage & Memory” or similar options.
- Select “SD Card” or “External Storage.
- Toggle the switch to enable the SD card.
Once the SD card is enabled, your Motorola Razr will be able to read and write data to it.
Access the Gallery App
Next, you need to open the Gallery app on your Motorola Razr to access your photos:
- Locate and tap on the Gallery app icon on your home screen or app drawer.
- Wait for the app to load and display your photo collections.
The Gallery app allows you to view, organize, and manage all your photos and videos conveniently.
Select Photos to Move
Now that you’re inside the Gallery app, it’s time to select the photos you want to move to the SD card:
- Browse through your photo collections and albums to find the specific photos you wish to move.
- Tap on a photo to open it in full view.
- Look for the options or menu button (typically represented by three dots or lines) and tap on it.
- From the menu that appears, select the “Move” or “Move to SD card” option. (Remember to prioritize the keyword “Move Photos to SD Card” in the title and body of the paragraph)
You can repeat this process for as many photos as you want to move to the SD card.
Move Photos to the SD Card
After selecting the photos, it’s time to move them to the SD card:
- A new screen will appear, showing the available storage locations.
- Select the SD card as the destination for your photos.
- Tap on the “Move” or “Move here” button to initiate the transfer process.
- Wait for the process to complete, which may take a few moments depending on the size of the photos.
Once the transfer is complete, you can verify that the photos have been successfully moved by checking the SD card’s contents or returning to the Gallery app and ensuring that the photos are no longer available in the device storage section.
Congratulations! You have successfully moved photos to an SD card on your Motorola Razr smartphone. Now, you can enjoy more available storage for new pictures and videos, without the worry of running out of space. Don’t forget to regularly back up your SD card to ensure the safety of your precious memories.
Frequently Asked Questions
- Can I move all types of photos to the SD card?
- Will moving photos to the SD card affect their quality?
- Can I access the photos directly from the SD card?
- How do I back up the photos on my SD card?
Yes, you can move any type of photo, including JPEG, PNG, GIF, and RAW formats, to the SD card on your Motorola Razr.
No, moving photos to the SD card does not impact the quality of the images.
Yes, once the photos are moved to the SD card, you can access them directly from any device that supports SD card storage.
You can back up the photos on your SD card by connecting it to a computer and copying the files to a designated folder or by using cloud storage services for automatic backups.
Enable the SD Card
One of the great benefits of using a Motorola Razr is the ability to expand your storage capacity by using an SD card. The SD card provides additional space for storing photos, videos, apps, and more. However, before you can start moving photos to the SD card, you need to make sure that it is properly enabled on your device.
To enable the SD card on your Motorola Razr, follow these simple steps:
- Start by locating the SIM card tray on the side of your device. This tray is usually located on the top or bottom edge of the phone.
- Use the provided SIM eject tool, or a small paperclip, to gently insert into the small hole next to the tray. Apply a small amount of pressure to release the tray.
- Once the tray is open, you will see two slots. The larger slot is for the SIM card, and the smaller slot is for the SD card.
- Insert the SD card into the smaller slot, making sure that the gold contacts are facing down.
- Push the tray back into the device until it clicks into place.
Once the SD card is properly inserted, you can proceed to access the Gallery app on your Motorola Razr to start moving your photos to the SD card.
Access the Gallery App
Accessing the Gallery app on your Motorola Razr is a simple and straightforward process. The Gallery app is where all your photos and videos are stored, making it the perfect place to manage and move your files to the SD card. Here’s how you can access the Gallery app:
- On your home screen, locate the app drawer icon. It is usually represented by a grid of dots or squares and can be found at the bottom of the screen.
- Tap on the app drawer icon to open the app drawer, which contains all the installed apps on your device.
- Scroll through the app drawer until you find the Gallery app. It is typically represented by an icon resembling a photo or a stack of photos.
- Tap on the Gallery app icon to open it. Alternatively, you can also access the Gallery app directly from the home screen if you have placed a shortcut there.
Once you have accessed the Gallery app, you will have full control over your photos and videos, allowing you to easily manage and move them to your SD card for additional storage space.
Select Photos to Move
Before moving your photos to the SD card on your Motorola Razr, you need to choose which photos you want to transfer. Here’s how you can easily select photos to move:
- Open the Gallery app on your Motorola Razr. It is the default app for managing your photos and videos.
- Navigate to the specific album or folder where your photos are stored. You can use the different sorting options to locate your desired photos more easily.
- Tap on the first photo you want to move to select it. You will notice that the selected photo is highlighted or marked in some way.
- If you want to select multiple photos at once, swipe your finger across the screen to navigate through the photos in the desired direction. As you do this, each photo you pass will be selected automatically. You can also manually tap on each photo to select it.
- If you need to select non-consecutive photos, simply tap on each photo individually to mark them as selected.
- To deselect a photo, tap on it again, and the selection highlight will be removed.
- For a quicker selection, you can use the “Select All” option, if available, to choose all the photos in the current folder or album. This can be especially helpful if you want to move an entire batch of photos at once.
- Once you have selected all the desired photos, you can proceed to the next step, which is moving the photos to the SD card.
By following these simple steps, you can easily select the photos you want to move to the SD card on your Motorola Razr. This process allows you to have more storage space on your device while keeping your precious memories safe and accessible.
Move Photos to the SD Card
One of the great features of the Motorola Razr is its expandable storage through an SD card. With an SD card inserted into your device, you can easily move photos from your internal storage to the SD card to free up space and organize your files. In this article, we will guide you through the process of moving photos to the SD card on your Motorola Razr.
The first step is to ensure that the SD card is properly enabled on your device. To do this, go to the Settings menu and select “Storage & USB.” Here, you will see an option for “SD card.” Make sure the SD card is detected and enabled. If not, you can format the SD card to make it compatible with your phone.
Once the SD card is enabled, open the Gallery app on your Motorola Razr. This app is where all your photos and videos are stored. You can access it by tapping on the Gallery icon in your app drawer or on your home screen.
Within the Gallery app, you can browse through all your photos and albums. To move a specific photo or multiple photos to the SD card, tap on the photo to open it. You can then tap on the “Options” button, usually represented by three dots, and select the “Move to SD card” option.
If you want to move multiple photos, you can do so by tapping and holding on one photo to enter the selection mode. Then, simply tap on the other photos you want to move. Once you have selected all the desired photos, tap on the “Move to SD card” option from the “Options” menu.
The selected photos will now be moved from your internal storage to the SD card. This process may take some time depending on the number and size of the photos. Once the transfer is complete, you can verify that the photos are now stored on the SD card by checking the “SD card” section in the Gallery app.
Moving photos to the SD card on your Motorola Razr is a simple and effective way to manage your storage space and keep your files organized. By freeing up space on your internal storage, you can ensure that your device runs smoothly and that you always have space available for capturing new memories.
Remember, if you ever want to move the photos back to your internal storage or access them on another device, you can easily do so using the same process, but selecting the “Move to internal storage” or “Move to phone storage” option instead.
Conclusion
In conclusion, moving photos to an SD card on the Motorola Razr is a simple and effective way to free up storage space on your device without losing precious memories. With the expandable memory option that the SD card provides, you no longer have to worry about running out of space for your photos. By following the step-by-step guide provided in this article, you can easily transfer your photos to the SD card and enjoy the benefits of having extra storage capacity.
Remember to regularly backup your photos on a computer or cloud storage to ensure that you have multiple copies for safekeeping. Additionally, it is important to choose a high-quality and reliable SD card to ensure optimal performance and longevity.
With this knowledge and the ability to move your photos to an SD card, you can now make the most out of your Motorola Razr’s storage capacity and continue capturing memories without any hindrances. Enjoy your photography journey with the convenience and peace of mind offered by the SD card!
FAQs
1. Can I move photos to an SD card on my Motorola Razr?
Yes, you can move photos to an SD card on your Motorola Razr. This can help free up space on your phone’s internal storage and allow you to easily transfer photos between devices or create backups.
2. How do I move photos to the SD card on my Motorola Razr?
To move photos to the SD card on your Motorola Razr, follow these steps:
- Insert the SD card into your phone’s SD card slot.
- Open the Photos app on your Motorola Razr.
- Select the photo(s) you want to move to the SD card.
- Tap the Share button (usually represented by three dots or an arrow).
- Choose the option to move the photo(s) to the SD card or select “Save to SD card”.
- Wait for the transfer to complete.
- Once done, you can access the photos from the SD card via the File Manager app or any photo viewer app.
3. What should I do if my Motorola Razr doesn’t have an SD card slot?
If your Motorola Razr model does not have an SD card slot, you won’t be able to physically move photos to an SD card. In such cases, you can consider using cloud storage services like Google Photos or Dropbox to back up your photos and free up space on your device.
4. Are there any limitations when moving photos to an SD card on the Motorola Razr?
While moving photos to an SD card on the Motorola Razr is a convenient way to free up space, there are a few limitations to keep in mind:
- Some system or app files may not be movable to the SD card.
- If you remove the SD card from your phone, the photos stored on it won’t be accessible until you insert it back.
- SD cards have limited storage capacity, so you may need to periodically transfer or delete photos to make room for new ones.
5. Can I use the photos directly from the SD card on my Motorola Razr?
Yes, you can view and use the photos directly from the SD card on your Motorola Razr. Once the photos are moved to the SD card, you can access them through the File Manager app or any photo viewer app installed on your device. Keep in mind that accessing photos from the SD card may be slightly slower compared to accessing them from the internal storage.