
If you've accidentally cracked your Moto G screen, don't worry! Replacing the screen on your Moto G is a feasible task that you can tackle with the right guidance. Whether you're dealing with a shattered display or unresponsive touch functionality, knowing how to replace the screen can save you time and money. In this comprehensive guide, we'll walk you through the step-by-step process of replacing the screen on your Moto G. From gathering the necessary tools to carefully completing each stage of the replacement, you'll soon have your Moto G looking and functioning as good as new. So, let's dive in and learn how to replace the screen on your Moto G!
Inside This Article
- Preparing for the Replacement- Gathering the Necessary Tools- Backing Up Data- Powering Off the Device
- Disassembling the Moto G- Removing the Back Cover- Taking Out the Battery- Detaching the Screen Assembly
- Installing the New Screen – Attaching the Replacement Screen – Reassembling the Moto G – Powering On the Device
- Testing the New Screen- Verifying Touch Functionality- Checking for Display Issues- Ensuring Proper Functioning
- Conclusion
- FAQs
Sure, here's the content:
html
Preparing for the Replacement- Gathering the Necessary Tools- Backing Up Data- Powering Off the Device
Before embarking on the screen replacement journey for your Moto G, it’s crucial to gather the necessary tools. You’ll need a set of precision screwdrivers, a plastic opening tool, and a replacement screen compatible with your Moto G model. Additionally, having a clean, well-lit workspace will make the process smoother and more manageable.
Backing up your data is a vital step to ensure that no valuable information is lost during the replacement process. Connect your Moto G to a computer and transfer important files, photos, and documents to a secure location. This precautionary measure provides peace of mind and safeguards your data against any unforeseen complications during the screen replacement.
Prior to initiating the replacement, it’s imperative to power off your Moto G. Press and hold the power button until the “Power off” option appears on the screen. Tap “Power off” and wait for the device to shut down completely. This step is essential for the safety of both the device and the individual performing the replacement.
Disassembling the Moto G- Removing the Back Cover- Taking Out the Battery- Detaching the Screen Assembly
Before you begin the disassembly process, ensure that you have a clean, well-lit workspace with ample room to maneuver. It’s also advisable to have a set of small screwdrivers, a plastic opening tool, and a SIM card ejection tool on hand. These tools will help you handle the delicate components of the Moto G with precision and care.
Start by turning off the Moto G and placing it face down on a soft, clean surface. To remove the back cover, locate the small notch near the charging port. Insert your fingernail or a plastic opening tool into the notch and gently pry the back cover away from the device. Work your way around the edges, releasing the clips securing the cover in place.
Once the back cover is removed, you’ll gain access to the battery. Carefully lift the battery from its compartment, using a plastic opening tool if necessary. Take care not to puncture or bend the battery, as it contains sensitive components. Safely set the battery aside in a secure location, away from any sources of heat or moisture.
With the battery removed, you can now focus on detaching the screen assembly. Start by locating the small screws or clips securing the screen to the frame. Use the appropriate screwdriver to remove any screws, and gently release any clips using a plastic opening tool. Take your time and exercise caution to avoid damaging the delicate ribbon cables connecting the screen to the device.
Sure, here's the content:
Installing the New Screen – Attaching the Replacement Screen – Reassembling the Moto G – Powering On the Device
Now that you have successfully removed the damaged screen, it’s time to install the new one. Begin by carefully attaching the replacement screen to the Moto G. Ensure that it aligns perfectly with the device’s frame, and gently press it into place. Take your time to avoid any potential damage to the new screen during this crucial step.
With the replacement screen securely in position, it’s time to reassemble the Moto G. Start by carefully reconnecting the various internal components, such as the camera, sensors, and any other parts that were detached during the disassembly process. Be meticulous and ensure that each component is properly secured before proceeding to the next.
Once all the internal components are reconnected, carefully place the back cover back onto the device. Ensure that it fits snugly and aligns perfectly with the Moto G’s frame. Gently press around the edges to secure the cover in place, taking care not to apply excessive force that could potentially damage the newly installed screen.
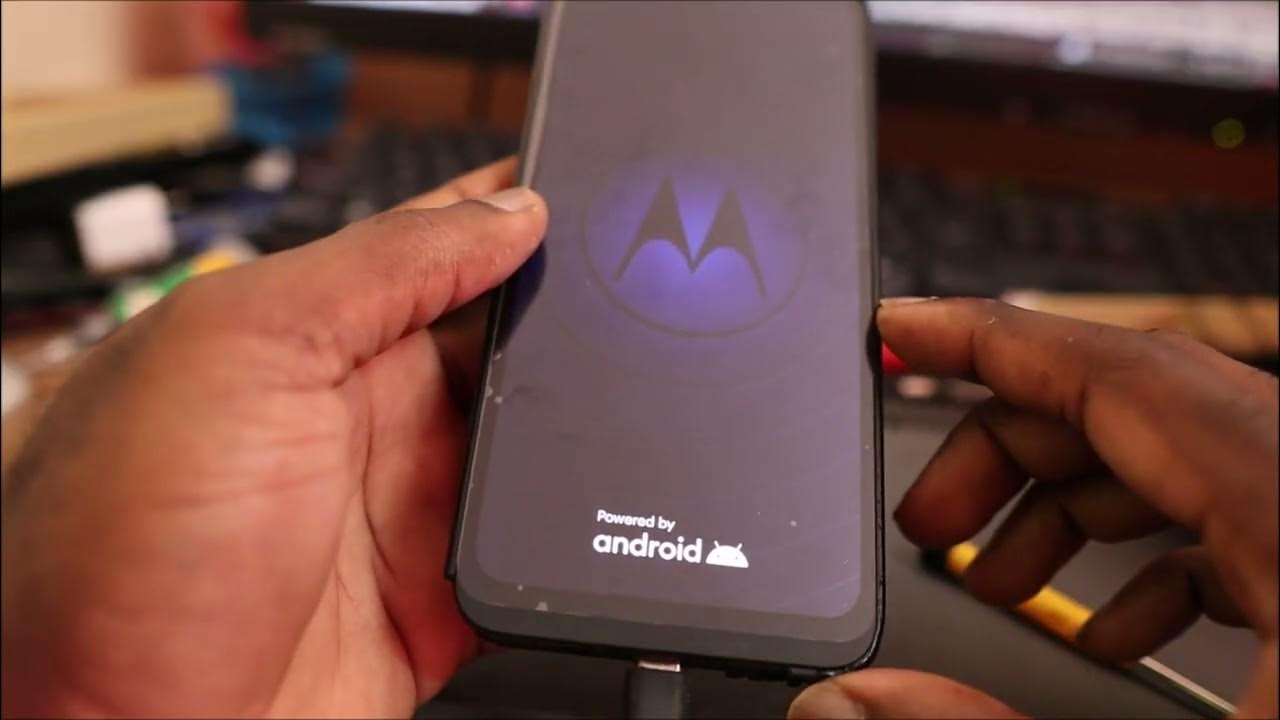
After reassembling the Moto G, it’s time to power on the device and ensure that the new screen functions properly. Press and hold the power button until the device vibrates or shows signs of powering on. If the device does not respond, ensure that the battery is adequately charged before attempting to power it on again. Once the device is powered on, test the touch functionality and verify that the display is fully operational.
Testing the New Screen- Verifying Touch Functionality- Checking for Display Issues- Ensuring Proper Functioning
After successfully installing the new screen on your Moto G, it’s crucial to ensure that it functions optimally. Testing the touch functionality is the first step in this process.
Verify the touch functionality by navigating through the device’s interface. Open various applications, swipe across the screen, and test the responsiveness of the touch screen. This will help ensure that the new screen is accurately detecting touch inputs.
Next, check for any display issues such as dead pixels, discoloration, or abnormal flickering. Display issues can significantly impact the user experience, so it’s essential to thoroughly inspect the screen for any abnormalities.
Once touch functionality and display issues have been verified, proceed to ensure that all other functions of the device are working properly. Test the volume and power buttons, headphone jack, and speakers to guarantee that the device functions seamlessly with the new screen installed.
Conclusion
Replacing the screen of your Moto G can be a challenging task, but with the right tools, patience, and guidance, it’s definitely achievable. Whether you opt for a DIY approach or seek professional assistance, ensuring that the replacement process is carried out meticulously is crucial for the optimal functioning of your device. By carefully following the steps outlined and taking necessary precautions, you can restore the visual integrity of your Moto G and continue enjoying its features without the hindrance of a damaged screen. Remember, if you’re ever unsure about any step, seeking assistance from a qualified technician is always a wise decision. With a new screen in place, your Moto G will be ready to serve you seamlessly once again.
FAQs
Q: How do I know if my Moto G screen needs replacement?
A: If your Moto G screen is cracked, unresponsive to touch, displaying abnormal colors, or has dead pixels, it may be time for a replacement.
Q: Can I replace the Moto G screen myself?
A: Yes, it is possible to replace the Moto G screen yourself, but it requires technical skills and the right tools. If you’re not confident in your abilities, it’s advisable to seek professional assistance.
Q: Where can I purchase a replacement screen for Moto G?
A: Replacement screens for Moto G are available from various online retailers and electronics parts stores. Ensure that you purchase from a reputable source to guarantee the quality of the replacement screen.
Q: How much does it cost to replace a Moto G screen?
A: The cost of replacing a Moto G screen can vary depending on the model and where you choose to have it replaced. DIY replacement kits are available for purchase, while professional repair services may charge a different fee.
Q: How long does it take to replace a Moto G screen?
A: The time required to replace a Moto G screen can vary based on your experience and the method chosen. Professional repair services may typically complete the replacement within a few hours, while DIY replacements could take longer.