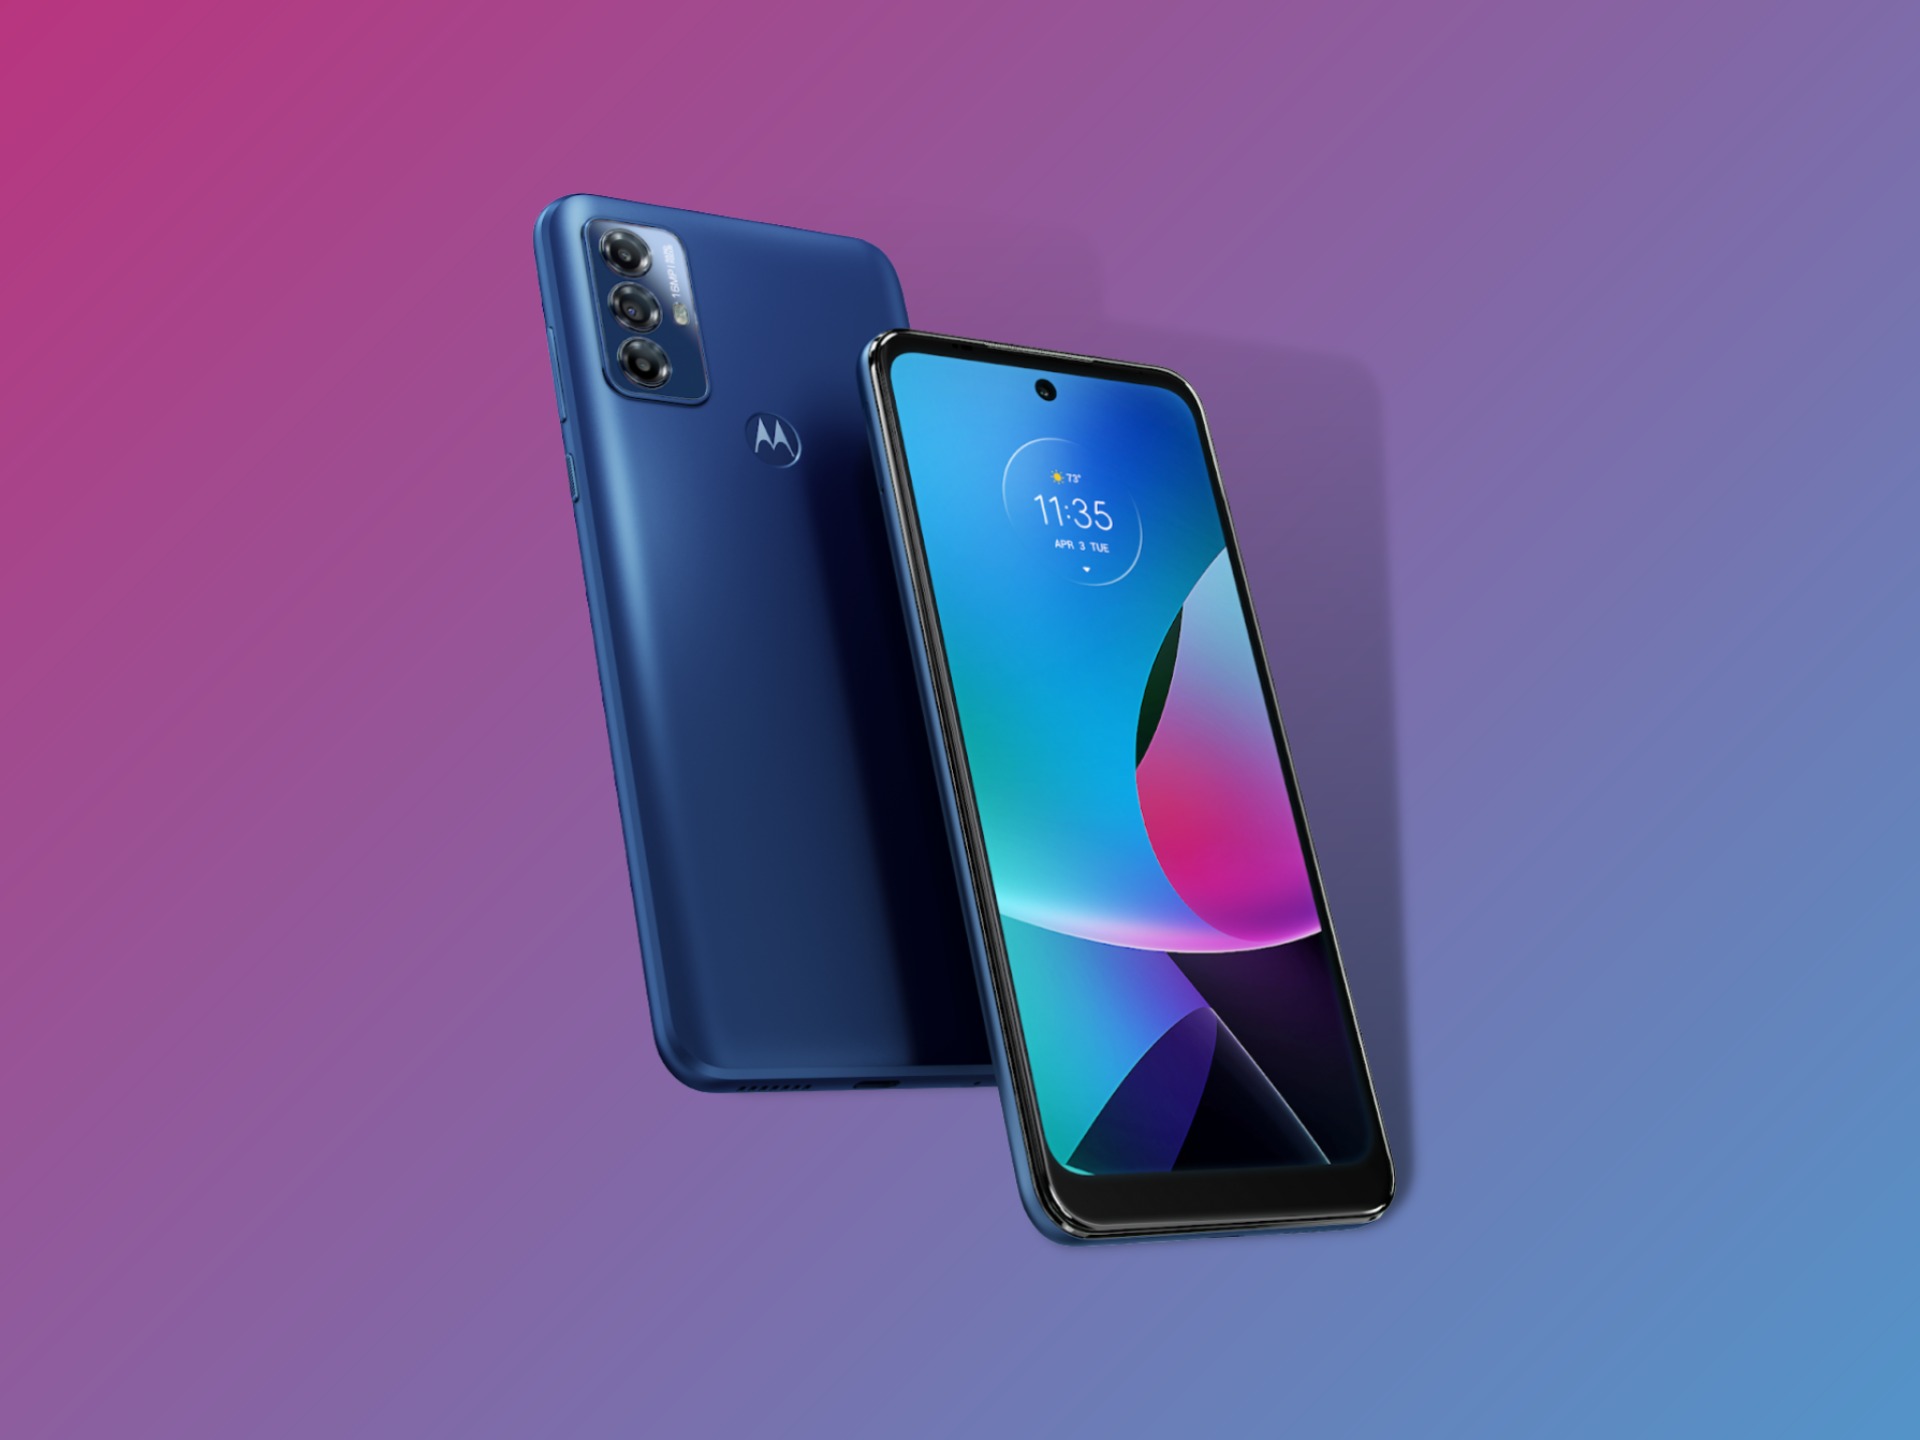
Are you looking to capture your Moto G Play's screen activity in a video? Learning how to screen record on a Moto G Play can be incredibly useful for creating tutorials, sharing gameplay, or troubleshooting. This feature allows you to record your screen with audio, making it a valuable tool for various purposes. In this article, we'll guide you through the simple steps to initiate and maximize the screen recording functionality on your Moto G Play. Whether you're a gaming enthusiast, a tech-savvy individual, or someone who simply wants to share their screen activities, mastering this skill will undoubtedly enhance your smartphone experience. So, let's dive into the process of screen recording on your Moto G Play and unleash its full potential.
Inside This Article
- Setting up Screen Recording
- Starting the Screen Recording
- Stopping the Screen Recording
- Conclusion
- FAQs
Setting up Screen Recording
If you’re eager to capture the action on your Moto G Play’s screen, setting up screen recording is a breeze. Before diving into the process, ensure that your device is running on Android 11, as this feature is natively available on this operating system version.
Firstly, navigate to the “Settings” app on your Moto G Play. Once there, scroll down and locate the “System” section. Tap on “System,” and then select “Advanced” to reveal additional options. Here, you’ll find “Developer options,” which is where the magic happens.
Upon entering “Developer options,” scroll down until you find the “Feature flags” menu. This is where you can enable the screen recording feature. Once inside “Feature flags,” look for “settings_screenrecord_long_press” and toggle the switch to enable it. Congratulations, you’ve successfully set up screen recording on your Moto G Play!
Starting the Screen Recording
Once you have set up the screen recording feature on your Moto G Play, initiating the recording process is a breeze. Simply navigate to the screen or app that you wish to capture and get ready to start recording. Ensure that you have everything set up exactly as you want it to appear in the recording, as the screen recording will capture everything that happens from this point forward.
Next, pull down the notification shade from the top of the screen to access the quick settings menu. Here, you will find the screen recording icon. Tap on this icon to commence the screen recording process. You may also see a countdown timer to indicate when the recording will begin, giving you a moment to prepare before the screen capture begins.
Once the recording has started, a small floating toolbar may appear on the screen, providing you with quick access to pause, stop, or cancel the recording. This toolbar allows for convenient control over the screen recording process without needing to exit the app or screen being captured. With these simple steps, you can effortlessly begin capturing your screen activity on the Moto G Play.
Stopping the Screen Recording
Once you’ve finished capturing the content you want to record, it’s time to stop the screen recording. This is a simple process that can be done with just a few taps on your Moto G Play. Here’s how to do it:
1. To stop the screen recording, swipe down from the top of your screen to access the notification panel. You should see a notification indicating that the screen recording is in progress.
2. Tap on the screen recording notification to open the recording controls. You’ll see a “Stop” button that you can tap to end the recording.
3. After tapping “Stop,” a confirmation message may appear asking if you’re sure you want to stop the recording. Tap “Stop” again to confirm and end the screen recording.
4. Once you’ve confirmed the stop action, the screen recording will be saved to your device’s storage, and you’ll receive a notification that the recording has been saved.
5. You can now access the saved screen recording from your device’s gallery or file manager to view, edit, or share it as needed.
Conclusion
Screen recording on a Moto G Play is a valuable feature that allows you to capture and share your device’s screen activity with ease. Whether you want to create tutorials, demonstrate a gameplay strategy, or simply save a memorable moment, the screen recording function empowers you to do so effortlessly. By following the simple steps outlined in this guide, you can unleash the full potential of your Moto G Play and leverage the screen recording feature to its fullest. Embrace the power of visual communication and storytelling through screen recording, and unlock a new dimension of creativity and productivity on your device.
Sure, here are the FAQs:
FAQs
Q: Can I screen record on my Moto G Play?
A: Yes, you can easily screen record on your Moto G Play using built-in features or third-party apps.
Q: Does screen recording affect the performance of my Moto G Play?
A: Screen recording may slightly impact the performance of your device, especially if it's a resource-intensive task. However, modern smartphones like the Moto G Play are designed to handle such tasks efficiently.
Q: Can I record audio along with the screen on my Moto G Play?
A: Yes, you can record both audio and screen simultaneously on your Moto G Play. The device offers options to capture internal audio, microphone input, or both.
Q: What is the best screen recording app for Moto G Play?
A: There are several excellent screen recording apps available for the Moto G Play, including AZ Screen Recorder, Mobizen Screen Recorder, and DU Recorder. Each app offers unique features and customization options.
Q: How much storage space does a screen recording consume on the Moto G Play?
A: The size of a screen recording file depends on factors such as video resolution, frame rate, and duration. On average, a one-minute screen recording at 1080p resolution can consume approximately 30-40 MB of storage space.
