
Welcome to the exciting world of Samsung Wallet, where convenience meets innovation! If you’re tired of carrying around multiple paper tickets or constantly searching through your wallet for loyalty cards, then Samsung Wallet is the answer you’ve been looking for. With Samsung Wallet, you can save all your tickets, coupons, and loyalty cards right on your smartphone, eliminating the need for physical copies and streamlining your daily activities. Whether you’re attending a concert, boarding a flight, or simply redeeming a discount at your favorite store, Samsung Wallet has got you covered. In this comprehensive guide, we’ll walk you through the process of saving tickets to Samsung Wallet, ensuring that you make the most of this incredible digital wallet app. Let’s dive in!
Inside This Article
- How To Save Tickets To Samsung Wallet?
- Step 1: Open Samsung Wallet
- Step 2: Locate the Ticket
- Step 3: Save Ticket to Samsung Wallet
- Step 4: Access Saved Tickets
- Conclusion
- FAQs
How To Save Tickets To Samsung Wallet?
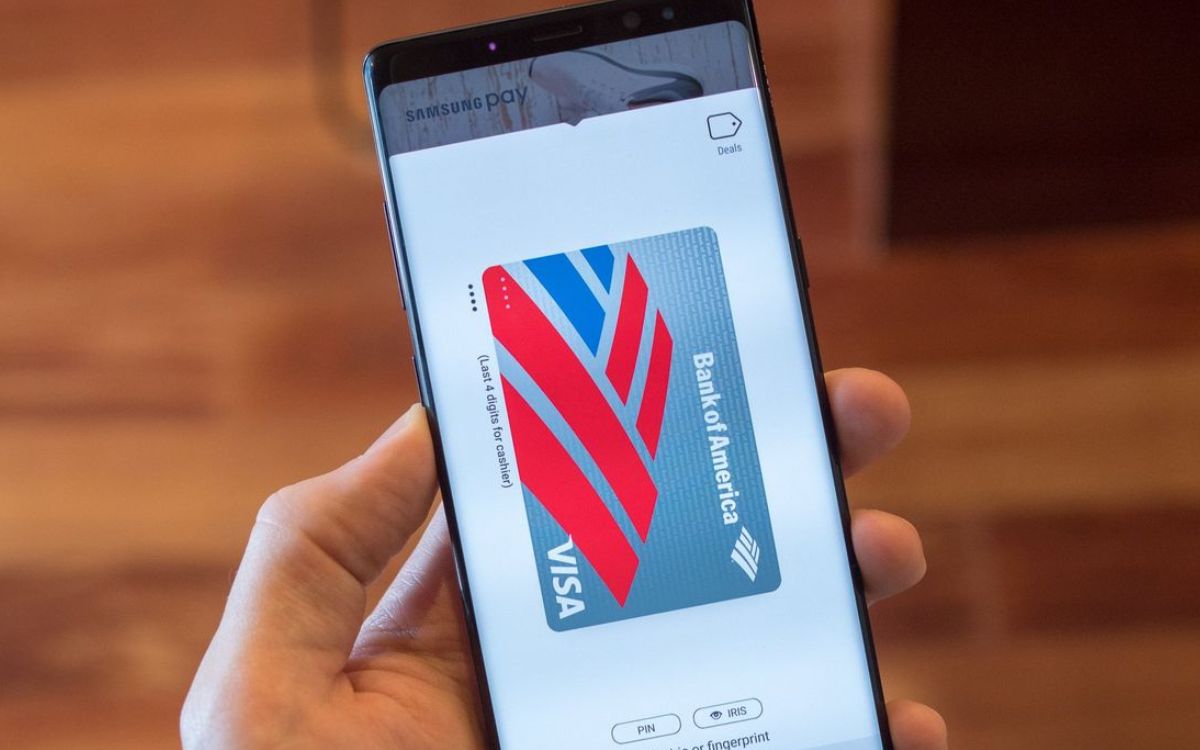
Samsung Wallet is a digital wallet platform that allows you to securely store and access various types of digital tickets, including event tickets, airline tickets, movie tickets, and more. Saving your tickets to Samsung Wallet not only ensures that you have quick and easy access to them whenever you need them but also eliminates the hassle of carrying physical tickets or searching through emails for ticket confirmation.
To save tickets to Samsung Wallet, you first need to create a Samsung Wallet account. Follow the steps below to get started:
- Go to the Samsung Wallet website or download the Samsung Wallet app from the Google Play Store.
- Click on the “Sign Up” or “Create Account” button to begin the registration process.
- Fill in your personal information, such as your name, email address, and password, to create your Samsung Wallet account.
- Verify your email address by clicking on the verification link sent to your inbox.
- Once your account is verified, you can proceed to add tickets to your Samsung Wallet.
Now that you have created your Samsung Wallet account, you can easily add tickets to it. Here’s how:
- Open the Samsung Wallet app on your smartphone or visit the Samsung Wallet website.
- Log in to your Samsung Wallet account using your registered email address and password.
- Navigate to the “Tickets” section of the app or website.
- Click on the “Add” or “Add Ticket” button.
- Select the type of ticket you want to add, such as event ticket, airline ticket, or movie ticket.
- Enter the required details for the ticket, such as the event name, date, time, and seat number.
- If available, you can also scan the barcode or QR code on the physical ticket to automatically enter the ticket details.
- Click on the “Save” or “Add” button to save the ticket to your Samsung Wallet.
Once you have added your tickets to Samsung Wallet, you can easily manage and access them whenever needed. Here are some tips for managing your tickets:
- Open the Samsung Wallet app on your smartphone or visit the Samsung Wallet website.
- Log in to your Samsung Wallet account.
- Navigate to the “Tickets” section to view all your saved tickets.
- You can sort and filter your tickets based on various criteria, such as date, type, or event name.
- To access a ticket, simply tap on it, and the ticket details, including the barcode or QR code, will be displayed.
- To use a ticket, present the barcode or QR code from your Samsung Wallet to the respective ticketing authority.
- If necessary, you can also share the ticket with others via email or messaging apps directly from Samsung Wallet.
- Remember to update or delete expired tickets from your Samsung Wallet to keep it organized.
Step 1: Open Samsung Wallet
Before you can start saving tickets to Samsung Wallet, you need to open the app on your device. Follow these simple steps:
1. Locate the Samsung Wallet app on your home screen or app drawer. It is represented by an icon with a wallet and Samsung logo.
2. Tap on the Samsung Wallet app to open it. The app will launch, and you will see the home screen of the application.
3. If this is your first time using Samsung Wallet, you may be prompted to sign in to your Samsung account or create a new one. Follow the on-screen prompts to complete the sign-in process or create an account.
4. Once you are signed in, you are ready to start saving tickets to Samsung Wallet!
By opening the Samsung Wallet app, you have taken the first step towards accessing the convenience and features it offers. Now, let’s move on to the next step and learn how to create a Samsung Wallet account.
Step 2: Locate the Ticket
After successfully signing into your Samsung Wallet account, the next step is to locate the ticket that you want to save. Samsung Wallet offers a user-friendly interface that makes finding and accessing your tickets a breeze.
To locate the ticket, navigate to the “My Tickets” section within the Samsung Wallet app. This section typically displays all the tickets you have saved in your account, including event tickets, boarding passes, movie tickets, and more.
If you are unsure where to find the “My Tickets” section, you can use the search bar within the app and enter keywords such as “tickets” or “events” to help you quickly locate the section.
Once you have located the “My Tickets” section, you will be able to see a list of all the tickets you have saved in your Samsung Wallet account. The tickets may be organized by date, event type, or any other relevant categorization.
To further narrow down your search, you can use filters or sorting options available within the app. This can help you arrange the tickets based on your preferences, making it easier to locate a specific ticket when you need it.
Once you have found the desired ticket, you can simply tap on it to view the details. Samsung Wallet provides a well-designed ticket interface that allows you to see important information such as seat numbers, event details, QR codes, and more.
It’s worth mentioning that Samsung Wallet offers a smooth and efficient ticket retrieval process. With just a few taps, you’ll be able to locate and access your saved tickets, ensuring a seamless ticketing experience for your favorite events and activities.
Step 3: Save Ticket to Samsung Wallet
Now that you have created your Samsung Wallet account and selected the ticket you want to save, it’s time to save it to your Samsung Wallet. This will allow you to conveniently access and manage your tickets directly from your Samsung device.
Here is a step-by-step guide on how to save tickets to your Samsung Wallet:
- Open the Samsung Wallet app on your smartphone or tablet. If you don’t have it installed, you can download it from the Google Play Store.
- Sign in to your Samsung Wallet account using your credentials. If you haven’t created an account yet, refer to Step 1 for instructions on how to do so.
- Once you are signed in, navigate to the “Tickets” section within the app. This is where you will be able to view all of your saved tickets.
- Tap on the “Add Ticket” or “Add Event” option, depending on the specific terminology used in the app.
- You will then be prompted to provide the necessary details of the ticket, such as the event name, date, time, and any additional information required.
- If you have a digital ticket file, such as a PDF or QR code, you can either upload it directly from your device or scan the QR code using your smartphone’s camera.
- Once you have entered all the relevant information and uploaded the ticket file, tap on the “Save” button. Your ticket will now be saved to your Samsung Wallet.
- You can repeat this process for each ticket you want to save to your Samsung Wallet. All of your saved tickets will be organized in the “Tickets” section for easy access and management.
By saving your tickets to your Samsung Wallet, you can enjoy the convenience of having all your tickets in one place, eliminating the need to carry physical copies or searching through emails or other apps. Whether it’s a concert, sporting event, or movie ticket, you can effortlessly retrieve your tickets with just a few taps on your Samsung device.
Remember to keep your Samsung Wallet app updated to ensure you have access to the latest features and improvements. Plus, don’t forget to check the expiration dates of your saved tickets to ensure they are still valid for use.
Now that you know how to save tickets to your Samsung Wallet, you can experience a hassle-free way of managing and organizing your tickets. So go ahead and give it a try for your next event!
Step 4: Access Saved Tickets
Once you have successfully saved your tickets to Samsung Wallet, accessing them is a breeze. Whether you’re getting ready to attend an event or need to pull up your ticket on the fly, Samsung Wallet makes it easy to access all your saved tickets in one convenient location.
To access your saved tickets:
- Open the Samsung Wallet app on your device.
- If you’re not already signed in, enter your Samsung Wallet account credentials to log in.
- In the main menu, look for the “Tickets” or “My Tickets” option and tap on it.
- You will now see a list of all the tickets you have saved in Samsung Wallet.
- Simply tap on the ticket you wish to access, and it will be displayed on your screen.
Once your ticket is displayed, you can easily show it to the event staff by presenting your device. Many venues now accept digital tickets, so you won’t need to worry about printing physical copies.
Keep in mind that it’s a good idea to check the validity of your tickets before attending an event. Some tickets may have expiration dates or other restrictions, and Samsung Wallet will usually display this information on the ticket details page.
If you are unable to find a certain ticket or encounter any issues with accessing your saved tickets, try the following troubleshooting steps:
- Make sure you are using the latest version of the Samsung Wallet app. If not, update the app to the latest version from the official app store.
- Restart your device to refresh the app and clear any temporary glitches.
- If the problem persists, contact Samsung support for further assistance.
Now that you know how to access your saved tickets in Samsung Wallet, you can enjoy the convenience and peace of mind that comes with having all your tickets in one place. No more searching through emails or rummaging through pockets – your tickets are just a few taps away!
In conclusion, Samsung Wallet offers a convenient and secure way to save tickets and other digital content on your Samsung device. With its user-friendly interface and integration with various Samsung services, it provides a seamless experience for managing your digital wallet needs.
By utilizing the Samsung Wallet feature, you can easily access and store your tickets, making it easier to retrieve them when needed. This eliminates the hassle of carrying physical tickets and provides a more eco-friendly alternative.
Whether you’re heading to a concert, sporting event, or traveling, Samsung Wallet is a valuable tool that simplifies ticket management. By saving your tickets digitally, you can have peace of mind knowing they are safe and easily accessible whenever you need them.
So, why not embrace the digital wallet revolution and save your tickets with Samsung Wallet today?
FAQs
1. Can I save my tickets to Samsung Wallet?
Yes, you can save your tickets to Samsung Wallet. Samsung Wallet is a Digital Wallet application available on Samsung smartphones. It allows you to store various items digitally, including tickets for events, flights, movies, and more.
2. How do I save tickets to Samsung Wallet?
To save tickets to Samsung Wallet, follow these simple steps:
- Open the Samsung Wallet application on your Samsung smartphone.
- Tap on the “Add Ticket” or “Add Pass” button.
- Select the ticket type from the available options (e.g., Event, Flight, Movie).
- Enter the required information, such as the ticket details, date, and time.
- Attach any necessary barcode or QR code associated with the ticket.
- Tap on the “Save” or “Add” button to store the ticket in Samsung Wallet.
3. Can I access my saved tickets offline in Samsung Wallet?
Yes, you can access your saved tickets offline in Samsung Wallet. Once you have saved the tickets to Samsung Wallet, they will be stored locally on your device. This means you can access them even when you don’t have an internet connection.
4. How can I view my saved tickets in Samsung Wallet?
To view your saved tickets in Samsung Wallet, follow these steps:
- Open the Samsung Wallet application on your Samsung smartphone.
- Navigate to the “Tickets” tab or a similar section.
- You will see a list of all the tickets that you have saved in Samsung Wallet.
- Tap on a specific ticket to view its details, including the barcode or QR code.
5. Can I share my saved tickets from Samsung Wallet with others?
Yes, you can share your saved tickets from Samsung Wallet with others. Samsung Wallet provides a convenient sharing option that allows you to send the ticket details to others through various channels, such as email, messaging apps, or social media platforms. Simply select the ticket you want to share, choose the sharing method, and follow the prompts to send it to your desired recipient.