
These days, many of us rely on our gadgets for business and educational purposes. Whether it be arranging meetings or taking notes, we would sometimes have a laptop or a tablet in tow so we can progress with our tasks faster. For those who have iPads, an Apple Pencil is a handy gadget that can help you make work easier and faster.
In this article, we’ll be looking at the basics of how you can use an Apple Pencil. From charging to pairing, this article will tell you what you need to make the most out of this Apple accessory.
Also read: Best Stylus Pens for iPad Other Than Apple Pen
What Is an Apple Pencil?
An Apple Pencil is a stylus pen that is designed to specifically work for Apple iPads. You can use this tool for writing, sketching, and navigating through your iPad. Ideally, it works like your usual pencil or drawing stylus but this one is exclusively designed to work on iPads.
The first model was released in 2015 and was followed by a second-generation model in 2018. While the two devices easily serve the same purpose, there are a couple of differences that you should take note of if you’re going to invest in an Apple Pencil.
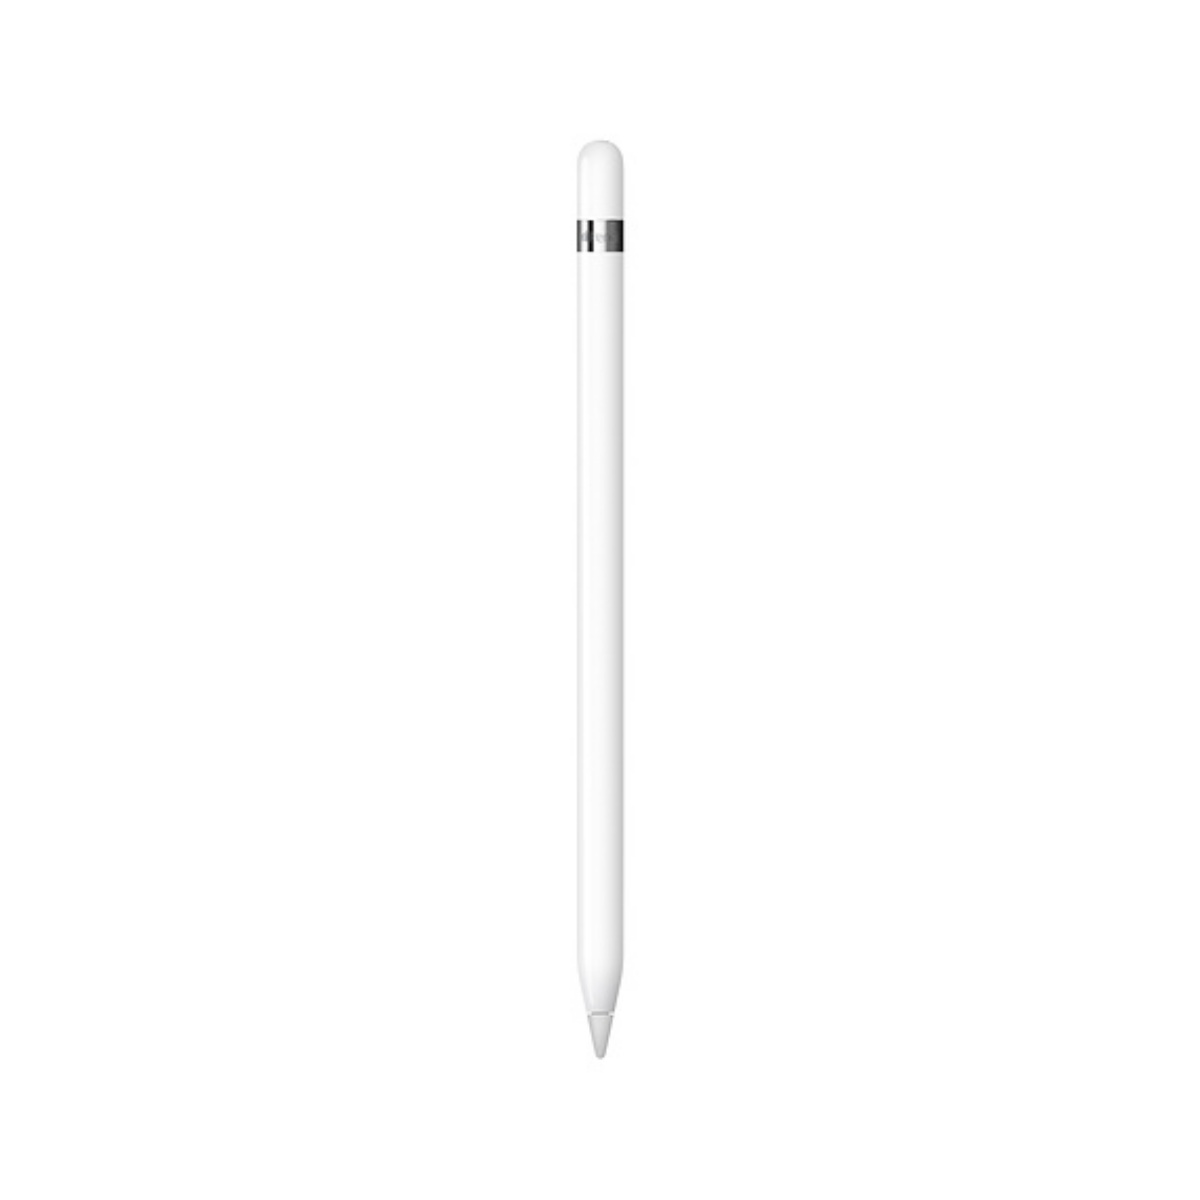
Apple Pencil (1st Gen)
Apple Pencil 1st generation is the original stylus for iPad. It has a lightning connector that can be directly plugged into the iPad for charging. It is compatible with older versions of the iPad.

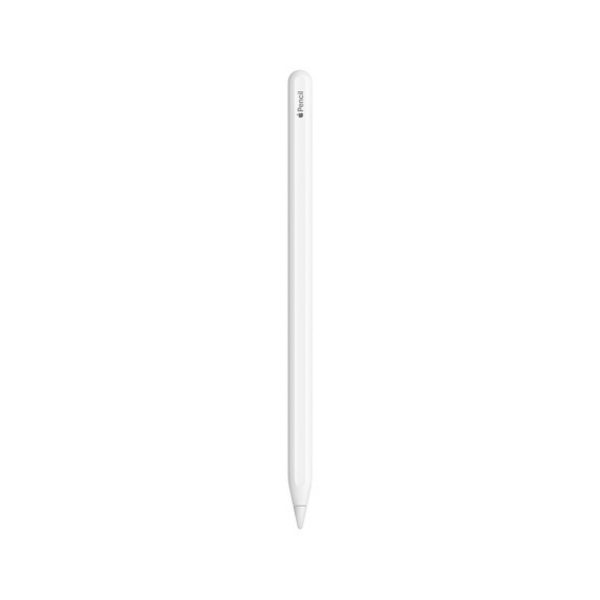
Apple Pencil (2nd Gen)
Apple Pencil 2nd generation is the latest stylus model for iPad. It supports gesture controls for changing tools such as when you want to switch from pencil to eraser. It is designed for iPad Pro and iPad Air.
1st Generation vs 2nd Generation Apple Pencil
While both models essentially provide the same look and feel, there are some instances where they differ. Such differences are important to take note of as they will largely affect the user’s experience of the Apple Pencil.
Compatibility
First off, the original and the 2nd Generation model differ in which iPad models they are compatible with. You might find that the 1st Generation model is compatible with older iPad models, while the 2nd Generation model is compatible with the newer versions.
It’s important to take note of this especially if you’re buying a Pencil and you already have an existing iPad. Purchasing the wrong model will mean that you might not be able to use the Pencil on your device.
Charging
Second, they have different charging mechanisms. The original model charges with a Lightning connector that plugs into the iPad. The 2nd Generation model, on the other hand, charges inductively through the iPad so all you have to do is to stick it on the right side of the iPad to start charging.
Design
Lastly, they have a couple of differences in design. The original model is bulkier and bigger than the second model. It’s rounder and smoother but doesn’t exactly provide the same comfort of use as its successor. It also doesn’t have as many other functions that were improved with the release of the second model. The 2nd Generation Apple Pencil is more on the flat side that ultimately improves the texture. It better mimics a pencil than the original model, which makes it more comfortable to work with.
Ultimately, both Apple Pencils work in the same way and have the same general features despite their very few differences.
Apple Pencil: Compatible Devices
With this device, it’s important to take note that you take note of devices that are compatible with it. You might not be able to use the 1st Generation model with newer devices as you may not use the 2nd Generation Pencil with older devices.
Take this into consideration when you purchase an iPad and an Apple Pencil as compatibility plays a part in making the latter work.
Apple Pencil 1st Generation Compatibility

The 1st Generation model can be used with the following Apple devices:
- iPad (8th generation)
- iPad mini (5th generation)
- iPad (7th generation)
- iPad (6th generation)
- iPad Air (3rd generation)
- iPad Pro 12.9-inch (1st or 2nd generation)
- iPad Pro 10.5-inch
- iPad Pro 9.7-inch
If you don’t have any of these devices, the 1st Generation Pencil won’t be able to function correctly. Hence, you might need to get the 2nd Generation model — provided that your device is compatible with it.
Apple Pencil 2nd Generation Compatibility
If you’re using a newer iPad, odds are that it will be suitable for the 2nd Generation Pencil. Here are just some of the devices that you can use with this version of the Apple Pencil:
- iPad Air (4th generation)
- iPad Pro 12.9-inch (3rd generation) and later
- iPad Pro 11-inch (1st generation) and later
If it so happens that you aren’t sure of which model you have, you can always refer to the Apple website to help you identify your iPad model.
Take note that the Apple Pencil will only work on an iPad as it was specifically manufactured for this device. You will not be able to use your Apple Pencil with an iPhone, other Apple devices, or other drawing tablets. Fortunately, you can often score deals when buying an iPad and Apple Pencil together; depending on where you buy them from.
How to Pair an Apple Pencil
1st Generation
To pair a 1st Generation Apple Pencil, you will have to perform the following steps:
- Make sure that your Apple Pencil is compatible with your iPad.
- Charge your Apple Pencil before use.
- Remove your Pencil’s cap and plug it into your iPad’s Lightning connector.
- When the pair button appears on your iPad, tap on it.
Once done, you’re all set. Do keep in mind that your Apple Pencil will stay connected to your device unless you restart it, pair it with another iPad, or turn on Airplane Mode.
2nd Generation
If you’re looking to pair a 2nd Generation Apple Pencil, things are a bit easier. Simply follow the steps below:
- Make sure that your Apple Pencil is compatible with your iPad and that it is charged.
- Attach or connect your Apple Pencil to the magnetic connector on the side of your iPad.
Your Apple Pencil should automatically pair with your iPad once you’ve performed the procedure correctly.
Apple Pencil: Battery Life & Charging
Keeping track of your Apple Pencil’s battery life is important as you wouldn’t want to run out of battery when you’re drawing or if you’re jotting down important notes. With that, here’s how you can check your Apple Pencil’s battery and how to charge them.
How to Check the Apple Pencil’s Battery Life
Checking the battery for both generations of the Apple Pencil is essentially the same. All you have to do is to check the Batteries widget on your device. The battery percentage should appear there. If you don’t have the said widget on your device yet, you can simply add it by editing your Notification Center.
To edit it, simply tap Edit at the bottom of the Widgets menu. From there, tap the Plus (+) symbol located next to the Batteries and it will be added as an active widget.
Alternatively, if you have a 2nd Generation Pencil, you can check the battery by connecting it to the side of your iPad and the battery life should show up on the screen.
How to Charge Your Apple Pencil
The charging process of the Pencil once again differs depending on the version that you own.
1st Generation
To charge the 1st Generation model, you will need to plug your Pencil into your iPad’s Lightning connector and it should start charging. Alternatively, you can also choose to charge your Apple Pencil with a USB Power Adapter. Take note that you can only perform the second method if you have a charging adapter.

2nd Generation
For the 2nd Generation Pencil, all you have to do is to turn on your Bluetooth and attach your Pencil to the magnetic connector on the top of your iPad. Your Pencil should automatically start charging once connected.

Apple Pencil Care Tips
You can use this particular device for long periods, but it’s also a sensitive device that you will need to take extra care of to avoid damage. With that, here are a few tips to remember when caring for your Pencil.
Store Your Devices Properly
Most users will purchase a case for their iPad but not for their Apple Pencil. Leaving the Pencil out in the open might be a cause for damage. It’s best to purchase an iPad case with a built-in pencil holder or buy a separate case so that your pencil will remain protected.
Replace the Tip When Needed
A damaged tip might be the reason why your Apple Pencil isn’t working correctly. Hence, it’s best to replace the tip as soon as possible. When you purchase a pencil, you can simply use the extra tip included in the packaging or you can also buy a pack of them just so you have extras. You might want to also check out other stylus pens for iPad if you’re looking to replace your pencil as a whole.
Don’t Drain the Battery
Like most devices, it’s not recommended that you drain your pencil’s battery unless necessary. Using your pencil to the point of battery drain might start to cause problems for it in the long run so it’s best to charge when you already notice that your device is low on power.
Wrap-Up
An Apple Pencil is a great accessory to have if you’re someone who loves working with their iPad. Just remember that taking care of the gadget is just as important as making sure that you are getting the most out of the device. Hopefully, this quick guide will help you to get to know your device better and how to better use them. Check on your Pencil from time to time to see if there is anything wrong with it or if the tip is starting to incur any damage. This way, you’ll be able to make it last longer.