
Are you an artist or a creative individual looking to take your digital drawing skills to the next level? If so, you’re in the right place! The Apple Pencil is a powerful and versatile tool that can transform your iPad into a canvas for your imagination. With its pressure sensitivity, tilt recognition, and precise tracking, the Apple Pencil offers a seamless drawing experience that rivals traditional mediums.
In this article, we will dive into some valuable tips and tricks to help you make the most out of your Apple Pencil. Whether you’re a beginner just starting out or a seasoned artist, these tips will help you unlock the full potential of your artistic abilities when using the Apple Pencil. From selecting the right drawing app to mastering different techniques, we’ll cover it all. So, grab your iPad and Apple Pencil and get ready to unleash your creativity!
Inside This Article
- Choosing the Right Apple Pencil
- Mastering Apple Pencil Techniques
- Enhancing Your Drawing Experience
- Maintaining Your Apple Pencil
- Conclusion
- FAQs
Choosing the Right Apple Pencil
When it comes to unleashing your creativity on your iOS device, the Apple Pencil is an indispensable tool. Whether you are an artist, designer, or simply love to doodle, the Apple Pencil can take your digital artwork to the next level. But with different generations and models available, how do you choose the right Apple Pencil for your needs? Here are some essential tips to help you make the right decision.
1. Compatibility: The first step in choosing the right Apple Pencil is to ensure it is compatible with your iOS device. The original Apple Pencil is compatible with the 1st and 2nd generation iPad Pro models, while the Apple Pencil (2nd generation) is exclusively compatible with the 3rd and 4th generation iPad Pro models. Make sure to check the compatibility before making a purchase.
2. Design and Comfort: The design and comfort of the Apple Pencil can greatly impact your drawing experience. The original Apple Pencil has a cylindrical shape with a cap that covers the charging port, while the 2nd generation Apple Pencil features a sleeker, seamless design with a matte finish. Consider holding both models in your hand to see which one feels more comfortable and intuitive for your drawing style.
3. Charging Method: Another aspect to consider is the charging method of the Apple Pencil. The original Apple Pencil charges by connecting it to the Lightning port of your iPad, which can be a bit cumbersome. On the other hand, the 2nd generation Apple Pencil magnetically attaches and wirelessly charges on the side of your iPad, making it more convenient and elegant.
4. Features and Performance: Depending on your artistic requirements, it’s essential to consider the features and performance of the Apple Pencil. The 2nd generation Apple Pencil offers additional features like tap gestures, double-tap customization, and improved precision and sensitivity. If these features are important to you, opting for the 2nd generation Apple Pencil might be the way to go.
5. Budget: Last but not least, consider your budget when choosing the right Apple Pencil. The 2nd generation Apple Pencil is generally more expensive than the original model due to its advanced features and compatibility restrictions. Evaluate your needs and budget to make an informed decision that aligns with your requirements.
By considering factors like compatibility, design and comfort, charging method, features and performance, as well as your budget, you can choose the right Apple Pencil that suits your artistic needs. So, unleash your creativity and bring your digital art to life with the perfect Apple Pencil!
Mastering Apple Pencil Techniques
The Apple Pencil is a powerful tool that can revolutionize your digital drawing experience on iOS devices. Whether you’re an aspiring artist or a seasoned professional, mastering the techniques for using the Apple Pencil can take your artwork to new heights. Here are some tips and tricks to help you make the most out of this remarkable stylus.
1. Adjusting Pressure Sensitivity: One of the key features of the Apple Pencil is its ability to detect pressure sensitivity, allowing you to create dynamic and expressive strokes. To optimize this feature, go to the Settings app on your iOS device. Under Apple Pencil settings, you can adjust the pressure sensitivity according to your preference. Experiment with different settings to find the right balance that suits your drawing style.
2. Utilizing Tilt Functionality: The Apple Pencil also detects the tilt of your hand, which can be used to add shading and depth to your drawings. By tilting the pencil, you can achieve different stroke variations, such as creating thicker lines or blending colors seamlessly. Practice incorporating tilt into your drawing techniques to unlock its full potential.
3. Exploring Different Brushes and Tools: There are numerous drawing apps available on the App Store that are specifically designed to work seamlessly with the Apple Pencil. These apps offer a wide range of brushes, pencils, and other tools that can enhance your drawing experience. Experiment with different apps and explore the various brushes and tools they offer to find the perfect combination for your artistic vision.
4. Precision with Palm Rejection: The Apple Pencil’s palm rejection feature allows you to rest your hand on the screen while drawing without any interference. This enables you to maintain precision and avoid accidental marks caused by palm contact. Make sure to enable palm rejection in the settings of your preferred drawing app to ensure a smooth and uninterrupted drawing experience.
5. Gesture Controls: The Apple Pencil offers a variety of gesture controls that can make your drawing process more efficient. For example, double-tapping the pencil can switch between different brushes or activate an eraser tool. Familiarize yourself with the gesture controls of your drawing app to streamline your workflow and save time during the creation process.
6. Practice, Practice, Practice: Like any art form, mastering Apple Pencil techniques requires consistent practice. Set aside dedicated time to hone your skills and explore different drawing styles. Take advantage of online tutorials and resources to learn new techniques and gain inspiration from other artists. Remember, the more you practice, the more you will improve.
By following these tips and investing time into mastering Apple Pencil techniques, you can elevate your digital artistry to new levels. Embrace the versatility of the Apple Pencil and let your creativity soar.
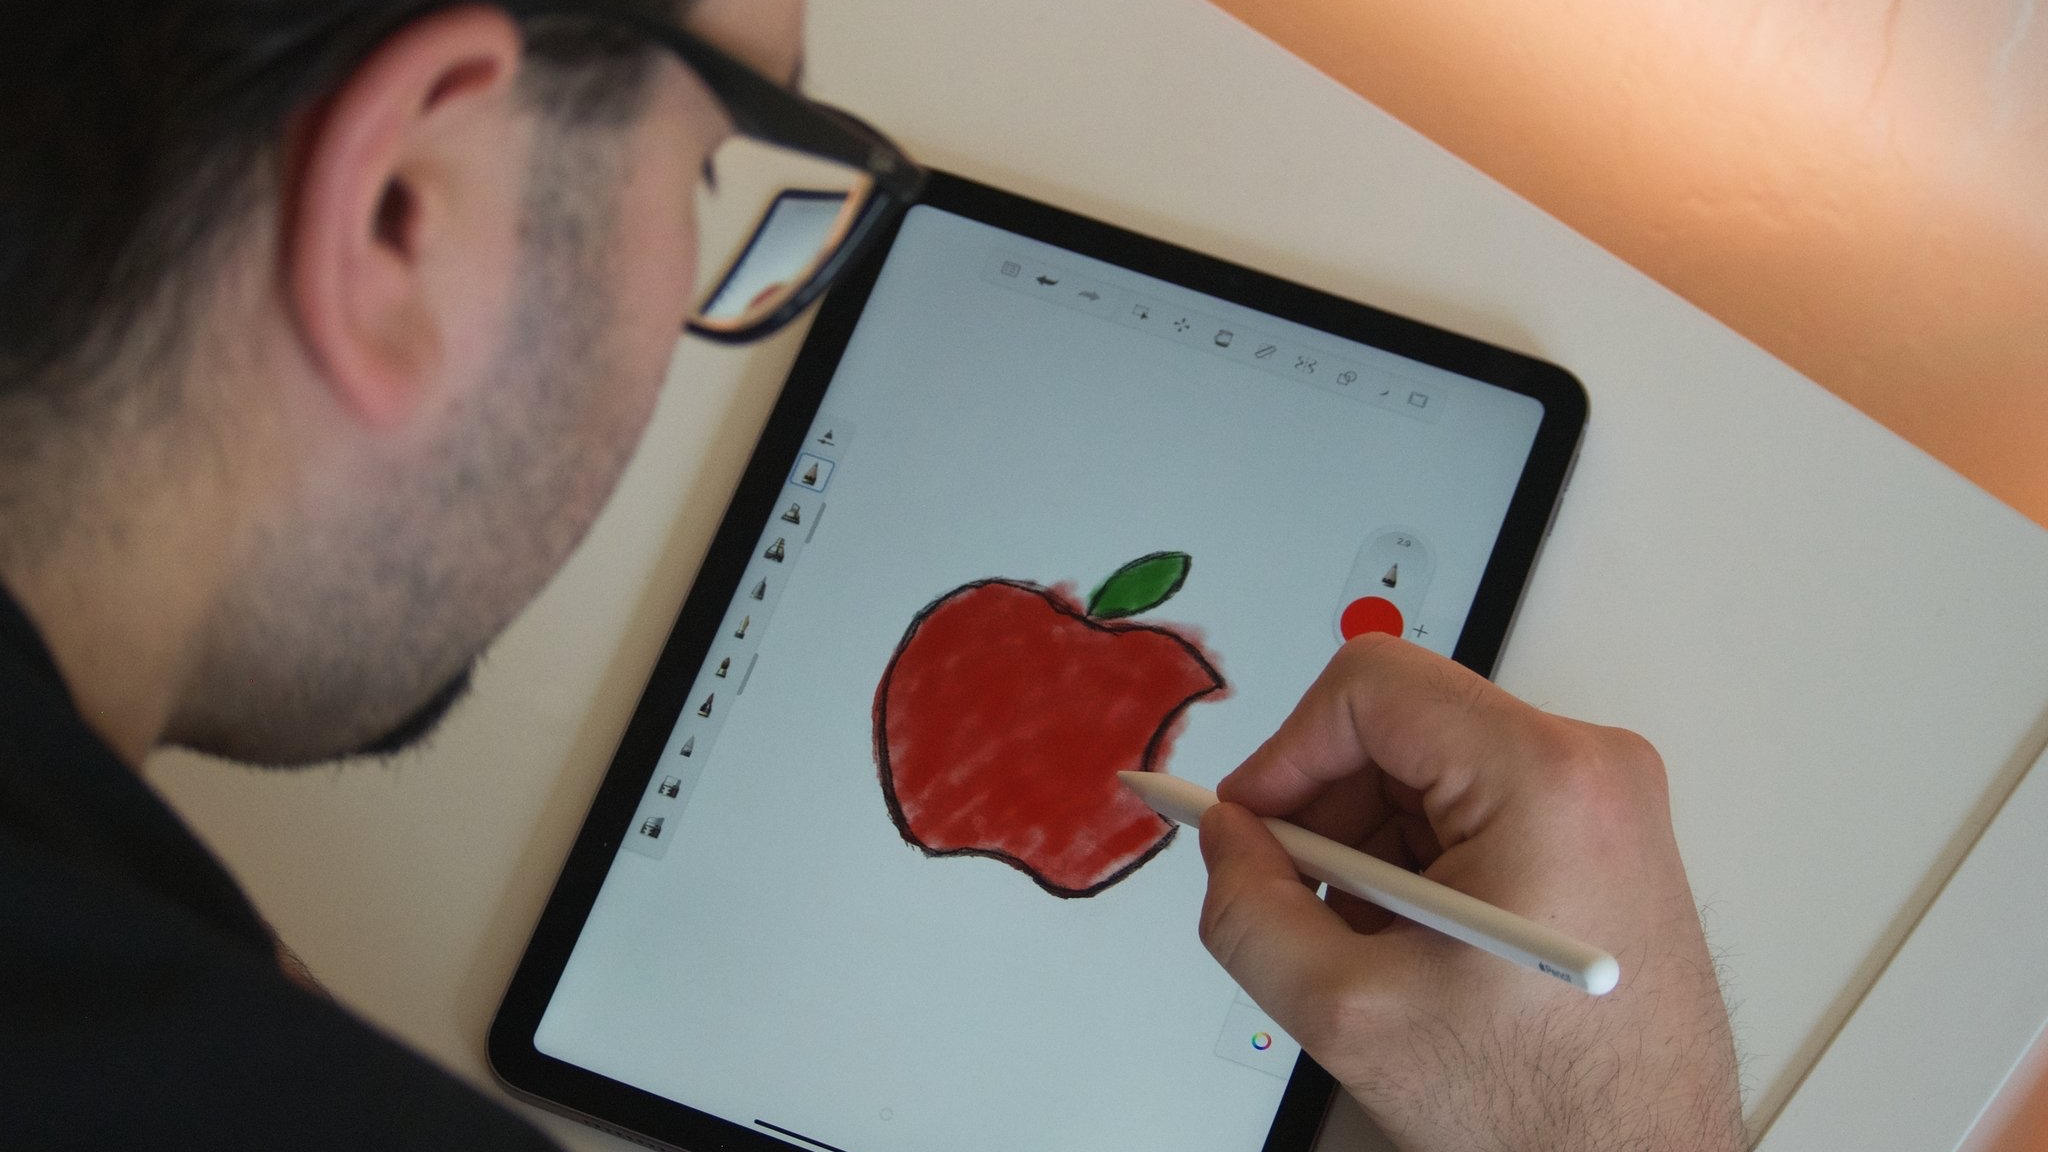
Enhancing Your Drawing Experience
When it comes to drawing with an Apple Pencil, there are several tips and tricks that can help take your creativity to the next level. Whether you’re a professional artist or just a casual doodler, these techniques will enhance your drawing experience and allow you to unleash your artistic potential.
The first step in enhancing your drawing experience with the Apple Pencil is to get familiar with its features and functionalities. The Apple Pencil is a remarkable tool that offers precision and accuracy like no other stylus. Its seamless integration with iOS devices allows for a seamless drawing experience, making it feel like you’re using a traditional pen or pencil on paper.
Once you’ve familiarized yourself with the Apple Pencil, it’s time to adjust the settings to customize it according to your drawing style. In the Settings app on your iOS device, you can tweak various parameters such as line thickness, pressure sensitivity, and palm rejection. Finding the right balance of these settings will greatly impact your overall drawing experience.
Mastering pressure sensitivity and stroke variations is another key aspect of enhancing your drawing experience. The Apple Pencil’s pressure sensitivity allows you to apply varying degrees of pressure while drawing, resulting in thicker or thinner lines. Experimenting with different levels of pressure can add depth and dimension to your artwork, bringing it to life.
Furthermore, exploring different drawing apps can make a significant difference in how you draw with the Apple Pencil. There are numerous apps available on the App Store that are specifically designed for drawing and illustration. These apps offer a wide range of tools, brushes, and effects to unleash your creativity. Some popular drawing apps for iOS include Procreate, Autodesk Sketchbook, and Adobe Fresco.
Maintaining Your Apple Pencil
As an Apple Pencil owner, you know how essential this tool is for your creative endeavors. Whether you’re a professional artist or enjoy doodling in your spare time, it’s crucial to properly maintain your Apple Pencil to ensure its longevity and optimal performance. Here are some handy tips to keep your Apple Pencil in great shape:
1. Clean the tip regularly: Over time, the tip of your Apple Pencil may accumulate dirt or debris. Simply wipe it with a soft, lint-free cloth or use a mild cleaning solution to keep it clean. Avoid using abrasive materials that could scratch the tip.
2. Protect the tip with a cap or cover: The tip is one of the most vulnerable parts of your Apple Pencil. To prevent damage or bending, always cap it when not in use. Alternatively, you can use a cover or case specifically designed for the Apple Pencil for added protection.
3. Avoid extreme temperatures: Extreme heat or cold can affect the performance and lifespan of your Apple Pencil. Keep it away from direct sunlight, hot surfaces, or freezing temperatures. Store it in a cool, dry place when not in use.
4. Charge it properly: When charging your Apple Pencil, ensure that the lightning connector is securely inserted into the charging port. Avoid using excessive force when connecting or disconnecting the charging cable to prevent any damage to the connector or charging port.
5. Use a compatible device: Apple Pencil is designed to work seamlessly with compatible iOS devices. Ensure that your device is updated to the latest software version to maintain a smooth and reliable connection between your Apple Pencil and device.
6. Protect it during transportation: If you often carry your Apple Pencil with you, consider using a protective case or sleeve to shield it from potential bumps or scratches. This will help maintain its overall integrity and prevent accidental damage.
7. Regularly update software: Apple frequently releases updates for both iOS and the Apple Pencil software. Stay up to date with these updates to ensure that you have access to the latest features, bug fixes, and performance enhancements.
By following these simple maintenance tips, you can prolong the lifespan of your Apple Pencil and continue to enjoy a seamless drawing experience. Remember, taking care of your Apple Pencil is as important as honing your artistic skills. Happy drawing!
In conclusion, mastering the art of drawing with an Apple Pencil is an incredible journey that unlocks a world of creative possibilities. With its precise and responsive touch, the Apple Pencil elevates the drawing experience on iOS devices to new heights. By following the tips and techniques outlined in this article, you can enhance your drawings and create stunning works of art that showcase your unique style and talent.
Whether you are a professional artist, an aspiring illustrator, or simply enjoy doodling in your free time, the Apple Pencil is a valuable tool that can take your creativity to the next level. It offers a seamless and intuitive drawing experience, making it the go-to choice for designers, students, and art enthusiasts alike.
So, grab your Apple Pencil, unleash your imagination, and let your artistic skills flourish as you embark on an artistic journey unlike any other. Happy drawing!
FAQs
1. Can I use the Apple Pencil on any iPad model?
Yes, the Apple Pencil is compatible with various iPad models, including the iPad Pro, iPad Air (3rd generation), iPad Mini (5th generation), and iPad (6th and 7th generation). However, please note that older iPad models may not support the Apple Pencil.
2. Do I need to charge the Apple Pencil?
Yes, the Apple Pencil needs to be charged. It can be charged by connecting it to your iPad Pro via the built-in charging connector or by using the optional Apple Pencil Charging Adapter and a Lightning cable. The battery life of the Apple Pencil varies depending on usage but can last up to 12 hours with a full charge.
3. Can I use the Apple Pencil with other apps besides drawing ones?
Absolutely! While the Apple Pencil is widely used for drawing and sketching, it can also be used for a variety of other tasks. From taking notes and annotating documents to editing photos and signing PDFs, the Apple Pencil provides a versatile tool for various creative and productivity-related tasks.
4. Does the Apple Pencil support palm rejection?
Yes, the Apple Pencil supports palm rejection. This means that when you are using the Apple Pencil to draw or write on your iPad, it will ignore any unintended touch inputs from your hand resting on the screen. The palm rejection feature ensures a seamless and comfortable drawing experience without any interference.
5. Can I customize the settings of the Apple Pencil?
Yes, you can customize the settings of the Apple Pencil to suit your preferences. By going to the Settings app on your iPad, you can adjust various options such as the double-tap gesture, which can be assigned to switch between tools or activate specific features within compatible apps. Additionally, you can adjust the sensitivity and palm rejection settings to fine-tune your drawing experience.