
Popsockets have become a popular mobile accessory, providing a convenient way to grip and handle our smartphones. These handy little gadgets can also double as a stand, allowing for hands-free viewing and video calls. While they are easy to stick on flat and hard surfaces, many people wonder how to attach a Popsocket to a silicone case. Silicone cases are known for their flexibility and smooth texture, making it a bit trickier to adhere Popsockets securely. In this article, we will explore different techniques and methods to help you stick a Popsocket onto a silicone case effectively. With the right steps and precautions, you can enjoy the benefits of a Popsocket on your favorite silicone case without worrying about it coming loose or damaging your device. Read on to discover how to stick a Popsocket to a silicone case and make the most of this versatile mobile accessory.
Inside This Article
- Introduction
- Choosing the Right Popsocket
- Preparing the Silicone Case
- Applying the Popsocket to the Silicone Case
- Tips for Ensuring a Secure Attachment
- Introduction
- Choosing the Right Popsocket
- Preparing the Silicone Case
- Applying the Popsocket to the Silicone Case
- Tips for Ensuring a Secure Attachment
- Conclusion
- Conclusion
- FAQs
Introduction
When it comes to customizing and enhancing our smartphones, one popular accessory that has gained immense popularity is the Popsocket. These handy little gadgets not only add a touch of personal style to our smartphones but also provide us with a secure grip, making it easier to hold our devices while texting, taking photos, or watching videos. While Popsockets are typically attached directly to the back of our phones, many people prefer to stick them to silicone cases for added protection and versatility.
In this article, we will guide you through the process of sticking a Popsocket to a silicone case, ensuring a secure and long-lasting attachment. Whether you are a fashion enthusiast looking to match your Popsocket to your silicone case or simply prefer the added convenience of using a case, we’ve got you covered with all the information you need.
Before diving into the step-by-step process, let’s first discuss the importance of choosing the right Popsocket and understanding the necessary preparations for sticking it to a silicone case.
Choosing the Right Popsocket
When it comes to accessorizing your smartphone, a Popsocket is a popular choice. These handy little accessories can provide additional grip, serve as a convenient stand, and even be used as a cable management tool. However, with the wide variety of Popsockets available in the market, it’s important to choose the right one for your needs and personal style. Here are some factors to consider when selecting a Popsocket:
- Design: Popsockets come in a range of designs, from solid colors to various patterns, prints, and even customizable options. Consider your personal style and the aesthetic you want to achieve with your smartphone accessories.
- Functionality: Think about how you plan to use your Popsocket. If you primarily need it for better grip, consider a Popsocket with a textured surface. If you frequently use your phone for watching videos or video calls, look for a Popsocket with a collapsible stand function.
- Compatibility: Ensure that the Popsocket you choose is compatible with your smartphone model and case. Some Popsockets are specifically designed for certain phone models, while others have a universal fit.
- Quality: Look for a Popsocket made from durable and long-lasting materials. A high-quality Popsocket will ensure a secure hold and remain in good condition even with frequent use.
- Customizability: If you want to add a personal touch to your Popsocket, consider options that can be customized with your own images or designs. Many manufacturers offer customization services that allow you to create a truly unique accessory.
By taking these factors into consideration, you can find the perfect Popsocket that meets your needs and adds a touch of style to your smartphone.
Preparing the Silicone Case
Before applying a Popsocket to your silicone case, it is important to properly prepare the surface to ensure a secure attachment. Follow these steps to get your silicone case ready:
- Clean the surface: Use a mild soap or cleaning solution and a soft cloth to gently clean the surface of your silicone case. Make sure to remove any dust, dirt, or fingerprints that could interfere with the adhesive of the Popsocket. Avoid using harsh chemicals or abrasive materials that could damage the case.
- Dry the case: After cleaning, allow the silicone case to fully dry before proceeding. This will help the adhesive of the Popsocket adhere properly to the surface. You can use a clean, lint-free cloth to speed up the drying process.
- Remove any existing accessories: If you have any other accessories attached to your silicone case, such as stickers or decals, remove them before applying the Popsocket. This will ensure a flat and clean surface for the Popsocket to adhere to.
By taking the time to prepare your silicone case, you will create an optimal surface for attaching the Popsocket. This will help to ensure a long-lasting and secure bond.
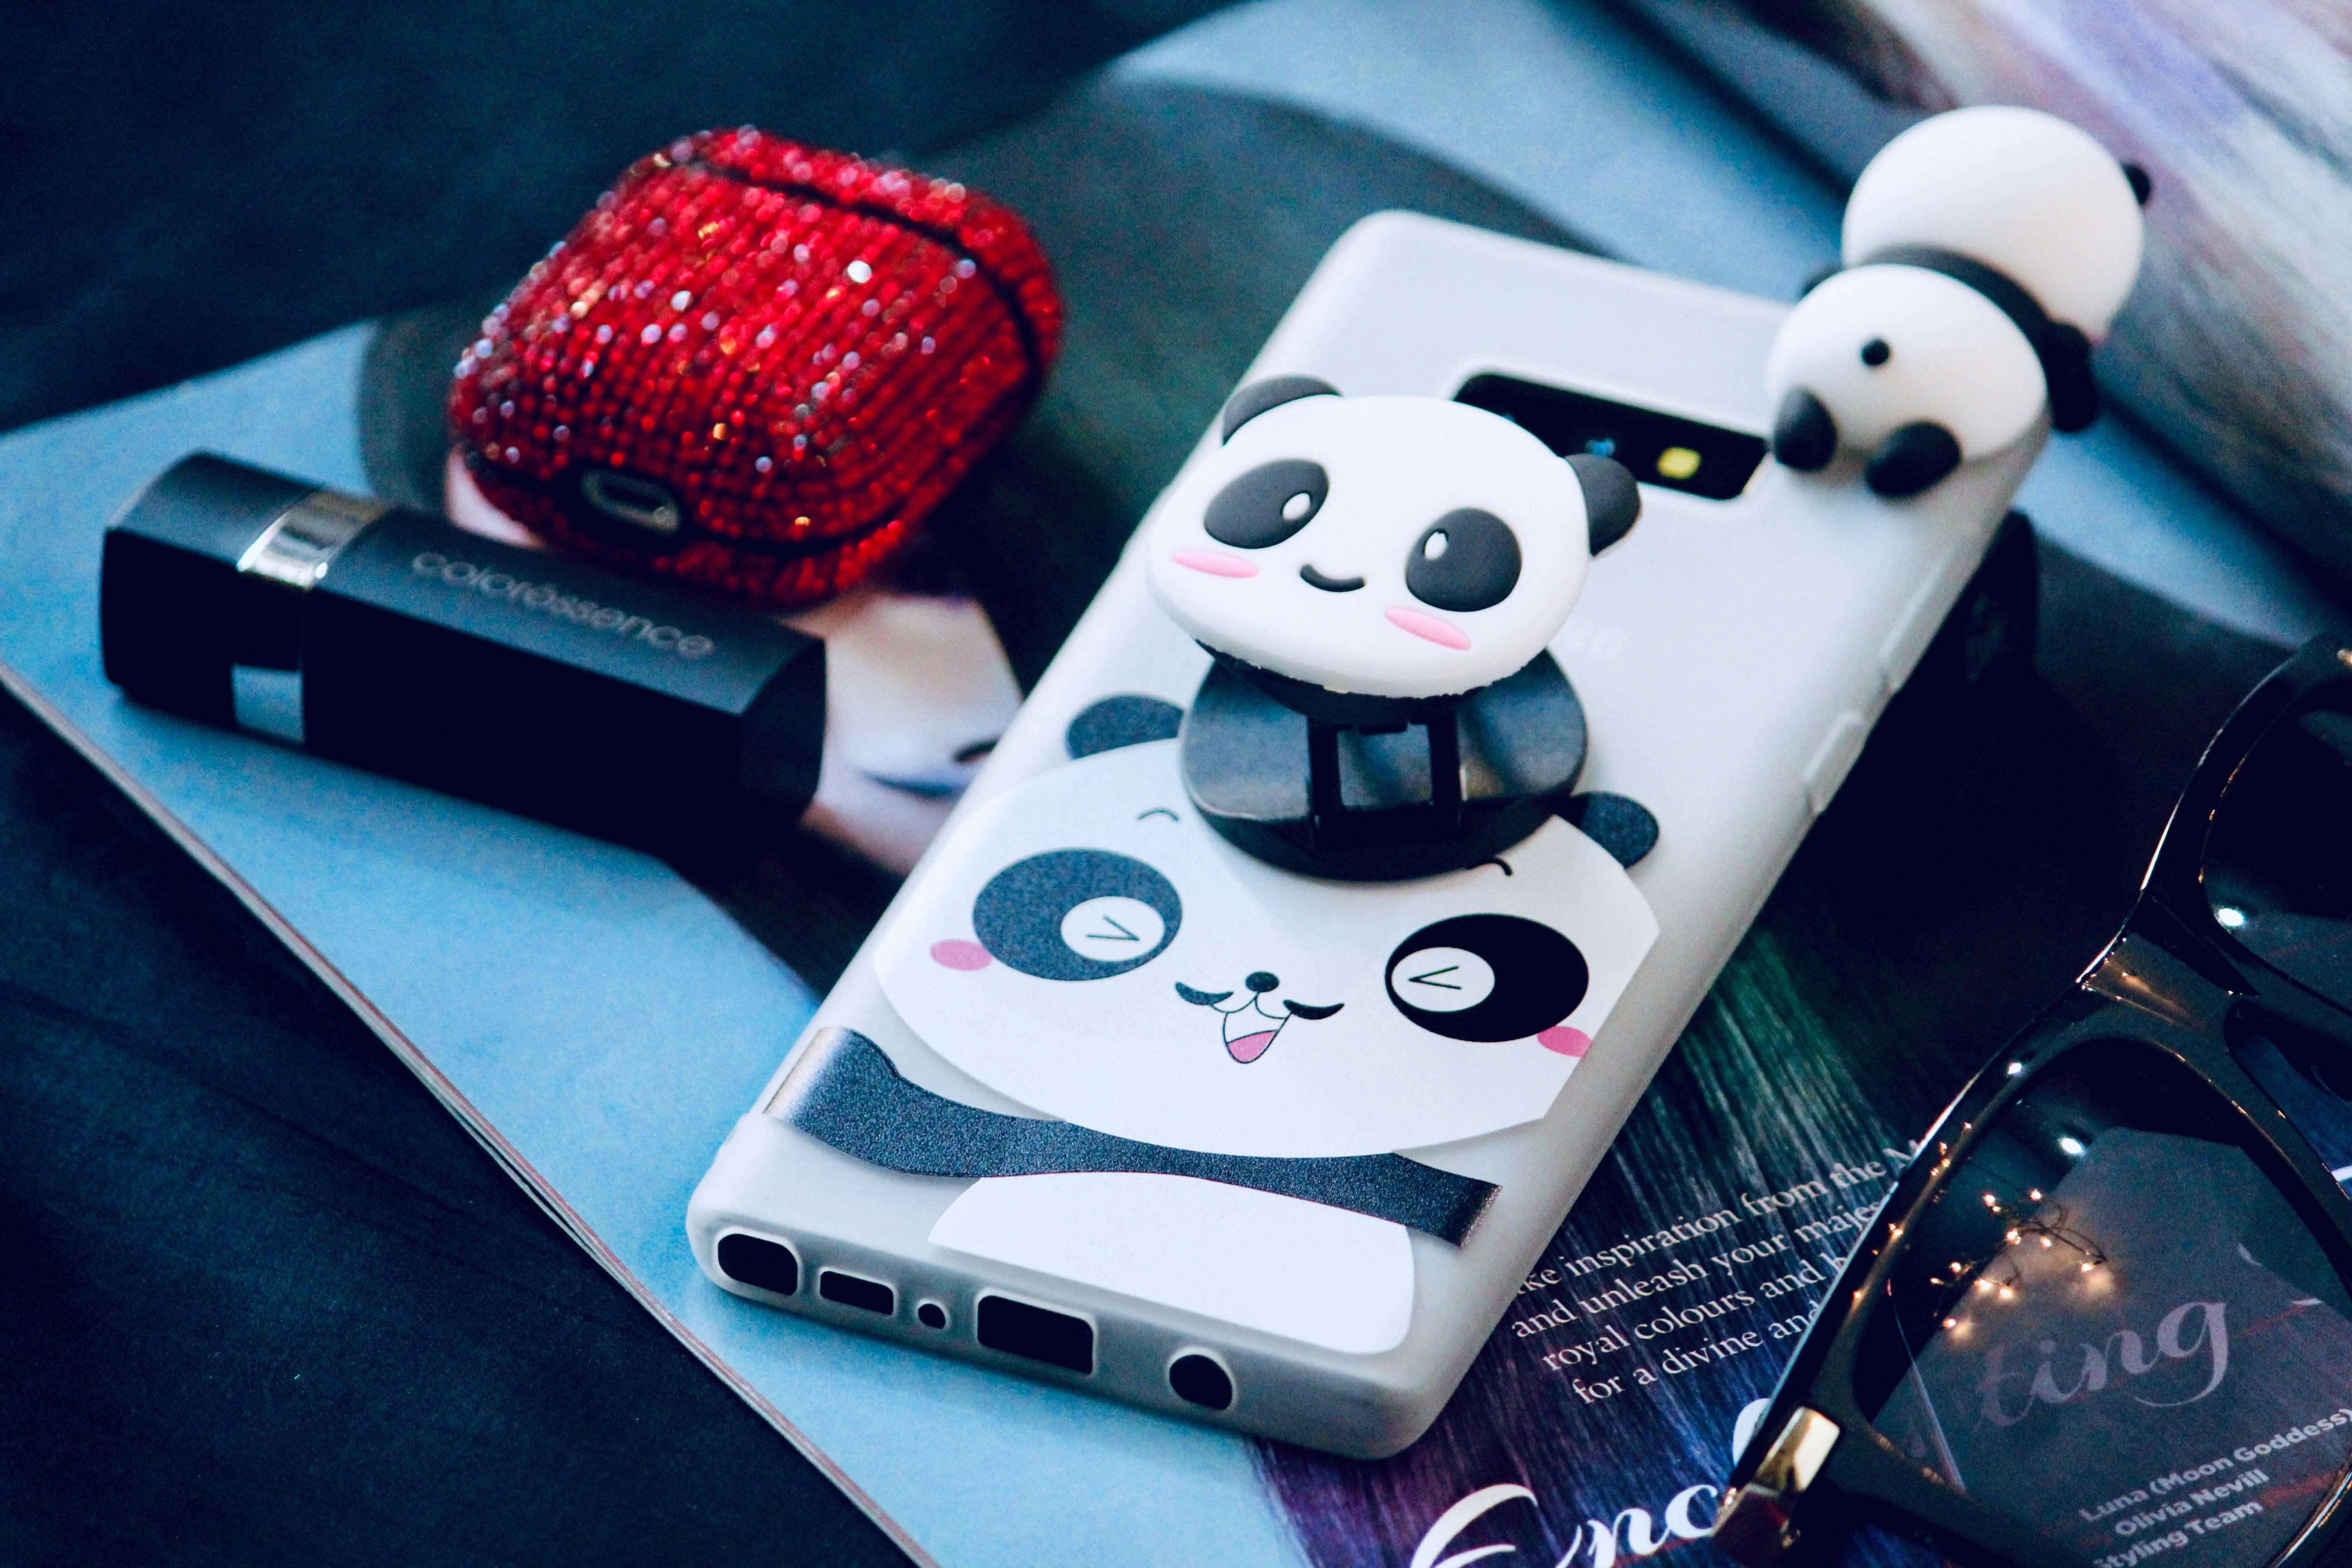
Applying the Popsocket to the Silicone Case
Once you have chosen the right Popsocket and prepared your silicone case, it’s time to attach the Popsocket to the case. Follow these steps to ensure a secure and long-lasting attachment:
- Clean the surface: Before applying the Popsocket, make sure the surface of the silicone case is clean and free from dust or debris. You can use a soft cloth or a mild cleaning solution to gently wipe the surface.
- Peel off the adhesive backing: The Popsocket has a sticky adhesive backing that you need to expose. Locate the tab on the base of the Popsocket and peel off the protective film to reveal the adhesive.
- Position the Popsocket: Choose the desired position on the back of the silicone case where you want to attach the Popsocket. Consider the placement that will provide the best grip and convenience for your hand.
- Press down firmly: Once you have determined the position, press down on the Popsocket with firm and even pressure. Make sure it is securely attached to the surface of the silicone case.
- Allow time to set: It’s important to let the adhesive bond properly to the silicone case. Give it a few hours to set before using it. This will help ensure a strong and durable attachment.
Remember, the attachment process may vary depending on the type of Popsocket you choose, so it’s always a good idea to read the manufacturer’s instructions for specific guidance.
Now that you have successfully attached the Popsocket to your silicone case, it’s time to enjoy the added functionality and convenience it provides. Whether you use it as a grip for better handling, a stand for hands-free viewing, or a cable management solution, your Popsocket will enhance your mobile experience.
Tips for Ensuring a Secure Attachment
Applying a Popsocket to a silicone case can provide a convenient and stylish way to grip your phone. To ensure a secure attachment and prevent any accidental drops, here are some helpful tips:
- Clean the surface: Before applying the Popsocket, make sure to clean the surface of the silicone case thoroughly. Use a mild soap solution or rubbing alcohol to remove any dirt, oil, or residue. This will help the adhesive to bond properly.
- Allow it to dry: After cleaning the silicone case, allow it to dry completely. This will ensure that the adhesive can adhere to the surface effectively.
- Find the ideal placement: Consider the most comfortable and convenient position for the Popsocket on your silicone case. You may want to experiment with different placements to find the sweet spot that suits your grip and usage.
- Apply firm pressure: When attaching the Popsocket to the silicone case, use firm and even pressure to ensure a secure bond. Press down on the Popsocket for about 15-30 seconds to allow the adhesive to activate.
- Avoid excessive stretching: While the silicone case is flexible, it’s important not to stretch it too much when applying the Popsocket. Excessive stretching can weaken the material and potentially cause the Popsocket to detach over time.
- Give it time to set: Allow the Popsocket to set and adhere to the silicone case for at least 24 hours before using it. This will give the adhesive enough time to fully bond with the surface of the case.
- Avoid exposing to extreme temperatures: Exposing your silicone case with the attached Popsocket to extreme heat or cold can weaken the adhesive bond. Try to avoid prolonged exposure to direct sunlight, hot surfaces, or freezing conditions.
- Handle with care: While Popsockets are designed to provide a secure grip, it’s important to handle your phone with care to prevent any accidental drops. Avoid excessive twisting, pulling, or tugging on the Popsocket, as it may cause it to detach from the silicone case.
By following these tips, you can ensure a secure attachment of your Popsocket to your silicone case, allowing you to comfortably and confidently handle your phone without the worry of accidental drops.
###
Introduction
Popsockets have become a popular accessory for smartphones, providing a convenient way to grip your device and stand it up for hands-free use. If you have a silicone case for your phone, you may be wondering how to stick a popsocket to it securely. In this article, we will guide you on the process of attaching a popsocket to a silicone case, ensuring a strong and durable bond that will enhance your mobile experience.
###
Choosing the Right Popsocket
Before you begin the process of sticking a popsocket to your silicone case, it’s important to choose the right popsocket for your needs. Popsockets come in various styles, designs, and sizes, so consider your preferences and the dimensions of your phone case. Make sure to select a popsocket that is compatible with the silicone material and can securely adhere to it without causing any damage. Read product reviews and recommendations to make an informed decision.
###
Preparing the Silicone Case
Proper preparation of the silicone case is crucial for a successful attachment of your popsocket. Start by cleaning the surface of the case with a mild soap and water solution or rubbing alcohol. This will help remove any dirt, oils, or residue that may hinder the adhesive’s effectiveness. Dry the case thoroughly before moving on to the next step.
###
Applying the Popsocket to the Silicone Case
When you are ready to apply the popsocket to your silicone case, follow these steps:
- Remove the adhesive backing from the popsocket carefully.
- Position the popsocket on the desired location of the silicone case, ensuring it aligns properly with the phone’s grip area.
- Press firmly and evenly on the popsocket to secure it to the case.
- Hold the popsocket in place for a few seconds to allow the adhesive to bond effectively.
- Avoid using the popsocket for at least 1 hour after application to allow the adhesive to fully set.
###
Tips for Ensuring a Secure Attachment
To ensure a secure attachment of your popsocket to the silicone case, keep the following tips in mind:
- Do not apply the popsocket near the edges of the case, as this may cause it to come loose more easily.
- Avoid placing the popsocket over any raised or protruding logos or designs on the case, as it may compromise the adhesive’s effectiveness.
- Do not excessively twist, pull, or apply pressure to the popsocket once it is attached to the case, as this may weaken the bond.
- If you notice any signs of the popsocket becoming loose, gently remove it and clean both the popsocket and the case surface before reapplying.
- Be mindful of extreme temperatures, as they can affect the adhesive’s performance. Avoid exposing your phone to excessive heat or cold.
###
Conclusion
Attaching a popsocket to a silicone case can enhance the functionality and grip of your smartphone. By choosing the right popsocket, properly preparing the silicone case, and following the recommended application process, you can ensure a secure and long-lasting attachment. Remember to follow the tips provided to maintain the integrity of the bond and enjoy the convenience of your popsocket. Now, go ahead and personalize your phone with a popsocket that suits your style and needs!
Conclusion
In conclusion, sticking a Popsocket to a silicone case is a simple process that can greatly enhance the functionality and convenience of your mobile phone. By following the steps outlined in this article, you can ensure a secure and reliable attachment, allowing you to enjoy a comfortable grip on your device and effortless use of its features.
Using a Popsocket on a silicone case offers several advantages, such as added stability while texting or taking photos, acting as a stand for hands-free viewing, and even serving as a cable management tool. The versatility and ease of use make Popsockets a popular mobile accessory for users of all ages and lifestyles.
Remember to choose a high-quality silicone case that provides ample surface area and a smooth texture to ensure a strong bond with the adhesive of the Popsocket. Take your time during the installation process, following the instructions carefully to guarantee a firm hold and long-lasting usage.
So, go ahead and give it a try! Enhance your mobile experience with a Popsocket attached to your silicone case, and enjoy the convenience and functionality it brings to your everyday life.
FAQs
Here are some frequently asked questions about sticking Popsockets to silicone cases:
-
Can you stick a Popsocket to a silicone case?
Yes, you can stick a Popsocket to a silicone case. Silicone cases provide a smooth and flexible surface that is compatible with Popsockets. However, it’s important to ensure that the surface of the case is clean and dry before attaching the Popsocket for optimal adhesion.
-
How do you remove a Popsocket from a silicone case?
To remove a Popsocket from a silicone case, gently slide your fingernail or a thin, flat object, such as a credit card, between the adhesive and the case. Apply slight pressure and gradually lift the Popsocket off the case. Be careful not to damage the case or the adhesive.
-
Will sticking a Popsocket to a silicone case affect the case’s flexibility?
No, sticking a Popsocket to a silicone case should not significantly affect the case’s flexibility. Popsockets are designed to be lightweight and thin, and silicone cases are highly flexible. The adhesive used in Popsockets is strong enough to keep the accessory in place while allowing the case to remain flexible.
-
Can I reuse a Popsocket if I change my silicone case?
Yes, you can reuse a Popsocket if you change your silicone case. Popsockets use a strong adhesive that can be reactivated by rinsing it with water. After removing the Popsocket from the old case, rinse the adhesive under water and let it air dry. Once dry, you can stick the Popsocket to your new silicone case.
-
Will sticking a Popsocket to a silicone case leave any residue?
Sticking a Popsocket to a silicone case may leave a minimal residue, especially if the Popsocket has been attached for a long time. However, this residue can usually be easily cleaned using rubbing alcohol or an adhesive remover. Make sure to follow the manufacturer’s instructions for cleaning the silicone case to avoid any damage.