
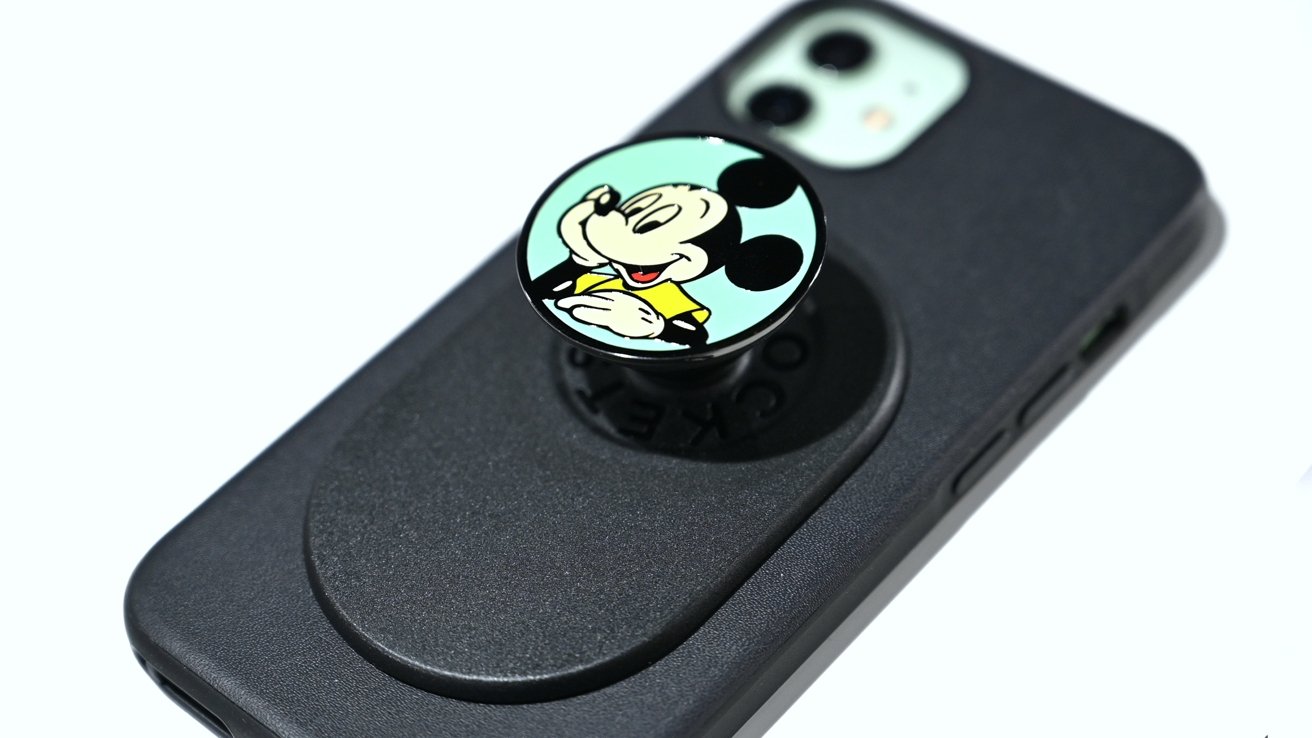
Are you tired of your Popsocket constantly slipping off your phone? If so, you’re not alone. Many people struggle with getting their Popsockets to stick securely to their devices, especially over time. However, there are some simple and effective solutions that can help you get your Popsocket to stick better, ensuring that it stays firmly in place and provides you with a secure grip while using your phone.
In this article, we will explore various tips and tricks to help you overcome the issue of a Popsocket losing its grip. Whether you want it to stick better to your phone case or directly to your device, we have you covered. So, say goodbye to constantly readjusting your Popsocket and hello to a more secure and stable grip on your phone.
Inside This Article
- Introduction
- Tips for Cleaning Your Popsocket
- Using Adhesive Strips for Better Stick
- Applying Heat for Improved Adhesion
- Using a Stronger Adhesive
- Conclusion
- Conclusion
- FAQs
Introduction
If you’re a proud owner of a popsocket, you know how convenient and versatile these little accessories can be. From providing a firm grip on your phone to acting as a portable stand, popsockets have become a must-have for many mobile users.
However, one common issue that popsocket users may encounter is the adhesive losing its stickiness over time. This can be frustrating, especially when you rely on your popsocket for a secure grip or a hands-free viewing experience. In this article, we will provide you with some tried and tested tips on how to get your popsocket to stick better, allowing you to make the most out of this nifty accessory.
But before we dive into the solutions, it’s essential to quickly address the importance of keeping your popsocket and the surface it’s attached to clean. Dirt, dust, and oils can accumulate over time, reducing the adhesive’s effectiveness. So, let’s start with some tips for cleaning your popsocket:
Tips for Cleaning Your Popsocket
Keeping your Popsocket clean is essential for ensuring it sticks better to your phone or phone case. Here are some useful tips for cleaning your Popsocket:
- Remove the Popsocket: Start by removing the Popsocket from your phone or phone case. Gently twist and lift the base of the Popsocket to detach it from the surface.
- Use a microfiber cloth: Take a clean, lint-free microfiber cloth and dampen it slightly with water. Avoid using harsh chemicals or cleaning agents as they may damage the adhesive or the design of the Popsocket.
- Wipe the surface: Gently wipe the surface of the Popsocket with the damp microfiber cloth. Pay close attention to removing any dirt, dust, or oils that may have accumulated on it.
- Dry thoroughly: After cleaning, make sure to dry the Popsocket thoroughly before reattaching it to your phone or phone case. Leaving any moisture on the surface may compromise its adhesive properties.
- Repeat if necessary: If your Popsocket is heavily soiled or stained, you may need to repeat the cleaning process. However, avoid using excessive water or immersing the Popsocket in liquid as it can damage the adhesive.
By regularly cleaning your Popsocket, you can remove any dirt or residue that may hinder its adherence. This will help ensure a better stick and keep your Popsocket looking fresh and stylish.
Using Adhesive Strips for Better Stick
If you’re looking for a simple and hassle-free solution to improve the stickiness of your Popsocket, using adhesive strips is a great option. These strips are specially designed to provide secure adhesion and are commonly used for hanging items on walls. Here’s how you can use adhesive strips to enhance the sticking power of your Popsocket:
- Clean the surface: Before applying the adhesive strips, make sure to clean the back of your phone or phone case and the adhesive side of the Popsocket. Use a mild detergent and warm water to remove any dirt or residue. Dry the surface thoroughly before proceeding.
- Cut the adhesive strips: Measure the size of your Popsocket’s base and cut the adhesive strips accordingly. It’s best to cut the strips slightly smaller than the base to ensure they are not visible when attached.
- Peel off the backing: Carefully peel off the backing from one side of the adhesive strip to expose the sticky surface.
- Attach the adhesive strip: Place the sticky side of the adhesive strip onto the back of your phone or phone case, aligning it with the desired position for your Popsocket. Press firmly to ensure it adheres securely.
- Peel off the second backing: Peel off the backing from the other side of the adhesive strip, exposing the adhesive surface.
- Attach the Popsocket: Now, firmly press the base of your Popsocket onto the adhesive strip. Make sure to align it properly with the position you desire.
- Hold and apply pressure: Hold the Popsocket in place for a few seconds and then apply pressure to ensure a strong bond between the adhesive strip and the Popsocket.
Using adhesive strips not only provides a strong adhesion for your Popsocket, but it also allows you to easily remove and reposition it if needed. If you want to change the placement of your Popsocket or swap it between different devices, you can simply remove the adhesive strip and attach a new one as desired.
Remember to follow the manufacturer’s instructions for the adhesive strips you are using, as different brands may have specific guidelines or recommendations. Additionally, make sure to check the weight capacity of the adhesive strips to ensure they can support the weight of your Popsocket and phone.
Applying Heat for Improved Adhesion
If you find that your Popsocket is not sticking well, applying heat to the adhesive can help improve its adhesion. Here are some steps you can follow to use heat for better stick:
- Prepare a hairdryer or a heat gun: You will need a source of heat to warm up the adhesive. A hairdryer on high heat or a heat gun set to a low temperature will work well for this purpose.
- Turn on the hairdryer or heat gun: Make sure it is set to the appropriate temperature for your device’s adhesive.
- Aim the heat at the back of the Popsocket: Hold the hairdryer or heat gun a few inches away from the back of the Popsocket and direct the heat towards it. Move the heat source around in a circular motion to evenly distribute the heat.
- Heat for a few seconds: Keep applying the heat for about 10-15 seconds. Heating the adhesive will make it more pliable and allow it to adhere better.
- Press and hold the Popsocket: While the adhesive is still warm, firmly press the Popsocket onto the desired surface and hold it in place for about 30 seconds. Applying pressure will ensure that the adhesive bonds securely.
It’s important to note that excessive heat can damage the adhesive or the surface of your device, so be cautious and don’t overheat it. Additionally, avoid using this method if your Popsocket has any delicate or heat-sensitive materials.
By applying heat to your Popsocket, you can help reactivate the adhesive and improve its sticking power. This method is particularly useful if you have been using your Popsocket for a while and its adhesion has weakened over time.
Using a Stronger Adhesive
If you’ve tried cleaning your Popsocket, using adhesive strips, and applying heat, but you’re still not getting the desired stickiness, it may be time to try a stronger adhesive. While Popsockets typically come with a pre-applied adhesive, there are stronger adhesives available that can provide a more secure and long-lasting hold.
One option is to use a double-sided adhesive tape specifically designed for mounting objects. These adhesive tapes are often used in the automotive industry and are known for their strong and reliable adhesion. Look for adhesive tapes that are waterproof and can withstand heat and temperature changes to ensure they hold up well on your phone.
To use a stronger adhesive, follow these steps:
- Remove the existing adhesive on your Popsocket by gently peeling it off.
- Clean the surface of your phone or phone case thoroughly to remove any dirt or residue.
- Cut a piece of the double-sided adhesive tape to fit the base of your Popsocket.
- Peel off one side of the adhesive tape and carefully apply it to the base of your Popsocket.
- Peel off the protective backing from the other side of the adhesive tape.
- Press your Popsocket firmly onto the desired location on your phone or phone case.
- Hold it in place for a few seconds to allow the adhesive to bond.
It’s important to note that using a stronger adhesive may make it more difficult to remove the Popsocket in the future without potentially damaging your phone or phone case. However, if you’re looking for a solution that provides maximum stickiness and stability, a stronger adhesive can be a viable option.
Remember to always follow the instructions provided with the adhesive tape you choose, as different brands may have specific application and usage guidelines.
Using a stronger adhesive can help to ensure that your Popsocket stays securely attached to your phone or phone case, even with frequent use and handling. However, it’s advisable to regularly check the condition of the adhesive and replace it if it begins to lose its stickiness.
With these tips and techniques, you can improve the stickiness of your Popsocket and enjoy a more secure grip on your phone. Whether you’re using it to take selfies, prop up your device, or simply add a touch of personal style, a well-sticking Popsocket can enhance your mobile experience.
Conclusion
Getting your popsocket to stick better is essential for a secure and reliable grip on your phone. By following the tips and techniques mentioned above, you can enhance the adhesion of your popsocket and enjoy a more enjoyable and worry-free mobile experience.
Remember to regularly clean your popsocket to remove dirt, oil, and debris that can hinder its stickiness. Utilize adhesive strips for added support and to ensure a strong bond between your popsocket and phone. If you’re facing issues with the adhesive strips, applying some heat can help improve the adhesion. Lastly, consider using a stronger adhesive if all else fails.
Whether you’re using your phone daily or engaging in intense activities, having a popsocket that sticks well is essential. Experiment with different cleaning methods, adhesive strips, heat application, and stronger adhesives to find the solution that works best for you.
Keep in mind that results may vary, and it’s important to properly follow the instructions provided with your popsocket and any additional products you use.
By implementing these tips, you can ensure that your popsocket stays securely attached to your phone, providing you with added grip, convenience, and peace of mind. So go ahead, enhance your mobile experience by improving the stickiness of your popsocket!
Conclusion
In conclusion, getting your Popsocket to stick better is crucial for maximizing its functionality and ensuring it stays securely attached to your phone. By following the tips and techniques outlined in this article, you can significantly improve the adhesion of your Popsocket and enjoy a hassle-free mobile experience.
Remember to properly clean and dry the surface of your phone before applying the Popsocket, as this will promote better adhesion. Additionally, applying pressure for a few seconds after attaching the Popsocket will help create a stronger bond. If you’re experiencing any issues with the adhesive, try using a hairdryer to warm it up and reactivate its stickiness.
Furthermore, investing in a high-quality Popsocket and avoiding exposure to extreme temperatures or moisture will help maintain its adhesive properties over time. Lastly, be sure to regularly check the adhesive strength of your Popsocket and replace it if necessary to avoid any accidents or damage.
With these tips and precautions in mind, you can enjoy a secure and reliable Popsocket attachment, allowing you to comfortably grip your phone, take selfies with ease, and even use it as a stand for hands-free viewing.
So go ahead, give your Popsocket the attention it deserves, and enjoy the convenience and functionality it brings to your mobile experience.
FAQs
1. Why is my Popsocket not sticking well to my phone?
Having trouble with the adhesive on your Popsocket? There could be a few reasons why it’s not sticking properly. First, make sure the surface of your phone is clean and free of any dust, oil, or residue. Use a gentle cleanser to wipe it down before applying the Popsocket. Second, the adhesive may have weakened over time. If this is the case, you can try removing the Popsocket and cleaning off any residue before applying a fresh adhesive sticker. If these steps don’t work, it may be time to consider purchasing a new Popsocket.
2. Can I use something other than the adhesive sticker that comes with the Popsocket?
While it is recommended to use the adhesive sticker that comes with your Popsocket, there are alternative methods you can try. Some people have had success using double-sided tape or adhesive strips to secure their Popsockets. Just make sure to choose a strong adhesive that will securely hold the weight of your phone.
3. How can I make my Popsocket stick better to my phone case?
If you’re using a phone case and finding that your Popsocket doesn’t stick well, there are a few things you can try. First, make sure the surface of your phone case is clean and free from any dirt or oils. You can use a damp cloth or mild cleaning solution to wipe it down. Next, consider applying the Popsocket to a different area of the case, as some materials may not adhere as well. If all else fails, you can try using a strong adhesive or consider purchasing a phone case specifically designed to work with Popsockets.
4. Can I remove and reposition my Popsocket?
Yes, you can remove and reposition your Popsocket if needed. Gently peel it off from the surface of your phone or phone case. If there is any adhesive residue left behind, you can use a mild adhesive remover or rubbing alcohol to clean it off. Once the surface is clean, you can reapply the Popsocket in your desired position.
5. Can I use a Popsocket on a non-smooth surface?
Popsockets are designed to work best on smooth surfaces, such as the back of a phone or phone case. While they may not adhere well to non-smooth surfaces, such as rubber or textured materials, you can try using a Popsocket mount or adapter that can be attached to those surfaces. These mounts provide a smooth surface for the Popsocket to adhere to, allowing you to use it on a wider range of surfaces.