
Are you the proud owner of a brand new monopod selfie stick? If so, you may be wondering how to charge it. The monopod selfie stick is a fantastic accessory that allows you to capture amazing photos and videos from unique angles. To ensure that it is always ready for use, it is important to charge it properly. In this article, we will walk you through the various methods of charging a monopod selfie stick, whether it is through a USB cable, a power bank, or even solar power. By following these instructions, you will be able to keep your monopod selfie stick fully charged and ready to capture memories wherever you go.
Inside This Article
- Charging Methods for Monopod Selfie Stick
- USB Charging Method: Connecting the Selfie Stick to a Power Source, Charging Time, and Indicator Lights
- Battery Replacement Method: Opening the Monopod Selfie Stick- Identifying and Replacing the Battery
- Solar Charging Method
- Conclusion
- FAQs
Charging Methods for Monopod Selfie Stick
A monopod selfie stick is a handy accessory for capturing perfect selfies and group photos. But to keep it fully functional, you need to ensure it has sufficient power. In this article, we will explore the different charging methods for a monopod selfie stick.
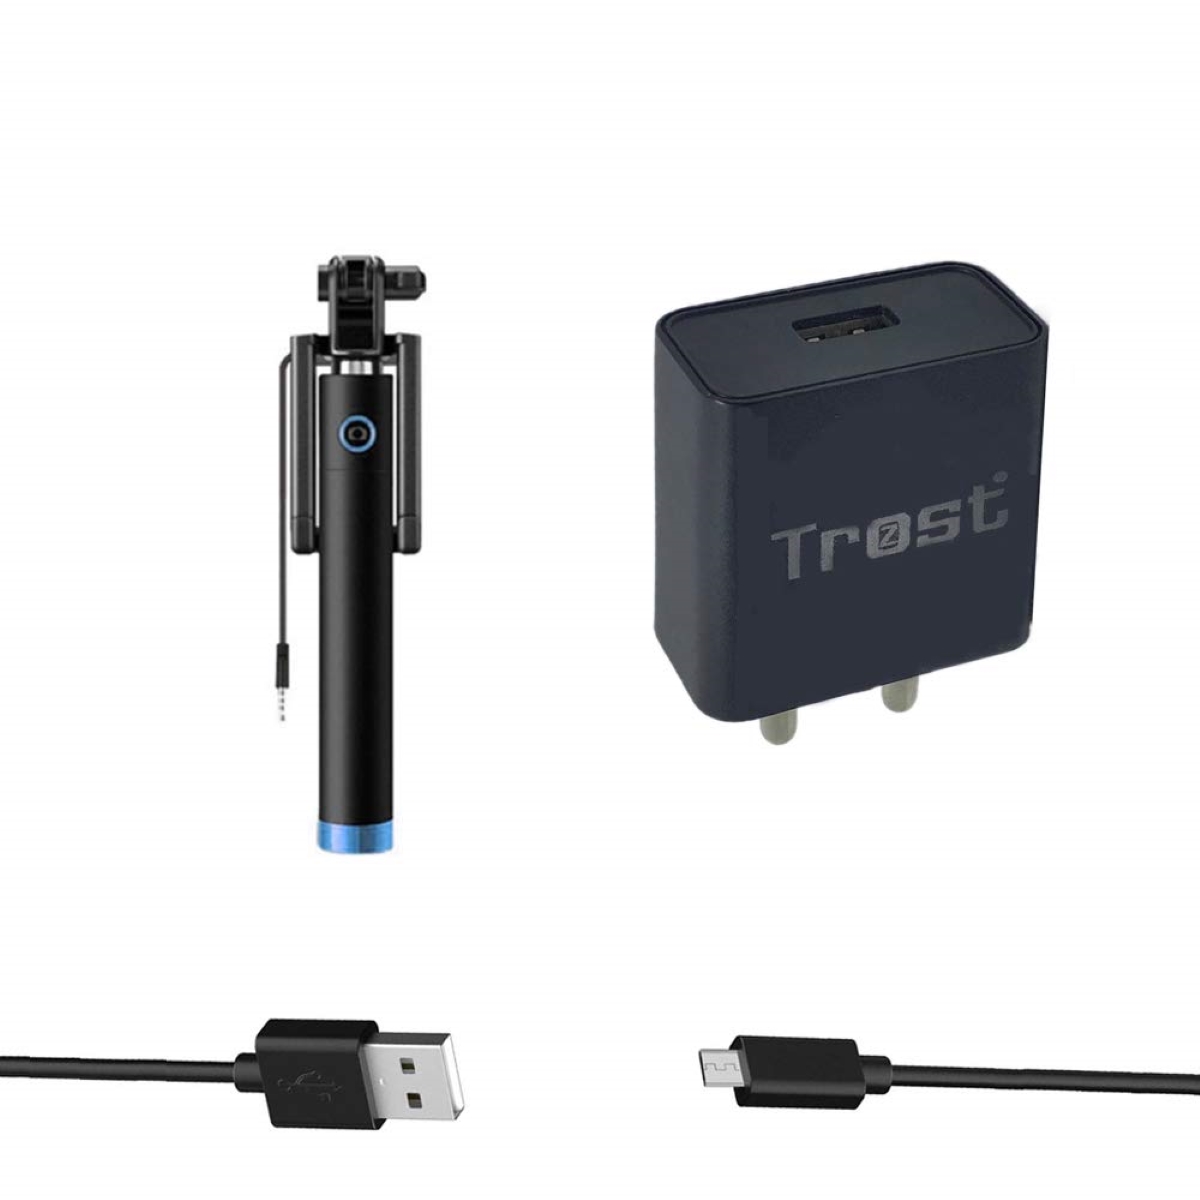
USB Charging Method: The most common and convenient way to charge a monopod selfie stick is through USB charging. It usually comes with a micro USB port that you can connect to any USB power source, such as a computer, laptop, wall adapter, or power bank. Simply plug the USB cable into the monopod selfie stick and the other end into the power source, and it will start charging. Make sure to use a reliable USB cable for fast and efficient charging.
Battery Replacement Method: Some monopod selfie sticks are equipped with removable batteries. These batteries can be charged separately using a battery charger or by simply replacing them with fresh ones. This method is particularly useful for extended use when you don’t have immediate access to a power source. Make sure to use the compatible batteries recommended by the manufacturer for optimal performance.
Solar Charging Method: Going green? Some monopod selfie sticks come with built-in solar panels, allowing you to charge them using sunlight. Simply expose the solar panel to direct sunlight, and it will convert solar energy into electrical energy, charging the monopod selfie stick. This method is perfect for outdoor enthusiasts or when you are in remote locations with limited access to electricity. However, keep in mind that solar charging may take longer compared to other methods, depending on the available sunlight.
Remember to follow the manufacturer’s instructions regarding charging time and frequency to ensure your monopod selfie stick stays powered up and ready for capturing your best moments. By utilizing these different charging methods, you can keep your monopod selfie stick fully charged and always ready for your next selfie adventure.
USB Charging Method: Connecting the Selfie Stick to a Power Source, Charging Time, and Indicator Lights
One of the most common methods to charge a monopod selfie stick is through a USB connection. This method allows you to recharge the device by connecting it to a power source, such as a laptop, desktop computer, USB wall charger, or even a portable power bank.
To begin the charging process, locate the USB port on the selfie stick. It is usually found on the handle or the bottom part of the stick. Plug one end of the USB cable into the selfie stick’s USB port and the other end into the power source.
Once connected, the selfie stick will start charging. The charging time varies depending on the battery capacity of the stick, but it usually takes a couple of hours to fully charge. It’s important to note that the charging time may differ from one model to another, so it’s always a good idea to refer to the manufacturer’s guidelines for precise information.
During the charging process, some selfie sticks have indicator lights that provide information about the charging status. These indicator lights may be located near the USB port or on the handle of the stick. The lights may change color or blink to indicate different charging stages, such as red for charging and green for fully charged.
It’s important to keep an eye on the indicator lights while charging your selfie stick. Once the lights indicate that the stick is fully charged, you can safely unplug it from the power source. Avoid overcharging the device, as it may lead to decreased battery life.
Battery Replacement Method: Opening the Monopod Selfie Stick- Identifying and Replacing the Battery
If your monopod selfie stick has a removable battery, you may need to replace it from time to time. Here’s a step-by-step guide on how to open the monopod selfie stick and identify the battery for replacement.
1. Turn off the power: Before attempting any repairs or replacements, make sure to turn off the power of your monopod selfie stick to avoid any accidents.
2. Locate the battery compartment: Look for the battery compartment on your monopod selfie stick. It is usually located at the bottom or the handle of the stick.
3. Remove the battery cover: Use your fingers or a small screwdriver to remove the battery cover. Be gentle to avoid damaging the cover or the stick itself.
4. Identify the battery: Once you have opened the battery compartment, you will see the battery inside. Take a close look at the battery to determine its size and specifications.
5. Purchase a compatible replacement battery: Use the information collected from the old battery to find a compatible replacement. Look for a battery with the same voltage and size to ensure compatibility.
6. Replace the battery: Carefully remove the old battery from the compartment and insert the new one in its place. Make sure it fits securely and snugly to avoid any issues with the connection.
7. Put the battery cover back: Once you have replaced the battery, put the battery cover back in its place. Ensure that it is properly aligned and securely fastened.
8. Test the monopod selfie stick: Turn on the power and test the monopod selfie stick to ensure that the new battery is functioning correctly. If everything works fine, you have successfully replaced the battery.
Note: If you are unsure about replacing the battery yourself, it’s always best to consult the user manual or seek professional help to avoid any damage to your monopod selfie stick.
Solar Charging Method
Solar charging is a convenient and eco-friendly way to charge your monopod selfie stick using solar energy. It harnesses the power of the sun to provide a sustainable source of power for your device. Understanding the solar panel and how it works is essential for effective solar charging.
A solar panel is made up of multiple solar cells, which convert sunlight into electricity. These cells are usually made of silicon, a semiconductor material that reacts to sunlight by producing an electric current. The amount of electricity generated depends on the intensity of the sunlight and the surface area of the solar panel.
Charging your monopod selfie stick using solar energy is relatively simple. Here are the steps to follow:
- Place the solar panel in direct sunlight: Find a spot where the solar panel can receive the most sunlight. Ideally, it should be placed outdoors or near a window with direct sunlight exposure.
- Connect the monopod selfie stick: Plug one end of the charging cable into the solar panel’s USB port and the other end into your monopod selfie stick.
- Monitor the charging progress: Keep an eye on the monopod selfie stick’s battery level to track the charging progress. Depending on the intensity of sunlight, it may take some time to fully charge the device.
- Ensure proper positioning: To maximize the efficiency of solar charging, make sure the solar panel is positioned at the optimal angle towards the sun. Adjusting the panel’s angle throughout the day can help capture the maximum amount of sunlight.
Solar charging is a great option for outdoor enthusiasts, nature lovers, and those who want to reduce their reliance on traditional power sources. It provides a sustainable and renewable way to keep your monopod selfie stick powered up wherever you go.
Conclusion
In conclusion, the Monopod Selfie Stick is not just a popular and convenient mobile accessory, but it is also easy to charge. With its built-in rechargeable battery, all you need to do is connect it to a power source using the provided USB cable. Whether it’s a power bank, laptop, or wall adapter, charging the Monopod Selfie Stick is a hassle-free process that ensures you never miss capturing those precious moments. The ability to charge the selfie stick and keep it ready for use enhances its portability and usability. So, whether you’re a travel enthusiast, social media influencer, or just someone who loves taking selfies, the Monopod Selfie Stick is a must-have accessory that will help you capture picture-perfect moments effortlessly.
FAQs
1. How do you charge the Monopod Selfie Stick?
The Monopod Selfie Stick is typically charged by connecting it to a power source using a USB cable. The USB port on the selfie stick can be plugged into a computer, a power adapter, or even a power bank. Ensure you have a compatible USB cable and connect one end to the stick’s charging port and the other end to the power source. Once connected, the selfie stick will start charging. It is important to follow the manufacturer’s instructions for charging to avoid any potential issues.
2. How long does it take to charge the Monopod Selfie Stick?
The time required to fully charge the Monopod Selfie Stick can vary depending on the model and its battery capacity. On average, it takes around 1 to 2 hours to charge a selfie stick fully. However, it is always recommended to refer to the product manual for specific charging times as different selfie sticks may have different charging requirements.
3. Can I use the Monopod Selfie Stick while it is charging?
In most cases, it is not recommended to use the Monopod Selfie Stick while it is charging. This is primarily for safety reasons and to ensure the stick is not damaged while powered. It is best to wait until the selfie stick is fully charged before using it. However, it is essential to refer to the manufacturer’s instructions or product manual for specific guidelines regarding the use of the selfie stick while charging.
4. How can I tell if the Monopod Selfie Stick is fully charged?
To determine if the Monopod Selfie Stick is fully charged, you can look for various indicators. Most selfie sticks have LED lights that illuminate when the stick is charging and turn off once it is fully charged. The LED light may change color or display a steady light to indicate the charging status. Additionally, some selfie sticks may emit a sound or vibration to alert the user when the charging process is complete. Again, it is important to refer to the instructions provided by the manufacturer to understand the specific charging indicators for your selfie stick model.
5. How long does the battery of the Monopod Selfie Stick last?
The battery life of the Monopod Selfie Stick will depend on various factors, including usage and the stick’s battery capacity. On average, a fully charged selfie stick can provide anywhere from 20 minutes to several hours of continuous usage. However, keep in mind that using additional features such as Bluetooth connectivity and LED lights can decrease the battery life. It is advisable to refer to the product manual for detailed information on the battery life of your specific selfie stick model.