
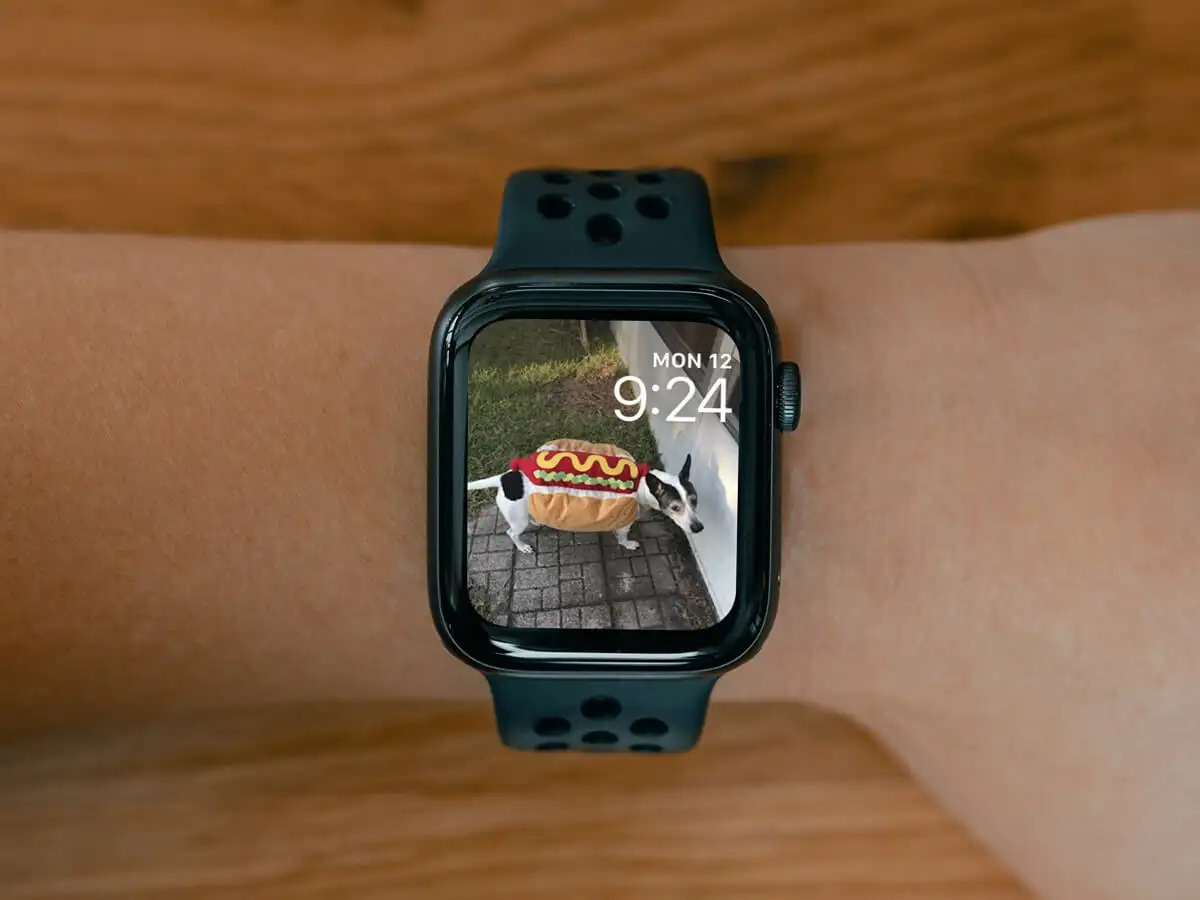
Are you looking to personalize your smartwatch? Adding a photo to your smartwatch can be a great way to make it your own. Whether you want to display a picture of your loved ones, your favorite pet, or a scenic view, adding a photo to your smartwatch is a simple yet effective way to customize it. In this article, we will guide you through the process of adding a photo to your smartwatch. We will cover different types of smartwatches and the various methods you can use to accomplish this task. So, if you’re ready to give your smartwatch a personal touch, let’s dive in and learn how to add a photo to your smartwatch.
Inside This Article
- Method 1: Using a Companion App
- Method 2: Transferring Photos via USB
- Method 3: Using Bluetooth File Transfer
- Method 4: Using Cloud Storage
- Conclusion
- FAQs
Method 1: Using a Companion App
In this method, we will guide you through the steps to add a photo to your smartwatch using a companion app. Follow the steps below to get started:
Step 1: Download and Install the Companion App
The first step is to download and install the companion app on your smartphone. The companion app is designed to work seamlessly with your smartwatch and allows you to easily transfer photos and other files.
Step 2: Connect your Smartwatch to the Companion App
Once you have installed the companion app, open it on your smartphone and follow the instructions to connect your smartwatch. This usually involves turning on Bluetooth on both devices and selecting your smartwatch from the available devices list in the app.
Step 3: Select the Photo you want to Add
With your smartwatch connected to the companion app, you can now choose the photo you want to add from your smartphone’s gallery or any other location where your photos are stored. Browse through the options and select the photo you want to transfer.
Step 4: Adjust the Photo Settings
Once you have selected the photo, you may need to adjust its settings to fit the display of your smartwatch. This could include resizing or cropping the photo to ensure it appears correctly on the watch face. Use the editing tools provided by the companion app to make any necessary adjustments.
Step 5: Sync the Photo to your Smartwatch
After making the necessary adjustments, you are ready to sync the photo to your smartwatch. Follow the prompts in the companion app to initiate the transfer process. The time it takes to sync the photo will depend on the size of the file and the speed of your connection.
Once the sync is complete, you should see the photo displayed on your smartwatch. You can now enjoy your favorite image on your wrist, adding a personal touch to your smartwatch experience.
Method 2: Transferring Photos via USB
Transferring photos to your smartwatch via USB is a straightforward method that requires a simple connection between your smartwatch and computer. By following the steps below, you can easily add your favorite photos to your smartwatch:
Step 1: Connect your Smartwatch to your Computer via USB
The first step is to establish a physical connection between your smartwatch and computer using a USB cable. Locate the USB port on your smartwatch and connect it to an available USB port on your computer. Ensure that the connection is secure and stable.
Step 2: Open the Smartwatch Storage on your Computer
Once the connection is established, navigate to your computer’s file manager or explorer and locate the smartwatch storage. This may appear as a separate device or drive, depending on your operating system. Open the smartwatch storage to access its contents and prepare for the photo transfer.
Step 3: Copy and Paste the Photos to the Smartwatch
With the smartwatch storage open on your computer, you can now select the photos you wish to transfer. Browse through your computer’s file system to locate the desired photos. Once you have found the photos, simply copy them and navigate to the smartwatch storage. Paste the photos into the appropriate folder or location within the smartwatch storage.
Step 4: Safely Eject the Smartwatch from the Computer
After successfully transferring the photos to your smartwatch, it is crucial to safely eject the device from your computer. This helps prevent any potential data corruption or damage. Depending on your operating system, you can safely eject the smartwatch storage by right-clicking on it and selecting the “Eject” option. Once ejected, disconnect the USB cable from both your smartwatch and computer.
By following these four simple steps, you can easily transfer photos from your computer to your smartwatch via USB. Now you can enjoy your favorite memories right on your wrist, making your smartwatch even more personalized and enjoyable.
Method 3: Using Bluetooth File Transfer
Step 1: Enable Bluetooth on your Smartwatch and Smartphone
Before transferring photos via Bluetooth, make sure that the Bluetooth feature is enabled on both your smartwatch and smartphone. This will allow them to establish a wireless connection and facilitate the file transfer process.
Step 2: Pair your Smartwatch and Smartphone
Next, you need to pair your smartwatch and smartphone. This involves establishing a secure connection between the two devices. Go to the Bluetooth settings on your smartwatch and smartphone and select the option to pair or connect.
Step 3: Open the File Manager on your Smartphone
Once your smartwatch and smartphone are paired, open the file manager on your smartphone. This can usually be found in the app drawer or as a shortcut on your home screen. The file manager allows you to browse through the files and folders stored on your device.
Step 4: Select the Photo you want to Transfer
Locate the photo you want to transfer from your smartphone to your smartwatch. Use the file manager to navigate to the folder where the photo is stored. Once you find the photo, tap on it to select it.
Step 5: Send the Photo to your Smartwatch via Bluetooth
With the photo selected, tap on the share option in the file manager. This will bring up a list of available sharing methods. Choose the Bluetooth option from the list. Your smartphone will then search for available devices, including your paired smartwatch. Select your smartwatch from the list and initiate the transfer. The photo will be sent wirelessly via Bluetooth and saved on your smartwatch.
Using Bluetooth file transfer is a convenient way to transfer photos from your smartphone to your smartwatch without the need for any additional apps or cables. Just ensure that Bluetooth is enabled, pair the devices, select the photo, and send it wirelessly. Enjoy having your favorite photos on your smartwatch wherever you go!
Method 4: Using Cloud Storage
Cloud storage has become a popular method for storing and accessing files, including photos, across multiple devices. If your smartwatch supports cloud storage, you can easily add photos to it using this method. Here are the steps:
Step 1: Install the Cloud Storage App on your Smartwatch
The first step is to install the cloud storage app on your smartwatch. Depending on the brand and operating system of your smartwatch, you may have different options available. Some popular cloud storage apps compatible with smartwatches include Dropbox, Google Drive, and Microsoft OneDrive. Visit the app store on your smartwatch and search for the app of your choice. Download and install it.
Step 2: Sign in and Sync your Cloud Storage Account
Once you have installed the cloud storage app, open it on your smartwatch and sign in to your account. If you don’t have an account yet, create one using your email address. Once you have signed in, make sure to sync your cloud storage account with your smartwatch. This will ensure that your photos and other files are accessible on your smartwatch.
Step 3: Upload the Photos to your Cloud Storage Account
Now that your cloud storage app is set up on your smartwatch, it’s time to upload the photos you want to add. Open the app and navigate to the specific folder or location where you want to store your photos. Then, select the photos from your smartwatch’s gallery or file manager and upload them to your cloud storage account. Make sure to follow any prompts or instructions provided by the app to successfully complete the upload process.
Step 4: Access and Download the Photos on your Smartwatch
After you have uploaded the photos to your cloud storage account, you can access and download them on your smartwatch. Open the cloud storage app on your smartwatch and navigate to the folder or location where you stored the photos. You should be able to see the uploaded photos. To download them, simply select the photos you want to add and choose the download option. The photos will be saved to your smartwatch’s internal storage or SD card, depending on the device.
Using cloud storage is a convenient way to add photos to your smartwatch. It allows you to easily access and manage your photos across multiple devices. Whether you want to add a collection of memorable moments or simply change up your smartwatch’s wallpaper, using cloud storage is a seamless and efficient method.
Conclusion
Adding a photo to your smartwatch is a great way to personalize your device and make it truly yours. Not only can you display a cherished memory or a favorite picture, but you can also use it as a convenient way to have important information readily available at a glance.
By following the steps outlined in this article, you can easily add a photo to your smartwatch and enjoy a more personalized and visually appealing experience. Whether you have an Apple Watch, Samsung Galaxy Watch, or any other smartwatch brand, the process is relatively straightforward and can be completed in just a few minutes.
So why not give it a try? Choose your favorite photo, follow the steps, and make your smartwatch truly unique. With a photo on your wrist, you’ll not only stay up to date on your notifications but also carry a piece of your cherished memories with you wherever you go.
FAQs
Q: Do all smartwatches support adding photos?
A: Not all smartwatches have the capability to add photos. It depends on the specific model and its features. Make sure to check the specifications of your smartwatch to see if it supports adding photos.
Q: How do I add a photo to my smartwatch?
A: The process of adding a photo to a smartwatch varies depending on the model and operating system. In most cases, you will need to connect your smartwatch to your smartphone or computer and use the accompanying app or software. Follow the instructions provided by the manufacturer to transfer the photo to your smartwatch.
Q: What file formats are supported for adding photos to a smartwatch?
A: Different smartwatches support different file formats for adding photos. The most commonly supported formats include JPEG and PNG. Check the user manual or the manufacturer’s website for information on the supported file formats for your specific smartwatch.
Q: Can I add multiple photos to my smartwatch?
A: The ability to add multiple photos to a smartwatch depends on the storage capacity of the device. Some smartwatches have limited storage and may only allow a few photos to be added. Others may have more storage and can accommodate a larger number of photos. Check the specifications of your smartwatch to determine its storage capacity.
Q: Can I set a photo as the watch face on my smartwatch?
A: Many smartwatches offer the option to set a photo as the watch face. This allows you to personalize your smartwatch and display a favorite photo on the screen. However, not all smartwatches support this feature, so you should check the capabilities of your specific smartwatch to see if it has the option to set a photo as the watch face.