
Are you experiencing issues with the joystick on your game controller? Is the range of motion on the joystick not as responsive as you’d like? If so, you may need to adjust the deadzone of your joystick. The deadzone refers to the area around the center of the joystick where no inputs are registered, which can result in unresponsiveness or inaccurate movements. By adjusting the deadzone, you can optimize the joystick’s responsiveness and improve your gaming experience. In this article, we will guide you through the process of adjusting the deadzone on a joystick, providing you with the knowledge and tools to fine-tune your gaming controls. Let’s dive in and learn how to ensure that your joystick responds accurately to your every move.
Inside This Article
- Understanding Deadzones in Joysticks
- Adjusting Deadzone Settings on Different Platforms
- Adjusting Deadzone Settings on PC
- Adjusting Deadzone Settings on Console
- Conclusion
- FAQs
Understanding Deadzones in Joysticks
In the world of gaming, the joystick plays a crucial role in controlling characters, vehicles, and actions. However, you may have noticed that sometimes the joystick doesn’t respond as expected or has unintentional movements. This issue can be attributed to a concept called “deadzones.”
A deadzone in a joystick refers to the area within which the joystick doesn’t register any movement. It is the neutral zone where the joystick rests before any input is received. Deadzones are typically designed to prevent accidental inputs caused by joystick drift or sensitivity.
When a joystick is not properly calibrated or has wear and tear, it can develop a larger deadzone. This means that you have to move the joystick further from the neutral position before it registers any input. On the other hand, a smaller deadzone requires less movement to trigger a response from the joystick.
Deadzones can significantly impact gameplay, especially in fast-paced action or precision-based games. If your joystick has a large deadzone, you may find it challenging to make small, precise movements, affecting your accuracy. On the contrary, a smaller deadzone can lead to unwanted or accidental movements, impeding your control over the game.
Understanding the deadzone of your joystick is essential to optimize your gaming experience. By adjusting the deadzone settings, you can customize the joystick’s sensitivity according to your preferences and playing style.
Adjusting Deadzone Settings on Different Platforms
Deadzone settings on a joystick can greatly impact the responsiveness and precision of your gaming experience. Understanding how to adjust the deadzone settings on different gaming platforms is essential to optimize your gameplay. In this article, we will explore the steps for adjusting deadzone settings on both PC and console platforms.
First, let’s take a look at adjusting deadzone settings on a PC. Many PC games offer built-in deadzone adjustment options, allowing you to fine-tune the joystick sensitivity according to your preferences. To access these settings, navigate to the game’s control options or controller settings menu. Look for an option that mentions deadzone, sensitivity, or controller calibration. Adjust the deadzone slider or numeric value until you find the optimal setting that minimizes any unwanted joystick movements while still maintaining responsiveness.
On the other hand, adjusting deadzone settings on a console may vary depending on the specific console and game. For PlayStation consoles, head to the Settings menu and select ‘Devices’ or ‘Controllers.’ Look for the option that allows you to calibrate your controller. Follow the on-screen instructions to access the deadzone settings and adjust them to your liking. On Xbox consoles, go to the Settings menu, select ‘Devices & connections,’ and then choose the ‘Controller’ option. From there, select ‘Controller configuration’ and look for the deadzone settings.
It’s worth noting that some games may not have deadzone adjustment options within their settings menus. In such cases, you may need to rely on third-party software or controller customization tools to adjust the deadzone settings. These tools often provide more advanced customization options to cater to your specific preferences.
By adjusting the deadzone settings on your joystick, you can ensure that your movements are registered accurately and that any unwanted inputs are minimized. This can be especially beneficial in games that require precise control, such as first-person shooters or racing games. Experimenting with different deadzone settings is key to finding the ideal balance between responsiveness and precision.
Remember, each game and platform may have slight variations in the steps required to adjust deadzone settings. It’s always a good idea to refer to the game’s documentation or online support resources for more specific instructions.
Adjusting Deadzone Settings on PC
If you are a PC gamer, adjusting the deadzone settings on your joystick can greatly improve your gaming experience. Deadzones refer to the small area around the joystick’s center position where no input is registered. This is designed to prevent accidental movements. However, sometimes the default deadzone settings may not suit your preferences and can affect your gameplay. Thankfully, adjusting the deadzone settings on PC is a relatively straightforward process.
Step 1: Accessing the Joystick Settings
The first step is to access the joystick settings on your PC. This can be done through the control panel or the settings menu, depending on your operating system. In the control panel, navigate to the “Devices and Printers” or “Game Controllers” section. Alternatively, you can search for “Joystick” in the settings menu.
Step 2: Calibration
Once you have accessed the joystick settings, look for the calibration option. This will allow you to test the joystick’s input and make adjustments accordingly. Follow the on-screen instructions to calibrate the joystick. During the calibration process, pay close attention to the deadzone area and how the joystick responds. This will help you determine the amount of deadzone adjustment required.
Step 3: Adjusting the Deadzone Settings
After the calibration process, you should see an option to adjust the deadzone settings. This may be labeled as “Deadzone,” “Input Threshold,” or something similar. Depending on the software or driver you are using, there may be a slider or a numerical value to adjust. Lowering the deadzone value will reduce the size of the deadzone area, while increasing it will make the joystick less sensitive to subtle movements. Experiment with different deadzone settings until you find the ideal balance for your gameplay.
Step 4: Testing and Fine-tuning
Once you have adjusted the deadzone settings, it’s time to test them in a game. Load up a game that utilizes the joystick and pay attention to how the joystick responds to your inputs. If you still feel that the deadzone is too large or too small, go back to the joystick settings and make further adjustments until you achieve the desired sensitivity. Remember, finding the perfect deadzone settings may require some trial and error.
Step 5: Save and Apply the Changes
Once you are satisfied with the deadzone settings, be sure to save and apply the changes. This ensures that the adjusted deadzone settings are applied to the joystick every time you use it for gaming.
Step 6: Additional Software and Customization
In addition to the built-in settings on your PC, some games and third-party software may offer more advanced deadzone customization options. These options can provide even greater control and fine-tuning. If you want to dive deeper into deadzone adjustments, consider exploring these additional software options to further enhance your gaming experience.
By following these steps, you can easily adjust the deadzone settings on your joystick for PC gaming. Customizing the deadzone can help eliminate any unwanted movements and ensure precise control, allowing you to fully immerse yourself in your favorite games.
Adjusting Deadzone Settings on Console
Adjusting the deadzone settings on your console can significantly improve the responsiveness and precision of your joystick. Deadzones refer to the area around the center of the joystick where slight movements do not register. By reducing the deadzone, you can ensure that even the smallest joystick movements are detected by your console, providing a smoother and more accurate gaming experience.
Here is a step-by-step guide on how to adjust deadzone settings on popular gaming consoles:
1. Xbox One:
– Go to “Settings” on your Xbox One console.
– Select “Devices & Connections” and then choose “Controller”.
– Under “Controller”, select “Thumbstick sensitivity”.
– Adjust the “Deadzone” slider to decrease or increase the deadzone according to your preference.
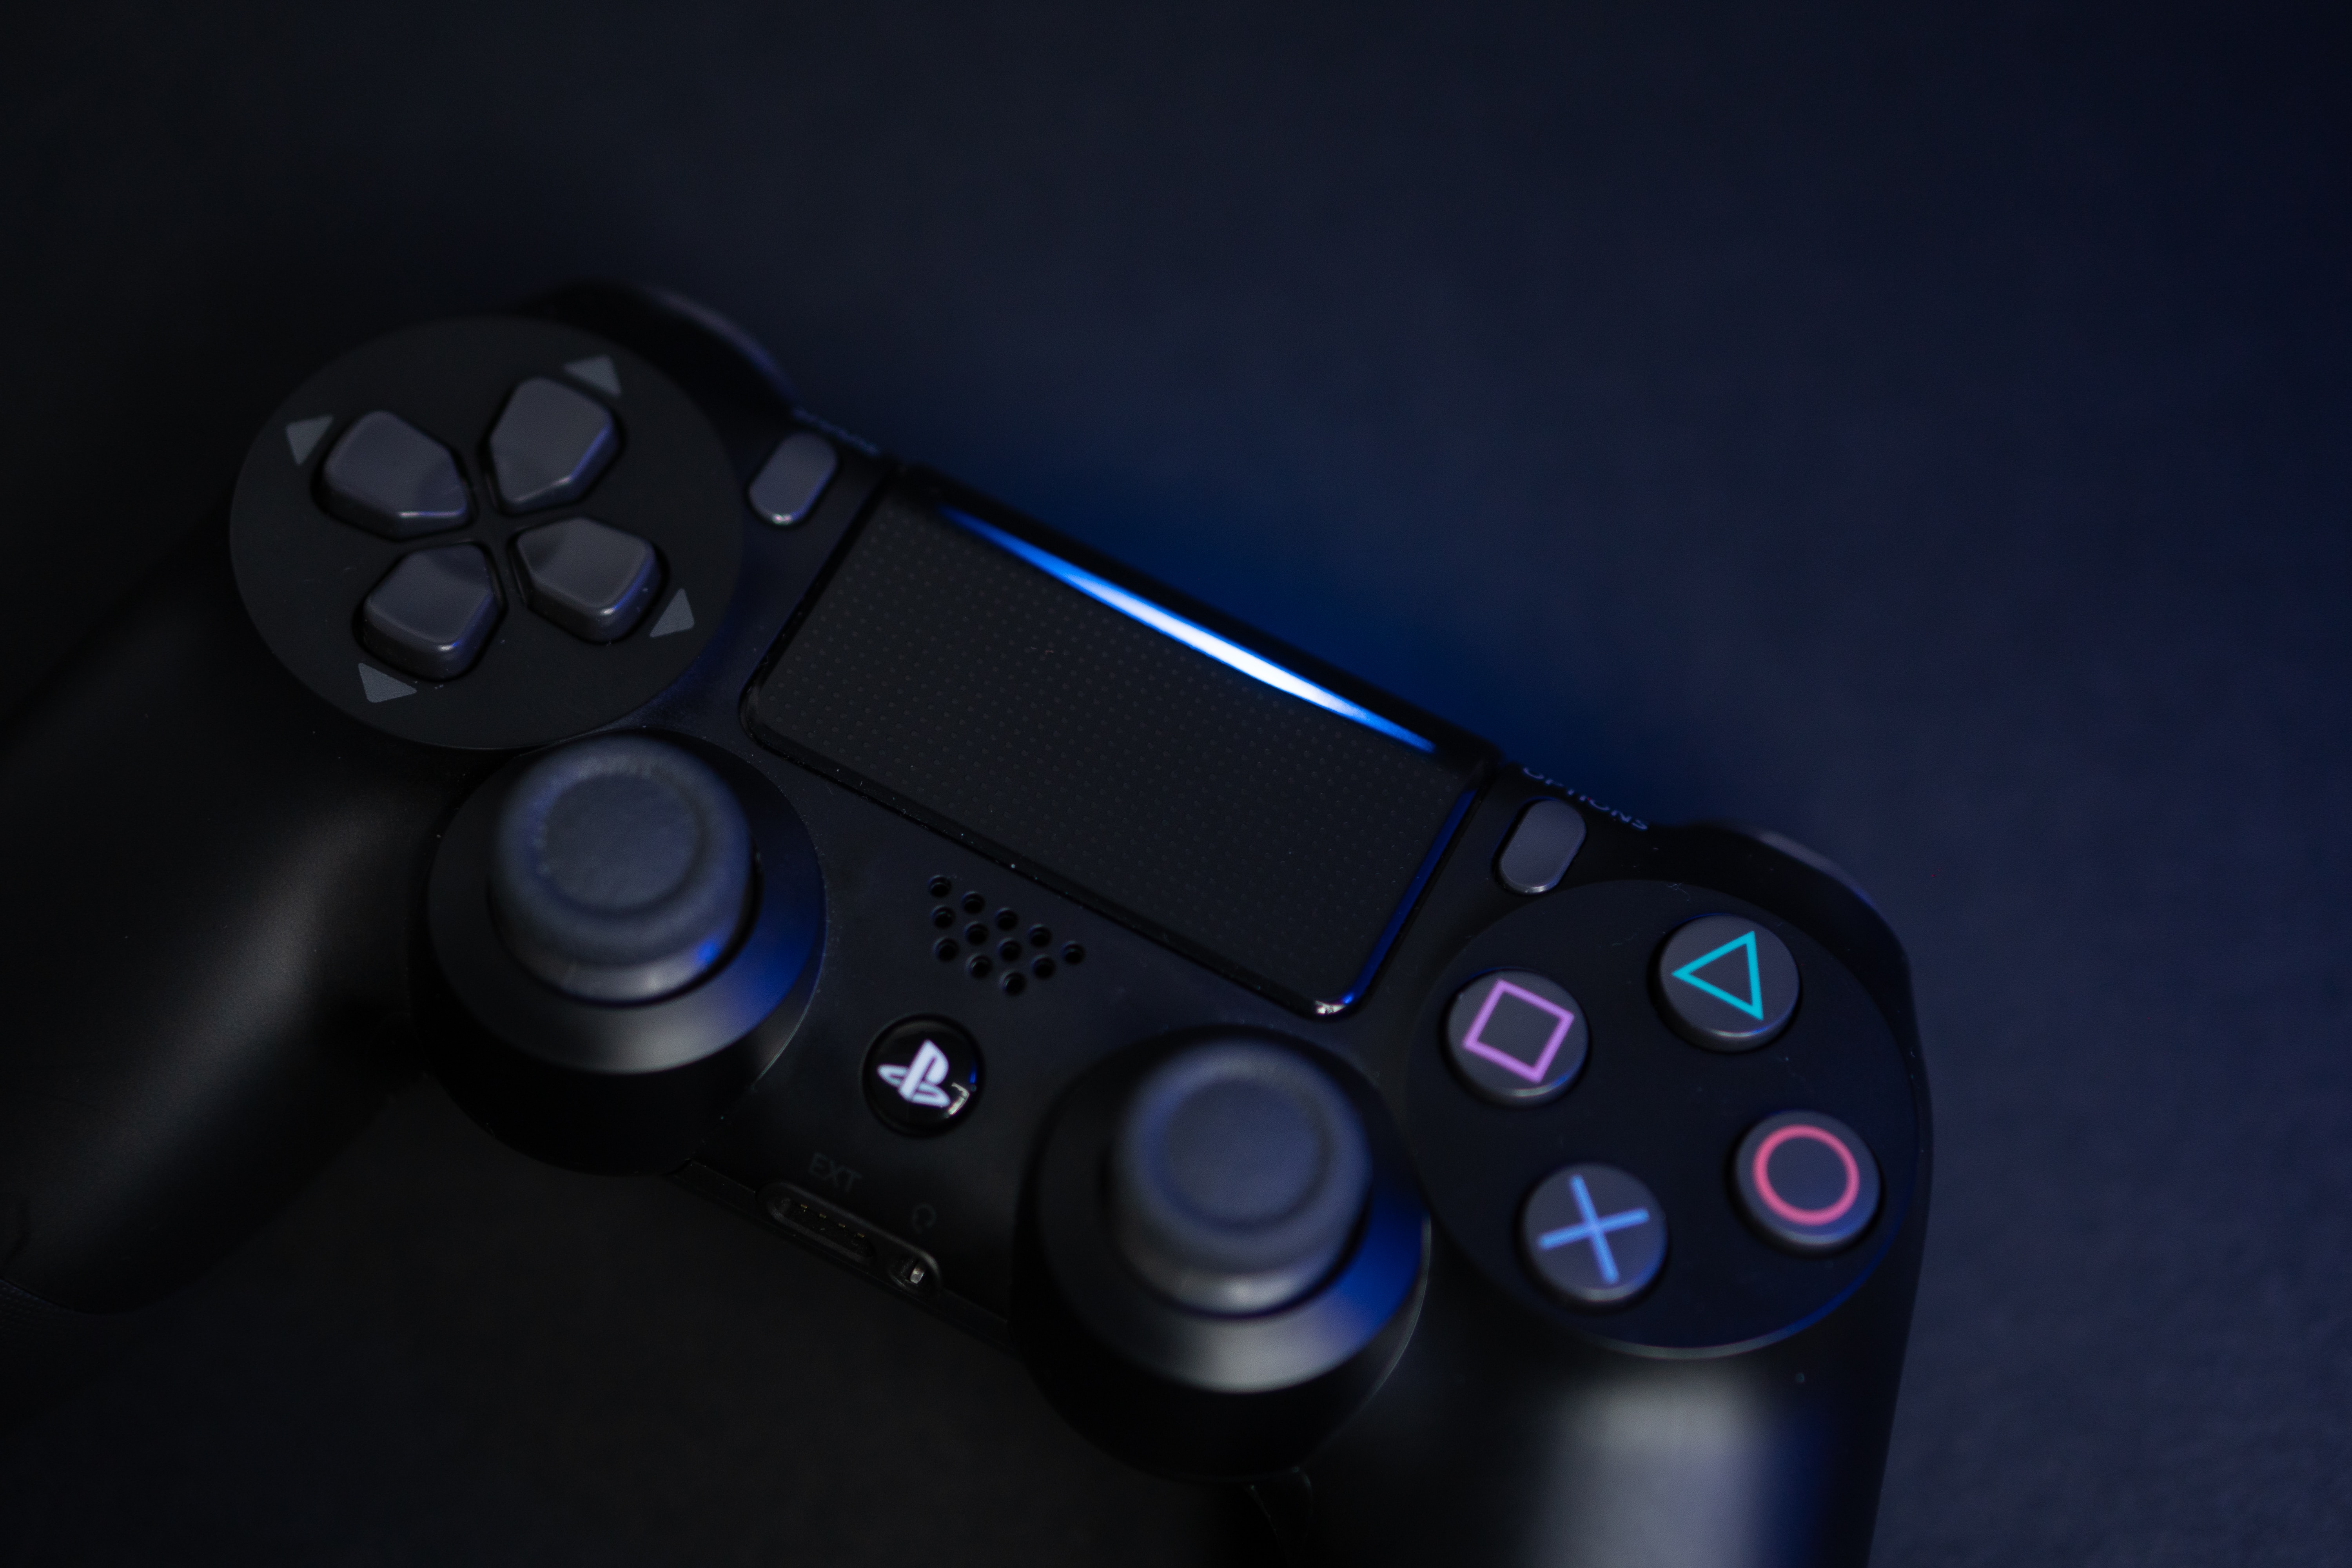
2. PlayStation 4:
– Navigate to the “Settings” menu on your PlayStation 4.
– Select “Devices” and then choose “Controllers”.
– Under “Controllers”, select “Adjust Analog Stick’s Dead Zone.
– Use the left stick to adjust the deadzone level to your liking.
3. Nintendo Switch:
– From the home screen, select “System Settings” on your Nintendo Switch.
– Scroll down and choose “Controllers and Sensors”.
– Select “Calibration” and then pick “Calibrate Control Sticks”.
– Follow the on-screen instructions to fine-tune the deadzone settings for your controllers.
Remember to test out different levels of deadzone adjustments to find the setting that feels most comfortable for you. It may take some trial and error to determine the ideal deadzone size that suits your gameplay style.
Conclusion
The deadzone of a joystick is an important setting that affects the responsiveness and accuracy of your gaming experience. By adjusting the deadzone, you can eliminate any unwanted, unresponsive movements and ensure precise control over your character or vehicle in the game.
Whether you’re a casual gamer or a professional, understanding how to adjust the deadzone can greatly improve your gameplay. Take the time to experiment with different deadzone settings based on your personal preferences and the specific game you’re playing.
Remember, achieving the perfect deadzone setting might require some trial and error, as it varies from person to person. Consider factors such as the sensitivity of your joystick, your gaming style, and the type of game you’re playing. With practice and patience, you’ll be able to pinpoint the ideal deadzone setting that enhances your gaming performance.
So, don’t underestimate the impact of deadzone adjustments on your gaming experience. Take control, fine-tune your joysticks, and enjoy smoother, more responsive gameplay!
FAQs
Q: What is a deadzone on a joystick?
A: A deadzone on a joystick refers to the area within which joystick movements are not registered or recognized by the device. It is an important setting that determines how sensitive or responsive the joystick is to your input.
Q: Why would I need to adjust the deadzone on my joystick?
A: Adjusting the deadzone on your joystick allows you to customize its sensitivity and responsiveness according to your preferences. By reducing the deadzone, you can make the joystick more reactive, while increasing it can help minimize accidental movements.
Q: How do I adjust the deadzone on my joystick?
A: The process of adjusting the deadzone on a joystick depends on the device or game you are using. Some joysticks have built-in software or settings that allow you to modify the deadzone. In games, you may find deadzone settings within the controller or input options. Consult the user manual or the game settings menu for specific instructions.
Q: Can I adjust the deadzone on a console controller?
A: Yes, many modern console controllers, such as those for PlayStation or Xbox, offer deadzone adjustment options. These settings can usually be found within the controller or input settings menu on the console. However, it’s important to note that not all console games may provide this feature.
Q: What are the benefits of adjusting the deadzone on a joystick?
A: Adjusting the deadzone can improve your gaming experience in several ways. By fine-tuning the deadzone, you can achieve better control and precision during gameplay. It can also help reduce or eliminate any unwanted or accidental movements that may occur due to joystick sensitivity.