
When it comes to protecting the delicate screens of our beloved smartphones, it’s essential to invest in a high-quality screen protector. One popular brand that stands out in the market is Skinomi. With their innovative technology and precision-cut designs, Skinomi screen protectors offer a reliable shield against scratches, smudges, and everyday wear and tear.
In this article, we will guide you through the step-by-step process of applying a Skinomi screen protector to your device, ensuring a bubble-free installation and a crystal-clear viewing experience. Whether you’re a novice or an experienced user, these simple instructions will help you achieve a flawless result, preserving the integrity and longevity of your smartphone’s display.
So, grab your Skinomi screen protector, follow along, and let’s get started on securing and safeguarding your phone’s screen!
Inside This Article
- Introduction
- Step 1: Gather the Necessary Materials
- Step 2: Clean Your Device’s Screen
- Step 3: Prepare the Skinomi Screen Protector
- >Step 4: Apply the Screen Protector to Your Device<
- Step 5: Remove Air Bubbles and Align the Protector
- Step 6: Final Touches and Additional Tips
- Conclusion
- FAQs
Introduction
In today’s fast-paced world, cell phones have become an integral part of our lives. We rely on them for communication, entertainment, and staying connected. But as much as we love our mobile devices, they are susceptible to scratches, smudges, and even cracked screens. That’s where screen protectors come in.
One of the most popular brands of screen protectors is Skinomi. Skinomi specializes in creating high-quality protective films that shield your mobile device’s screen from damage without sacrificing touch sensitivity or display clarity. In this article, we will guide you step-by-step on how to apply a Skinomi screen protector to your cell phone, ensuring a smooth and bubble-free installation.
But before we dive into the application process, let’s first talk about the importance of using a screen protector. A screen protector acts as an extra layer of defense, guarding your phone’s screen against scratches and scuffs from everyday use. It can also help reduce glare and smudges, maintaining the overall clarity of your device’s display. Plus, in the event of a drop or impact, a screen protector can absorb some of the force and minimize the risk of a cracked screen.
Now that we understand the significance of a screen protector, let’s get started on how to apply a Skinomi screen protector properly. Following these steps will help ensure a seamless installation, giving your device the protection it needs while maintaining its sleek and stylish appearance.
Step 1: Gather the Necessary Materials
Before you begin the process of applying a Skinomi screen protector to your device, it is important to gather all the necessary materials. Having everything at hand will help ensure a smooth and hassle-free installation. Here are the essential materials you will need:
- A Skinomi screen protector specifically designed for your device
- A microfiber cloth or cleaning wipe
- A dust removal sticker or tape
- A plastic card or squeegee for smoothing out air bubbles
- A clean and well-lit workspace
Having these materials ready will save you time and prevent any interruptions during the installation process. Make sure that the Skinomi screen protector you have is compatible with your device model, as using the wrong one may not provide proper coverage or alignment.
Now that you have gathered all the necessary materials, you are ready to move on to the next step of preparing your device for the installation of the Skinomi screen protector.
Step 2: Clean Your Device’s Screen
Before applying the Skinomi screen protector, it’s crucial to ensure that your device’s screen is thoroughly clean. Any dust, fingerprints, or dirt particles left on the screen can create imperfections and affect the adhesive’s effectiveness.
Here are the steps to clean your device’s screen:
- Gather the cleaning materials: You will need a microfiber cloth, screen cleaner solution, and if necessary, a dust removal sticker or tape.
- Power off your device: To avoid accidental screen taps or smudging during the cleaning process, it’s best to power off your device.
- Use a microfiber cloth: Start by gently wiping the screen with a microfiber cloth to remove any loose dirt or dust particles. Make sure to be gentle and avoid pressing too hard, as this can damage the screen.
- Apply screen cleaner solution: If your device’s screen is still not clean, you can dampen the microfiber cloth with a small amount of screen cleaner solution. Ensure that the cloth is only damp, not dripping wet.
- Clean the screen: Gently wipe the screen in a circular motion, covering all areas to remove fingerprints, smudges, or any stubborn dirt. Pay extra attention to the edges and corners of the screen, as these areas are often overlooked.
- Dry the screen: After cleaning, use a dry part of the microfiber cloth to wipe away any excess moisture on the screen. Ensure that the screen is completely dry before proceeding to apply the screen protector.
- Inspect the screen: Once the screen is dry, visually inspect it to make sure there are no remaining streaks, smudges, or dust particles. If needed, repeat the cleaning process until the screen is spotless.
Following these steps to clean your device’s screen thoroughly will provide the best surface for applying the Skinomi screen protector. Remember, a clean screen will result in a seamless and bubble-free installation, enhancing the overall user experience.
Step 3: Prepare the Skinomi Screen Protector
Now that you have a clean device and the necessary materials, it’s time to prepare the Skinomi screen protector for installation. Here’s how:
- Locate the Skinomi screen protector: Open the package and find the screen protector. Skinomi usually provides a set of screen protectors, so make sure you choose the correct one for your device model.
- Check the alignment: Before removing the protective backing, hold the screen protector up to your device’s screen to ensure it aligns properly. Take note of any cutouts for the camera, sensors, or home button, if applicable.
- Read the instructions: Skinomi provides detailed instructions on their packaging or website. Take a moment to read through the instructions to familiarize yourself with the installation process specific to your device model.
- Peel the protective backing: Carefully peel off the protective backing of the screen protector, exposing the adhesive side while being careful not to touch the adhesive with your fingers.
- Mist the adhesive side: Using the spray bottle of solution provided with the Skinomi screen protector, lightly mist the adhesive side of the protector. This will help prevent it from sticking prematurely during installation.
- Prepare a clean workspace: Find a clean and well-lit area to work on where you can lay down the screen protector and have your device within reach.
- Optional: Use a dust removal sticker: If the Skinomi packaging includes a dust removal sticker, use it to gently remove any dust or particles that may be on your device’s screen. This step can help ensure a smooth and bubble-free application.
- Get ready to apply: With the Skinomi screen protector prepped and your workspace set up, you’re now ready to apply it to your device’s screen.
Remember, following the manufacturer’s instructions and taking your time during this preparation step will help ensure a successful installation and optimal protection for your device’s screen.
<
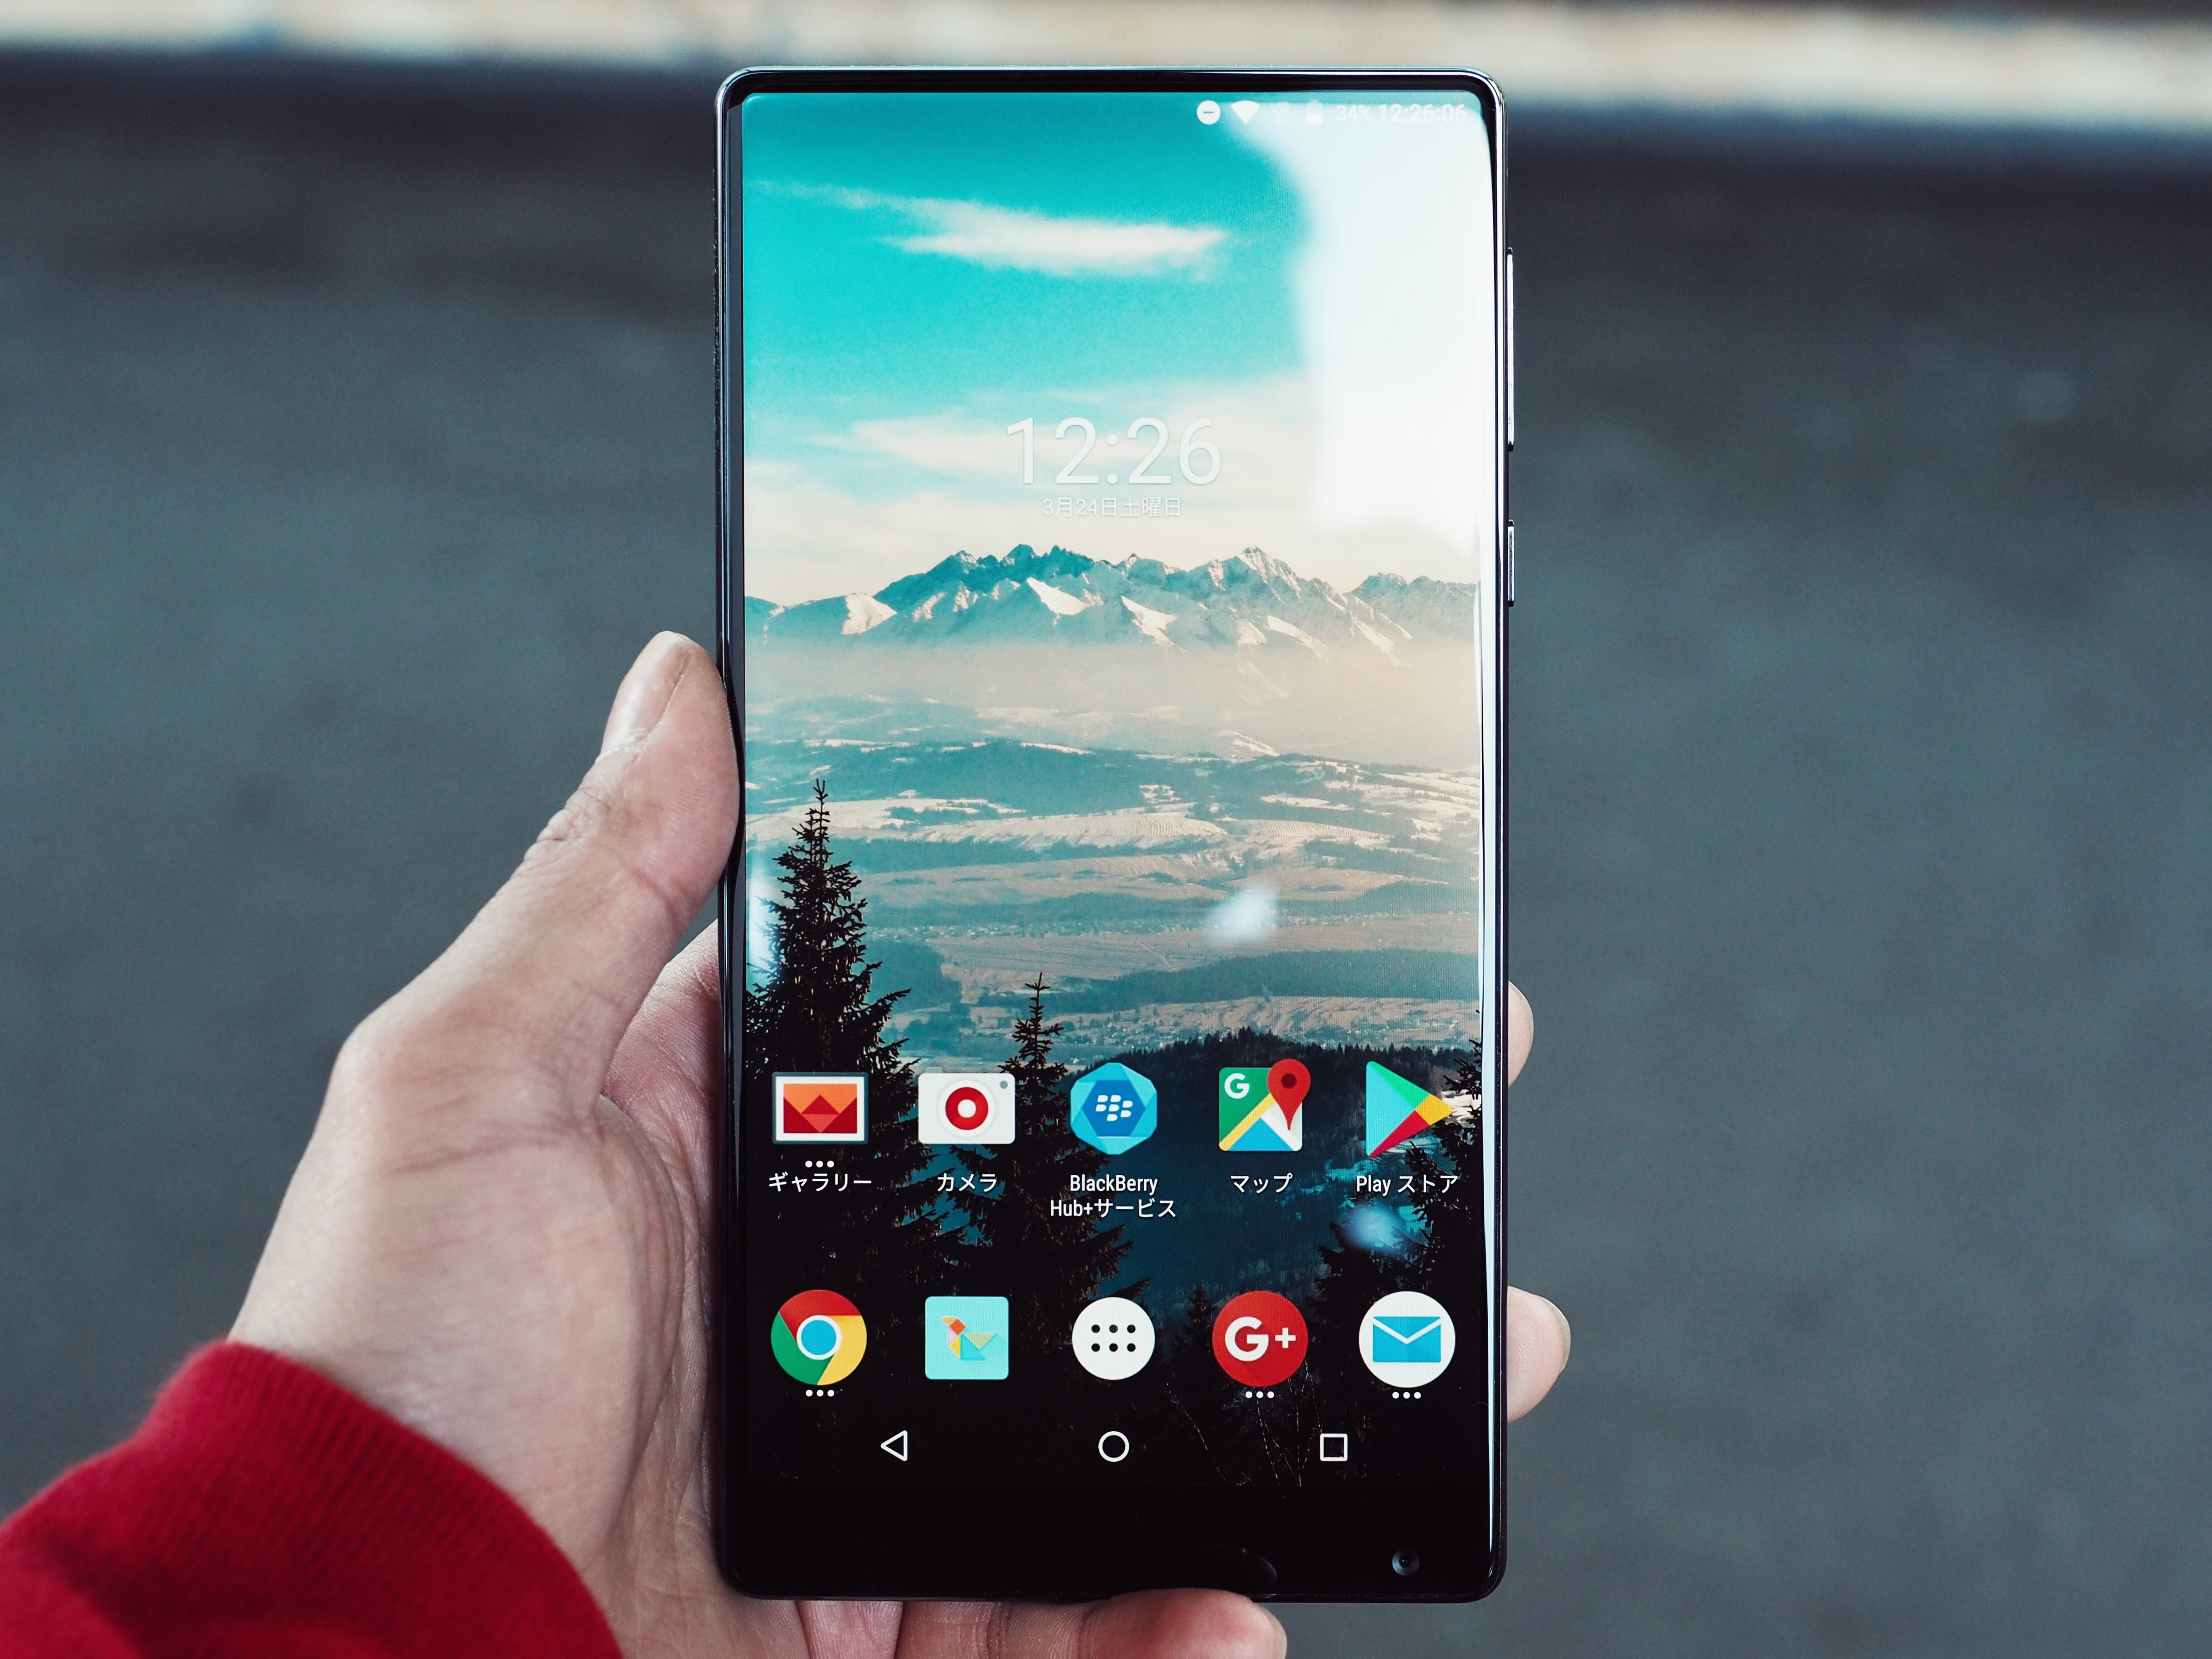
>Step 4: Apply the Screen Protector to Your Device<
>
Now that you have successfully prepared your device and the Skinomi screen protector, it’s time to apply it to your device. Follow these simple steps to ensure a smooth application:
- Carefully peel off the backing: Start by locating the tab or arrow on the Skinomi screen protector. Gently peel it back, exposing the adhesive side of the protector. Be cautious not to touch the adhesive with your fingers, as it can leave unwanted fingerprints.
- Align the protector: Hold the screen protector by the edges and carefully align it with your device’s screen. Take your time to ensure it lines up properly with the edges and any cutouts for buttons or sensors.
- Apply the protector: Once aligned, begin applying the screen protector from one edge to the other. Use a smooth, even motion to avoid any air bubbles from forming. You can use a credit card or the included squeegee tool to help remove any air bubbles as you go along.
- Press out any bubbles: If you notice any air bubbles forming, gently press them towards the edge of the protector using your fingertips or the squeegee tool. Take your time to ensure a bubble-free application.
- Smooth out any creases: If you encounter any creases or wrinkles during the application process, gently lift the edge of the protector and reposition it. Use the squeegee tool or your fingertips to smooth out any imperfections.
- Allow the protector to settle: Once you have successfully applied the screen protector, give it some time to settle. Avoid using your device or putting any pressure on the protector for at least 24 hours. This will allow the adhesive to bond properly and ensure a secure fit.
Congratulations! You have now successfully applied the Skinomi screen protector to your device. Take a moment to admire the seamless protection it provides to your device’s screen.
Step 5: Remove Air Bubbles and Align the Protector
Once you have applied the Screen Protector to your device, you may notice some air bubbles trapped underneath. Don’t worry, it is quite common and easily fixable. Follow these steps to remove any air bubbles and ensure proper alignment of the protector:
- Smooth out the bubbles: Use your fingers or a soft cloth to gently smooth out the bubbles towards the edges of the screen. Apply light pressure and work from the center towards the edges, being careful not to push too hard or scratch the protector.
- Use a credit card: If there are stubborn bubbles that won’t go away with your fingers or cloth, you can try using a credit card or a similar flat object with a smooth edge. Place the card on top of the bubble and slowly push it towards the nearest edge of the screen. This will help push out the trapped air and smooth the protector.
- Reposition if needed: If, while removing the air bubbles, you notice that the protector is misaligned or not centered, you can carefully lift the protector from one corner and reposition it. Be gentle and take your time to ensure a proper fit.
- Patience is key: Removing air bubbles can be a bit time-consuming, especially if you have a large device or multiple protectors to apply. Take your time, be patient, and keep working on the bubbles until you achieve a smooth and bubble-free finish.
Remember, it’s important to address air bubbles as soon as possible after applying the protector to ensure optimal adhesion and clarity. Leaving bubbles unattended may lead to the protector peeling off or affecting touch sensitivity.
Once you have successfully removed all the air bubbles and aligned the protector, take a moment to inspect the screen for any remaining imperfections. If you notice any dust particles or smudges, you can gently lift the protector again and clean the surface with a microfiber cloth before reapplying it.
By following these steps, you can achieve a flawless and professional-looking application of the Skinomi Screen Protector on your device. Enjoy the added protection and peace of mind knowing that your screen is safeguarded from scratches, fingerprints, and other daily wear and tear.
Step 6: Final Touches and Additional Tips
Once you have successfully applied the Skinomi screen protector to your device, there are a few final touches and additional tips to keep in mind for optimal performance and longevity:
1. Allow the screen protector to settle: After applying the screen protector, give it some time to settle and adhere properly to your device’s screen. Avoid touching or using your device for at least a couple of hours to ensure a strong bond.
2. Check for any remaining air bubbles: Even though you took care to remove air bubbles during the application process, there might still be some trapped under the screen protector. Inspect your device from different angles and gently push out any remaining bubbles using a microfiber cloth or a plastic card.
3. Clean the screen protector regularly: To maintain a clear, smudge-free display, make it a habit to clean the screen protector regularly. Use a non-abrasive microfiber cloth and a mild cleaning solution specifically designed for screen protectors. Avoid using harsh chemicals or abrasive materials, as they can damage the protector.
4. Be mindful of touch sensitivity: In some cases, screen protectors may slightly affect the touch sensitivity of your device’s screen. If you notice any decrease in responsiveness, adjust the touch sensitivity settings on your device or consult the manufacturer’s instructions for further guidance.
5. Consider a case-friendly screen protector: If you plan to use a protective case alongside your screen protector, it’s important to choose a screen protector specifically labeled as “case-friendly.” These protectors are designed to fit comfortably with various types of cases, ensuring that your device remains fully protected without causing any compatibility issues.
6. Replace the screen protector as needed: Over time, screen protectors may show signs of wear and tear, such as scratches or reduced clarity. If you notice any damage or deterioration, consider replacing the screen protector to maintain the appearance and functionality of your device’s screen.
Remember, following these final touches and additional tips will help maximize the benefits of your Skinomi screen protector and ensure long-lasting protection for your device’s screen.
Conclusion
Applying a Skinomi screen protector is a simple and effective way to protect your mobile device from scratches, smudges, and fingerprints. By following the step-by-step instructions, you can ensure a smooth and bubble-free installation. The precision-cut design of Skinomi screen protectors ensures a perfect fit for your specific device, providing maximum coverage while maintaining touch sensitivity and clarity.
With the advanced self-healing technology, Skinomi screen protectors are built to withstand everyday wear and tear, keeping your phone’s screen looking brand new. The high-quality materials used in Skinomi screen protectors also help reduce glare and maintain the vibrant colors of your display.
Investing in a Skinomi screen protector not only adds an additional layer of protection for your mobile device, but it also enhances its overall aesthetics. With an invisible and smooth surface, your screen will feel and look as if there isn’t any protector applied. So, don’t wait any longer – get a Skinomi screen protector today and keep your phone’s screen looking pristine for years to come.
FAQs
1. How do I apply a Skinomi screen protector?
Applying a Skinomi screen protector is a simple and straightforward process. Here’s a step-by-step guide:
- Start by cleaning the screen of your device thoroughly. Remove any dust, fingerprints, or smudges using a microfiber cloth or the cleaning solution provided with the screen protector.
- Peel off the backing layer of the screen protector, exposing the adhesive side.
- Align the screen protector with the screen of your device. Be sure to match the edges and cutouts accurately.
- Slowly lower the screen protector onto the screen, pressing it down gently from the center towards the edges.
- Use a credit card or the included squeegee to remove any air bubbles by applying firm, even pressure from the center to the edges.
- Once the screen protector is applied, let it set for a while to ensure a secure bond with the screen.
2. Can I reposition the Skinomi screen protector if I don’t get it right the first time?
Yes, you can reposition the Skinomi screen protector if you didn’t align it properly on the first attempt. Carefully lift the screen protector from one corner and reapply it, following the steps mentioned above. Keep in mind that excessive repositioning may affect the adhesive’s quality, so it’s best to try and align it correctly during the initial application.
3. Does the Skinomi screen protector affect touch sensitivity?
No, the Skinomi screen protector is designed to be thin and highly transparent to ensure minimal impact on touch sensitivity. It is made with high-quality materials that allow for precise touch response, so you can enjoy the same level of sensitivity as if the screen protector wasn’t applied.
4. Can I remove the Skinomi screen protector without leaving residue?
Yes, removing the Skinomi screen protector is a breeze. Start by lifting the screen protector from one corner and slowly peel it off. If any residue remains on the screen, gently wipe it away with a microfiber cloth or a cleaning solution. The adhesive used in Skinomi screen protectors is designed to be residue-free, leaving your device’s screen clean and free from any marks.
5. How long does a Skinomi screen protector last?
The longevity of a Skinomi screen protector depends on various factors, such as usage patterns and care. With proper installation and regular cleaning, a Skinomi screen protector can provide long-lasting protection for your device. In general, it is recommended to replace the screen protector every 6 to 12 months to ensure optimal performance.