
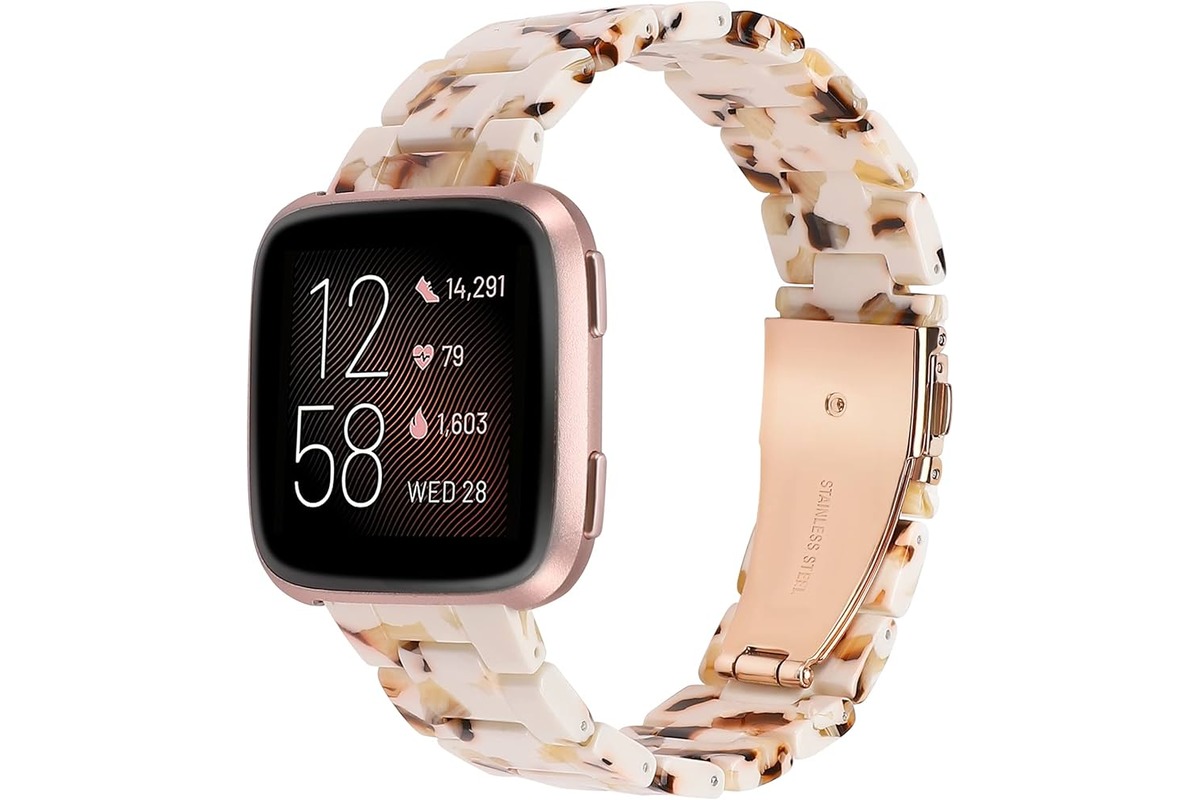
The Fitbit Versa 2 is a popular smartwatch known for its sleek design, advanced features, and fitness tracking capabilities. One of the standout features of the Versa 2 is its ability to change the band, allowing users to customize their device to match their personal style and preferences. In this article, we will guide you through the process of changing the band on your Fitbit Versa 2, providing step-by-step instructions and helpful tips along the way. Whether you’re looking to switch up the look of your smartwatch or replace a worn-out band, you’ve come to the right place. Let’s dive in and discover how you can easily change the band on your Fitbit Versa 2.
Inside This Article
- Section 1: Removing the Old Band
- Section 2: Selecting a New Band
- Section 3: Attaching the New Band
- Conclusion
- FAQs
Section 1: Removing the Old Band
So you’ve decided to change the band on your Fitbit Versa 2 and give it a fresh new look. Don’t worry, the process is straightforward and can be done in just a few simple steps. In this section, we will guide you through the process of removing the old band from your Fitbit Versa 2.
The first step is to locate the release button on the back of your Fitbit Versa 2. This is usually located near the bottom of the device, on either side of the tracker module. You may need to feel around a bit to find it, but it should be easily identifiable by a small indentation or protrusion.
Once you’ve located the release button, press it firmly and hold it down. While holding down the button, gently pull on the band away from the tracker module. The band should easily detach from the module, allowing you to remove it completely.
Be careful not to force the band off, as this may cause damage to the tracker module or the band itself. If you’re having trouble removing the band, try pressing the release button again and gently wiggling the band while pulling it away from the device.
Section 2: Selecting a New Band
When it comes to changing the band on your Fitbit Versa 2, one of the first steps is selecting a new band that suits your style and preferences. With a wide range of options available, you can customize your Fitbit to match your personality or the occasion at hand. Here are a few key factors to consider when choosing a new band:
1. Material: Fitbit Versa 2 bands are available in various materials, including silicone, stainless steel, leather, and fabric. Each material offers a different look and feel, so consider which one aligns with your lifestyle and fashion sense.
2. Color and Design: Fitbit offers bands in a plethora of colors and designs. Whether you prefer vibrant and eye-catching hues or more subtle and classic designs, there’s a band to suit every taste.
3. Size: Make sure to select a band that matches the size of your Fitbit Versa 2. Bands are available in different lengths and widths, so check the specifications to ensure a proper fit.
4. Comfort: Consider how comfortable the band will be for everyday wear. Some materials may be more breathable and flexible, while others may be more rigid. Choose a band that you can comfortably wear throughout the day.
5. Functionality: If you lead an active lifestyle or plan to use your Fitbit Versa 2 during workouts, look for bands that offer sweat resistance and a secure fit. Some bands also come with additional features, such as pockets for storing small items or a built-in charging adapter.
By considering these factors, you can narrow down your options and find a new band that not only looks great but also enhances the overall functionality and comfort of your Fitbit Versa 2.
Section 3: Attaching the New Band
Now that you have removed the existing band from your Fitbit Versa 2, it’s time to attach the new band. Follow these simple steps to ensure a secure and proper fit:
Step 1: Take your new band and locate the pins or connectors on each end. These are the parts that will attach to the corresponding holes on your Fitbit Versa 2.
Step 2: Align the pins/connectors on the new band with the holes on the sides of your Fitbit Versa 2. Make sure they are positioned correctly and securely in place.
Step 3: Gently push the pins/connectors into the holes until they click into place. You should feel a slight resistance when inserting them, indicating that they are securely attached.
Step 4: Once the pins/connectors are inserted, give the band a gentle tug to ensure it is firmly attached to your Fitbit Versa 2. It should not easily come loose or slide around.
Step 5: Repeat the process on the other side of the Fitbit Versa 2 to attach the second end of the band. Make sure both ends are securely fastened before proceeding.
Step 6: After attaching the new band, take a moment to adjust it for a comfortable fit. You can do this by sliding the band through the buckle or using any adjustment mechanisms provided.
That’s it! You have successfully attached the new band to your Fitbit Versa 2. Now you can enjoy a fresh and stylish look while tracking your fitness activities. Remember, if at any point you need to change the band again, simply follow the same steps in reverse to remove the current one and attach a new one.
Conclusion
Changing the band on your Fitbit Versa 2 is a simple process that allows you to personalize your device and enhance its comfort and style. Whether you’re looking to switch to a different color, upgrade to a more durable material, or simply want to mix and match for different occasions, changing the band is an easy and affordable way to give your Fitbit Versa 2 a fresh new look.
By following the step-by-step instructions outlined in this article, you can confidently and effortlessly swap out the bands on your Fitbit Versa 2, allowing you to express your unique personality and make a fashion statement. Remember to choose high-quality bands that are compatible with your Fitbit Versa 2 to ensure the best fit and durability.
So go ahead, unleash your style and transform your Fitbit Versa 2 into a versatile accessory that keeps you connected and looking great!
FAQs
1. Can I change the band on the Fitbit Versa 2?
Absolutely! The Fitbit Versa 2 is designed with interchangeable bands, allowing you to personalize the look of your device to suit your style and occasion.
2. What types of bands are available for the Fitbit Versa 2?
There are various options available when it comes to choosing a band for your Fitbit Versa 2. You can opt for the classic silicone bands for everyday use, stylish metal bands for a more elegant look, or even leather bands for a sophisticated touch. Moreover, there are numerous third-party options available that offer a wide range of colors, designs, and materials to choose from.
3. Is changing the band on the Fitbit Versa 2 easy?
Yes, changing the band on the Fitbit Versa 2 is a simple and straightforward process. The device is equipped with quick-release pins on each side, allowing you to easily detach the existing band and attach a new one. No special tools are required, and the process only takes a few seconds.
4. Can I use any band with my Fitbit Versa 2?
While the Fitbit Versa 2 is compatible with a wide range of bands, it is essential to ensure that the replacement band you choose is specifically designed for the Versa 2. This will ensure proper fit, functionality, and compatibility with the device’s features.
5. Where can I find replacement bands for my Fitbit Versa 2?
Replacement bands for the Fitbit Versa 2 can be found in various places. Fitbit’s official website offers a selection of bands designed specifically for the Versa 2, including their own brand as well as collaborations with other fashion brands. Additionally, online marketplaces and electronics stores often carry a wide range of options from third-party manufacturers. Make sure to check the compatibility and quality of the bands before making a purchase.