
Are you looking to style up your Fitbit Charge HR? One of the great features of the Fitbit Charge HR is the ability to change the band to suit your personal style or match your outfit. Whether you want to switch from a basic sport band to a more fashionable option, or simply need to replace a worn-out band, learning how to change the band on your Fitbit Charge HR is a simple and straightforward process. In this article, we will guide you through the steps on how to change the band on your Fitbit Charge HR, so you can customize your device to reflect your unique personality and preferences. Let’s dive into the world of fashionable Fitbit accessories and transform the look of your Fitbit Charge HR!
Inside This Article
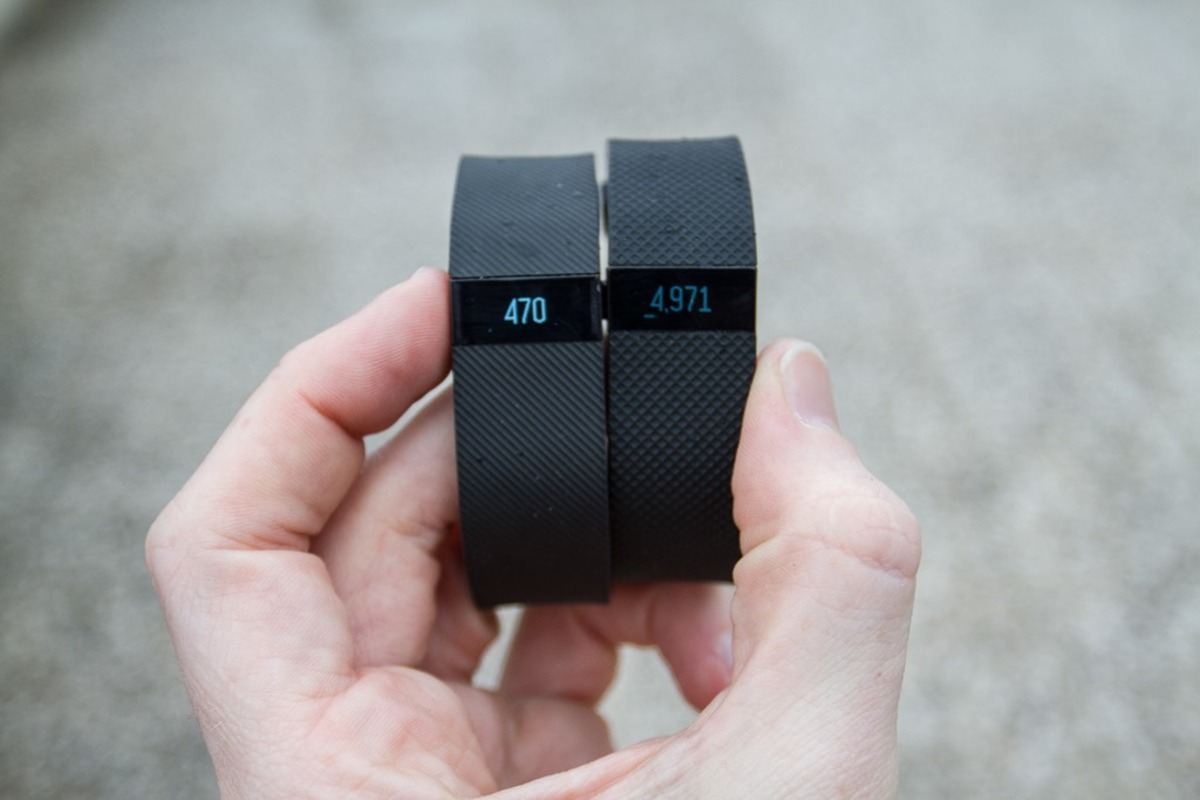
Preparing to Change the Band
Before you begin the process of changing the band on your Fitbit Charge HR, it is important to gather the necessary tools and take some precautions. Here are some steps to help you prepare:
1. Choose the Right Replacement Band: Make sure you have a compatible replacement band for your Fitbit Charge HR. There are various types of bands available, such as silicone, leather, metal, and nylon. Consider your style preferences and the level of comfort you desire when selecting a new band.
2. Clean the Area: To ensure a smooth band replacement, clean the area around the tracker on your Fitbit Charge HR. Use a soft cloth or damp paper towel to gently wipe away any dirt, sweat, or residue that may have accumulated.
3. Familiarize Yourself with the Band Attachment: Take a close look at how the current band is attached to the tracker. Look for any buttons, pins, or clips that may be securing the band. This will help you understand how the new band needs to be attached.
4. Charge Your Fitbit: If your Fitbit Charge HR battery is running low, it’s a good idea to charge it fully before starting the band replacement process. This will ensure that you have enough battery power to complete the task without any interruptions.
5. Have a Stable Work Surface: Find a clean and stable surface to work on while changing the band. A table or desk with ample lighting is ideal. This will help you see the small components and make the process easier.
6. Follow Fitbit’s Instructions: It’s always a good idea to check Fitbit’s official website or support documentation for any specific instructions they provide regarding replacing the band. They may have additional tips or considerations that can help you during the process.
By following these preparatory steps, you will be ready to tackle the process of changing the band on your Fitbit Charge HR with confidence.
Removing the Old Band
Before you can attach a new band to your Fitbit Charge HR, you’ll need to remove the old one. Follow these simple steps to successfully remove the old band:
- Turn the device over: Flip your Fitbit Charge HR so that the display is facing downward.
- Locate the band latches: On the underside of the device, you will find two latches on either side of the display. These latches secure the band in place.
- Press the band latches: Using your thumb or finger, apply firm pressure to both latches simultaneously. This will release the band from its locked position.
- Slide the band off: With the latches released, carefully slide the band out from under the latches and away from the device. Be gentle to avoid damaging the band or the device.
- Repeat on the other side: Once you’ve successfully removed the band from one side, repeat the process on the other side to fully detach the band from the device.
With the old band now removed, you are ready to proceed with attaching the new band to your Fitbit Charge HR. Take a moment to ensure that both latches are fully open and ready to receive the new band securely. The next section will guide you through the steps of attaching the new band.
Attaching the New Band
Once you have successfully removed the old band from your Fitbit Charge HR, it’s time to attach the new band. Follow these steps to ensure a secure and comfortable fit.
- Inspect the new band: Before attaching the new band, inspect it for any defects or damage. Ensure that the new band is compatible with your Fitbit Charge HR model.
- Align the pins: Take the new band and align the metal pins on the underside of the band with the charging connectors on the back of your Fitbit Charge HR. Make sure the pins are aligned correctly to ensure a proper connection.
- Slide the band into place: Gently slide the new band’s pins into the slots on the tracker until it clicks into place. Take care not to force the band, as it may damage either the band or the tracker.
- Secure the band: Once the new band is attached, give it a gentle tug to ensure it is securely fastened. You should feel a slight resistance when pulling on the band, indicating a snug fit. If it feels loose, remove the band and try attaching it again, ensuring proper alignment.
- Adjust the fit: If necessary, adjust the fit of the new band to ensure comfort and proper wearing. Most Fitbit Charge HR bands come with multiple adjustment holes, allowing you to find the perfect fit for your wrist. Use the appropriate hole to achieve the desired tightness.
- Double-check the fit: After adjusting the fit, double-check that the band is securely attached and snug on your wrist. Give it a few more gentle tugs to confirm its stability. You don’t want the band to come loose during your activities.
- Enjoy your new band: With the new band attached, you’re ready to enjoy all the benefits of your Fitbit Charge HR. Whether you’re monitoring your steps, heart rate, or sleep patterns, the new band will provide you with a comfortable and secure fit.
Attaching a new band to your Fitbit Charge HR is a simple process that allows you to customize your wearable device. Take your time and ensure proper alignment and a secure fit, so you can continue tracking your fitness goals with ease and style.
Conclusion
In conclusion, changing the band on a Fitbit Charge HR is a simple and straightforward process that allows for customization and personalization. With just a few steps, you can transform the look and feel of your fitness tracker, making it more comfortable and stylish. Whether you’re looking to match your fitness band with your outfit or simply want to switch out worn-out bands for new ones, you now have the knowledge and confidence to do so.
Remember to follow the manufacturer’s instructions and be gentle when handling delicate components. Take your time and ensure that the band is securely fastened to avoid any potential accidents or damage to your Fitbit Charge HR. With the ability to easily change bands, you can keep your fitness tracker looking fresh and fashionable while staying motivated on your wellness journey. So go ahead, get creative, and have fun exploring the different band options available for your Fitbit Charge HR!
FAQs
– Can I change the band on my Fitbit Charge HR?
Yes, you can absolutely change the band on your Fitbit Charge HR. The band on the Charge HR is removable, allowing you to switch it out for different styles and colors to suit your personal taste.
– What tools do I need to change the band on my Fitbit Charge HR?
To change the band on your Fitbit Charge HR, you won’t need any special tools. The bands are designed to be easily detachable and can be switched out by simply sliding them out from the connection point on the tracker.
– Where can I find replacement bands for my Fitbit Charge HR?
There are various options for replacement bands available for the Fitbit Charge HR. You can find them on the official Fitbit website, as well as on other online marketplaces and retail stores that specialize in mobile accessories. Make sure to check for compatibility with the Charge HR model when purchasing replacement bands.
– Are the replacement bands for Fitbit Charge HR easy to install?
Yes, changing the band on the Fitbit Charge HR is a straightforward process. You simply need to slide the old band out from the connection point and slide the new band in until it clicks into place. The bands are designed to fit securely and stay in place during everyday use.
– Are there any special considerations when changing the band on a Fitbit Charge HR?
When changing the band on a Fitbit Charge HR, it’s important to ensure that the new band is compatible with the model and properly aligned before sliding it into place. Additionally, make sure to clean the tracker unit regularly to prevent any dirt or debris from interfering with the band connection.