
Are you tired of the same old band on your Fitbit Inspire 2 and ready for a change? You’re in luck! Changing the band on your Fitbit Inspire 2 is a simple and easy process that allows you to customize your device to suit your style and preferences. Whether you want to swap out the band for a different color, material, or style, this article will guide you through the step-by-step process to give your Fitbit Inspire 2 a fresh new look. With just a few minutes of your time and a new band, you’ll be able to transform your Fitbit Inspire 2 into a stylish accessory that matches your unique personality. So without further ado, let’s dive into how to change the band on your Fitbit Inspire 2.
Inside This Article
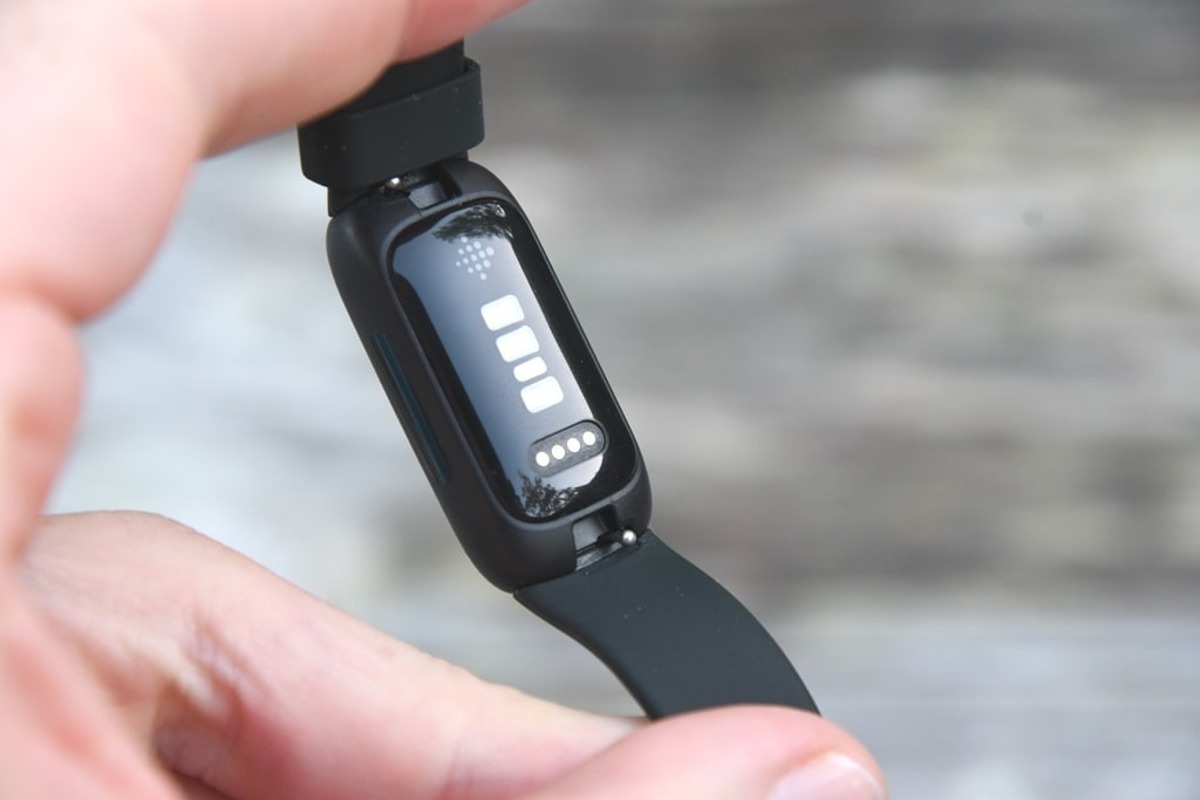
Removing the Old Band
If you’re looking to change the band on your Fitbit Inspire 2, you’re in the right place! Removing the old band is the first step to giving your wearable device a fresh and personalized look. Here’s a step-by-step guide to help you with the process:
1. Start by turning your Fitbit Inspire 2 face-down on a soft surface to protect the screen. This will also make it easier to access the back of the device.
2. Locate the small release button on the back of the device. It may be located near the band attachment point or on the side of the band itself.
3. Press and hold the release button while gently pulling on the band. The band should detach from the device with minimal effort. If you’re having trouble, double-check that you’re pressing the release button correctly and exerting enough pressure.
4. Repeat the same steps for the other end of the band until it is completely separated from the device.
5. Once the old band is removed, take a moment to clean the device and ensure there are no debris or dirt particles that could interfere with the attachment of the new band.
That’s it! You have successfully removed the old band from your Fitbit Inspire 2. Now you’re ready to move on to attaching a new band and giving your device a new lease on life.
Attaching a New Band
So you’ve decided to give your Fitbit Inspire 2 a fresh new look by changing its band? Great choice! Adding a new band to your fitness tracker not only allows you to personalize its style to match your own, but it also provides you with the opportunity to switch up your look based on different occasions. Here’s a step-by-step guide on how to attach a new band to your Fitbit Inspire 2:
- Step 1: Gather the necessary tools
- Step 2: Remove the old band
- Step 3: Attach the new band
- Step 4: Test the attachment
- Step 5: Enjoy your new band
Before you begin, make sure you have all the tools you’ll need. This typically includes the new band you want to attach and a small tool provided by Fitbit called a band removal tool. If you don’t have the band removal tool, a small flat-head screwdriver can work as an alternative.
Start by turning your Fitbit Inspire 2 over so that the back of the device is facing up. Locate the two metal pins on each side of the tracker’s band connection points. Insert the band removal tool or flat-head screwdriver into the small gap between the band and the tracker to release the pins.
Take your new band and align its connection points with the slots on the tracker. Make sure the pins on the tracker fit into the corresponding holes in the band. Gently press down and push the band into place until you hear a click. This indicates that the band is securely attached to the tracker.
Give the band a slight tug to ensure it is firmly attached. It should feel secure and not easily come loose. If there is any wobbling or if the band feels unstable, double-check that it is properly inserted and try again.
Congratulations! You have successfully attached a new band to your Fitbit Inspire 2. Take a moment to admire your refreshed fitness tracker and enjoy the new style it brings to your wrist.
Now that you’ve learned how to attach a new band to your Fitbit Inspire 2, you can easily switch it out whenever you want to match your mood or outfit. Just remember to keep your old bands in a safe place, as you may want to switch back to them in the future. Have fun exploring different looks with your Fitbit Inspire 2!
Adjusting the Fit
Once you have successfully attached the new band to your Fitbit Inspire 2, it’s time to ensure that it fits securely and comfortably on your wrist. Here are some steps to help you adjust the fit:
1. Check the tightness: Start by wearing the Fitbit Inspire 2 on your wrist and checking the tightness of the band. You want it to be snug enough to stay in place during physical activities but not so tight that it restricts blood circulation or feels uncomfortable.
2. Use the adjustable holes: Most Fitbit bands come with multiple adjustable holes that allow you to fine-tune the fit. If the band is too loose, try moving it to a tighter hole. If it’s too tight, switch to a looser hole. Find the hole that provides a secure fit without causing any discomfort.
3. Consider wrist size: Different people have different wrist sizes, so it’s important to consider this when adjusting the fit. If you have a smaller wrist, you may need to use a tighter hole or trim the excess length of the band. If you have a larger wrist, you may need to use a looser hole or consider purchasing a longer band.
4. Check for proper alignment: Ensure that the Fitbit device is properly aligned with the band. The display should be centered on the top of your wrist, and the band should be parallel to your arm. This will not only improve comfort but also help with accurate tracking and visibility of the screen.
5. Test for movement: Once you have adjusted the fit, test the band’s movement. Shake your wrist gently to ensure that the Fitbit Inspire 2 stays securely in place. If it feels too loose or slides around, readjust the band to achieve a better fit.
Remember, it may take a few tries to find the perfect fit for your wrist. Take your time and experiment with different hole positions until you find the most comfortable and secure fit. The goal is to have a band that stays in place during physical activities without causing any discomfort or irritation.
By adjusting the fit of your Fitbit Inspire 2 band, you can ensure a more accurate tracking experience and enjoy the full benefits of your fitness tracker. Take the time to find the ideal fit for you, and you’ll be ready to tackle your health and fitness goals with confidence!
Troubleshooting Tips
If you’re facing any issues with changing the band on your Fitbit Inspire 2, don’t worry! Here are some troubleshooting tips to help you out:
1. Ensure a Proper Fit: Make sure that the new band is compatible with your Fitbit Inspire 2 model. Double-check the band’s size and compatibility before attempting to change it.
2. Secure the Pins: When attaching a new band, ensure that the pins on the band align correctly with the slots on the tracker. Gently press the band onto the tracker until you hear a click, indicating that it is securely in place.
3. Clean the Connections: Over time, dirt and debris can accumulate on the connectors of your Fitbit tracker or band, causing connectivity issues. Use a soft, lint-free cloth to clean the connectors and ensure a robust connection.
4. Restart Your Device: If you’re encountering difficulties after changing the band, try restarting your Fitbit Inspire 2. This simple step can often resolve minor software glitches and restore normal functionality.
5. Update Firmware: Ensure that your Fitbit device’s firmware is up to date. Sometimes, firmware updates contain bug fixes and improvements that can address any band-related issues you may be experiencing.
6. Contact Fitbit Support: If you’ve tried all the troubleshooting steps and are still facing problems, don’t hesitate to reach out to Fitbit’s customer support. They have dedicated professionals who can assist you in resolving any issues.
By following these troubleshooting tips, you should be able to address any difficulties you encounter while changing the band on your Fitbit Inspire 2. Remember, a proper fit and clean connections are essential for optimal performance and comfort.
Conclusion
Changing the band on your Fitbit Inspire 2 is a simple and straightforward process that allows you to customize your device to match your style and preferences. Whether you want to switch to a different colored band or opt for a more comfortable material, the ability to change the band gives you the flexibility to personalize your Fitbit Inspire 2.
By following the step-by-step instructions outlined in this article, you can easily remove the old band and attach a new one, ensuring a snug and secure fit. With the wide variety of bands available in the market, you can find one that suits your taste and enhances your overall fitness experience.
Remember to properly clean and maintain your Fitbit Inspire 2 and its bands to ensure longevity and optimal performance. Regularly inspect the band for any signs of wear and tear and replace it as necessary to prevent any discomfort or damage to your device. With a new band, you can continue to track your fitness journey and keep up with your active lifestyle in style.
FAQs
Q: Can I change the band on my Fitbit Inspire 2?
A: Absolutely! The Fitbit Inspire 2 comes with a detachable band, allowing you to switch it out for a different style or color.
Q: What kind of bands are compatible with the Fitbit Inspire 2?
A: The Fitbit Inspire 2 is compatible with a wide range of bands. You can choose from silicone, leather, metal, or even fabric bands, depending on your personal style and preferences.
Q: How do I change the band on my Fitbit Inspire 2?
A: Changing the band on your Fitbit Inspire 2 is a breeze. Simply follow these steps:
1. Flip your Fitbit Inspire 2 over and locate the band release button on the back of the device.
2. Push the band release button and gently slide the band out of the frame.
3. Align the new band with the frame and push it in until it clicks into place.
That’s it! You’re now ready to enjoy your Fitbit Inspire 2 with a new band.
Q: Are there any special tools required to change the band on the Fitbit Inspire 2?
A: No, you don’t need any special tools to change the band on your Fitbit Inspire 2. The band release button allows for easy removal and installation of the bands without any additional equipment.
Q: Where can I find replacement bands for my Fitbit Inspire 2?
A: Replacement bands for the Fitbit Inspire 2 can be found online on the Fitbit website, as well as on various e-commerce platforms. Ensure that you purchase bands that are specifically designed for the Fitbit Inspire 2 to ensure compatibility.