
Popsockets have become an essential accessory for many people who use their mobile phones daily. These handy little devices provide a secure grip, reducing the risk of dropping your phone, and also serve as a convenient stand for hands-free use. However, with frequent use, popsockets can accumulate dust, dirt, and grime, which can affect their functionality and appearance. To keep your popsocket in top shape, it’s important to regularly clean and maintain it. In this article, we will provide you with step-by-step instructions on how to clean your popsocket effectively, ensuring that it remains secure, attractive, and usable for a long time. Whether you’ve just bought a new popsocket or have been using one for a while, read on to learn the best techniques to keep it looking and functioning like new.
Inside This Article
- How to Clean Your Popsocket
- Materials Needed
- Removing Your Popsocket
- Cleaning the Adhesive Base
- Conclusion
How to Clean Your Popsocket
Popsockets have become incredibly popular as mobile accessories, providing a secure grip on your phone and even doubling as a stand. With their stylish designs and functionality, it’s no wonder that many people have embraced them. However, with regular use, Popsockets can accumulate dirt, dust, and grime, affecting their effectiveness and appearance. To keep your Popsocket clean and in top condition, follow these simple steps:
1. Gather the materials you’ll need:
- Mild soap or dish detergent
- Warm water
- Soft cloth or sponge
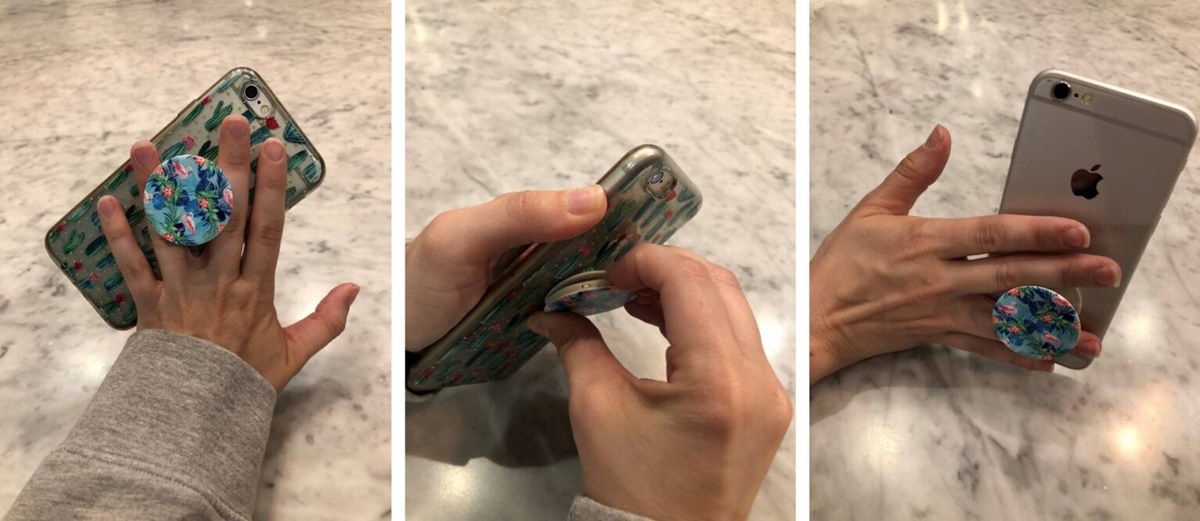
2. Removing your Popsocket:
Before cleaning your Popsocket, it’s essential to remove it from your phone. Gently pull up on the edges of the Popsocket to release the adhesive grip. Be careful not to apply too much force, as you could damage the Popsocket or your phone.
3. Cleaning the adhesive base:
Once the Popsocket is removed, inspect the adhesive base for any dirt or residue. If there are any visible particles, use a soft cloth or sponge dampened with warm water and a small amount of mild soap or dish detergent. Gently scrub the adhesive base, being careful not to immerse it completely in water. Rinse the base with clean water and dry it thoroughly with a soft cloth.
4. Cleaning the Popsocket top:
To clean the top part of your Popsocket, dampen a soft cloth or sponge with warm water. Gently wipe the surface to remove any dirt or grime. Avoid using excessive water or harsh chemicals, as these can damage the design or functionality of the Popsocket. If necessary, you can also use a mild soap or dish detergent to remove stubborn stains. Rinse the top part with clean water and ensure it is completely dry before reattaching it to your phone.
It’s important to note that Popsockets are not waterproof, so it’s best to avoid submerging them in water or exposing them to excessive moisture. Additionally, be cautious when using cleaning agents or solvents, as they can potentially damage the adhesive backing or the Popsocket itself.
Regularly cleaning your Popsocket will not only help maintain its functionality but also keep it looking fresh and aesthetically pleasing. By following these steps and taking care of your Popsocket, you can enjoy its grip, convenience, and style for a long time.
Materials Needed
When it comes to cleaning your Popsocket, having the right materials on hand can make the process much easier and more effective. Here’s a list of items you’ll need:
- Mild soap: Choose a gentle soap that is suitable for delicate surfaces.
- Warm water: Fill a bowl or sink with warm water to create a cleaning solution.
- Soft cloth: Use a lint-free cloth or microfiber cloth to avoid scratching your Popsocket.
- Toothbrush or soft brush: This will be useful for getting into crevices and cleaning hard-to-reach areas.
- Cotton swabs: These will help you clean small, intricate parts of your Popsocket.
Now that you have all the necessary materials, let’s move on to the step-by-step process of cleaning your Popsocket.
Removing Your Popsocket
When it comes to removing your Popsocket, taking the right approach is crucial to avoid damaging your device or the Popsocket itself. Follow these simple steps to safely remove your Popsocket:
- Start by placing your fingernail or a thin, flat object (such as a credit card) under the edge of the Popsocket.
- Gently lift the edge of the Popsocket until you can grip it with your fingers.
- Apply firm and steady pressure, gradually working your way around the edges of the Popsocket.
- Continue lifting until the entire Popsocket is detached from your phone or phone case.
If you encounter any resistance or difficulty during the removal process, try using a hairdryer to heat the adhesive slightly. This will make it easier to lift the Popsocket without causing any damage.
Once you have successfully removed the Popsocket, you may notice some adhesive residue left on your device or phone case. Don’t worry, we’ll address how to clean that in the next section.
###
Cleaning the Adhesive Base
After removing your Popsocket, it’s essential to clean the adhesive base thoroughly to ensure optimal sticking power and cleanliness. Here’s how you can clean the adhesive base:
- Start by preparing the necessary materials. You will need rubbing alcohol, cotton swabs, and a clean cloth.
- Moisten a cotton swab with rubbing alcohol. Be careful not to oversaturate it; a few drops should be sufficient.
- Gently dab the cotton swab onto the adhesive base of the Popsocket. Focus on the areas where dirt and grime may have accumulated.
- Use a circular motion to remove any stubborn dirt or residue. Be gentle to avoid damaging the adhesive.
- Repeat the process with a clean cotton swab if necessary, until the adhesive base is clean and free from any dirt or residue.
- Once you have thoroughly cleaned the adhesive base, take a clean cloth, and gently wipe away any excess rubbing alcohol.
It’s important to note that some Popsockets have removable adhesive bases. In such cases, you can detach the adhesive base from the Popsocket and clean it separately using the steps mentioned above. Remember to reattach the adhesive base securely before reapplying the Popsocket to your device.
By cleaning the adhesive base properly, you can ensure that your Popsocket adheres firmly to your device and remains in place, giving you the support and convenience you need.
Conclusion
In conclusion, keeping your Popsocket clean is essential for maintaining its functionality and prolonging its lifespan. By following the step-by-step guide provided in this article, you can easily remove dirt, grime, and debris from your Popsocket, ensuring it stays in top condition.
Regularly cleaning your Popsocket not only improves the overall appearance but also prevents it from losing its adhesive properties. Remember to be gentle and avoid using harsh chemicals or abrasive materials that could damage the surface of your Popsocket.
By taking the time to clean your Popsocket on a regular basis, you can enjoy a secure grip on your phone, preventing accidental drops and falls. So, go ahead and give your Popsocket a little love with a good cleaning. Your phone will thank you!