
Are you looking for a convenient way to enhance your phone’s grip and functionality? If so, then you’re probably considering adding a popsocket to your smartphone. Popsockets are nifty little accessories that adhere to the back of your phone and can be extended or collapsed to provide a secure grip or act as a stand. However, if you have a silicone case, you may be wondering how to attach a popsocket without compromising the case’s integrity. In this article, we will guide you through the process of gluing a popsocket to a silicone case, ensuring a secure attachment that won’t damage your case. Whether you want to customize your phone or simply improve its usability, we’ve got you covered. So, let’s dive in and learn how to securely attach a popsocket to a silicone case!
Inside This Article
- Materials Needed
- Preparing the Silicone Case
- Applying the Glue to the PopSocket
- Attaching the PopSocket to the Silicone Case
- Conclusion
- FAQs
Materials Needed
If you’re looking to glue a PopSocket to a silicone case, there are a few essential materials you’ll need to ensure a successful bonding. Here are the items you’ll need:
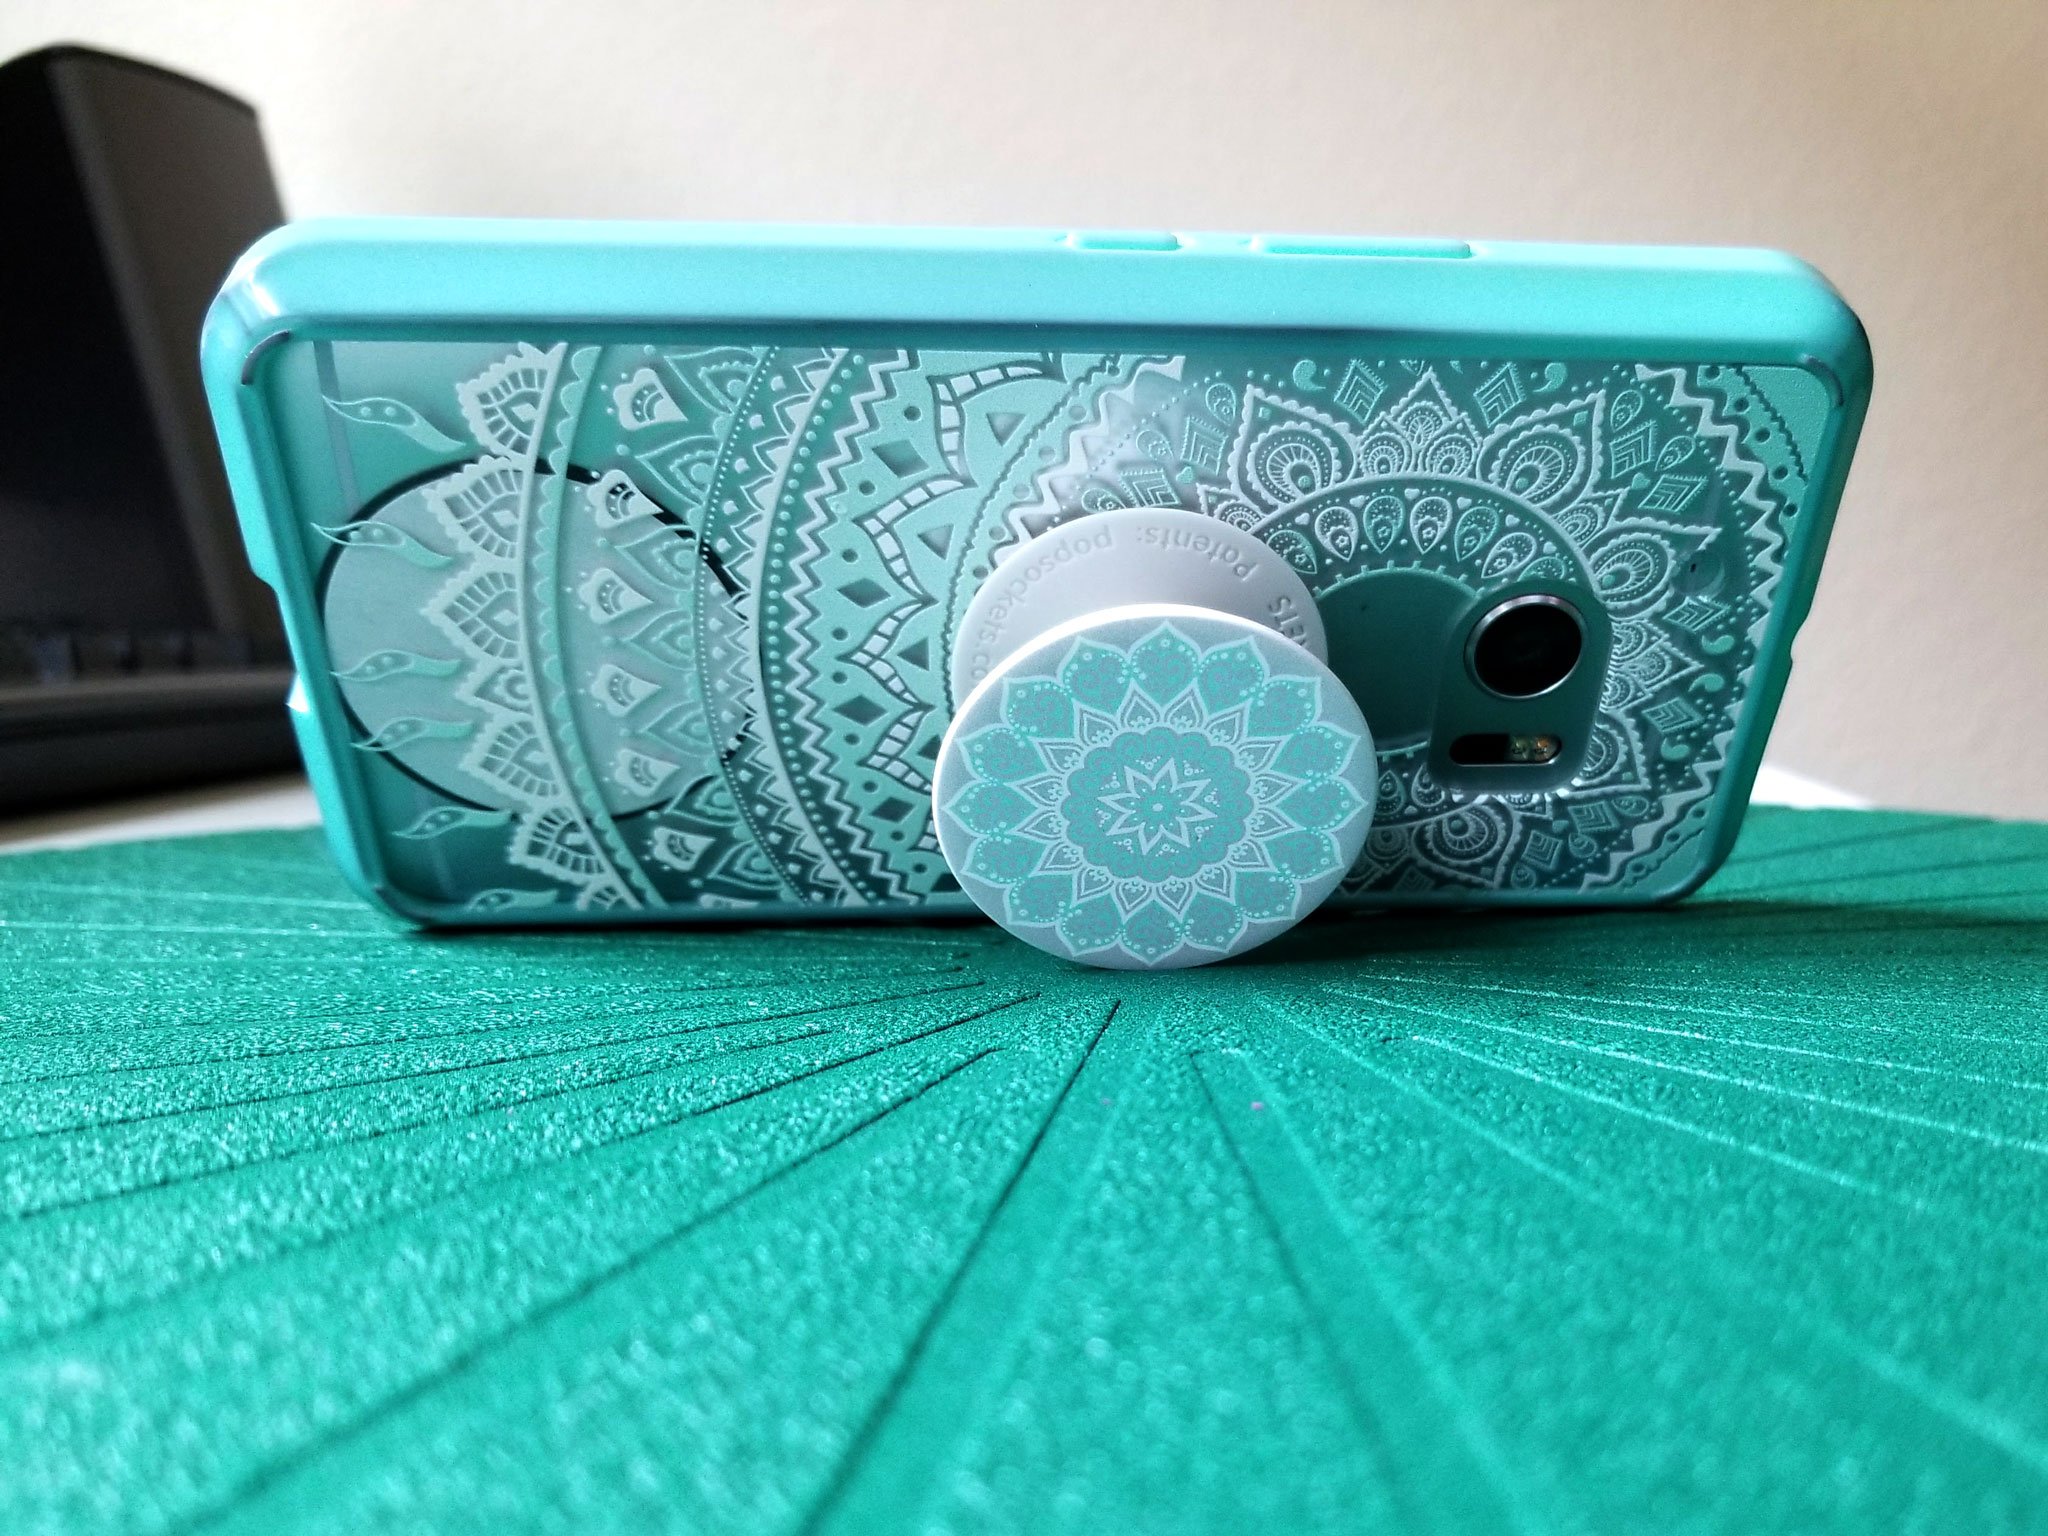
- PopSocket: Choose a PopSocket that you’d like to attach to your silicone case. PopSockets come in various designs and styles, so pick one that matches your preferences and phone case.
- Silicone case: Make sure you have a silicone case that fits your specific phone model. Silicone cases are flexible and provide good grip, making them ideal for attaching PopSockets.
- Strong adhesive glue: Look for an adhesive glue that is compatible with both silicone and plastic materials. It’s crucial to choose a strong adhesive to ensure a long-lasting bond between the PopSocket and the silicone case.
- Cleaning supplies: Before applying the glue, you’ll need to ensure that both the PopSocket and silicone case are clean. Prepare some rubbing alcohol or a mild cleaning solution, along with a clean cloth or cotton swabs.
- Optional: Protective mat or surface: To protect your working area from potential glue drips or spills, you may want to lay down a protective mat or work on a surface that is easy to clean.
Once you have gathered these materials, you’ll be ready to proceed with gluing the PopSocket to your silicone case. Now let’s move on to the next step.
Preparing the Silicone Case
Before you proceed with attaching the PopSocket to your silicone case, it’s important to properly prepare the surface of the case. This will ensure that the glue bonds securely and keeps the PopSocket in place.
Here are the steps to prepare the silicone case for the PopSocket:
- Start by cleaning the silicone case with a gentle soap and water solution. Use a soft cloth or sponge to gently scrub the surface and remove any dirt, oil, or residue that may be on it. Make sure to rinse it thoroughly and allow it to dry completely before moving on to the next step.
- If there are any rough or uneven areas on the silicone case, you can use a fine-grit sandpaper or emery board to smooth them out. Be careful not to apply too much pressure, as you don’t want to damage the case.
- Once the case is clean and dry, you can use rubbing alcohol to further clean the surface. Dampen a cotton ball or cloth with rubbing alcohol and gently wipe down the entire surface of the case. This will help remove any remaining dirt or oils and ensure a clean bonding surface.
By following these steps, you’ll have a clean and ready-to-use silicone case for attaching the PopSocket. Ensuring that the case is properly prepared will help maximize the adhesion and make the PopSocket stay securely in place.
Applying the Glue to the PopSocket
Once you have prepared your silicone case, it’s time to apply the glue to the PopSocket. Follow these steps to ensure a secure and long-lasting bond:
- Gather your materials: You will need the PopSocket, the adhesive glue, a clean cloth or alcohol wipes, and a well-ventilated area.
- Clean the PopSocket: Use a clean cloth or alcohol wipe to remove any dirt, oil, or debris from the back of the PopSocket. This step is crucial to ensure proper adhesion.
- Apply the glue: Squeeze a small amount of adhesive glue onto the back of the PopSocket. Be careful not to use too much, as it can cause messy overflow when pressure is applied.
- Spread the glue: Use a toothpick or small brush to evenly spread the glue across the back of the PopSocket. Make sure the entire surface is covered, but avoid applying too much pressure to prevent the glue from seeping into unwanted areas.
- Let the glue set: Follow the instructions provided with the adhesive glue to determine the recommended drying time. It’s important to allow the glue to fully set before attaching the PopSocket to the silicone case.
Remember, different glues may have varying drying times, so be sure to read and follow the instructions on the specific adhesive you are using.
Once the glue has dried, you can proceed to the final step of attaching the PopSocket to your silicone case.
HTML output:
Attaching the PopSocket to the Silicone Case
Once the glue has dried and the PopSocket is securely attached to the silicone case, it’s time to attach the PopSocket to your phone. Follow these steps to ensure a proper and secure attachment:
- Clean the back of your phone: Before attaching the PopSocket, make sure the back of your phone is clean and free from any dust or debris. Use a microfiber cloth or a gentle cleaning solution to wipe it down.
- Position the PopSocket: Decide where you want to place the PopSocket on the back of your phone. It’s important to choose a location that feels comfortable and allows easy access to your phone’s features.
- Remove the adhesive backing: Once you’ve determined the placement, peel off the adhesive backing from the PopSocket’s base. Be careful not to touch the sticky surface with your fingers to avoid compromising its stickiness.
- Press and hold: Firmly press the exposed adhesive side of the PopSocket onto the back of your phone. Apply gentle pressure for about 30 seconds to ensure a strong bond.
- Let it set: Allow the PopSocket to set and bond with the phone for at least an hour. Avoid placing any additional stress or weight on the PopSocket during this time to ensure proper adhesion.
- Test the attachment: After the recommended setting time, gently tug on the PopSocket to check if it is securely attached to your phone. If it feels loose or comes off easily, repeat the steps above or consider using a stronger adhesive.
Once you’re confident that the PopSocket is securely attached to your phone, you’re ready to enjoy the added functionality and convenience it provides. Whether you’re taking selfies, watching videos, or simply getting a better grip on your phone, the PopSocket and silicone case combination will enhance your mobile experience.
Remember, it’s always a good idea to periodically check the adhesive bond and reattach if necessary. With proper care and maintenance, your PopSocket will continue to serve you well and keep your phone securely in hand.
Conclusion
In conclusion, gluing a Popsocket to a silicone case is a simple and effective way to enhance the functionality and style of your mobile phone. By following the steps outlined in this article, you can securely attach a Popsocket to your silicone case, ensuring a strong hold and easy usability.
Remember to choose a high-quality adhesive that is suitable for both the silicone material and the Popsocket. Take your time to clean and dry the surfaces properly before applying the glue, and allow sufficient time for the adhesive to cure. This will ensure a durable bond that will withstand everyday use.
With a Popsocket attached to your silicone case, you can enjoy improved grip, convenient media viewing, and hassle-free handling of your phone. Plus, you can customize your Popsocket to match your personal style and preferences.
So go ahead and give it a try! With a little bit of glue and a Popsocket, you can transform your silicone case into a versatile and practical accessory for your mobile phone. Say goodbye to accidental drops and hello to a more functional and stylish phone experience.
FAQs
1. Can you glue a Popsocket to a silicone case?
Yes, it is possible to glue a Popsocket to a silicone case. However, it is important to choose the right adhesive that is compatible with both the Popsocket and the silicone material. Make sure to clean the surface of the case thoroughly before applying the adhesive, and allow enough time for it to dry and bond securely.
2. What type of adhesive should I use to glue a Popsocket to a silicone case?
To ensure a strong and durable bond, it is recommended to use a adhesive specifically designed for bonding silicone and other similar materials. Look for adhesives that are waterproof and provide a strong bond. Epoxy or silicone adhesives are commonly used for this purpose and are available in most hardware or craft stores.
3. How long does it take for the adhesive to dry and bond properly?
The drying and bonding time can vary depending on the adhesive you are using. It is typically recommended to let the adhesive dry for at least 24 hours to ensure maximum strength. However, it is always best to follow the instructions provided by the adhesive manufacturer for specific drying times and curing process.
4. Will gluing a Popsocket to a silicone case damage the case or Popsocket?
When done correctly, gluing a Popsocket to a silicone case should not cause any damage to either the case or the Popsocket. However, it is important to use a non-permanent adhesive in case you decide to remove or reposition the Popsocket in the future. Avoid using super glue or other strong adhesives that can leave residue or damage the case or Popsocket when removed.
5. Can I remove the Popsocket from the silicone case once it’s glued?
While it is possible to remove a Popsocket from a glued silicone case, it may require some effort and may not be as easy as removing a Popsocket from its adhesive disk. You can try using a thin tool, such as a credit card or a plastic pry tool, to gently separate the Popsocket from the case. Be careful not to damage the case in the process and proceed with caution.