
In today’s fast-paced world, staying connected is more crucial than ever. Whether you’re traveling, working remotely, or simply want to have internet access on-the-go, a dongle is a convenient solution. A dongle, also known as a USB modem or mobile broadband stick, allows you to connect to the internet using a cellular network.
However, connecting a dongle to your device may not always be as straightforward as plugging it in and getting online. There are a few steps you need to follow to ensure a successful connection. In this article, we will guide you through the process of connecting a dongle to your computer, laptop, or other devices. So, if you’re ready to experience the freedom of wireless internet access, let’s get started!
Inside This Article
- Step 1: Checking Compatibility
- Step 2: Installing Dongle Software
- Step 3: Connecting Dongle to Device
- Step 4: Configuring Dongle Settings
- Troubleshooting Tips
- Conclusion
- FAQs
Step 1: Checking Compatibility
Before connecting a dongle to your device, it’s crucial to ensure compatibility. Not all dongles are universally compatible with all devices, so it’s essential to check before proceeding. The compatibility largely depends on the type of dongle and the device you intend to use it with.
Firstly, determine the type of device you own. Whether it’s a laptop, desktop, or mobile device, it’s important to know its specifications and any limitations it might have. Check the operating system (OS) version and the available USB ports or connectivity options.
Next, consider the type of dongle you have or are planning to purchase. Dongles come in various forms, including Wi-Fi dongles, USB data dongles, or mobile broadband dongles. Different dongles have different compatibility requirements, so review the specifications provided by the manufacturer.
Once you have determined the compatibility requirements of your device and dongle, crosscheck them. Look for commonalities such as compatible OS versions or USB port types. Additionally, ensure that the dongle supports the necessary network frequencies and standards for your region.
If you are unsure about the compatibility, consult the user manual or the manufacturer’s website for more information. Some manufacturers even provide compatibility checkers or support forums where you can find answers to your questions.
Lastly, consider any additional requirements such as driver software or firmware updates. Some dongles may require specific drivers to be installed on your device for optimal functionality. Check if the required software or updates are available and compatible with your device’s OS.
By taking the time to check compatibility, you can avoid any potential issues or frustrations that may arise when connecting the dongle to your device. It ensures a smoother and more successful setup process.
Step 2: Installing Dongle Software
After ensuring the compatibility of your device and dongle (as discussed in Step 1), the next step is to install the necessary software for the dongle. Installing the software is crucial as it allows your device to recognize and communicate with the dongle effectively.
To start the installation process, you will typically need to insert the dongle into a USB port on your device. Once connected, your device will detect the dongle and prompt you to install the software. Follow these steps to successfully install it:
- Locate the installation software or driver that came with the dongle. It’s usually provided on a CD or USB drive.
- If you have the installation software on a CD, insert it into your device’s CD/DVD drive. If the software is on a USB drive, insert the drive into a USB port.
- Open the software or driver package. If it doesn’t open automatically, locate the setup file and double-click on it to launch the installation wizard.
- Follow the on-screen instructions provided by the installation wizard to proceed with the installation. This typically includes accepting the terms and conditions, selecting the installation location, and clicking on the “Install” or “Next” button.
- Wait for the installation process to complete. It may take a few minutes depending on the speed of your device and the complexity of the software.
- Once the installation is finished, you will see a notification confirming the successful installation of the dongle software.
- Restart your device, if prompted, to ensure that the software is properly integrated.
It’s worth noting that some dongles may require an internet connection during the installation process to download the latest software updates. If this is the case, make sure you have a stable internet connection before proceeding with the installation.
If you encounter any issues during the installation, refer to the troubleshooting section (Step 6) for potential solutions.
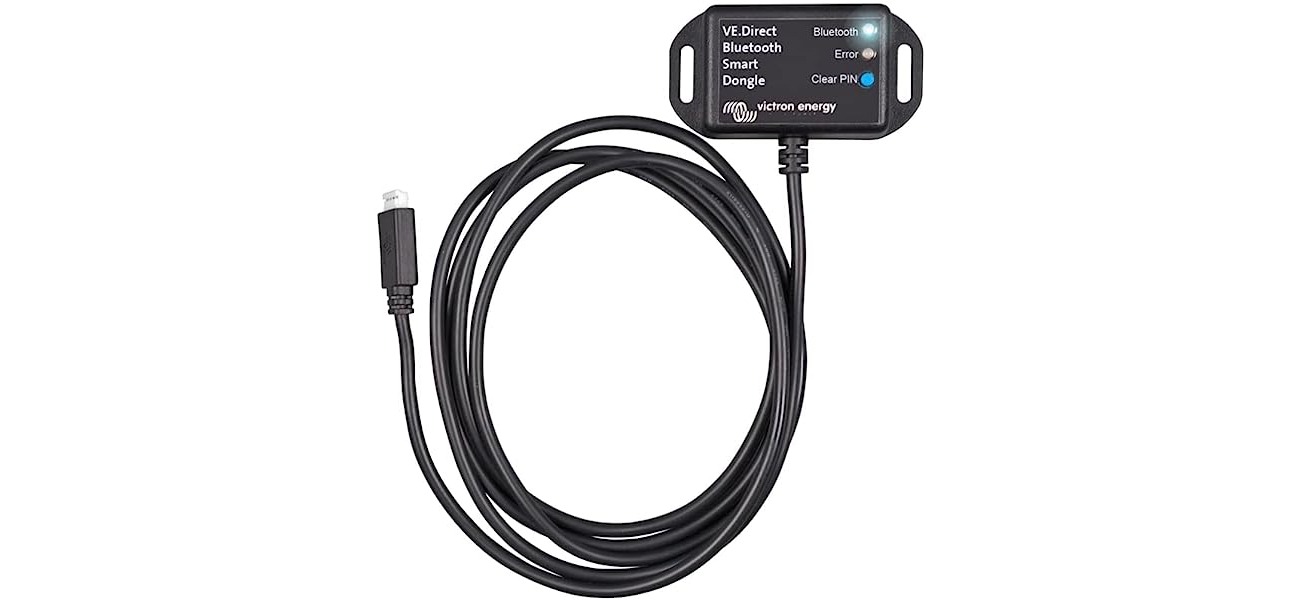
Step 3: Connecting Dongle to Device
Once you have successfully installed the software for your dongle, it’s time to connect it to your device. The process may vary slightly depending on the type of dongle you have, but the general steps remain the same.
1. Locate the USB port: Most dongles come with a USB connector that needs to be plugged into a USB port on your device. Locate the USB port on your device, which is usually located on the side or back of laptops, or at the bottom or sides of desktop computers.
2. Insert the dongle: Carefully insert the USB connector of the dongle into the USB port of your device. Make sure to align the connectors properly and insert it firmly but not forcefully.
3. Wait for the device to recognize the dongle: Once the dongle is connected, your device should automatically detect and recognize it as a new hardware device. This may take a few moments, so be patient and avoid removing the dongle prematurely. You may also see a notification or pop-up confirming the successful connection of the dongle.
4. Configure network settings (if required): Depending on the type of dongle, you may need to configure network settings in order to connect to the internet. This can usually be done through the software or settings provided by the dongle manufacturer. Follow the on-screen prompts or refer to the user manual for the specific instructions on configuring network settings.
5. Test the connection: Once the dongle is connected and the network settings are configured, it’s time to test the connection. Open a web browser or any other application that requires internet access and make sure you can successfully load web pages or access online services. If everything is working properly, congratulations! You have successfully connected your dongle to your device.
It’s important to note that some dongles may require additional steps or have specific instructions for connection. Always refer to the user manual or documentation provided by the dongle manufacturer for detailed instructions specific to your device and dongle model.
Step 4: Configuring Dongle Settings
Once you have connected the dongle to your device, it’s important to configure the settings for optimal performance. Follow these steps to ensure that your dongle is properly set up:
- Access the Dongle Settings: Open the software or application that came with your dongle. Most dongles have a user-friendly interface that allows you to access and configure the various settings.
- Select Connection Type: Depending on your network and service provider, you may need to select the appropriate connection type. Common options include 3G, 4G, and LTE. Choose the connection type that suits your needs and is supported by your dongle and network.
- Enter APN: APN stands for Access Point Name and is required for the dongle to connect to the internet. Your service provider will provide you with the correct APN settings. Enter these settings into the appropriate field in the dongle software.
- Configure Authentication: Some dongles require authentication parameters such as username and password to establish a connection. Verify if your service provider requires this and enter the necessary credentials in the dongle software.
- Set Network Preferences: In the dongle settings, you can select your preferred network mode, such as automatic, 3G only, or 4G only. Choose the option that offers the best balance of speed and coverage in your area.
- Adjust Signal Strength: If your dongle has an external antenna, make sure it is properly connected and aligned for optimal signal strength. You may need to adjust the positioning of the antenna to achieve the best reception.
- Activate Firewall and Security: Enable any built-in firewall or security features provided by the dongle software. This will help protect your device and data from potential threats while connected to the internet.
- Save and Apply Settings: Once you have configured all the necessary settings, save and apply the changes. The dongle software will typically have a button or option to do this. After applying the settings, you may need to restart the dongle or your device for the changes to take effect.
By following these steps, you can ensure that your dongle is properly configured and ready to provide you with a reliable and fast internet connection on your device. Remember to consult the user manual or contact your service provider if you encounter any difficulties during the configuration process.
Troubleshooting Tips
Despite the convenience and versatility of using a dongle to connect to the internet, it’s not uncommon to encounter some challenges along the way. If you’re experiencing issues with your dongle connection, fret not! Here are some troubleshooting tips to help you get back online:
1. Check your signal strength: One of the most common reasons for a dongle not connecting properly is weak signal strength. Ensure that you are within range of a strong signal, as this can significantly impact your internet speed and reliability.
2. Reset your dongle: Sometimes, a simple reset can work wonders. Disconnect the dongle from your device, wait for a few seconds, and plug it back in. This can help resolve any minor connectivity issues and is worth trying before moving on to more advanced troubleshooting steps.
3. Update dongle drivers: Outdated drivers can cause compatibility issues and hinder the performance of your dongle. Visit the manufacturer’s website and check for any available driver updates that may address your connection problems. Install these updates to ensure optimal performance.
4. Check for software conflicts: Conflicting software can interfere with your dongle connection. Check if any recently installed programs or applications might be causing a conflict. Temporarily disable or uninstall these programs to see if it resolves the issue.
5. Try a different USB port: Sometimes, a faulty USB port can be the root cause of connectivity problems. Switch the dongle to a different USB port on your device and check if it establishes a connection. This simple step can help troubleshoot any issues related to problematic ports.
6. Disable firewall or antivirus: In some cases, your firewall or antivirus software may be blocking the dongle from connecting to the internet. Temporarily disable these security measures and check if it resolves the problem. Just remember to re-enable them once the issue is resolved.
7. Contact customer support: If all else fails and you’re still struggling to connect your dongle, don’t hesitate to reach out to the customer support of your dongle or service provider. They will have the expertise to assist you further and can guide you through more advanced troubleshooting steps.
By following these troubleshooting tips, you can overcome common dongle connection problems and get back to enjoying seamless internet access. Remember to stay patient and thorough when investigating the root cause of the issue, as sometimes a simple solution can be found with a little persistence.
Conclusion
Connecting a dongle to your device is a simple and convenient way to access the internet on the go. Whether you’re using a laptop, tablet, or smartphone, a dongle allows you to stay connected and productive wherever you are.
In this article, we’ve explored the various steps involved in connecting a dongle. From inserting the dongle into the USB port to installing the necessary drivers and software, we’ve covered it all. We’ve also provided tips on troubleshooting common issues that you may encounter during the setup process.
Remember, different dongles may have slightly different setup processes, so it’s important to refer to the user manual or instructions provided by the manufacturer. By following the steps outlined in this article and using the tips provided, you can easily connect your dongle and enjoy seamless internet connectivity.
So, whether you’re a digital nomad, a frequent traveler, or someone who simply needs internet access on the go, don’t forget to grab a dongle and stay connected wherever life takes you!
FAQs
1. How do I connect a dongle to my device?
To connect a dongle to your device, follow these steps:
1. Insert the dongle into an available USB port on your device.
2. Wait for your device to recognize the dongle and install the necessary drivers.
3. Once the installation is complete, you should see a notification indicating a successful connection.
4. You can now start using the dongle to access the internet or perform other functions.
2. Can I use a dongle with my smartphone?
Yes, you can use a dongle with your smartphone. However, be aware that not all smartphones have USB ports that are compatible with dongles. If your phone has a USB-C port, you may need a USB-C to USB adapter to connect the dongle. Additionally, some smartphone models may require specific drivers or software to use a dongle. It’s important to check your smartphone’s specifications and compatibility before attempting to connect a dongle.
3. What are the benefits of using a dongle?
Using a dongle offers several benefits:
– Internet connectivity: Dongles can provide internet access when Wi-Fi is unavailable or unreliable.
– Portability: Dongles are small and portable, making them convenient for users who need internet access on the go.
– Compatibility: Dongles can be used with a variety of devices, including laptops, tablets, and smartphones, providing flexibility in accessing the internet.
– Security: Dongles often come with built-in security features, such as encryption, to protect your data while using the internet.
4. Can I use a dongle with multiple devices?
Yes, you can generally use a dongle with multiple devices. However, keep in mind that some dongles may have licensing restrictions or limitations on the number of devices that can be connected simultaneously. It’s best to consult the manufacturer’s specifications or user manual for guidance on using a dongle with multiple devices.
5. What is the difference between a dongle and a modem?
While both dongles and modems can provide internet access, there are some differences between the two:
– Form factor: Dongles are typically smaller and more portable than modems.
– Connection method: Dongles connect to devices via USB ports, while modems may require additional hardware connections or drivers.
– Versatility: Dongles can often be used with a variety of devices, including laptops, tablets, and smartphones, while modems may be more limited in compatibility.
– Functionality: Dongles may offer additional features, such as integrated storage or SIM card slots, that are not typically found in modems.