
Connecting a Plantronics headset to a laptop running Windows 10 can greatly enhance your audio experience and productivity. Plantronics headsets are known for their superior sound quality and comfort, making them a popular choice among professionals and avid gamers alike.
However, if you are new to the process or encountering difficulties, you may be wondering how to connect your Plantronics headset to a laptop running Windows 10. This guide will walk you through the steps to ensure a seamless and hassle-free connection.
Whether you are using a wireless or wired Plantronics headset, this article will provide you with the necessary instructions to make the connection. So, let’s dive in and learn how to connect your Plantronics headset to your laptop running Windows 10!
Inside This Article
- Prerequisites
- Step 1: Check compatibility
- Step 2: Install necessary software or drivers
- Step 3: Connect the Plantronics headset to the laptop
- Step 4: Set up audio settings
- Conclusion
- FAQs
Prerequisites
In order to connect your Plantronics headset to your laptop running Windows 10, there are a few prerequisites you need to fulfill. Ensuring that you have the necessary tools and software will make the connection process smoother and more successful.
Here are the prerequisites for connecting your Plantronics headset to your Windows 10 laptop:
- A compatible Plantronics headset: Make sure you have a Plantronics headset that is compatible with your laptop and supports the Windows 10 operating system. Check the headset’s specifications or consult the manufacturer’s website for compatibility information.
- Bluetooth capability: Your laptop must have built-in Bluetooth functionality or a Bluetooth adapter. Bluetooth is the wireless technology that allows your laptop to connect to the Plantronics headset. If your laptop doesn’t have Bluetooth, you can purchase a USB Bluetooth adapter separately.
- Plantronics Hub software: Download and install the Plantronics Hub software on your laptop. The Plantronics Hub is a desktop application that enables you to manage and customize your Plantronics headset settings. It provides additional functionality and allows for a seamless connection between your headset and laptop.
- Updated Windows 10 operating system: Ensure that your Windows 10 operating system is updated to the latest version. Updates often include bug fixes and improvements that can enhance the compatibility and performance of your Plantronics headset.
- Fully charged Plantronics headset: Before attempting to connect your Plantronics headset to your laptop, make sure its battery is fully charged. A fully charged headset ensures a stable and uninterrupted connection during use.
By fulfilling these prerequisites, you’ll be well-prepared to connect your Plantronics headset to your laptop running Windows 10. Now that you have everything in place, let’s move on to the next steps of the connection process.
Step 1: Check compatibility
Before connecting your Plantronics headset to your laptop running Windows 10, it is important to ensure compatibility between the two devices. Here are a few things to check:
1. Headset compatibility: Ensure that your Plantronics headset is compatible with Windows 10. Visit the official Plantronics website or refer to the user manual for information on compatibility with different operating systems.
2. Bluetooth capability: If your Plantronics headset uses Bluetooth technology for connectivity, make sure that your laptop has built-in Bluetooth capabilities or a compatible Bluetooth adapter. This will allow you to establish a wireless connection between the headset and the laptop.
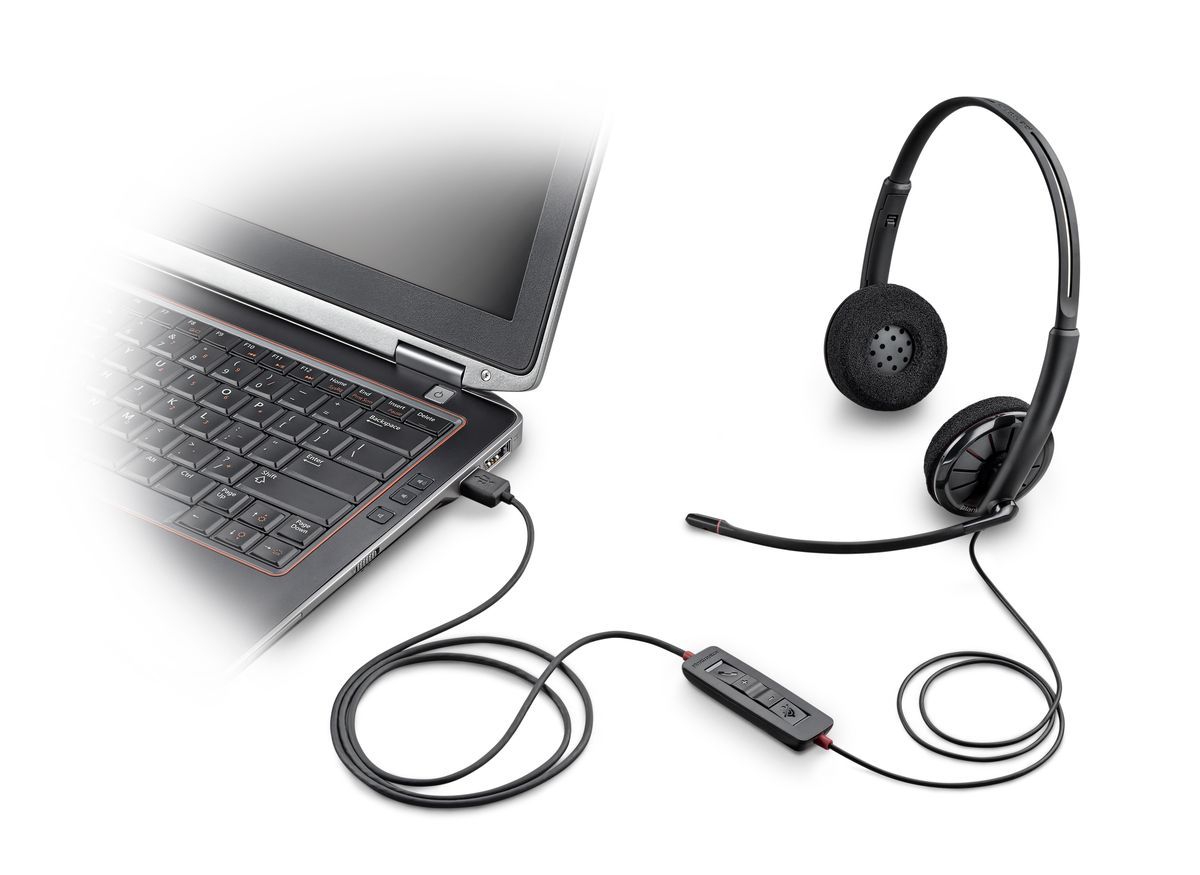
3. USB connection: If your Plantronics headset requires a wired connection, check if your laptop has a USB port that matches the type of connector on the headset. Additionally, ensure that your laptop supports the plug-and-play feature so that drivers are automatically installed when you connect the headset.
4. Software requirements: Some Plantronics headsets may require specific software or drivers to be installed on your laptop for proper functionality. Check the user manual or the Plantronics website for any software or driver requirements and make sure your laptop meets these specifications.
By checking compatibility before connecting your Plantronics headset to your laptop, you can ensure a seamless and hassle-free experience when setting up the connection. This step will help you avoid potential compatibility issues and ensure that the headset and laptop work together efficiently.
Step 2: Install necessary software or drivers
Before you can connect your Plantronics headset to your laptop running Windows 10, it is important to install the necessary software or drivers. This step ensures that your laptop recognizes and communicates with your headset properly, allowing you to experience all its features and functionality.
Here’s how you can install the required software or drivers:
- Start by visiting the official Plantronics website or the manufacturer’s website to find the latest software or drivers for your headset model. Look for the support section or downloads section on their website.
- Once you locate the appropriate software or drivers, download them onto your laptop. Make sure to save the file in a location that you can easily access later.
- After the download is complete, navigate to the location where you saved the file and double-click on it to initiate the installation process.
- Follow the on-screen instructions provided by the installation wizard. Typically, you will need to agree to the terms and conditions and select a destination folder for the installation.
- Once the installation is complete, you may need to restart your laptop to ensure that the software or drivers are properly installed and integrated.
That’s it! You have now successfully installed the necessary software or drivers for your Plantronics headset on your Windows 10 laptop. This step is crucial in establishing a seamless connection between your headset and laptop, enabling you to enjoy clear audio and communication.
Step 3: Connect the Plantronics headset to the laptop
Once you have installed the Plantronics headset software and ensured that Bluetooth is enabled on your laptop, it’s time to connect the headset to your Windows 10 laptop. Here’s how:
- Turn on your Plantronics headset by pressing and holding the power button until the LED light starts blinking.
- On your laptop, click on the “Start” menu and select “Settings”.
- In the Settings window, click on “Devices”.
- In the Devices window, select “Bluetooth & other devices” from the left-hand menu.
- Click on the “Add Bluetooth or other device” button.
- A new window will appear. Here, select “Bluetooth”.
- Your laptop will start searching for nearby Bluetooth devices.
- On your Plantronics headset, press and hold the Bluetooth pairing button until the LED light on the headset starts flashing.
- Once your Plantronics headset appears in the list of available devices on your laptop, click on it to connect.
- If prompted, enter the passkey or PIN for your Plantronics headset. The passkey or PIN can usually be found in the headset’s user manual or on the packaging.
- Once the connection is established, your Plantronics headset will be ready to use with your Windows 10 laptop.
It’s important to note that the exact steps to connect the Plantronics headset may vary slightly depending on the specific model of your headset and the version of Windows 10 you are using. However, the general process is similar for most Plantronics headsets and Windows 10 laptops.
Step 4: Set up audio settings
Once you have successfully paired and connected your Plantronics headset to your laptop running Windows 10, the next step is to configure the audio settings to ensure optimum performance. Here’s how you can set up the audio settings for your Plantronics headset:
1. Right-click on the audio icon located on the taskbar at the bottom right corner of your screen. A menu will appear with various options.
2. Select ‘Open Sound settings’ from the menu. This will open the Sound settings window.
3. In the Sound settings window, under the ‘Output’ section, you will see a list of available playback devices. Look for your Plantronics headset in the list.
4. Once you have identified your Plantronics headset, click on it to select it as the default playback device for your laptop. This ensures that all audio output will be directed to your headset.
5. Next, click on the ‘Device Properties’ link located below the list of playback devices. This will open the Properties window for your Plantronics headset.
6. In the Properties window, navigate to the ‘Spatial sound’ tab. Here, you can choose the spatial sound format that best suits your preferences. You can select from options like ‘Windows Sonic for Headphones’ or ‘Dolby Atmos for Headphones’, depending on your headset’s capabilities.
7. After selecting the desired spatial sound format, click on the ‘Apply’ button to save your settings.
8. Finally, test the audio output by playing a sound or video on your laptop. Ensure that the sound is coming through your Plantronics headset.
By following these steps, you can configure the audio settings on Windows 10 to optimize the performance of your Plantronics headset. Now you can enjoy crystal clear sound and immerse yourself in your favorite music, movies, or games.
Conclusion
Connecting your Plantronics headset to your laptop running Windows 10 is a simple and straightforward process. By following the steps outlined in this article, you’ll be able to enjoy the convenience of using your headset for calls, video conferences, and multimedia purposes.
Remember to first ensure that your headset is compatible with Windows 10 and has the necessary drivers installed. Then, follow the steps to pair the headset with your laptop via Bluetooth or through a USB connection. Pay attention to any additional software or settings that may be required for optimal performance.
With your Plantronics headset connected, you’ll be able to enjoy hands-free communication and a superior audio experience. Whether you’re using it for work or leisure, your headset will enhance your productivity and enjoyment on your laptop.
So go ahead and connect your Plantronics headset to your laptop, and start experiencing the convenience and flexibility of wireless communication.
FAQs
1. How do I connect my Plantronics headset to my laptop running Windows 10?
To connect your Plantronics headset to your laptop running Windows 10, follow these steps:
- Make sure your headset is turned on and in pairing mode.
- On your laptop, go to the “Settings” menu.
- Select “Devices” or “Bluetooth & Other Devices.”
- Click on “Add Bluetooth or other device.”
- Choose the option for “Bluetooth” and wait for your laptop to search for nearby devices.
- Once your headset appears in the list of available devices, click on it to initiate the pairing process.
- Follow any additional on-screen prompts to complete the pairing process.
2. Can I connect my Plantronics headset wirelessly to my laptop?
Yes, Plantronics headsets are designed to work wirelessly through the use of Bluetooth technology. As long as your laptop has Bluetooth capabilities, you can connect your Plantronics headset wirelessly without the need for any additional wires or cables.
3. Do I need any drivers or software to connect my Plantronics headset to my laptop?
In most cases, you will not need any additional drivers or software to connect your Plantronics headset to your laptop. Windows 10 usually comes with built-in Bluetooth drivers that will automatically detect and set up your headset. However, if you are experiencing any issues, you can visit the Plantronics website to download any necessary drivers or software specific to your headset model.
4. How do I ensure that my Plantronics headset is set as the default audio device on my laptop?
Once your Plantronics headset is connected to your laptop, you may need to manually set it as the default audio device. Here’s how:
- Right-click on the volume icon in the system tray.
- Select “Open Sound settings.”
- Under the “Output” section, click on the dropdown menu and choose your Plantronics headset as the default device.
- Repeat the above steps for the “Input” section if you want to use your headset’s microphone as the default recording device.
5. Can I use my Plantronics headset with other devices besides my laptop?
Yes, Plantronics headsets are versatile and can be used with a wide range of devices, including smartphones, tablets, and even desktop computers. As long as the device has Bluetooth capabilities or a compatible audio jack, you should be able to connect your Plantronics headset and enjoy its features.