
Are you looking for a convenient and reliable way to power your Nest device? Look no further than the Nest Power Connector. This innovative accessory allows you to easily connect your Nest device to a power source, ensuring continuous operation and eliminating the need for batteries.
In this article, we will guide you through the process of installing the Nest Power Connector, providing step-by-step instructions and helpful tips along the way. Whether you are a tech-savvy individual or new to the world of smart home devices, our comprehensive guide will help you get your Nest device up and running in no time.
So, let’s get started and discover how to install the Nest Power Connector and enjoy uninterrupted power for your Nest device.
Inside This Article
- Overview of Nest Power Connector
- Tools and Materials Required
- Step-by-Step Installation Guide
- Conclusion
- FAQs
Overview of Nest Power Connector
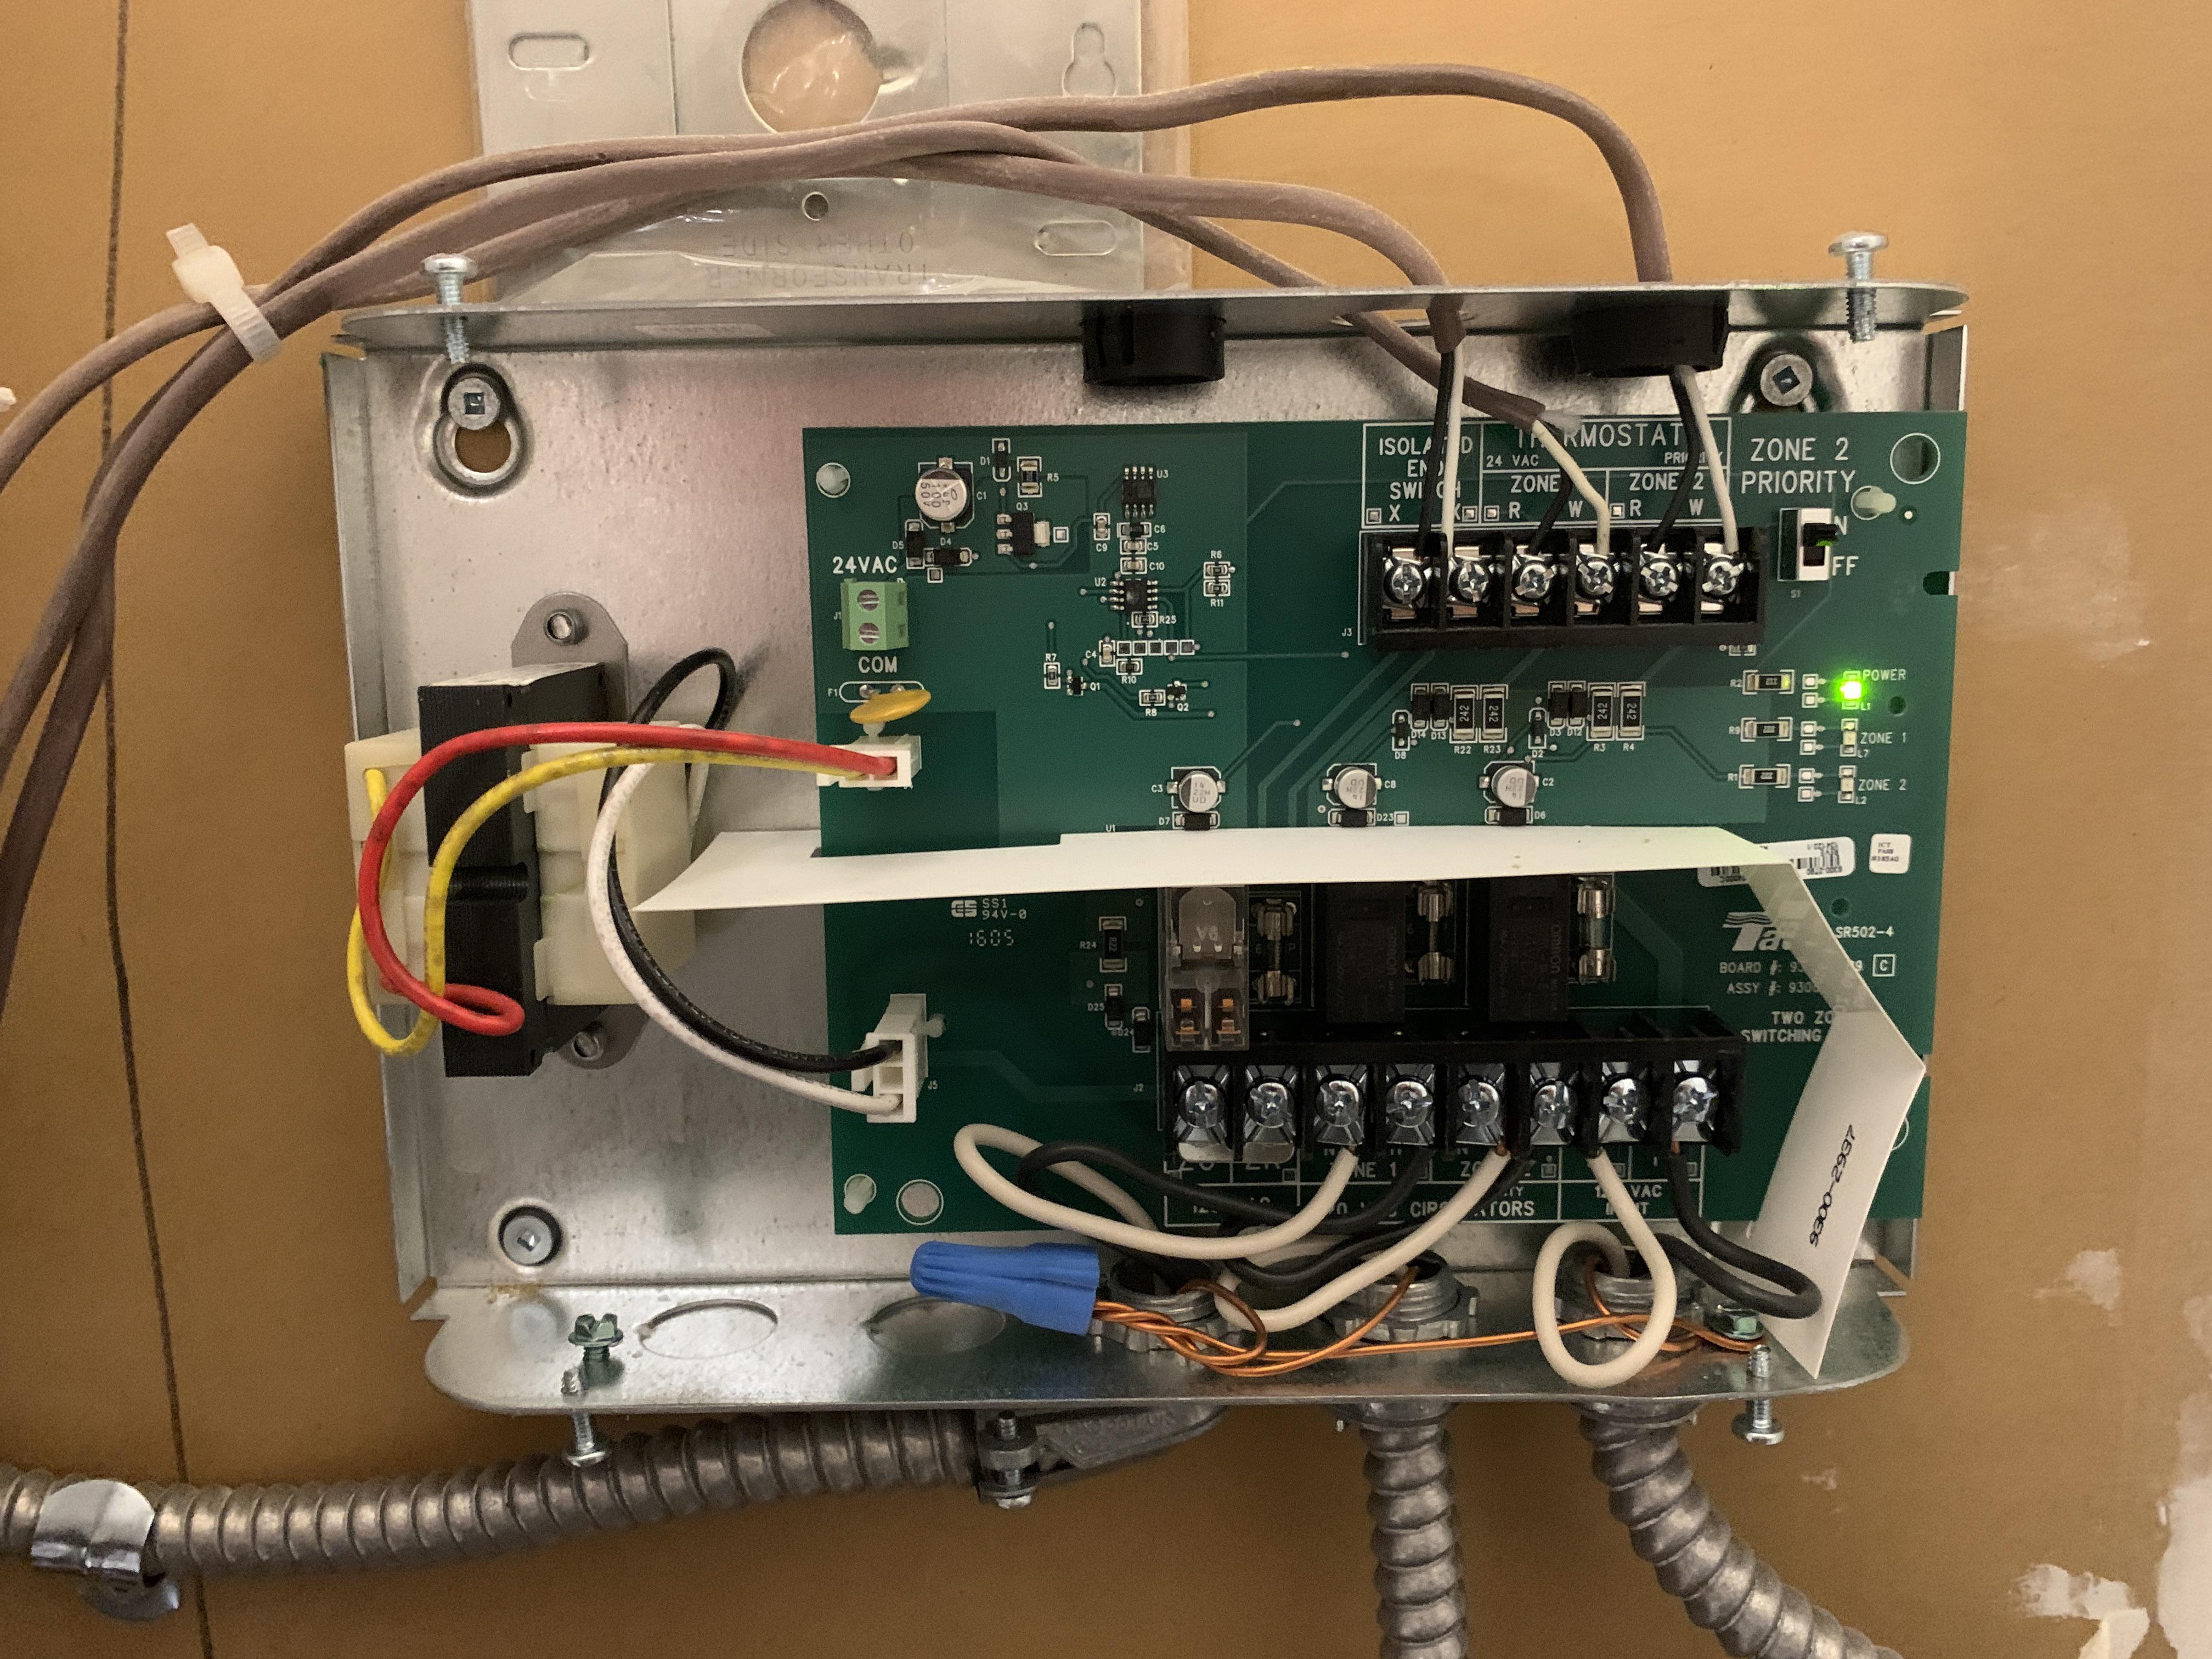
The Nest Power Connector is an essential accessory for Nest Hello Video Doorbell users. It provides a direct power supply to the doorbell, eliminating the need for battery changes or recharging. This ensures that your Nest Hello is always powered and ready to capture every visitor at your doorstep.
The Nest Power Connector is a compact and high-quality device that seamlessly integrates with your existing doorbell wiring. With its easy installation process, you can have your Nest Hello up and running in no time.
One of the key advantages of the Nest Power Connector is its reliability. By connecting your Nest Hello directly to the electrical system, you don’t have to worry about the battery dying or the doorbell losing power. This is especially important if you receive a high volume of visitors or rely heavily on video surveillance for security purposes.
Another benefit is the convenience of not having to remember to recharge or replace batteries. With the Nest Power Connector, your Nest Hello will receive a consistent power supply, ensuring uninterrupted functionality. You can have peace of mind knowing that your video doorbell will always be operational, even during extended periods of use.
The Nest Power Connector is also designed to be compatible with a wide range of doorbell systems. Whether you have a simple mechanical chime or a more advanced digital chime, this accessory can seamlessly integrate with your setup, providing a consistent power source for your Nest Hello.
In addition to its functionality, the Nest Power Connector is also aesthetically pleasing. Its sleek and minimalistic design blends seamlessly with your Nest Hello and doorbell setup, maintaining a clean and clutter-free appearance. It is specifically designed to be discreet and not detract from the overall aesthetic of your front entryway.
Tools and Materials Required
Before you begin the installation process for the Nest Power Connector, make sure you have the following tools and materials on hand:
1. Screwdriver: A small flathead or Phillips screwdriver will be needed to remove any screws or panels during the installation.
2. Power Drill: If you need to secure the power connector to a wall or surface, a power drill will be necessary to create holes for mounting.
3. Mounting Hardware: Depending on your specific installation needs, you may require mounting brackets, screws, and anchors to securely attach the power connector.
4. Wire Strippers: In order to properly connect the wires to the power connector, you will need a pair of wire strippers to remove the insulation.
5. Electrical Tape: To ensure a safe and secure connection, electrical tape can be used to tightly wrap the exposed wires and provide insulation.
6. Level: If you are mounting the power connector on a wall, a level will help ensure it is straight and properly aligned.
7. Safety Equipment: It’s always a good idea to have safety equipment on hand, such as gloves and safety glasses, to protect yourself during the installation process.
8. Nest Power Connector: Of course, you’ll need the Nest Power Connector itself, which should come with the necessary cables and connectors.
By gathering these tools and materials before you begin the installation process, you’ll be well-prepared and ready to successfully install the Nest Power Connector.
Step-by-Step Installation Guide
Installing the Nest Power Connector is a simple and straightforward process. Just follow these step-by-step instructions to ensure a successful installation:
- Prepare the area: Start by locating a suitable spot near your thermostat to install the Nest Power Connector. Ensure that it is close to a power outlet and within reach of the thermostat’s wiring.
- Turn off the power: Before starting any electrical work, turn off the power to your heating and cooling system at the circuit breaker. This will ensure your safety throughout the installation process.
- Remove the old wiring: Carefully remove the existing wiring from your thermostat. Take note of the labeling and position of each wire as you disconnect them. This will help with the reconnection later.
- Install the Nest Power Connector: Place the Nest Power Connector near the power outlet and connect it using the provided power cord. Make sure to secure the connector in a stable position to prevent any movement or accidental disconnection.
- Connect the wiring: Take the wires you removed from your old thermostat and connect them to the corresponding terminals on the Nest Power Connector. Refer to the Nest installation guide for guidance in identifying the correct terminals.
- Secure the wires: After connecting the wires, ensure they are tightly secured to the terminals. This will prevent any loose connections that could cause issues with power delivery and thermostat functionality.
- Power up the system: Once all the wires are securely connected, turn the power back on at the circuit breaker. This will provide power to the Nest Power Connector and your thermostat.
- Test the connection: To ensure everything is working correctly, check that your thermostat is receiving power and displaying the appropriate information. Make any necessary adjustments or troubleshoot issues as needed.
- Complete the setup: Follow the instructions provided by the Nest app or on the Nest thermostat screen to complete the setup process. This may involve connecting to your home Wi-Fi network and configuring your thermostat settings.
- Enjoy your Nest Power Connector: Once the setup is complete, you can now enjoy the benefits of the Nest Power Connector, such as improved power reliability and the ability to connect your thermostat to your smart home ecosystem.
Following these step-by-step instructions will guide you through the installation process of the Nest Power Connector. Remember to always prioritize your safety when working with electrical systems and consult professional help if needed.
Conclusion
Installing the Nest Power Connector is a simple and straightforward process that can greatly enhance the functionality and performance of your Nest devices. By providing a continuous power source, the Power Connector ensures that your Nest products, such as thermostats and cameras, never run out of battery or lose connectivity.
With its intuitive design and easy installation, this accessory is a must-have for any Nest user looking to enhance their overall experience. By eliminating the need for battery replacements and the risk of disconnection, the Power Connector provides a reliable and hassle-free solution.
Ensure you follow the manufacturer’s instructions carefully to avoid any complications during installation. With the Nest Power Connector, you can enjoy the convenience of continuous power and maximize the benefits of your Nest devices without any interruptions.
FAQs
1. What is a Nest Power Connector?
A Nest Power Connector is a device that allows you to power your Nest thermostat directly from your electrical system, eliminating the need for batteries or an HVAC system power supply.
2. Do I need a Nest Power Connector for my Nest thermostat?
Not necessarily. The Nest Power Connector is an optional accessory that can be used if you want to power your Nest thermostat using your home’s electrical system. If you prefer to use the battery or the existing power supply of your HVAC system, you do not need the Nest Power Connector.
3. How does the Nest Power Connector work?
The Nest Power Connector connects to the back of your Nest thermostat and to your electrical system. It converts the voltage from your electrical system into the appropriate power supply for your Nest thermostat, ensuring a reliable and consistent power source.
4. Can I install the Nest Power Connector myself?
Installation of the Nest Power Connector is possible for those with basic electrical knowledge and DIY skills. However, it is recommended to hire a professional electrician to ensure proper installation and to avoid any potential electrical hazards.
5. Will using the Nest Power Connector affect the warranty of my Nest thermostat?
No, using the Nest Power Connector will not void the warranty of your Nest thermostat. The Nest Power Connector is an official accessory provided by Nest and is designed to work seamlessly with their thermostats without impacting the warranty.