
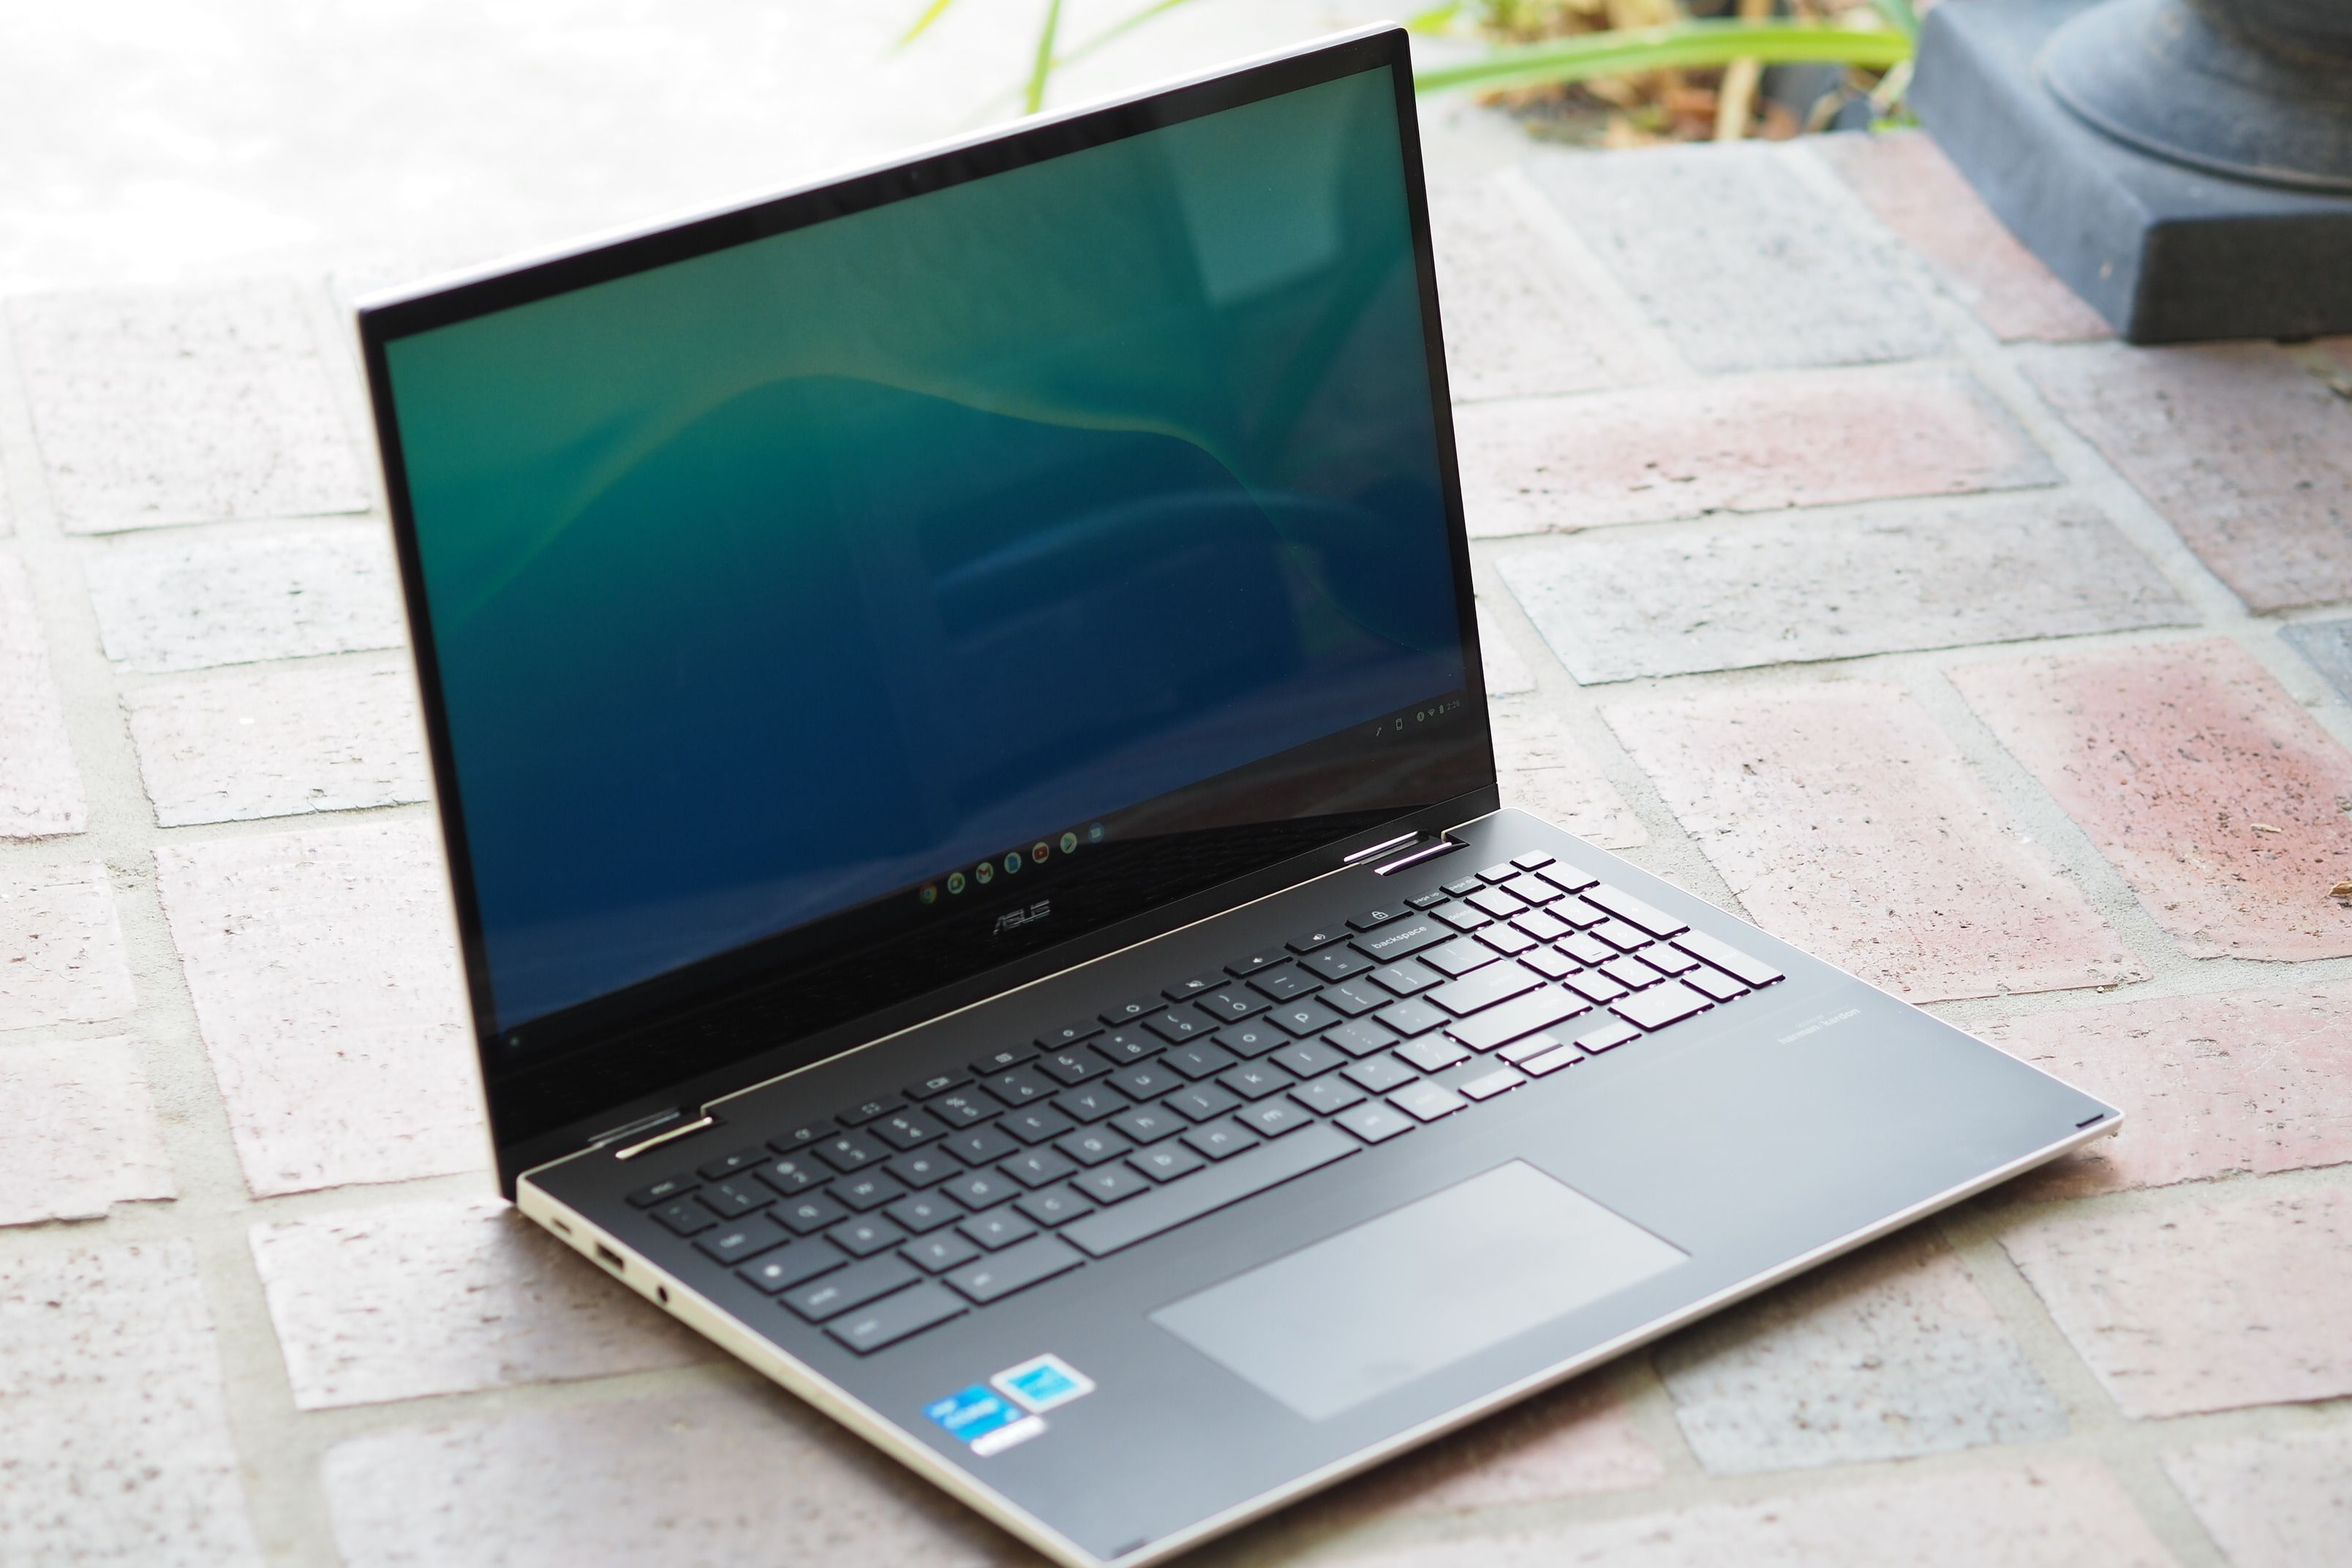
Creating a hotspot on your Chromebook can be an incredibly useful feature, enabling you to share your internet connection with other devices. Whether you are traveling, working in a location with limited Wi-Fi access, or simply want to connect your smartphone or tablet to your Chromebook, setting up a hotspot allows you to stay connected wherever you go. In this article, we will guide you on how to make a hotspot on Chromebook, step-by-step. You don’t need to be a tech wizard to get your hotspot up and running. So, let’s dive in and explore the easy process of setting up a hotspot on your Chromebook.
Inside This Article
- Enabling Developer Mode on Chromebook
- Installing Crouton
- Setting up a Hotspot on Chromebook
- Connecting Devices to the Hotspot
- Conclusion
- FAQs
Enabling Developer Mode on Chromebook
If you want to unlock the full potential of your Chromebook and access advanced features, you’ll need to enable Developer Mode. Enabling Developer Mode on your Chromebook allows you to install and use Linux-based tools, customize your device beyond what is typically allowed, and even run alternative operating systems like Ubuntu or GalliumOS.
However, it’s important to note that enabling Developer Mode comes with a few caveats. It will disable some of the built-in security features, and it may void your warranty. So, proceed with caution and only enable Developer Mode if you understand the potential risks.
Here’s a step-by-step guide on how to enable Developer Mode on your Chromebook:
- First, make sure your Chromebook is powered off.
- Press and hold the Esc key, the Refresh key (which is usually the fourth key on the top row of the keyboard), and the Power button all at the same time.
- Keep holding down the keys until a screen with a yellow exclamation mark appears.
- Release the keys and press Ctrl + D on your keyboard. This will prompt a confirmation screen.
- On the confirmation screen, press Enter to enable Developer Mode.
- Your Chromebook will now reboot and enter Developer Mode. This process may take a few minutes.
- Once your Chromebook has finished rebooting, you’ll see a screen with a red exclamation mark and a warning message. This is normal and indicates that Developer Mode is enabled.
That’s it! You have successfully enabled Developer Mode on your Chromebook. Now you can explore the additional capabilities and customization options that come with it.
Installing Crouton
If you are a Chromebook user looking to expand the functionality of your device, installing Crouton is a great option. Crouton is a set of scripts that allows you to run a full Linux distribution alongside Chrome OS, giving you access to a wide range of powerful tools and applications.
To begin the process of installing Crouton, you will first need to enable Developer Mode on your Chromebook. Developer Mode opens up additional features and settings, but it also resets your device to factory settings, so be sure to back up any important data before proceeding.
Once Developer Mode is enabled, you can move on to installing Crouton. Start by downloading the Crouton script from the official GitHub repository. Make sure to choose the correct version for your Chromebook model and the Linux distribution you wish to install.
After downloading the script, open the Chrome OS terminal by pressing Ctrl+Alt+T. Type “shell” and hit Enter to enter the Linux shell environment. Navigate to the Downloads folder using the “cd” command followed by “Downloads”.
Now, execute the Crouton script by running the following command:
sudo sh ~/Downloads/crouton -t target -r release
Replace “target” with the desired Linux distribution (e.g., “xfce” for Xubuntu) and “release” with the specific release version (e.g., “bionic” for Ubuntu 18.04). This command will initiate the installation process.
The installation may take some time depending on your internet connection and the size of the Linux distribution. During the installation, you will be prompted to set up a username and password for your Linux environment.
Once the installation is complete, you can start your Linux environment by running the command:
sudo starttarget
Replace “target” with the same Linux distribution you used during installation. You can switch between Chrome OS and your Linux environment by pressing Ctrl+Alt+Shift+Back/Forward.
Congratulations! You have successfully installed Crouton on your Chromebook. Enjoy exploring the world of Linux applications and tools alongside Chrome OS.
Setting up a Hotspot on Chromebook
Setting up a hotspot on your Chromebook can be a convenient way to share your internet connection with other devices when you don’t have access to Wi-Fi. Whether you’re on the go or in a location with limited access, creating a hotspot on your Chromebook allows you to connect your smartphone, tablet, or other devices to the internet using your Chromebook’s cellular data.
Follow these simple steps to set up a hotspot on your Chromebook:
- Click on the time in the bottom-right corner of your Chromebook’s screen to open the system tray, and then click on the gear icon to access the settings menu.
- In the settings menu, select “Network” to open the network settings.
- Under the “Network” section, click on the “Internet connection” drop-down menu and select your cellular network.
- If prompted, enter your cellular network’s access point name (APN) and other relevant information.
- Once your cellular network is connected, go back to the settings menu and select “Internet connection sharing”.
- In the internet connection sharing settings, toggle on the “Share to other devices” option.
- You can also customize the name and password for your hotspot by clicking on the “Edit” button.
- Click on the “Start sharing” button to activate your hotspot.
Once you’ve completed these steps, your Chromebook will be broadcasting a Wi-Fi network, allowing other devices to connect to it. Simply locate the Wi-Fi network on your other devices and enter the password you set up for your hotspot to establish a connection.
It’s important to note that using your Chromebook as a hotspot may consume a significant amount of data from your cellular plan. Make sure to monitor your data usage and consider your plan’s limitations before using this feature extensively.
Additionally, keep in mind that Chromebooks have varying levels of hardware capabilities, and some older models may not support hotspot functionality. Double-check your Chromebook’s specifications to ensure that it is capable of creating a hotspot before attempting to set one up.
Connecting Devices to the Hotspot
Once you have set up the hotspot on your Chromebook, connecting other devices to it is a straightforward process. Whether you want to share your internet connection with your smartphone, tablet, or laptop, the steps are quite similar.
Here is a simple guide on how to connect your devices to the hotspot on your Chromebook:
1. On the device you want to connect to the hotspot, go to the Wi-Fi settings.
2. Look for the available Wi-Fi networks and find the network name of your Chromebook’s hotspot. It usually appears as “Chromebook_SSID”.
3. Click on the network name to connect to it. You may be asked to enter the hotspot password.
4. Enter the hotspot password that you set up previously. Make sure to enter it correctly to establish a successful connection.
5. Once you have entered the correct password, the device will connect to the hotspot. You should see the Wi-Fi icon on the device’s status bar indicating a successful connection.
6. Test the connection by opening a web browser or any app that requires internet access. If the device successfully loads webpages or performs tasks that require an internet connection, you have successfully connected to the hotspot.
7. Repeat the steps above for any additional devices you want to connect to the hotspot.
Remember that the number of devices you can connect to the hotspot may vary depending on your Chromebook’s capabilities and the internet connection’s bandwidth. Too many connected devices can affect the overall speed and performance of the hotspot.
Additionally, make sure that the devices you connect to the hotspot are within range of the Chromebook to ensure a stable connection. Moving the connected devices too far away from the Chromebook may result in a weaker signal and a less reliable connection.
By following these steps, you can easily connect your devices to the hotspot created by your Chromebook. Whether you need internet access on your smartphone, tablet, or laptop, the hotspot feature on Chromebook allows you to share your internet connection quickly and conveniently.
Conclusion
In conclusion, learning how to make a hotspot on a Chromebook can greatly enhance your connectivity options. By creating a Wi-Fi hotspot, you can easily connect other devices to your Chromebook and share its internet connection. This is especially useful when you are on the go or in a location where Wi-Fi is not available.
Whether you need to work on your laptop, stream videos on your tablet, or connect your smartphone to the internet, creating a hotspot on your Chromebook provides a convenient solution. With just a few simple steps, you can transform your Chromebook into a wireless access point and stay connected wherever you are.
Remember to prioritize your device’s security by using a strong password for your hotspot and turning off the hotspot when not in use. By following these guidelines, you can enjoy the benefits of a mobile hotspot while ensuring the safety of your personal information.
So, go ahead and make the most out of your Chromebook’s capabilities by creating a hotspot and enjoy seamless connectivity on all your devices!
FAQs
1. Can I use my Chromebook as a mobile hotspot?
Sure! Chromebooks have the ability to function as a mobile hotspot, allowing you to share your internet connection with other devices. This can be incredibly useful when you’re on the go and need to connect your smartphone, tablet, or other devices to the internet.
2. How do I set up a hotspot on my Chromebook?
To set up a hotspot on your Chromebook, follow these steps:
- Click on the network icon in the lower right corner of your screen.
- Select “Mobile hotspot” from the list of options.
- Toggle the switch to turn on the mobile hotspot.
- Customize your hotspot settings, such as the network name and password.
- Connect your other devices to the hotspot using the provided network name and password.
3. Can I connect multiple devices to my Chromebook hotspot?
Absolutely! Once you’ve set up a hotspot on your Chromebook, you can connect multiple devices to it. This means you can share your internet connection with your smartphone, tablet, laptop, or any other Wi-Fi enabled device that needs internet access.
4. Is there a limit to the number of devices I can connect to my Chromebook hotspot?
While there is technically no limit to the number of devices you can connect to your Chromebook hotspot, keep in mind that the more devices you connect, the slower the internet speed may become. If you have a large number of devices connected, you may experience slower internet speeds or potential connection issues.
5. Are there any additional charges for using a hotspot on my Chromebook?
If you have a data plan with your internet service provider, using a hotspot on your Chromebook should not incur any additional charges. However, it’s important to check with your provider to ensure that using your Chromebook as a hotspot is included in your data plan and that there are no extra fees or restrictions.