
In this article, we will delve into the world of lanyards and explore the process of opening them. Lanyards are a popular accessory used to hold items like keys, identification badges, or small electronic devices around the neck or wrist. While lanyards are typically designed to be secure and durable, there may be instances where you need to open them, whether for cleaning, repairing, or simply changing the attachment. Understanding the proper techniques and tools to use can help you easily and safely open a lanyard without causing any damage. So, if you’ve ever wondered how to open a lanyard, you’ve come to the right place. Let’s dive in and discover how to navigate this common mobile accessory challenge.
Inside This Article
- How To Open A Lanyard
- Quick Summary- Lanyards are commonly used for holding ID badges, keys, and other small items.- Knowing how to open a lanyard properly is essential for replacing attachments or removing tangled items.
- Required Tools and Materials
- Steps to Open a Lanyard
- Option 1: Opening a Clip Closure
- Option 2: Opening a Buckle Closure
- Option 3: Untangling Items from a Lanyard
- Conclusion
- FAQs
How To Open A Lanyard
Lanyards are commonly used for holding ID badges, keys, and other small items. Whether you need to replace an attachment or untangle a mess, knowing how to open a lanyard properly is essential. In this article, we will guide you through the steps to open a lanyard with different closure types, as well as tips for untangling items from a lanyard.
Quick Summary
- Lanyards are commonly used for holding ID badges, keys, and other small items.
- Knowing how to open a lanyard properly is essential for replacing attachments or removing tangled items.
Required Tools and Materials
- Lanyard with a clip or buckle closure
- Hands
Steps to Open a Lanyard
Option 1: Opening a Clip Closure
- Step 1: Locate the clip on the lanyard.
- Step 2: Pinch the sides of the clip to release the latch.
- Step 3: Separate the clip to fully open the lanyard.
Option 2: Opening a Buckle Closure
- Step 1: Identify the buckle on the lanyard.
- Step 2: Locate the release button or tab on the buckle.
- Step 3: Press or slide the release button/tab to unlock the buckle.
- Step 4: Separate the two ends of the lanyard by pulling them apart.
Option 3: Untangling Items from a Lanyard
- Step 1: Identify any tangled items on the lanyard.
- Step 2: Gently work to untangle the items, being careful not to twist or damage the lanyard.
- Step 3: If necessary, remove any attachments to facilitate untangling.
- Step 4: Once the items are untangled, reattach any removed attachments.
Remember, different lanyards may have slightly different mechanisms, so always refer to the specific instructions provided by the manufacturer if available.
Quick Summary- Lanyards are commonly used for holding ID badges, keys, and other small items.- Knowing how to open a lanyard properly is essential for replacing attachments or removing tangled items.
Lanyards are versatile accessories that are widely used for holding various items like ID badges, keys, and other small essentials. They provide a convenient way to keep important items within reach, especially in professional settings, events, or schools. However, at times you may need to open a lanyard to replace attachments or untangle items that have become entwined. Knowing how to open a lanyard properly is crucial to ensure its longevity and functionality.
Opening a lanyard correctly allows you to easily replace attachments like ID badges, key rings, or other small items. It also enables you to untangle items that may have become twisted or knotted, restoring the lanyard to its original state of usability. By following the proper techniques, you can avoid damaging the lanyard and ensure its longevity.
Required Tools and Materials
Lanyard with a clip or buckle closure
Hands
When it comes to opening a lanyard, you don’t need a lot of fancy tools or equipment. In fact, all you really need are your hands and a lanyard with a clip or buckle closure. These two simple tools will enable you to easily open and manipulate the lanyard to replace attachments or untangle any items that might be caught.
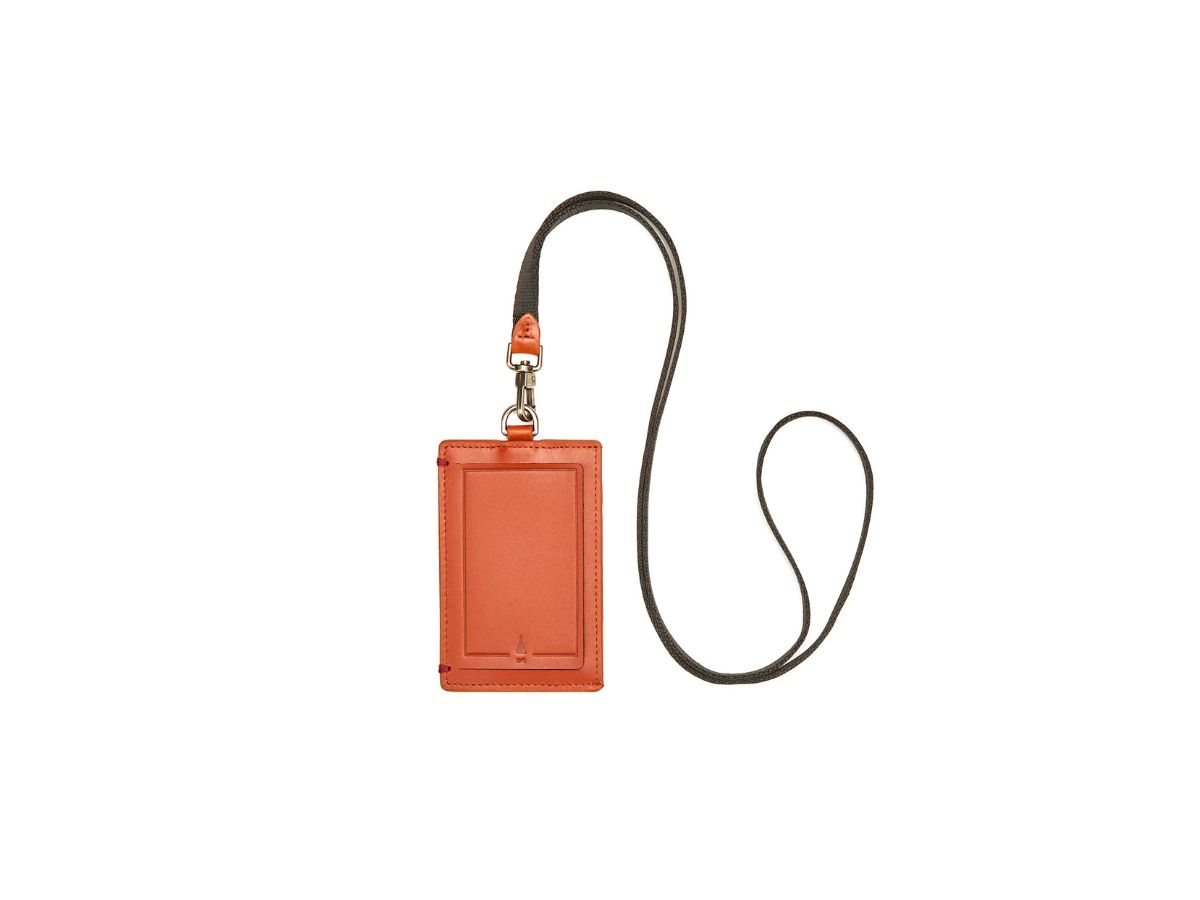
The lanyard itself is the most crucial tool for this task. It should have a clip or buckle closure, which allows for easy opening and closing. The clip closure consists of a small latch that can be easily released, while the buckle closure has a button or tab that needs to be pressed or slid to unlock it.
Additionally, your hands are the primary tool for handling and manipulating the lanyard. They provide the necessary dexterity and grip to open the closure and untangle any items that may have become tangled. With just your hands and the lanyard, you’ll have all the tools you need to successfully open a lanyard.
Steps to Open a Lanyard
In order to replace attachments or untangle items from a lanyard, it is important to know how to open it properly. The following are the steps to open a lanyard:
Option 1: Opening a Clip Closure
If your lanyard is equipped with a clip closure, follow these steps:
Step 1: Locate the clip on the lanyard.
Step 2: Pinch the sides of the clip to release the latch.
Step 3: Separate the clip to fully open the lanyard.
Option 2: Opening a Buckle Closure
If your lanyard has a buckle closure, follow these steps:
Step 1: Identify the buckle on the lanyard.
Step 2: Locate the release button or tab on the buckle.
Step 3: Press or slide the release button/tab to unlock the buckle.
Step 4: Separate the two ends of the lanyard by pulling them apart.
Option 3: Untangling Items from a Lanyard
If you need to untangle items from your lanyard, follow these steps:
Step 1: Identify any tangled items on the lanyard.
Step 2: Gently work to untangle the items, being careful not to twist or damage the lanyard.
Step 3: If necessary, remove any attachments to facilitate untangling.
Step 4: Once the items are untangled, reattach any removed attachments.
Remember, different lanyards may have slightly different mechanisms, so always refer to the specific instructions provided by the manufacturer if available.
Option 1: Opening a Clip Closure
Step 1: Locate the clip on the lanyard.
Step 2: Pinch the sides of the clip to release the latch.
Step 3: Separate the clip to fully open the lanyard.
Opening a lanyard with a clip closure is a simple process that can be done in just a few steps. Follow these instructions to easily open your lanyard:
First, locate the clip on the lanyard. The clip is typically located towards one end of the lanyard and is used to secure the attachments. It may be made of plastic, metal, or another material.
Next, pinch the sides of the clip to release the latch. Place your thumb and index finger on either side of the clip, applying gentle pressure to the sides. This will release the latch mechanism that holds the clip closed.
Once the latch is released, separate the clip by pulling it apart. You may need to use a bit of force, but be careful not to break the clip or damage the lanyard. Pull firmly until the clip is fully open and the lanyard is free.
Opening a clip closure is a straightforward process, allowing you to easily remove attachments or replace them as needed. Remember to handle the clip and lanyard with care to avoid any damage during the opening process.
Option 2: Opening a Buckle Closure
Step 1: Identify the buckle on the lanyard.
Step 2: Locate the release button or tab on the buckle.
Step 3: Press or slide the release button/tab to unlock the buckle.
Step 4: Separate the two ends of the lanyard by pulling them apart.
Opening a buckle closure is another common method used to open a lanyard. This type of closure typically consists of a buckle with a release button or tab. Follow these steps to open a lanyard with a buckle closure:
Step 1: Identify the buckle on the lanyard. The buckle is usually located towards the end of the lanyard and can be made of plastic or metal.
Step 2: Locate the release button or tab on the buckle. This button or tab is designed to unlock the buckle and allow you to open the lanyard.
Step 3: Press or slide the release button/tab to unlock the buckle. Depending on the design of the buckle, you may need to press the button or slide the tab to activate the release mechanism.
Step 4: Separate the two ends of the lanyard by pulling them apart. Once the buckle is unlocked, you can easily separate the two ends of the lanyard. Gently pull them apart in opposite directions to fully open the lanyard.
By following these simple steps, you can easily open a lanyard with a buckle closure. It’s important to note that different lanyards may have slightly different buckle mechanisms, so always refer to any manufacturer’s instructions if available.
Option 3: Untangling Items from a Lanyard
When you find that your lanyard has become tangled with items such as ID badges, keys, or other small objects, it’s important to know how to untangle them without causing any damage. Follow these simple steps to untangle items from your lanyard:
Step 1: Identify any tangled items on the lanyard.
Before you begin the untangling process, take a close look at your lanyard to identify any areas that are tangled or twisted. This will help you focus your efforts and work more efficiently.
Step 2: Gently work to untangle the items, being careful not to twist or damage the lanyard.
Once you’ve identified the tangled items, gently hold the lanyard near the tangle with one hand. With your other hand, begin to carefully work through the tangle, separating the items and straightening out any knots or twists. Take your time to ensure that you’re not putting undue strain on the lanyard or the items attached to it.
Step 3: If necessary, remove any attachments to facilitate untangling.
In some cases, it may be easier to untangle the items from the lanyard if you remove any attachments. For example, if you have a set of keys attached to the lanyard, you can unclip them or slide them off the keyring. This will provide you with more flexibility and freedom to untangle without the added weight or bulk of the attachments.
Step 4: Once the items are untangled, reattach any removed attachments.
After successfully untangling the items from the lanyard, take a moment to double-check the lanyard and ensure that it’s in good condition. If you removed any attachments in the previous step, now is the time to reattach them. Make sure the attachments are securely fastened and that the lanyard is ready for use once again.
Keep in mind that different lanyard designs may have slightly different mechanisms for opening and untangling. If you have a specific brand or type of lanyard, it’s always a good idea to refer to the manufacturer’s instructions for any specific guidance or recommendations.
Conclusion
Opening a lanyard may seem like a simple task, but it’s important to approach it in the right way to avoid any damages or frustrations. By following the step-by-step process outlined in this article, you can confidently open your lanyard with ease.
Remember to use the right tools, such as a pair of scissors or a lanyard release tool, to ensure a smooth and efficient process. Take your time, be cautious, and gently manipulate the lanyard loops to avoid any accidental cuts or tears.
Whether you’re looking to replace a damaged cord, change the design, or add new accessories, opening a lanyard is the first step. With a little practice and the knowledge gained from this article, you’ll be able to open lanyards confidently and effortlessly, giving you the freedom to customize and personalize your accessories to match your style.
FAQs
Q: How do I open a lanyard?
A: Opening a lanyard is a straightforward process. Simply hold the lanyard in one hand and locate the clasp or attachment point. Use your other hand to gently pull or release the clasp, allowing the lanyard to open and separate into two halves. Keep in mind that different types of lanyards may have slightly different mechanisms for opening, so refer to the specific instructions or design of your lanyard if you encounter any difficulties.
Q: Can I open a lanyard without any tools?
A: Yes, you can typically open a lanyard without the need for any special tools. Most lanyards are designed to be easily opened and closed by hand. However, some specialized lanyards, such as those used for climbing or outdoor activities, may have additional safety features or locking mechanisms that require specific tools for opening. In such cases, it is important to follow the manufacturer’s instructions and use the recommended tools for safe and proper operation.
Q: Is it possible to reattach a lanyard after opening it?
A: Yes, in many cases, you can reattach a lanyard after opening it. Once you have separated the two halves of the lanyard, carefully align the clasp or attachment points and push them together until you feel a secure click or snap. Make sure the clasp is fully engaged to ensure the lanyard remains connected. It’s important to note that not all lanyards are designed to be reattached, so double-check the manufacturer’s instructions or consult a professional if you are unsure.
Q: Can I wash a lanyard after opening it?
A: Whether or not you can wash a lanyard after opening it depends on the material and construction of the lanyard. Many lanyards are made from durable materials like nylon or polyester, which can be safely washed by hand or in a machine. However, it’s important to read the care instructions provided by the manufacturer of your specific lanyard. Some lanyards may require special treatment or may not be suitable for washing. If in doubt, it’s best to err on the side of caution and consult the manufacturer or a professional cleaner.
Q: Are there any safety precautions I should be aware of when opening a lanyard?
A: While opening a lanyard is generally a safe and simple task, there are a few precautions to keep in mind. Make sure to hold the lanyard securely to prevent it from slipping or causing any injury. Be cautious when handling lanyards with sharp or metal components to avoid any cuts or scratches. If you are unsure about the integrity or condition of the lanyard, it’s best to replace it or seek professional advice. Always follow any safety guidelines provided by the manufacturer to ensure proper and safe use.