
In today’s digital world, owning a cell phone has become an essential part of our daily lives. Whether it’s for communication, browsing the internet, or staying connected through social media, our cell phones have become our constant companions. And at the heart of our cellular devices lies an important component – the SIM card. The SIM card, short for Subscriber Identity Module, holds crucial information such as the user’s phone number, contacts, and network access. However, there are times when we may need to open our phone’s SIM card tray for various reasons, such as inserting a new SIM card or troubleshooting issues. In this article, we will guide you on how to open the SIM card tray of your cell phone, providing step-by-step instructions and useful tips to ensure a smooth and hassle-free process.
Inside This Article
- Step 1: Locate the SIM card slot
- Step 2: Insert the SIM eject tool
- Step 3: Remove the SIM card tray
- Step 4: Place the SIM card in the tray
- Step 5: Insert the SIM card tray back into the phone
- Step 6: Power on your phone and check SIM card connectivity
- Conclusion
- FAQs
Step 1: Locate the SIM card slot
Before opening your phone’s SIM card slot, you need to first locate it on your device. The SIM card slot is usually located on the side or the top of the phone, depending on the model and manufacturer.
To find the SIM card slot, look for a small pinhole or a tray. Some phones have a dedicated SIM card tray that can be easily accessed, while others may require you to remove the back cover and battery to reveal the SIM card slot.
On most modern smartphones, the SIM card slot is often found on the side of the device. You may need to use a SIM card ejector tool or a small paper clip to open the slot. However, some phones have the SIM card slot on the top, and it can be opened by simply pulling out the tray with your fingers.
If you are having trouble locating the SIM card slot, refer to the user manual for your specific phone model. It will provide detailed instructions on where to find the SIM card slot and how to access it.
Once you have located the SIM card slot, you are ready to move on to the next step of opening the slot and removing or inserting the SIM card.
Step 2: Insert the SIM eject tool
Now that you have located the SIM card tray, it’s time to insert the SIM eject tool to remove it. The SIM eject tool is a small pin-like device that usually comes included with your phone.
To begin, take the SIM eject tool and identify the small hole on the side of the phone. This hole is specifically designed for inserting the tool to eject the SIM card tray.
Gently insert the SIM eject tool into the hole until you feel a slight resistance. Make sure not to apply too much pressure to avoid damaging the phone or the SIM card tray.
Once the tool is inserted properly, apply a small amount of force and push it inwards until the SIM card tray pops out. This may require a bit of effort, but be careful not to use excessive force to prevent any damage.
Now that the SIM card tray is ejected, carefully pull it out using your fingers. Place the tray on a flat surface and remove the SIM card from it. Take a moment to inspect the SIM card for any signs of damage or dirt.
If you plan to switch to a different SIM card, insert the new SIM card into the tray, ensuring it is properly aligned with the metal contacts. Once the SIM card is in place, gently push the tray back into the phone until it is fully inserted.
And there you have it! You have successfully inserted the SIM eject tool and removed the SIM card tray from your phone. Remember to handle the SIM card and tray with care to prevent any accidental damage.
Step 3: Remove the SIM card tray
Removing the SIM card tray is an essential step in opening your phone’s SIM card slot. The SIM card tray holds the SIM card securely in place, allowing it to establish a connection with your mobile network. Here’s a simple guide to help you remove the SIM card tray:
1. Locate the SIM card tray slot. Depending on your phone model, the SIM card tray slot can be found either on the side or the top of the phone.
2. Look for the small hole next to the SIM card tray. This is the SIM card ejector hole. It is usually a small circular hole that allows you to insert a SIM card ejector tool.
3. Take a SIM card ejector tool or a small paperclip and insert it into the ejector hole. Apply a gentle amount of pressure until you feel the SIM card tray being pushed out.
4. Once the SIM card tray is partially ejected, use your fingers to gently pull it out completely. Be cautious not to apply too much force as it might cause damage to the tray or the phone.
5. Carefully remove the SIM card from the tray. Note the orientation of the SIM card before removing it, as you will need to insert it back in the same position later.
6. If you plan on using a different SIM card, you can replace the existing SIM card with the new one by aligning it with the tray and gently sliding it back into the slot.
7. Once the SIM card tray is securely inserted, you can push it back into the phone until it sits flush with the device.
Removing the SIM card tray may vary slightly depending on the make and model of your phone. In some cases, you may need to remove the phone’s back cover or battery before accessing the SIM card slot. If you’re unsure about the process, it’s always best to refer to your phone’s user manual or contact the manufacturer for specific instructions.
Now that you know how to remove the SIM card tray, you can easily swap out your SIM card or insert a new one when needed. Just remember to handle the tray and SIM card with care to avoid any potential damage!
Sure! Here’s the content for ‘Step 4: Place the SIM card in the tray’:
Step 4: Place the SIM card in the tray
Once you have successfully removed the SIM card tray from your phone, you will now proceed to insert the SIM card. Follow these simple steps to complete the process:
1. Take a close look at the SIM card tray. You will notice a small rectangular slot or a metal outline that matches the shape of your SIM card.
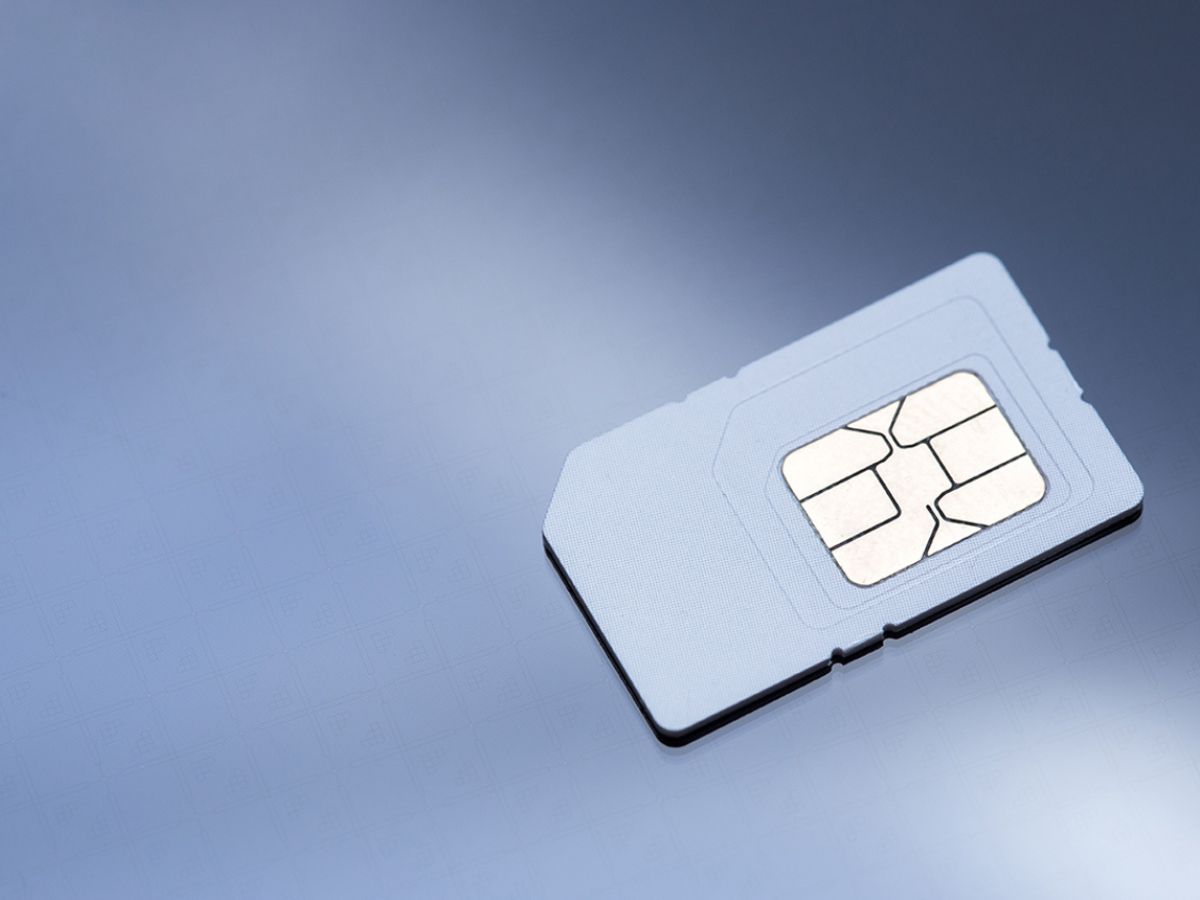
2. Carefully place the SIM card into the designated slot on the tray. Ensure that the gold contacts on the SIM card are facing down and aligned with the metal contacts on the tray.
3. Gently push the tray back into the phone, making sure it is properly aligned. Apply a slight amount of pressure until you hear a clicking sound, indicating that the tray is securely in place.
4. Once the SIM card tray is fully inserted, you can power on your phone and wait for it to detect the SIM card. This process may take a few moments, so be patient.
5. Finally, check your phone to ensure that the SIM card is recognized and connected to the mobile network. You should see signal bars or an indicator showing the network name or signal strength.
That’s it! You have successfully placed the SIM card in the tray and inserted it into your phone. Now you can enjoy the full functionality of your device, including making calls, sending text messages, and accessing mobile data.
If you encounter any issues or error messages related to the SIM card, double-check the placement of the SIM card in the tray. If the problem persists, you may need to contact your service provider for further assistance.
Note: It is important to handle the SIM card with care. Avoid bending or scratching the gold contacts, as this can affect its performance. Additionally, make sure to turn off your phone before removing or inserting the SIM card to prevent any potential damage to the device.
Step 5: Insert the SIM card tray back into the phone
After you have successfully removed the SIM card tray from your phone, it’s time to put it back in. Follow these simple steps:
- Hold the SIM card tray firmly, making sure the grooves align with the slot on your phone. This will ensure proper insertion.
- Gently slide the tray back into the slot until it clicks into place. It should fit snugly and not be loose.
- Take a moment to double-check that the SIM card is securely in place on the tray. It should be positioned properly and not protruding.
- Once you are confident that everything is in order, close the back cover of your phone if you removed it earlier.
It’s important to handle the SIM card tray and SIM card with care during this process to prevent any damage. Avoid forcing the tray into the slot or mishandling the SIM card.
By following these steps, you can easily insert the SIM card tray back into your phone and regain access to your mobile network.
Step 6: Power on your phone and check SIM card connectivity
Now that you have successfully inserted the SIM card into your phone, it’s time to power it on and ensure that the SIM card is properly connected. Follow these steps to check the SIM card connectivity:
1. Press and hold the power button on your phone until the device powers on. This may take a few seconds, so be patient.
2. Once your phone is powered on, it will start searching for a network signal. In some cases, you may have to wait a few minutes for the network to be established.
3. Next, check the signal strength indicator on your phone. It is usually represented by bars or dots, indicating the strength of the network signal. If you see a full signal or a strong signal, it means that your SIM card is successfully connected to the network.
4. If you are unable to see any signal strength or if the signal is weak, try the following steps to troubleshoot the issue:
- Make sure that your phone is not in Airplane Mode, as this mode disables all wireless connections, including the SIM card.
- Restart your phone to refresh the network connections.
- Check your SIM card for any visible damage or misalignment. Remove and reinsert the SIM card to ensure a proper connection.
- If the issue persists, contact your mobile service provider for further assistance. They may be able to troubleshoot the issue remotely or provide further instructions.
5. Once you have confirmed that the SIM card is connected and you have a strong network signal, you can now proceed to use your phone for calls, text messages, and internet connectivity.
It’s essential to ensure that your SIM card is properly connected to the network to avoid any issues with making or receiving calls, sending messages, or using mobile data. By following these steps, you can ensure a seamless and reliable connection for your SIM card.
As we conclude this article on how to open a phone SIM card, we hope that you have found the information helpful and informative. Opening the SIM card slot on your phone may seem like a small task, but it is an essential step when it comes to inserting or replacing your SIM card. By following the steps outlined in this article, you can safely and easily access the SIM card slot on your phone.
Remember to use the correct tool, such as a SIM ejector tool or a paperclip, to release the SIM card tray. Take your time and be gentle to avoid any damage to your phone or SIM card. If you encounter any difficulties or are unsure about the process, it is always a good idea to consult the user manual for your specific phone model.
Once you have successfully opened the SIM card slot, you can proceed with inserting or replacing your SIM card. Whether you are changing devices, switching networks, or simply need to access the SIM card for any reason, this knowledge will come in handy.
Now that you have mastered the art of opening a phone SIM card, feel free to explore other articles on our website that provide further insights into the world of mobile accessories and phone-related tips and tricks. Happy SIM card swapping!
FAQs
1. How do I open my phone’s SIM card tray?
To open your phone’s SIM card tray, you will need a SIM card ejection tool or a paperclip. Locate the SIM card tray on the side or top of your phone (depending on the model). Insert the tool into the small hole next to the tray and apply gentle pressure. The tray should pop out, allowing you to remove or insert the SIM card.
2. Can I use any tool to open the SIM card tray?
While it is possible to use other small objects like a straightened paperclip or even a toothpick in some cases, it is always best to use the proper SIM card ejection tool provided with your phone. This tool is specifically designed for the task and minimizes the risk of damaging the tray or the phone itself.
3. Is it safe to open the SIM card tray while the phone is turned on?
It is generally safe to open the SIM card tray while the phone is turned on. However, it is recommended to power off your phone before removing or inserting a SIM card to avoid any potential damage. By turning off the phone, you reduce the risk of disrupting any ongoing processes or causing errors.
4. What should I do if the SIM card tray is stuck or doesn’t open?
If the SIM card tray is stuck or doesn’t open, avoid using excessive force as it may damage the tray or the phone. Here are a few steps you can try to resolve the issue:
– Ensure that you are using the correct tool or a paperclip to eject the tray.
– Gently jiggle the tool inside the hole to dislodge any obstructions.
– Try applying a small amount of pressure while ejecting the tray.
– If all else fails, consider contacting the manufacturer’s customer support or taking your phone to a professional technician.
5. Can I open the SIM card tray without removing the phone case?
In most cases, you will need to remove the phone case before opening the SIM card tray. The SIM card tray is usually located on the side of the phone, and the case may cover the area. Removing the case allows you unobstructed access to the SIM card tray and makes it easier to open and close without any interference.