
Are you looking to take your audio recording to the next level? If so, then adding a boom mic to your monopod setup may be just what you need. A boom mic allows you to achieve professional-quality sound by capturing audio from a distance, while a monopod offers stability and flexibility for recording in various locations. In this article, we will guide you through the process of putting a boom mic on a monopod, providing step-by-step instructions and tips to ensure a secure and efficient setup. Whether you’re a content creator, filmmaker, or podcaster, incorporating a boom mic into your monopod system will elevate the audio quality of your recordings and take your production to new heights. So, let’s dive in and transform your mobile recording setup with a boom mic on a monopod.
Inside This Article
- Selecting the Right Boom Mic for a Monopod
- Attaching the Boom Mic to the Monopod
- Positioning the Boom Mic for Optimal Sound Capture
- Securing and Adjusting the Boom Mic on the Monopod
- Conclusion
- FAQs
Selecting the Right Boom Mic for a Monopod
When it comes to capturing high-quality audio for your video recordings, a boom mic is an essential accessory. Choosing the right boom mic for your monopod setup is crucial to getting clear and professional sound. With a wide range of options available, it can be overwhelming to make the right choice. To help you out, here are some factors to consider when selecting a boom mic for your monopod:
- Type of Boom Mic: There are different types of boom mics available, such as shotgun mics, lavalier mics, and handheld mics. Consider the specific requirements of your recording setup and the type of audio you need to capture. Shotgun mics are highly directional and are ideal for capturing sound from a distance, while lavalier mics are small and clip onto clothing, perfect for interviews or vlogs.
- Microphone Polar Pattern: The polar pattern determines the microphone’s sensitivity to sound from different directions. Common polar patterns include cardioid, supercardioid, and omnidirectional. For most video recording scenarios, a directional polar pattern like cardioid or supercardioid is recommended, as they focus on capturing sound from the front, minimizing background noise.
- Frequency Response: The frequency response range of a microphone defines its ability to capture different frequencies. Ensure that the boom mic you choose has a wide frequency response range to accurately capture both low and high-frequency sounds, ensuring a well-balanced audio recording.
- Build Quality and Durability: A boom mic used with a monopod may need to withstand outdoor conditions and regular use. Look for a mic with a sturdy build quality and rugged construction that can withstand the rigors of location recording.
- Compatibility: Check if the boom mic you are considering is compatible with your monopod or if you will need additional adapters or mounts to attach it securely.
By considering these factors and doing proper research, you can select the boom mic that best fits your specific needs and requirements. The right boom mic will enhance the audio quality of your video recordings and ensure a professional and engaging viewing experience for your audience.
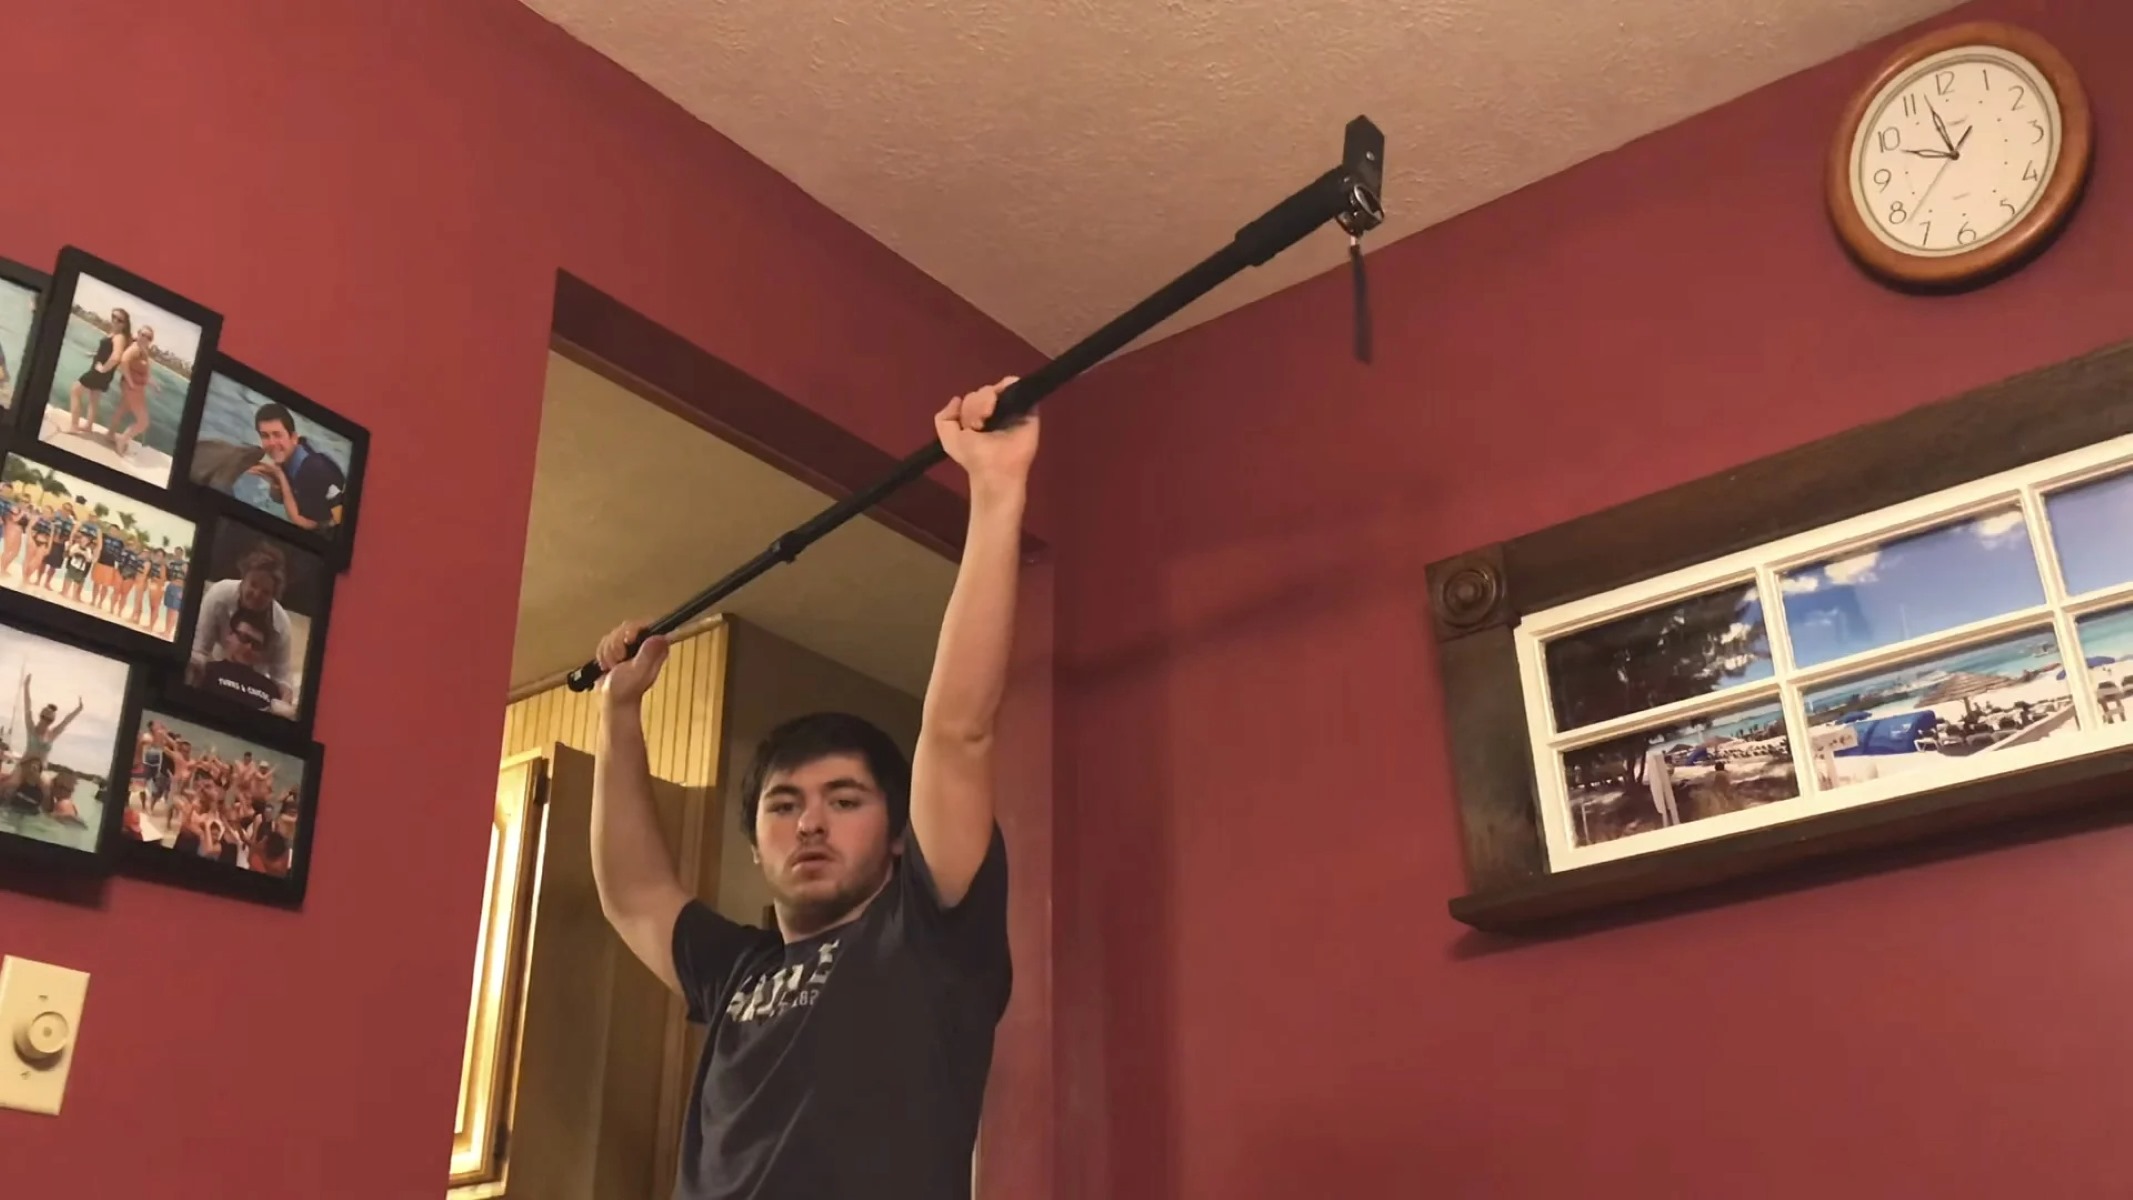
Attaching the Boom Mic to the Monopod
Attaching a boom mic to a monopod is a straightforward process that requires a few simple steps. Here’s a step-by-step guide to help you get started:
- Choose the right attachment: Before attaching the boom mic to the monopod, ensure that you have the appropriate attachment. Most boom mics come with a thread at the bottom that can be easily connected to a monopod.
- Prepare the monopod: Before attaching the boom mic, make sure your monopod is fully extended and ready for use. Adjust the height of the monopod according to your needs.
- Locate the mounting point: Look for the mounting point on your monopod. It is usually located near the top of the monopod, where you would typically mount accessories such as lights or external monitors.
- Attach the boom mic: Take the boom mic and align its threaded end with the mounting point on the monopod. Gently twist the boom mic clockwise until it securely fastens to the monopod.
- Tighten the connection: Once the boom mic is attached, use your hand to tighten the connection further. Ensure that it is secure and does not wobble or rotate loosely.
- Test the attachment: Once the boom mic is properly attached, do a quick test to ensure that it is firmly in place and capable of capturing sound effectively.
- Make any necessary adjustments: If you find that the boom mic is not positioned correctly or is not capturing sound as desired, make small adjustments by loosening the connection and repositioning it on the monopod.
With these steps, you can easily attach a boom mic to your monopod. It’s important to ensure a secure connection between the two to prevent any mishaps during use. Take your time to double-check the attachment before starting any recording or audio capture. Now that you have successfully attached the boom mic, you’re ready to position it for optimal sound capture.
Positioning the Boom Mic for Optimal Sound Capture
When it comes to capturing clear and high-quality audio, the positioning of the boom mic is crucial. Proper placement ensures that the mic picks up the desired sound while minimizing any unwanted noise or interference. Whether you are recording a podcast, conducting an interview, or filming a video, here are some important tips for positioning your boom mic for optimal sound capture:
1. Consider the Directionality of the Mic: Boom mics come in different designs, and their ability to capture sound varies based on their directionality. Some mics are more focused on capturing sound from the front, while others are more omnidirectional, picking up sound from all directions. Understand the characteristics of your boom mic and adjust its positioning accordingly.
2. Point the Mic towards the Sound Source: To capture the best audio, make sure the boom mic is pointing directly at the sound source. Whether it is a person speaking, a musical instrument, or any other sound-producing object, align the mic in such a way that its diaphragm is facing towards the source.
3. Maintain an Optimal Distance: The distance between the boom mic and the sound source is crucial for achieving proper sound capture. If the mic is too far away, the audio might sound distant or lacking in detail. Conversely, if the mic is too close, you might risk distortion or unwanted proximity effect. Experiment with different distances to find the sweet spot.
4. Mind the Placement: The placement of the boom mic can significantly impact the sound quality. Ideally, position the mic slightly above and in front of the sound source. This helps to avoid capturing unwanted background noise and ensures better clarity and focus on the targeted audio.
5. Monitor the Levels: While positioning the boom mic, it is essential to monitor the audio levels. Use headphones or a dedicated audio monitoring system to check the sound quality in real-time. Adjust the positioning as needed to achieve the desired audio levels without distortion or clipping.
6. Account for Environmental Factors: Consider the environment you are recording in and adjust the boom mic positioning accordingly. If there is excessive background noise, you may need to position the mic closer to the sound source or use additional measures like windshields or noise reduction filters to minimize unwanted interference.
7. Test and Adjust: Don’t be afraid to experiment with different boom mic positions and angles. Each recording scenario may require slight adjustments to achieve the best sound capture. Take the time to test and listen to the audio quality, making subtle changes to find the optimal positioning for your specific recording needs.
By following these tips, you can ensure that your boom mic is positioned correctly for optimal sound capture. Remember, capturing clear and high-quality audio is essential for delivering a professional and immersive experience to your listeners or viewers.
Securing and Adjusting the Boom Mic on the Monopod
Once you have successfully attached the boom mic to your monopod, the next step is to ensure that it is securely fastened and properly adjusted for optimal sound capture. Here are some steps to follow:
-
Tighten the mic clip: Make sure that the boom mic is tightly secured in the mic clip. This will help prevent any accidental movement or slippage during recording. Use the appropriate adjustment mechanisms, such as screws or clamps, to ensure a snug fit.
-
Position the monopod: Adjust the height and angle of the monopod to suit your recording needs. Consider the distance between the mic and the subject, as well as the desired sound perspective. For example, if you want to capture a wider soundstage, you may need to raise the monopod higher and angle it downward.
-
Adjust the boom arm: If your monopod has a boom arm, adjust its length and position accordingly. The boom arm allows you to extend the mic further away from the monopod, providing greater flexibility in capturing sound from different angles. Experiment with different boom arm positions to find the best sound placement.
-
Secure the cables: Ensure that all cables connecting the boom mic to your recording device are neatly organized and secured. Use cable ties or Velcro straps to prevent tangling and accidental cable pulls that could disrupt your recording.
-
Monitor the audio levels: Before you start recording, it’s crucial to monitor the audio levels to ensure that the sound is captured accurately. Use headphones or in-camera audio monitoring to check for any unwanted background noise or distortion. Adjust the levels as needed to achieve optimal sound quality.
-
Test and make adjustments: Prior to your actual recording, take a few test shots to evaluate the sound quality. Listen carefully for any issues such as unwanted vibrations, echoes, or muffled audio. If necessary, make further adjustments to the mic positioning or monopod angle to eliminate any problems.
By following these steps, you can securely fasten and adjust the boom mic on your monopod, ensuring that you capture crisp and clear audio for your recordings.
In conclusion, adding a boom mic to a monopod can greatly enhance the audio quality of your recordings, whether you are a professional filmmaker or a content creator. By mounting a boom mic on a monopod, you can achieve better sound capture by positioning the mic closer to the sound source, while maintaining flexibility and ease of use.
With the right equipment and a little bit of practice, you can achieve professional-grade audio for your videos or performances. By investing in a boom mic and a sturdy monopod, you can take your audio recording capabilities to the next level and create content that is engaging and immersive for your audience.
So, whether you are recording interviews, vlogs, or live performances, don’t underestimate the power of a boom mic on a monopod. Upgrade your audio setup today and see the difference it can make in the quality of your recordings.
FAQs
1. Can I attach a boom mic to a monopod?
Yes, you can attach a boom mic to a monopod. A boom mic is typically used to capture high-quality audio in various scenarios such as interviews, video productions, and live events. Attaching the boom mic to a monopod allows for greater flexibility in positioning the mic and achieving optimal sound capture.
2. What equipment do I need to attach a boom mic to a monopod?
To attach a boom mic to a monopod, you will need a few essential pieces of equipment. First, you’ll need a boom microphone with a compatible mounting system. Additionally, you’ll require a shock mount or a microphone holder that connects the microphone to the monopod securely. You may also need an XLR cable or a suitable audio adapter, depending on your specific setup.
3. How do I attach the boom mic to the monopod?
Attaching the boom mic to the monopod is relatively simple. Start by mounting the shock mount or microphone holder onto the top of the monopod. Then, securely fasten the boom mic onto the shock mount or holder. Adjust the position and angle of the boom mic to ensure optimal audio capture. Finally, secure any cables or connections and test the setup before recording.
4. Should I use a monopod or a tripod for boom mic setup?
Both monopods and tripods can be used for boom mic setups, depending on your needs and the shooting situation. Monopods offer more mobility and are ideal for situations where you need to move around quickly or cover a larger area. Tripods, on the other hand, provide stability and are suitable for stationary or controlled shooting environments.
5. What are the benefits of using a boom mic on a monopod?
Using a boom mic on a monopod offers several benefits. Firstly, it allows for greater versatility in positioning the microphone, enabling you to capture clear audio from various angles. Secondly, the monopod provides stability and helps reduce unwanted handling noise. Lastly, the combination of a boom mic and a monopod setup is lightweight and portable, making it suitable for on-location recording or video production.