
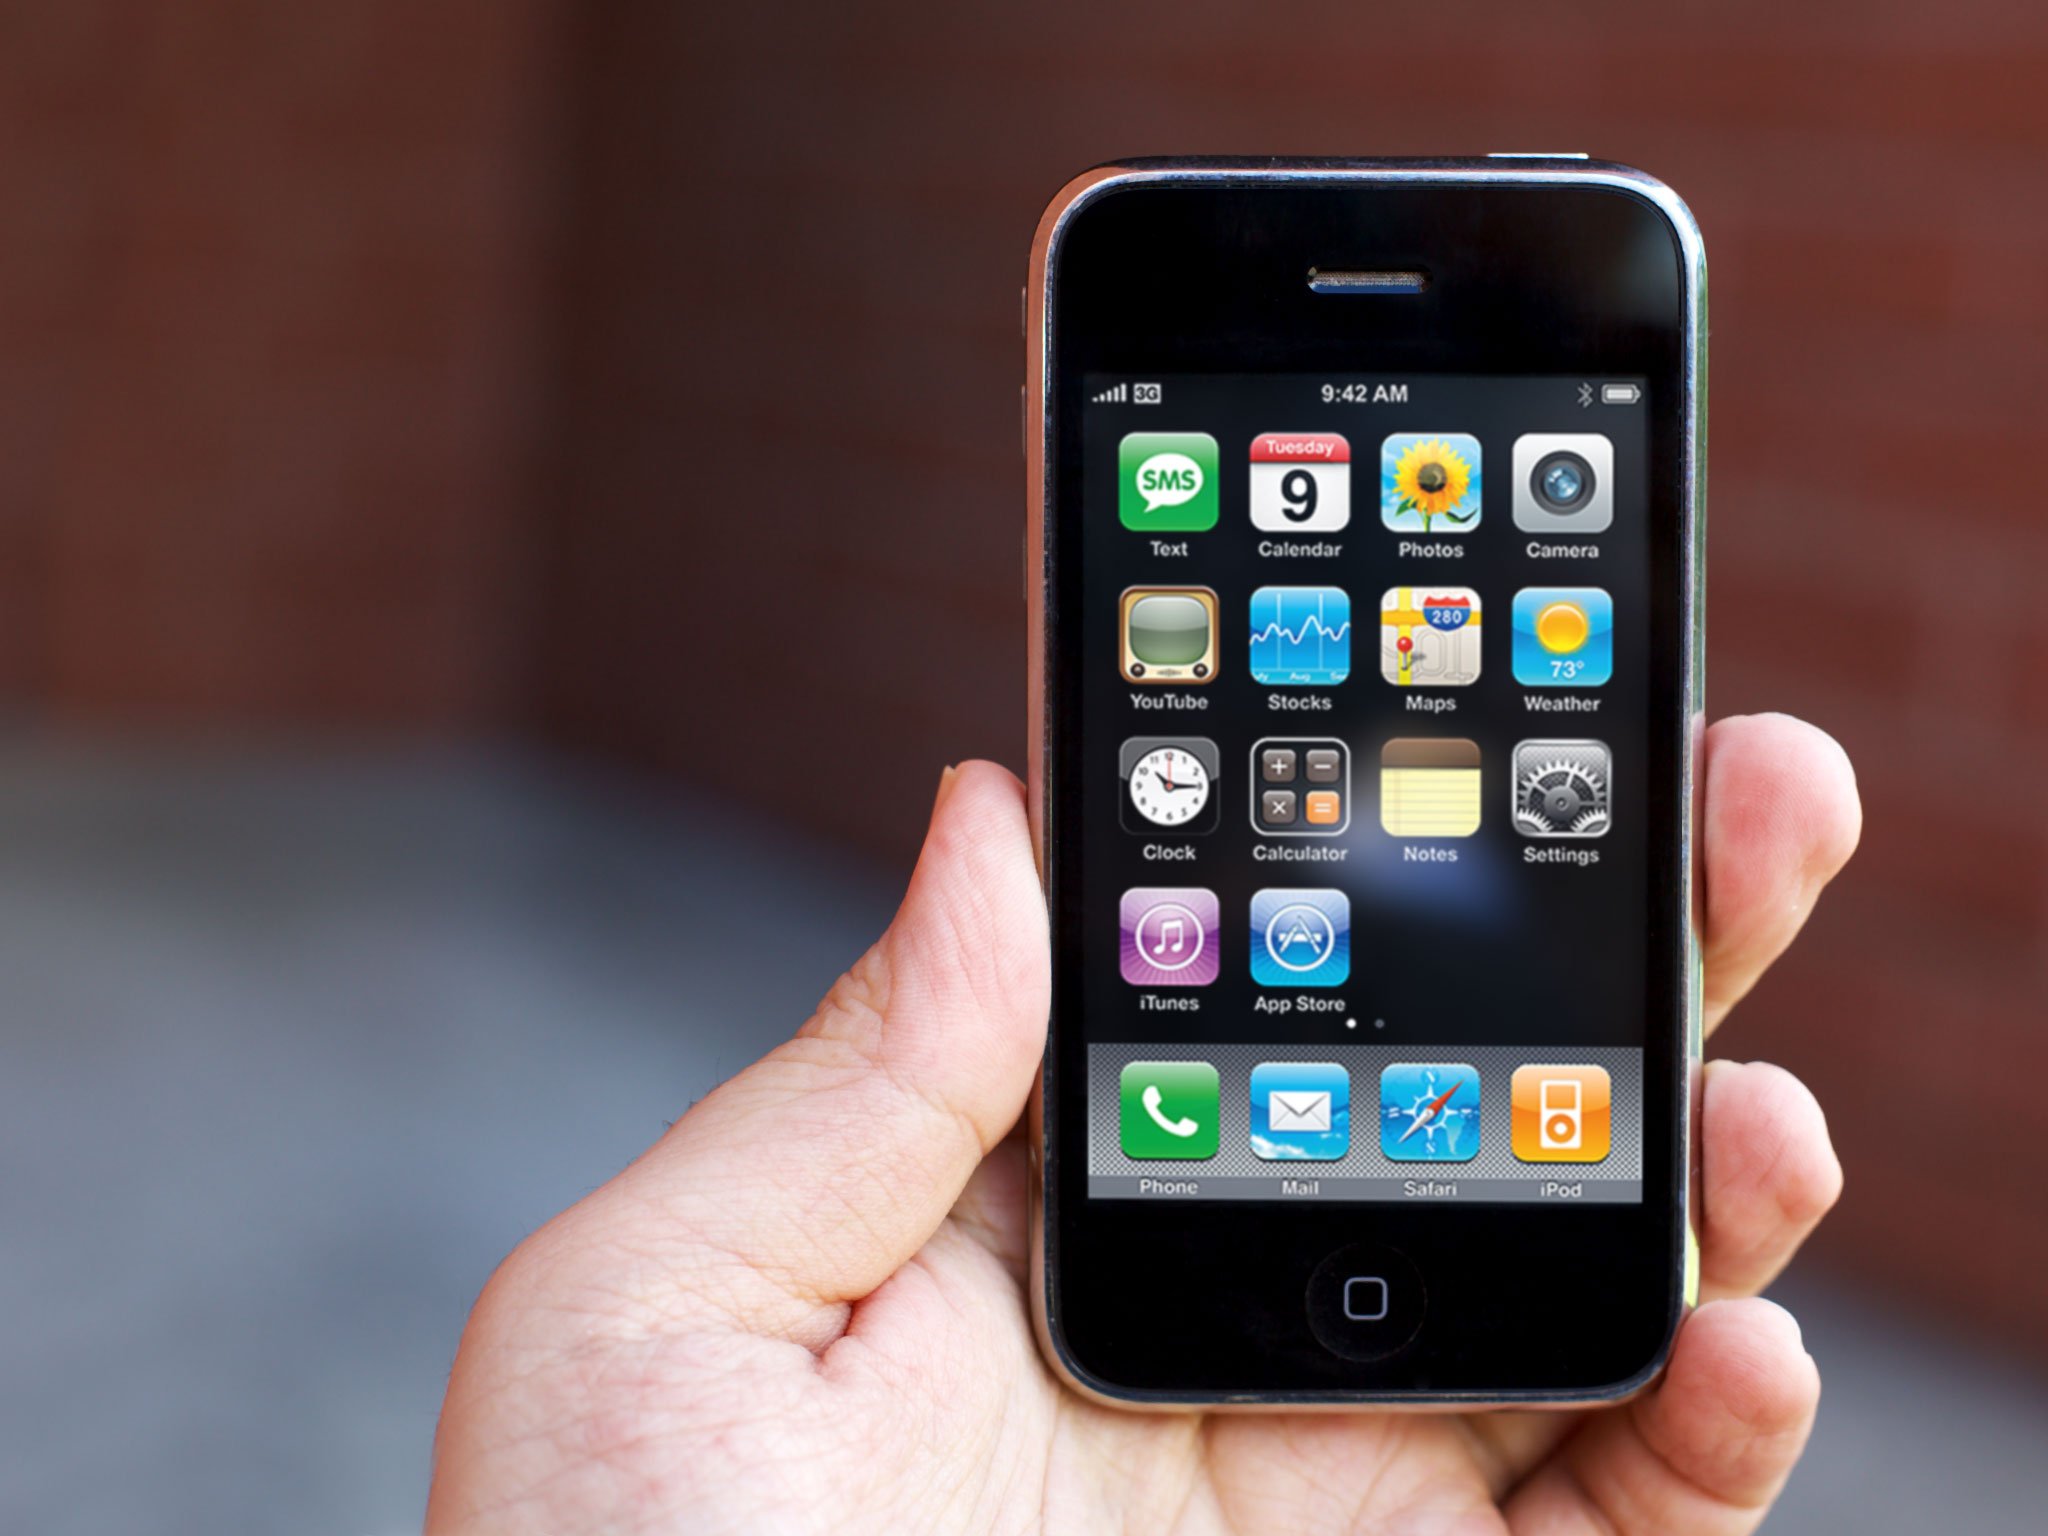
Are you feeling a little lost when it comes to putting a SIM card in your iPhone 3G? Don’t worry, we’ve got you covered! In this comprehensive guide, we’ll walk you through the step-by-step process of inserting a SIM card into your iPhone 3G. Whether you’re a first-time iPhone owner or simply need a refresher, we’ll provide you with all the information you need to get your device up and running in no time. From locating the SIM card slot to properly inserting and removing the card, we’ll cover it all. So, let’s dive in and learn how to make your iPhone 3G SIM card-ready!
Inside This Article
- Getting started
- Removing the SIM card tray
- Placing the SIM card
- Reinserting the SIM Card Tray
- Conclusion
- FAQs
Getting started
Before you can start using your iPhone 3G, you need to insert a SIM card. The SIM card is a small, rectangular card that contains your phone number and other relevant information. Follow the steps below to learn how to properly insert a SIM card into your iPhone 3G.
Step 1: Gather the necessary tools. To insert a SIM card into your iPhone 3G, you will need a SIM card removal tool or a small paperclip. This tool will help you remove the SIM card tray from the iPhone.
Step 2: Locate the SIM card tray. On the top of your iPhone 3G, you’ll find a small hole next to the headphone jack. This is where the SIM card tray is located.
Step 3: Insert the SIM card removal tool. Take the SIM card removal tool or paperclip and insert it into the small hole next to the headphone jack. Apply gentle pressure to push the tool into the hole.
Step 4: Remove the SIM card tray. Once you’ve inserted the tool, the SIM card tray will partially pop out from the top of the iPhone 3G. Use your fingers to fully slide the tray out.
Step 5: Prepare the SIM card. Take your SIM card and ensure it is properly aligned. The metal contacts on the SIM card should be facing down.
Step 6: Place the SIM card. Carefully slide the SIM card into the SIM card tray, ensuring that it fits securely in place. Double-check that the metal contacts are facing down, and the cut corner of the SIM card aligns with the notch in the tray.
Step 7: Reinsert the SIM card tray. Once the SIM card is in place, gently push the SIM card tray back into the iPhone 3G until it is fully inserted.
That’s it! You have successfully inserted the SIM card into your iPhone 3G. Now you can power on your device and start enjoying all the features and capabilities it has to offer.
Removing the SIM card tray
Removing the SIM card tray from your iPhone 3G is a simple process that allows you to replace or update your SIM card. Here’s a step-by-step guide to help you remove the SIM card tray:
- Start by locating the SIM card tray on your iPhone 3G.
- On the right side of the device, you’ll find a small circular hole.
- Take a paper clip or SIM card eject tool and insert it into the hole.
- Apply gentle pressure until the SIM card tray pops out.
- Once the tray is partially out, you can carefully remove it by pulling it out with your fingers.
It’s important to note that you should always handle the SIM card tray and SIM card with care to avoid any damage. Make sure your device is powered off before proceeding with the removal process.
By following these steps, you’ll be able to easily remove the SIM card tray from your iPhone 3G. Now, let’s move on to the next section to learn how to place the SIM card correctly.
Placing the SIM card
Now that you have successfully removed the SIM card tray from your iPhone 3G, it’s time to place the SIM card into the tray. Follow these simple steps to ensure a proper installation:
-
Take the SIM card that you obtained from your mobile service provider. Ensure that it is properly activated and compatible with your iPhone 3G.
-
Hold the SIM card with the gold contacts facing downward, aligning it with the notched corner of the SIM card tray.
-
Gently slide the SIM card into the tray, ensuring that it fits snugly into place.
-
Double-check to make sure the SIM card is properly inserted and securely seated in the tray.
-
Once you have confirmed that the SIM card is in place, carefully reposition the SIM card tray back into the iPhone 3G.
-
Push the tray in gently until it clicks and sits flush with the outside of the device.
It is important to handle the SIM card with care to avoid any damage to the card or the tray. Make sure you do not force the SIM card into the tray, as this can cause damage to both the card and the iPhone.
Note: In some cases, you may need to activate the SIM card with your mobile service provider before it can be used in your iPhone 3G. If this is the case, follow the activation instructions provided by your service provider.
Once you have successfully placed the SIM card into the tray and reinserted it into your iPhone 3G, you are now ready to power on your device and begin using it with your mobile service.
Reinserting the SIM Card Tray
Once you have successfully placed your SIM card into the iPhone 3G, the next step is to carefully reinsert the SIM card tray. Follow these steps:
- Gently align the tray back into the SIM card slot located at the top of the iPhone 3G.
- Ensure that the notch on the tray matches the notch on the SIM card slot.
- Using firm but gentle pressure, slide the tray back into the slot until it sits flush with the iPhone’s frame.
- Make sure the tray is inserted in the correct orientation and that it doesn’t protrude from the device.
- Once the tray is fully inserted, give it a slight push to ensure it is secure and properly aligned.
It is essential to handle the SIM card tray with care and avoid using excessive force while reinserting it. Applying too much pressure or inserting it at the wrong angle can cause damage to the tray or the iPhone’s internal components.
Once you have successfully reinserted the SIM card tray, you can power on your iPhone 3G and check if the device recognizes the SIM card. If everything is in order, your iPhone will quickly connect to the cellular network, allowing you to make calls, send messages, and use mobile data.
If you encounter any difficulties while reinserting the SIM card tray or if your iPhone does not recognize the SIM card, it is recommended to consult the device’s user manual or contact Apple’s customer support for further assistance.
Conclusion
Installing a SIM card in an iPhone 3G is a straightforward process that allows you to unlock the full potential of your device. By following the steps outlined in this guide, you can easily insert a SIM card and enjoy uninterrupted cellular connectivity.
With a SIM card properly inserted, you can make calls, send text messages, and access mobile data, enabling you to stay connected wherever you go. Whether you need to make an important phone call, send an urgent message, or browse the internet on the go, having a working SIM card in your iPhone 3G ensures that you can stay connected and enjoy all the features and benefits of your device.
Remember, when inserting or removing a SIM card, always handle it with care and ensure that your iPhone 3G is powered off. Additionally, make sure to choose a suitable SIM card that is compatible with your carrier and plan. By following these guidelines, you can effortlessly set up your iPhone 3G and start using it to its full potential.
FAQs
1. How do I open the SIM card slot on an iPhone 3G?
To open the SIM card slot on the iPhone 3G, you will need to locate the small hole on the top edge of the device. Insert a small pin or paperclip into the hole and gently press until the SIM card tray pops out. You can then pull out the tray and proceed to insert your SIM card.
2. What type of SIM card does the iPhone 3G use?
The iPhone 3G uses a standard SIM card, also known as a Mini SIM card. It is important to note that the newer iPhone models, such as the iPhone 4 and above, use smaller SIM card sizes like Micro SIM or Nano SIM.
3. How do I insert the SIM card correctly?
Once you have the SIM card tray out, take your SIM card and ensure that it is oriented correctly. Align the notched corner of the SIM card with the corresponding corner on the tray. Gently push the tray back into the slot until it clicks into place. Make sure that the SIM card is secure and the tray is flush with the iPhone’s body.
4. Can I use any SIM card with the iPhone 3G?
The iPhone 3G is typically locked to a specific carrier, meaning it is only compatible with SIM cards from that carrier. If you want to use a different carrier’s SIM card, you may need to unlock the iPhone or use a specialized SIM card adapter. It is recommended to check with your carrier or a mobile phone technician for the appropriate steps.
5. What should I do if my iPhone 3G does not recognize the SIM card?
If your iPhone 3G does not recognize the SIM card or shows an error message, there are a few troubleshooting steps you can try. First, make sure the SIM card is clean and free from any dust or debris. You can gently wipe it with a soft, clean cloth. If the problem persists, you can try restarting your iPhone or resetting the network settings. If none of these solutions work, it is advisable to contact your carrier or seek technical assistance.