
Are you excited to start using your brand new Nexus 5 smartphone? One of the first steps in setting up your device is inserting the SIM card. The SIM card is a small, rectangular card that allows your smartphone to connect to your cellular network, enabling you to make calls, send text messages, and access mobile data. While the process may seem daunting if you’ve never done it before, don’t worry – we’re here to help! In this article, we’ll guide you through the step-by-step process of how to put a SIM card in your Nexus 5. Whether you’re upgrading from an older device or switching from a different carrier, we’ve got you covered. So, let’s get started and ensure you can start using your Nexus 5 to its fullest potential!
Inside This Article
- Overview of Nexus 5 SIM Card Placement
- Steps to Open the SIM Card Tray
- Placing the SIM Card in the Nexus 5
- Activating the SIM Card – Powering on the Nexus 5 – Setting up the Mobile Network Settings – Testing the SIM Card Connection
- Troubleshooting SIM Card Issues
- Conclusion
- FAQs
Overview of Nexus 5 SIM Card Placement
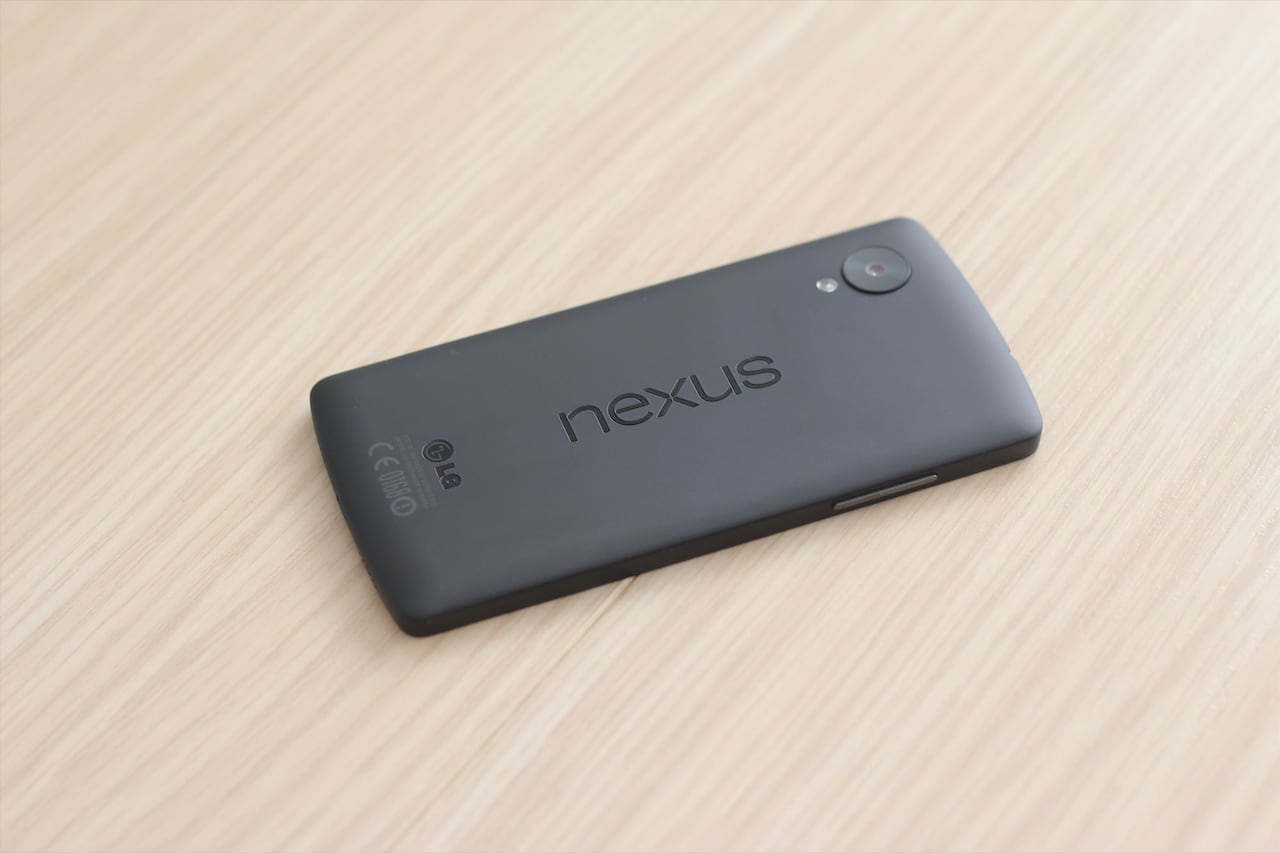
The Nexus 5 is a popular Android smartphone known for its sleek design and powerful performance. Like most smartphones, the Nexus 5 requires a SIM card to connect to a cellular network and enable calling, messaging, and internet connectivity.
The SIM card slot of the Nexus 5 is located on the left side of the device. It uses a nano SIM card, which is the smallest type of SIM card available. Before inserting the SIM card, it is important to ensure that the device is powered off to avoid any potential damage.
Inserting a SIM card into the Nexus 5 is a relatively simple process. It involves opening the SIM card tray, placing the SIM card in the correct orientation, and then reinserting the tray back into the device. If done correctly, the Nexus 5 will detect the SIM card and establish a connection with the mobile network.
If you are unsure about how to properly insert a SIM card into your Nexus 5, this article will guide you through the necessary steps. We will cover everything from opening the SIM card tray to troubleshooting common SIM card issues.
Steps to Open the SIM Card Tray
Opening the SIM card tray on your Nexus 5 is a straightforward process that requires a few simple steps. By following these instructions, you’ll be able to access the SIM card slot and insert or remove a SIM card with ease.
Step 1: Removing the SIM Card Tray Eject Pin
Before you can open the SIM card tray, you’ll need a SIM card tray eject pin or a small paperclip. These tools are designed to slide into a small hole on the side of the Nexus 5, releasing the SIM card tray. Locate the pin or paperclip and ensure that it is straightened and ready for use.
Step 2: Locating the SIM Card Tray
On the side of your Nexus 5, you’ll find a small slot with a tiny hole. This is where the SIM card tray is located. Take a close look at your device to identify this slot. It is usually on the left side, near the power and volume buttons.
Step 3: Inserting the SIM Card Tray Eject Pin into the Tray
Take the SIM card tray eject pin or paperclip and insert it into the small hole on the side of the Nexus 5. Apply gentle pressure and push the pin or paperclip into the hole until you feel some resistance. This indicates that the tray has been released from the device.
With the SIM card tray now open, you can proceed to the next steps for placing the SIM card in your Nexus 5.
Placing the SIM Card in the Nexus 5
When it comes to inserting a SIM card into your Nexus 5, it’s crucial to have a clear understanding of the correct orientation. The SIM card must be placed correctly to ensure a proper connection and functionality. Here’s a step-by-step guide on how to place the SIM card in your Nexus 5.
To begin, locate the SIM card tray on your Nexus 5. This tray is usually located on the side of the device. You’ll need to use a SIM card eject pin or a small paperclip to open the tray.
Insert the SIM card eject pin into the tiny hole on the SIM card tray. Apply gentle pressure until the tray pops open. Make sure to keep the tray and the SIM card eject pin in a safe place to avoid misplacing them.
Once the SIM card tray is open, carefully place the SIM card into the tray. Take note of the correct orientation of the SIM card. Most SIM cards have a cut corner that should align with the corresponding corner on the tray. This ensures that the SIM card is inserted correctly.
After ensuring the correct orientation, gently insert the SIM card into the SIM card tray. Take your time to ensure that it is properly seated and does not move around within the tray.
Finally, once the SIM card is in place, gently push the SIM card tray back into the Nexus 5. Make sure it is fully inserted and flush with the device. You should hear a click or feel a slight resistance when the tray is securely in place.
And that’s it! You have successfully placed the SIM card into your Nexus 5. Now you can power on your device and start enjoying mobile connectivity. It’s important to note that your Nexus 5 must be compatible with the SIM card you’re using, so make sure to check the device’s specifications beforehand.
Activating the SIM Card – Powering on the Nexus 5 – Setting up the Mobile Network Settings – Testing the SIM Card Connection
After placing the SIM card in your Nexus 5, the next step is to activate it. This involves powering on the device, setting up the mobile network settings, and testing the SIM card connection. Here’s a step-by-step guide on how to do that:
1. Powering on the Nexus 5: Once you have inserted the SIM card, press and hold the power button located on the right side of the device. The Nexus logo will appear on the screen, indicating that the device is powering on.
2. Setting up the Mobile Network Settings: After the Nexus 5 has booted up, you’ll need to configure the mobile network settings. To do this, go to the “Settings” menu on your device. You can access this by swiping down from the top of the screen and tapping the gear icon.
3. In the “Settings” menu, scroll down and tap on “Network & internet”. This will open a new menu with various network-related options.
4. Tap on “Mobile network” to access the mobile network settings. Here, you’ll be able to select your preferred network type (3G, 4G, etc.) and enable data roaming if needed. Make sure that the network selection is set to “Automatic” to allow the device to connect to the available networks.
5. Testing the SIM Card Connection: Once you have configured the mobile network settings, it’s time to test the SIM card connection. To do this, make sure that you have a signal strength indicator on the top right corner of your device’s screen. If you see bars or a network icon, it means that your Nexus 5 has successfully connected to the mobile network.
6. To further ensure that the SIM card is working properly, you can make a test call or send a text message. Simply dial a phone number or send a text to a contact in your phonebook. If the call goes through or the message is sent successfully, it means that your SIM card is activated and working as intended.
By following these steps, you can easily activate your SIM card on the Nexus 5 and start enjoying the benefits of mobile connectivity. If you encounter any issues during the activation process, refer to the troubleshooting section below or contact your carrier for further assistance.
Troubleshooting SIM Card Issues
If you are experiencing SIM card issues with your Nexus 5, there are a few troubleshooting steps you can take to resolve the problem. Here are some common issues you may encounter and how to address them:
SIM Card Not Detected Error
If your Nexus 5 is displaying a “SIM card not detected” error, there could be a few possible reasons for this. First, check to ensure that the SIM card is properly inserted into the SIM card tray. Remove the tray and reinsert the SIM card, making sure it is seated securely and in the correct orientation. You can also try cleaning the SIM card and the contacts on the tray with a soft, dry cloth to remove any dust or debris that may be obstructing the connection.
Check for Damaged or Faulty SIM Card
If you have verified that the SIM card is correctly installed and the error still persists, the issue may lie with the SIM card itself. Inspect the SIM card for any visible signs of damage, such as scratches or cracks. If the card appears to be damaged, you may need to contact your mobile carrier to request a replacement SIM card. Additionally, try inserting the SIM card into another compatible device to see if it is recognized. If it works in another device, the problem may be with your Nexus 5. In this case, you may need to contact the manufacturer for further assistance.
Contacting your Carrier for Additional Support
If you have followed the troubleshooting steps above and are still experiencing issues with your SIM card, it is recommended to contact your mobile carrier for additional support. They can access your account and troubleshoot the issue from their end. They may be able to provide specific instructions or advice tailored to your network settings or account configuration. It is important to reach out to your carrier as they have the expertise to resolve SIM card-related problems and can assist you in getting your Nexus 5 up and running again.
In conclusion, knowing how to put a SIM card in your Nexus 5 is an essential skill for maximizing the functionality of your device. By following the step-by-step guide provided in this article, you can easily insert or replace the SIM card in your Nexus 5 and ensure uninterrupted connectivity. Remember to power off your device before accessing the SIM card tray, and make sure to align the card properly to avoid any damage. With a properly installed SIM card, you’ll be able to make calls, send messages, and access the internet on your Nexus 5 with ease. So go ahead, give it a try, and enjoy the full potential of your Nexus 5!
FAQs
Q: How do I insert a SIM card into the Nexus 5?
A: To insert a SIM card into the Nexus 5, follow these steps:
- Power off your Nexus 5 by pressing and holding the power button, then selecting “Power off” from the menu.
- Locate the SIM card tray on the left side of the phone.
- Using a SIM eject tool or a paperclip, gently push into the small hole on the tray to release it.
- Remove the tray and carefully place your SIM card onto it, ensuring the gold contacts are facing down.
- Slide the tray back into the phone until it is fully inserted.
- Power on your Nexus 5 by pressing and holding the power button.
Q: What type of SIM card does the Nexus 5 use?
A: The Nexus 5 uses a micro SIM card. Make sure you have a micro SIM card that is compatible with your network provider before attempting to insert it into the phone.
Q: Can I use a nano SIM card with the Nexus 5?
A: No, the Nexus 5 is not compatible with nano SIM cards. It is designed to work with micro SIM cards only. If you have a nano SIM card, you will need to use an adapter to make it fit into the micro-sized SIM card slot.
Q: Does the Nexus 5 support dual SIM cards?
A: No, the Nexus 5 does not have dual SIM card support. It can only accommodate a single micro SIM card.
Q: How do I remove the SIM card from the Nexus 5?
A: To remove the SIM card from the Nexus 5, you can follow these steps:
- Power off your Nexus 5 by pressing and holding the power button, then selecting “Power off” from the menu.
- Locate the SIM card tray on the left side of the phone.
- Using a SIM eject tool or a paperclip, gently push into the small hole on the tray to release it.
- Remove the tray from the phone.
- Gently remove the SIM card from the tray.
- Insert the tray back into the phone, ensuring it is fully inserted.
- Power on your Nexus 5 by pressing and holding the power button.