
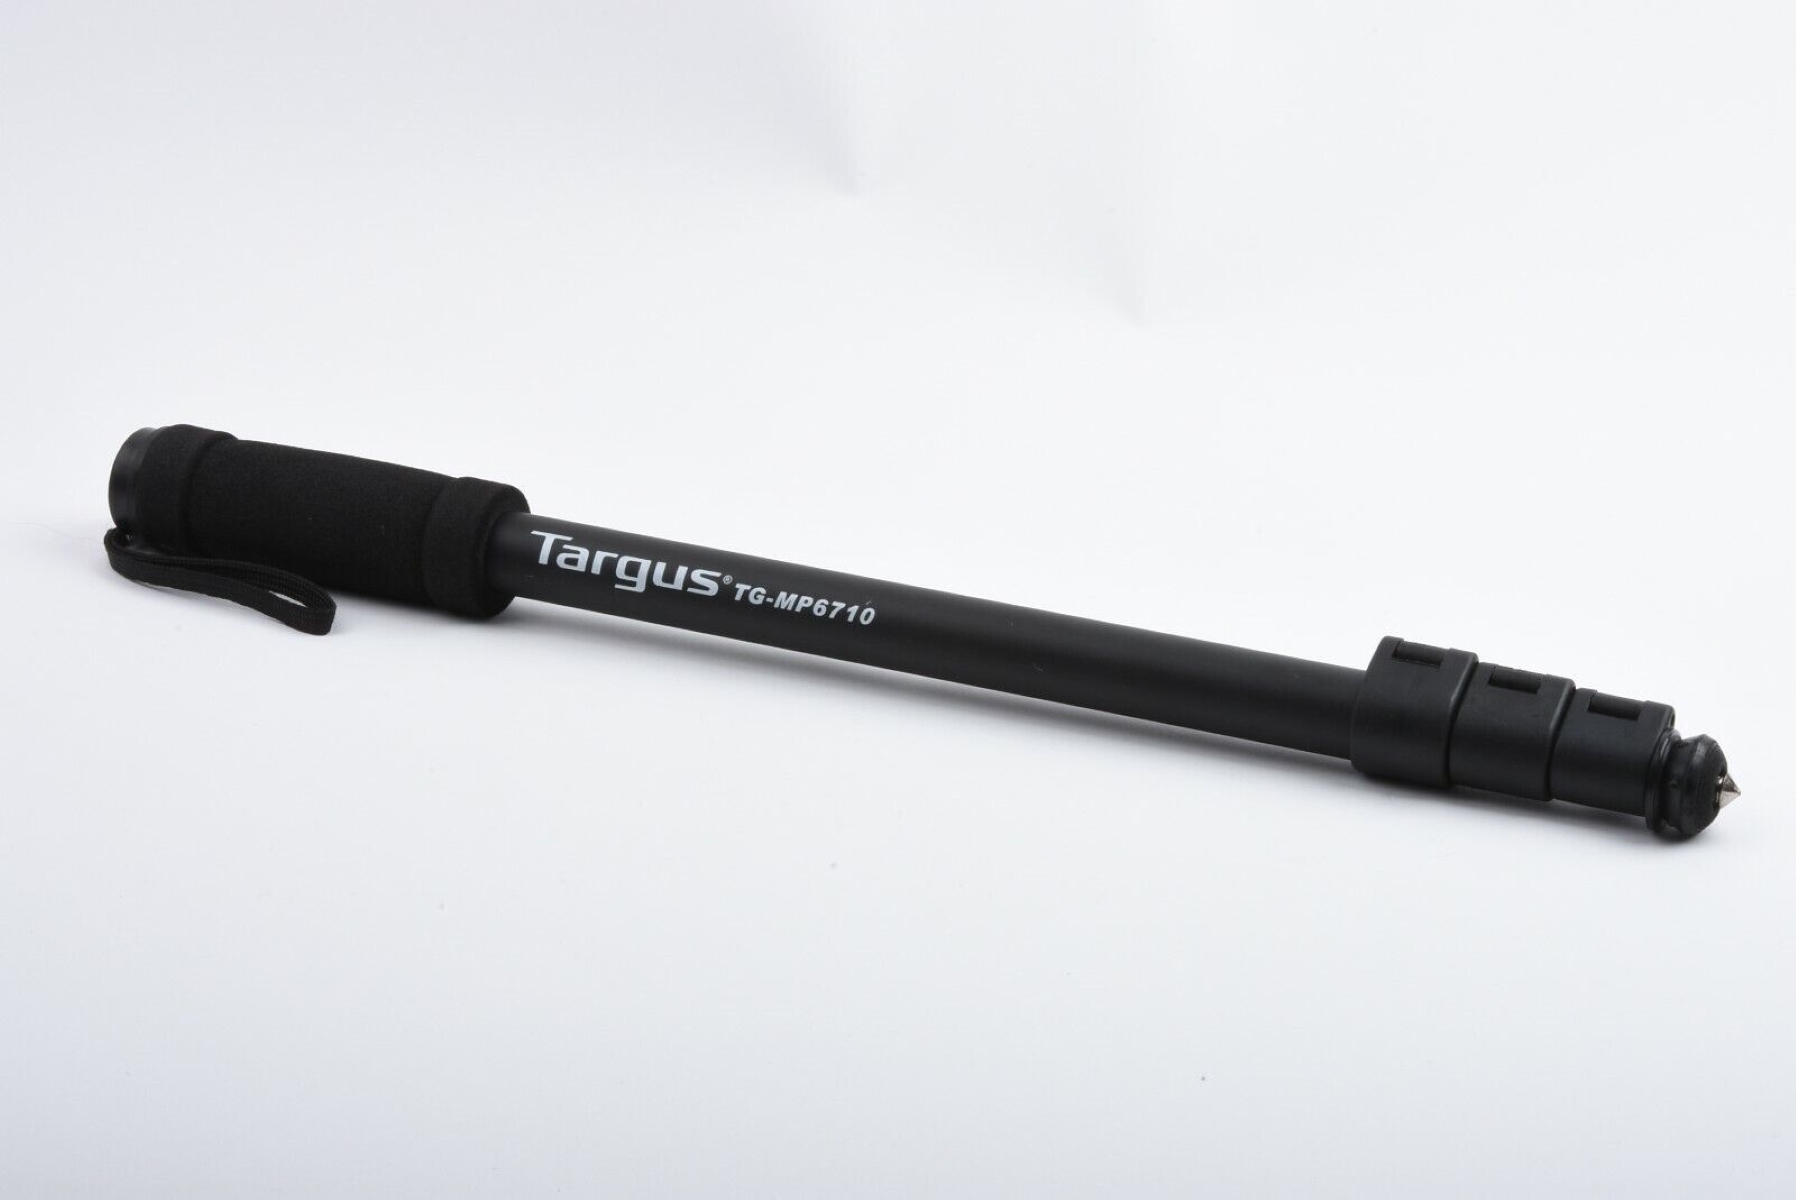
In the world of mobile phone photography, having the right accessories can take your skills to a whole new level. One such accessory that has gained popularity among photography enthusiasts is the Targus Monopod. This versatile tool allows you to capture stunning images and videos with stability and precision. However, there may come a time when you need to remove the base of your Targus Monopod, whether it’s for maintenance or replacement. In this article, we will guide you through the step-by-step process of removing the base of your Targus Monopod, ensuring that you can continue to enjoy seamless photography experiences. Let’s dive in and discover how to unlock the potential of your Targus Monopod by removing its base.
Inside This Article
- Step 1: Gather Required Tools
- Step 2: Prepare the Monopod
- Step 3: Locate the Base Attachment Point
- Step 4: Remove the Base
- Step 5: Check for any Loose Parts
- Step 6: Reassemble the Monopod
- Conclusion
- FAQs
Step 1: Gather Required Tools
Removing the base of a Targus Monopod requires a few essential tools to ensure a successful and safe process. Before you begin, gather the following tools:
- Allen wrench set: You will need an Allen wrench or hex key set to loosen and remove the screws that secure the base of the monopod.
- Phillips screwdriver: Depending on the model of the Targus Monopod, you may need a Phillips screwdriver to loosen or remove any additional screws.
- Soft cloth or towel: Having a soft cloth or towel handy is useful for protecting the monopod from scratches or damages while working on it.
- Clean, flat surface: Find a clean and flat surface where you can lay down the monopod and work on it comfortably. This will help you maintain stability while performing the necessary steps.
Gathering these tools before starting the process will save you time and ensure you have everything you need to remove the base of your Targus Monopod smoothly. Once you have all the required tools, let’s move on to the next step!
Step 2: Prepare the Monopod
Before you proceed with removing the base of your Targus monopod, it is crucial to prepare the monopod to ensure a smooth and efficient process. This step will help prevent any damage to the monopod and ensure that the base removal is done correctly.
Here are the essential steps to prepare the monopod:
- Extend the monopod: Start by extending the monopod fully. This will give you better access to the base and provide more stability when working on it.
- Secure the grip: Ensure that the grip or handle of the monopod is tightly secured. You can do this by tightening any screws or knobs that hold it in place. A loose grip may hinder your ability to remove the base effectively.
- Inspect the monopod: Take a moment to inspect the monopod for any signs of damage or wear. Look for any cracks, dents, or loose parts. If you notice any issues, it’s essential to address them before proceeding with the base removal.
- Clean the monopod: Use a soft cloth or a brush to clean any dust or dirt that may have accumulated on the monopod. This will ensure that the base removal process is not hindered by any debris.
- Apply lubricant (optional): If you’re having difficulty unscrewing the base, you can apply a small amount of lubricant to the area. This can help loosen any tight threads and make the base removal easier. However, be cautious not to use too much lubricant, as it may affect the stability of the monopod.
By following these steps and preparing your Targus monopod, you can proceed with confidence to the next stage of removing the base. Taking the time to prepare the monopod will help ensure a successful and hassle-free process.
Step 3: Locate the Base Attachment Point
Now that you have gathered the necessary tools and prepared the monopod in the previous steps, it’s time to move on to the next phase: locating the base attachment point. This step is crucial as it will help you identify the exact spot where the base is connected to the monopod.
Begin by carefully examining the monopod. Look for any visible screws, bolts, or fasteners that may be securing the base. These attachment points may vary depending on the model and make of your Targus monopod. Take note of any distinguishing features or markings that could help you during the removal process.
In some cases, the base attachment point may be concealed by a protective cover or cap. If that’s the case, gently remove the cover using a small screwdriver or your fingers. Be careful not to apply excessive force or damage any delicate components.
Slowly rotate the monopod while inspecting it closely, paying attention to the lower end where the base is typically attached. Look for any indications, such as subtle gaps or seams, that suggest the presence of a removable base. Take your time during this step, as you don’t want to miss any crucial details.
If you’re having trouble locating the base attachment point, refer to the user manual or online resources specific to your Targus monopod model. These resources often provide detailed diagrams or step-by-step instructions on how to identify and remove the base.
Once you have successfully located the base attachment point, you are ready to proceed to the next step of removing the base. Remember to approach this process with caution and patience to ensure a smooth and successful removal.
Step 4: Remove the Base
Removing the base of a Targus monopod is a relatively simple process. Follow these steps to complete this task:
1. Locate the locking mechanism on the base of the monopod. This may be a screw or a lever that holds the base in place.
2. Depending on the type of locking mechanism, use the appropriate tool or your fingers to loosen the screw or release the lever.
3. Once the locking mechanism is loosened or released, grip the base firmly with one hand and the monopod shaft with the other hand.
4. Gently twist the base counterclockwise while holding the monopod shaft in place. This will gradually detach the base from the rest of the monopod.
5. Continue twisting until the base is completely detached from the monopod. Be careful not to apply too much force, as this could damage the monopod or the base.
6. Once the base is removed, set it aside and inspect the bottom of the monopod shaft for any dirt or debris. Use a soft cloth or a brush to clean the area if necessary.
7. If you need to reattach the base, simply reverse the steps. Align the base with the monopod shaft, twist it clockwise, and secure the locking mechanism in place.
Remember to handle the monopod with care throughout the process to prevent any accidental damage. By following these steps, you can easily remove the base of your Targus monopod and make any necessary adjustments or repairs.
Step 5: Check for any Loose Parts
After successfully removing the base of your Targus monopod, it’s crucial to inspect for any loose parts. This is an essential step to ensure that your monopod is in proper working condition and safe to use.
Start by carefully examining the detached base and the remaining part of the monopod. Look for any screws, bolts, or other small components that may have become dislodged during the removal process. These loose parts can affect the stability and functionality of your monopod if not properly reattached.
Inspect the base itself for any signs of damage or wear. Check the threads that attach the base to the monopod to ensure they are not stripped or damaged. If you notice any issues, it’s important to address them before reassembling the monopod.
Additionally, carefully review the remaining part of the monopod, including the sections and leg locks. Ensure that all the parts are securely fastened and functioning properly. Look for any cracks, rust, or other damage that may compromise the stability and durability of your monopod.
If you discover any loose parts or damage, it is recommended to refer to the manufacturer’s instructions or contact their customer support for guidance on how to address the issue. They may provide specific instructions or offer assistance in obtaining replacement parts if necessary.
Once you have thoroughly inspected the monopod, make sure to clean any dirt or debris that may have accumulated during the removal process. Use a soft cloth or brush to gently wipe down the base, sections, and leg locks, ensuring they are free from any obstructions that may affect their performance.
By checking for loose parts and performing a thorough inspection, you can ensure that your Targus monopod is in optimal condition and ready to be used for your mobile photography or videography needs.
Step 6: Reassemble the Monopod
Now that you have successfully removed the base of your Targus monopod, it’s time to reassemble it and get it ready for use once again. Follow the steps below to put the monopod back together:
1. Clean all Components: Before reassembling the monopod, take a moment to clean all the components. Use a soft cloth or a brush to remove any dust or dirt that may have accumulated during the disassembly process.
2. Align the Base Shaft: Make sure the base shaft is properly aligned with the monopod leg. Look for the alignment marks or arrows on both the base shaft and leg. Slide the base shaft into the leg, ensuring a snug fit.
3. Secure the Base: Depending on the specific model of your Targus monopod, you may need to secure the base with screws or locking mechanisms. Follow the manufacturer’s instructions to ensure the base is securely attached to the monopod leg.
4. Attach the Foot: Once the base is secure, it’s time to attach the foot. Most Targus monopods come with a removable rubber foot. Simply slide the foot onto the bottom of the monopod leg and make sure it is securely in place.
5. Adjust the Monopod Height: If needed, adjust the height of the monopod by extending or retracting the sections. Make sure each section is locked securely in place to prevent any accidental collapse while using the monopod.
6. Test the Stability: After reassembling the monopod, give it a gentle shake or apply slight pressure to ensure that all the components are properly secured and the monopod is stable.
7. Store and Transport: Once you have reassembled your Targus monopod, store it in a suitable carrying case or bag to protect it from dust, moisture, and damage. This will also make it easier to transport the monopod to your next photography or videography session.
By following these steps, you can confidently reassemble your Targus monopod and have it ready for use whenever you need it. Remember to always refer to the manufacturer’s instructions for specific details regarding your monopod model.
Conclusion
Removing the base of your Targus monopod can be a simple yet essential task to ensure portability and convenience. By following the steps outlined in this guide, you can easily detach the base and explore the versatility of your monopod.
Remember to always handle your equipment with care and refer to the user manual if you encounter any difficulties or have specific questions related to your model. With a bit of practice, you will become proficient in removing the base of your Targus monopod and enjoy the freedom it provides for capturing the perfect shots.
So go ahead and take your monopod on your next adventure, knowing that you have the knowledge and skills to remove its base whenever needed. Embark on new photographic journeys with ease and confidence, capturing stunning images along the way.
FAQs
1. Can I remove the base of my Targus Monopod?
Yes, you can remove the base of your Targus Monopod. Most monopods come with detachable bases that can be easily removed for convenience or portability. However, please refer to the specific product manual or manufacturer’s instructions for detailed steps on how to remove the base of your Targus Monopod.
2. What tools do I need to remove the base of my Targus Monopod?
In most cases, you won’t need any special tools to remove the base of your Targus Monopod. The base is typically designed to be easily removable with a simple twist-and-lock mechanism or a quick-release button. However, it’s always a good idea to refer to the product manual or contact Targus customer support for any specific tool requirements.
3. Why would I want to remove the base of my Targus Monopod?
There are several reasons why you might want to remove the base of your Targus Monopod. Removing the base allows you to use the monopod as a simple handheld stabilizer, which can be useful for capturing shots with more mobility and flexibility. Additionally, removing the base makes the monopod more compact and easier to carry, making it a convenient option for travel or outdoor photography.
4. Can I use my Targus Monopod without the base?
Yes, you can absolutely use your Targus Monopod without the base. Once the base is removed, the monopod functions as a standalone support for your camera or smartphone. Just make sure to hold the monopod firmly and keep it steady while capturing your shots.
5. How do I reattach the base to my Targus Monopod?
Reattaching the base to your Targus Monopod is usually a straightforward process. It typically involves aligning the base with the monopod shaft and securing it using the twist-and-lock mechanism or quick-release button. However, the exact steps may vary depending on the specific model of your Targus Monopod. It’s recommended to consult the product manual or contact Targus customer support for detailed instructions on how to reattach the base.