
Are you struggling to set the time on your smart bracelet? Look no further! In this article, we will guide you through the step-by-step process of setting the time on your smart bracelet, ensuring that you never miss a beat. Whether you have a fitness tracker or a smartwatch, the time-setting process is generally similar across devices.
By mastering how to set the time on your smart bracelet, you can stay punctual and keep track of your activities with ease. With our comprehensive instructions, you’ll be able to sync your smart bracelet to the correct time and ensure that it accurately reflects your schedule and preferences. So, let’s dive in and get your smart bracelet perfectly in sync with your life!
Inside This Article
- Overview
- Method 1: Using the Mobile App
- Method 2: Using the Smart Bracelet Buttons
- Method 3: Synchronizing the Time with a Smartphone
- Conclusion
- FAQs
Overview
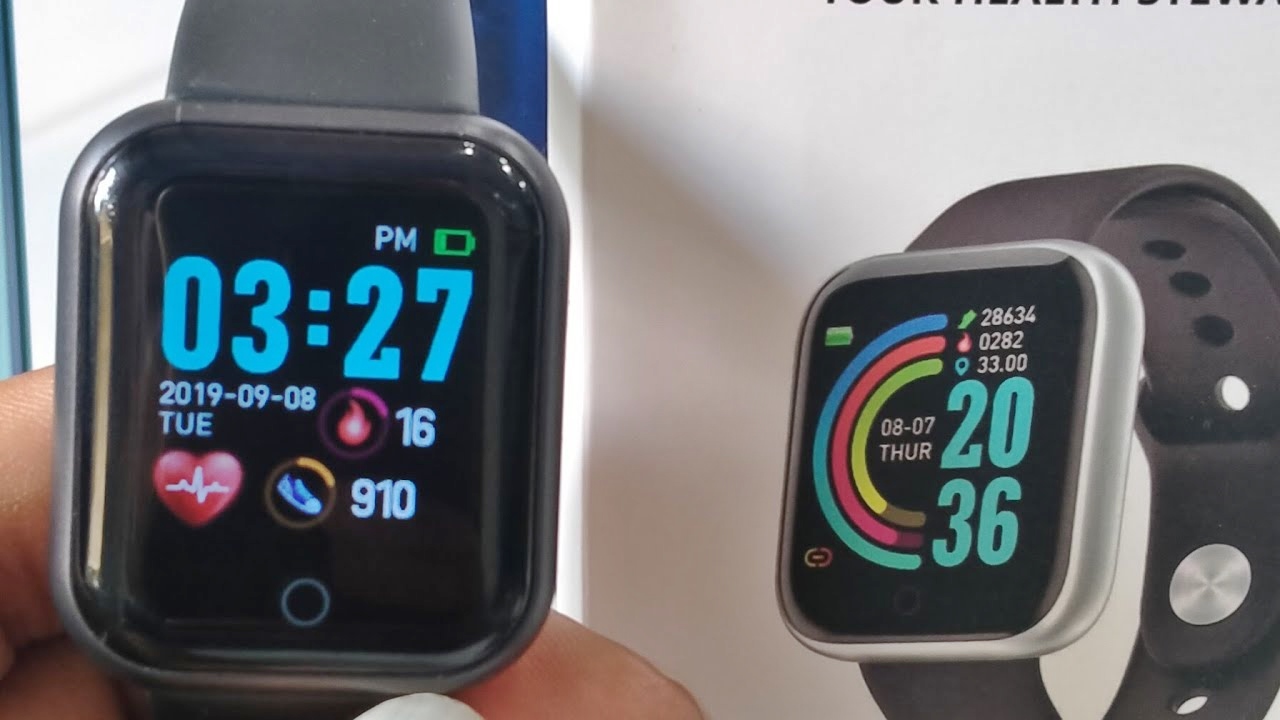
Setting the time on a smart bracelet is a crucial step to ensure the accurate tracking of your activities and help you stay on schedule. These wearable devices not only monitor your fitness and health but also display the current time and date.
Syncing your smart bracelet with your smartphone is the first step in setting the time. This allows the bracelet to connect to your device, enabling it to receive updates and automatically adjust its time based on your smartphone’s settings.
Accessing the settings menu of your smart bracelet is the next step. This is usually done through the companion app on your smartphone or by using the touch screen interface on the bracelet itself. The settings menu is where you’ll find the option to adjust the time and date.
Once you’re in the settings menu, look for the “Time” or “Date and Time” option. Tap on it, and you’ll be able to make the necessary adjustments. Some smart bracelets offer the option to set the time manually, while others automatically sync with your smartphone.
Manually setting the time involves using the touch screen or physical buttons on the device to scroll through the hours, minutes, and seconds. Simply adjust the time to match the current time and proceed to the next step.
If your smart bracelet supports automatic time syncing, you may need to toggle on the option within the settings menu. This will ensure that the bracelet stays constantly connected to your smartphone and receives the accurate time updates.
After making the necessary adjustments, confirm the changes to save them. The smart bracelet will update the time and date display to reflect your updates. Remember to double-check the accuracy to ensure that the time is set correctly.
By following these steps, you’ll be able to set the time on your smart bracelet and enjoy accurate time tracking along with the other features and benefits offered by these wearable devices.
Method 1: Using the Mobile App
One of the easiest and most convenient ways to set the time on your smart bracelet is by using the dedicated mobile app. Most smart bracelets come with a companion app that you can install on your smartphone to sync and control various features.
To start, make sure your smart bracelet is paired with your smartphone via Bluetooth. Open the mobile app and navigate to the settings section. Look for the option to set the time and tap on it.
Once you’re in the time settings menu, you’ll usually be presented with multiple options like 12-hour or 24-hour format and the ability to manually set the time or sync it with your smartphone’s time. Choose the option that suits your preference.
If you want to synchronize the time with your smartphone, simply tap on the “Sync Time” button. The app will communicate with your smart bracelet and update the time based on your smartphone’s clock.
If you prefer to manually set the time, you can do so by selecting the “Manual Setting” option. You’ll then be able to input the specific time and date using the app’s interface. Adjust the hour, minute, and second accordingly, and select the appropriate AM or PM indicator for 12-hour format.
Once you are satisfied with the adjustments, tap on the “Save” or “Confirm” button to apply the changes. The smart bracelet will receive the new time settings and display them on its screen.
It’s worth noting that the steps and options may vary slightly depending on the brand and model of your smart bracelet, as well as the companion app you are using. However, the general process should be similar across different devices.
By using the mobile app to set the time on your smart bracelet, you can ensure accuracy and convenience. Plus, it allows you to make other customized settings and adjustments as well.
Method 2: Using the Smart Bracelet Buttons
If the smart bracelet you are using doesn’t have the option to sync with your smartphone, don’t worry! You can still set the time directly on the bracelet using its buttons. Here’s how:
1. Check your smart bracelet’s user manual to locate the specific buttons used for navigating and adjusting settings. Typically, these buttons are located on the sides of the bracelet or on the front face.
2. Press the button or combination of buttons that will allow you to access the settings menu on your smart bracelet. Depending on the model, this could be a long press, a double press, or a combination of specific buttons.
3. Once you are in the settings menu, navigate through the options using the designated buttons. Look for an option related to “Date and Time” or “Clock Settings.”
4. Select the “Date and Time” or “Clock Settings” option using the appropriate button and press it to enter. Here you will find options to adjust the time, date, and other related settings.
5. Use the navigation buttons to scroll through the available options. Look for the “Time” or “Clock” option and select it.
6. Now, you can adjust the time on your smart bracelet using the buttons. Some bracelets might have separate buttons for increasing and decreasing the time, while others might use a combined button to adjust the time forward or backward.
7. Once you have set the desired time, press the confirmation button or follow the on-screen instructions to save the changes.
8. After confirming the time, exit the settings menu and take a quick glance at your smart bracelet’s display to ensure that the time is correctly set.
By following these steps, you can easily set the time on your smart bracelet using the buttons on the device itself, even if it doesn’t have the option to sync with your smartphone.
Method 3: Synchronizing the Time with a Smartphone
If you want to ensure that the time on your smart bracelet is always accurate, you can synchronize it with your smartphone. This method is convenient and ensures that both devices display the same time. Here’s how you can do it:
1. Start by downloading and installing the companion app for your smart bracelet on your smartphone. The app is usually available on both iOS and Android platforms, and you can find it in the respective app stores.
2. Open the app and create an account if necessary, or log in with your existing account credentials. Make sure to grant the necessary permissions for the app to access and sync data with your smart bracelet.
3. Once you’re logged in, navigate to the settings menu within the app. Look for an option that allows you to sync the time or adjust the time settings. The exact wording may vary depending on the brand and model of your smart bracelet.
4. Tap on the sync time option, and the app will initiate the synchronization process. It will send the current time from your smartphone to your smart bracelet, ensuring they are perfectly aligned.
5. After a few moments, the synchronization process will be completed, and the time on your smart bracelet should match the time displayed on your smartphone. If not, try restarting both devices and repeating the synchronization process.
By synchronizing the time on your smart bracelet with your smartphone, you can rest assured knowing that you will always have the accurate time on your wrist. This method eliminates the need for manual adjustments and ensures that you’re never late or ahead of schedule.
Setting the time on a smart bracelet may seem like a simple task, but it can often be confusing, especially for first-time users. In this article, we have explored the step-by-step process of setting the time on a smart bracelet, ensuring that you can keep track of time accurately and effortlessly.
By following the instructions provided, you can customize the time display on your smart bracelet to match your preferred time zone and format. Whether you are adjusting for daylight saving time or simply need to sync your smart bracelet with your smartphone, these guidelines will help you navigate the settings with ease.
Remember, always refer to the user manual that came with your specific smart bracelet model for precise instructions and troubleshooting tips. With this newfound knowledge, you can confidently set and manage the time on your smart bracelet and enjoy its full range of features.
FAQs
1. What is a smart bracelet?
A smart bracelet is a wearable device that combines the functionality of a fitness tracker and a smartwatch. It typically tracks your daily activities, monitors your heart rate, counts steps, and displays notifications.
2. How do I connect my smart bracelet to my phone?
To connect your smart bracelet to your phone, you’ll need to install the companion app on your smartphone. Once installed, open the app, and follow the instructions to pair the device via Bluetooth. Make sure that your phone’s Bluetooth is turned on.
3. How do I set the time on my smart bracelet?
Setting the time on your smart bracelet can vary depending on the model and brand. However, most smart bracelets allow you to synchronize the time with your smartphone. Open the companion app, go to the settings menu, and look for a “Time Sync” or “Set Time” option.
4. Why is the time on my smart bracelet incorrect?
If the time on your smart bracelet is incorrect, it could be due to a few reasons. Firstly, ensure that your smartphone’s time and date settings are accurate, as the smart bracelet synchronizes with your phone. Additionally, make sure that you have enabled the “Time Sync” feature in the companion app.
5. Can I change the watch face on my smart bracelet?
Yes, many smart bracelets allow you to change the watch face to suit your personal style. This feature is typically available through the companion app. Open the app, go to the watch face settings, and select your desired watch face. Some smart bracelets even offer customizable options, allowing you to personalize the display further.