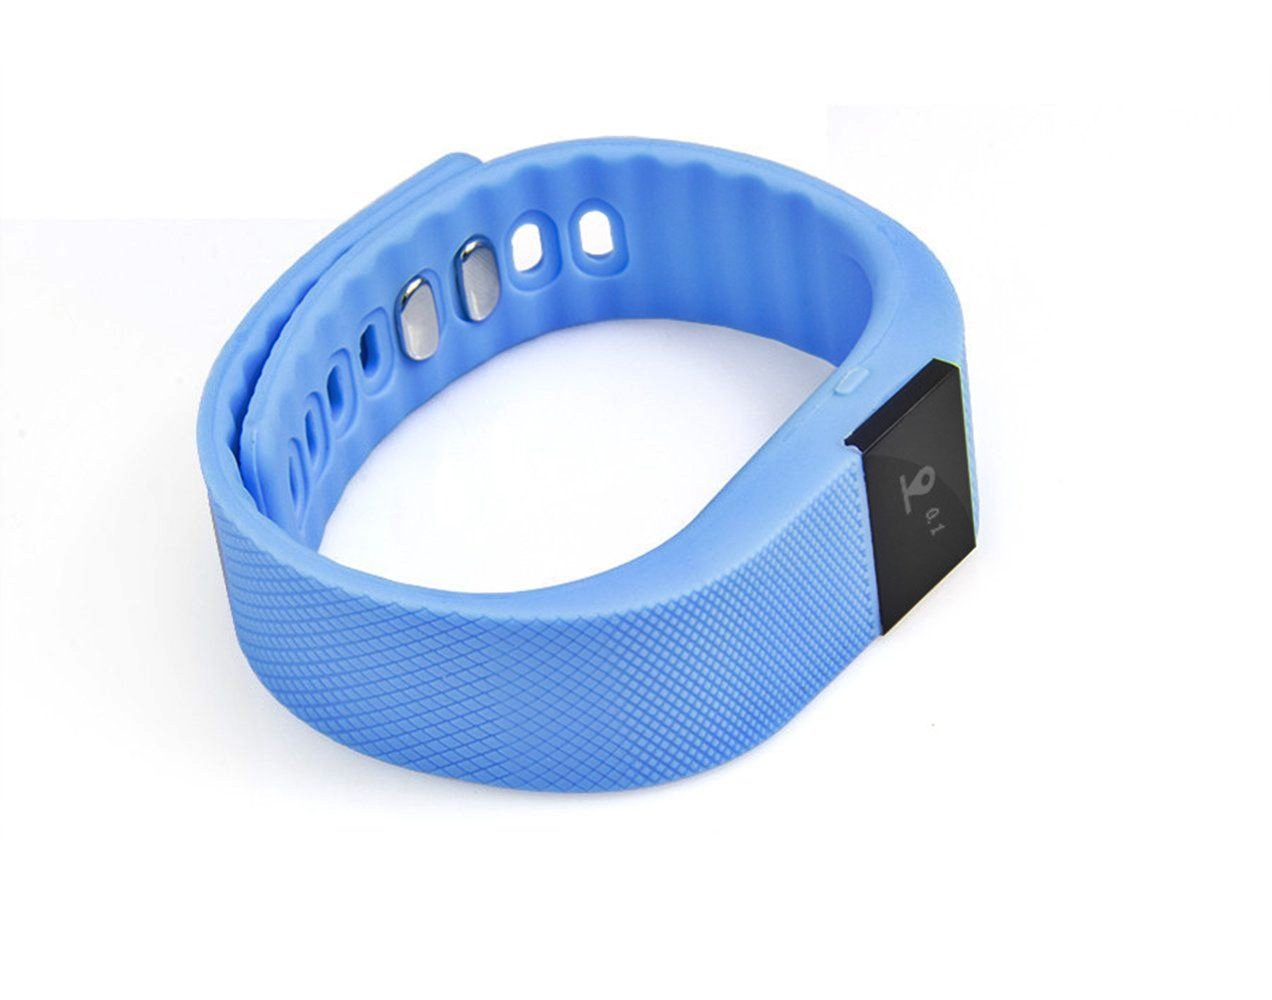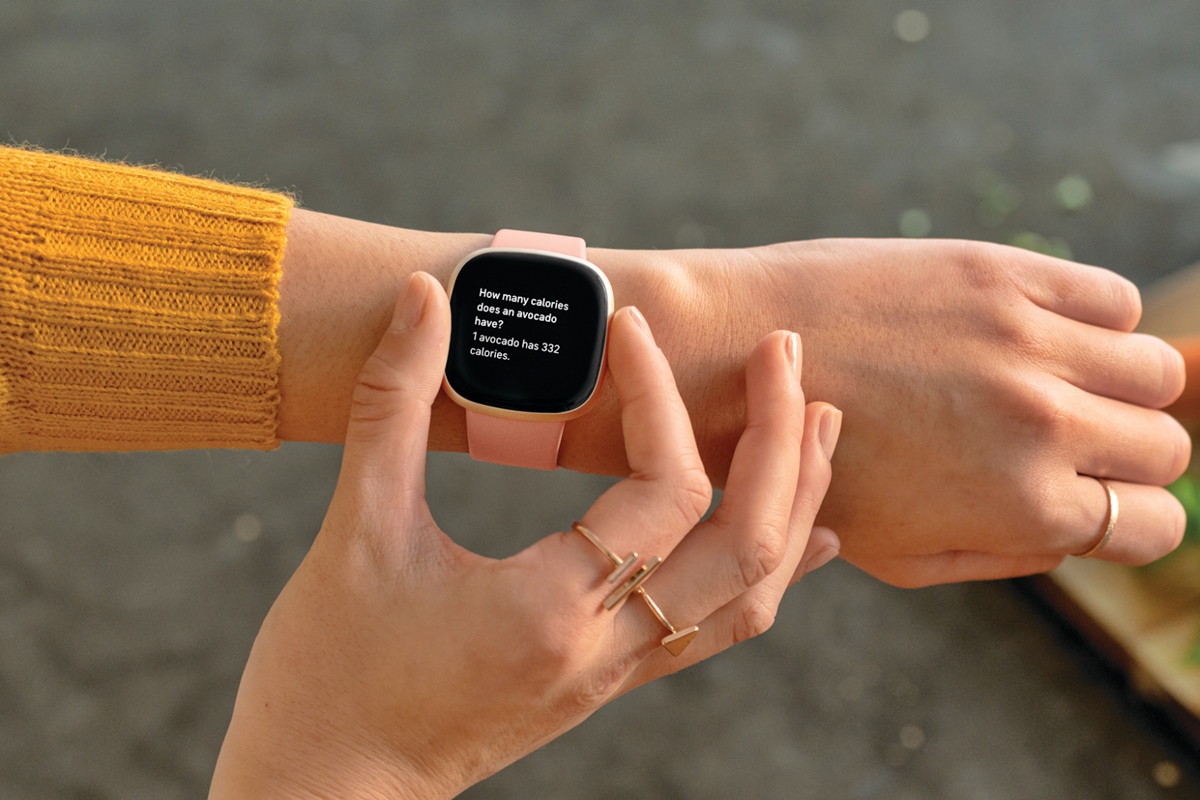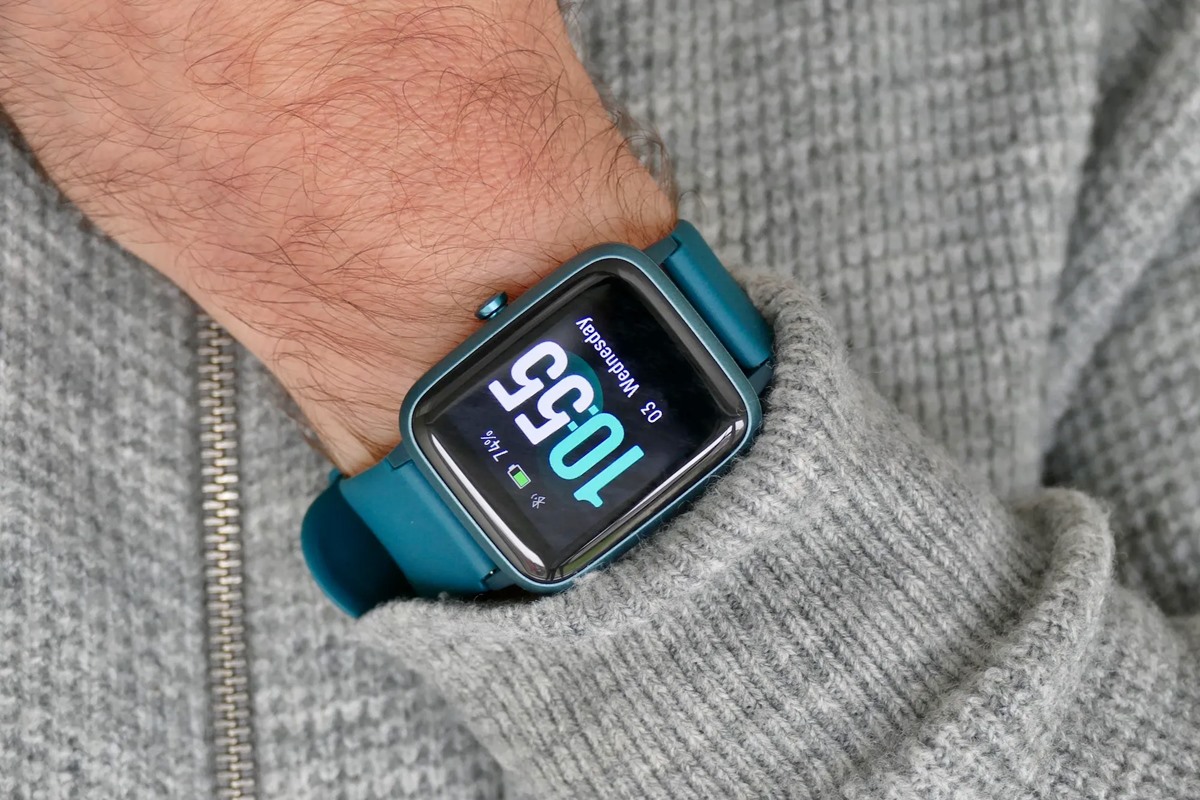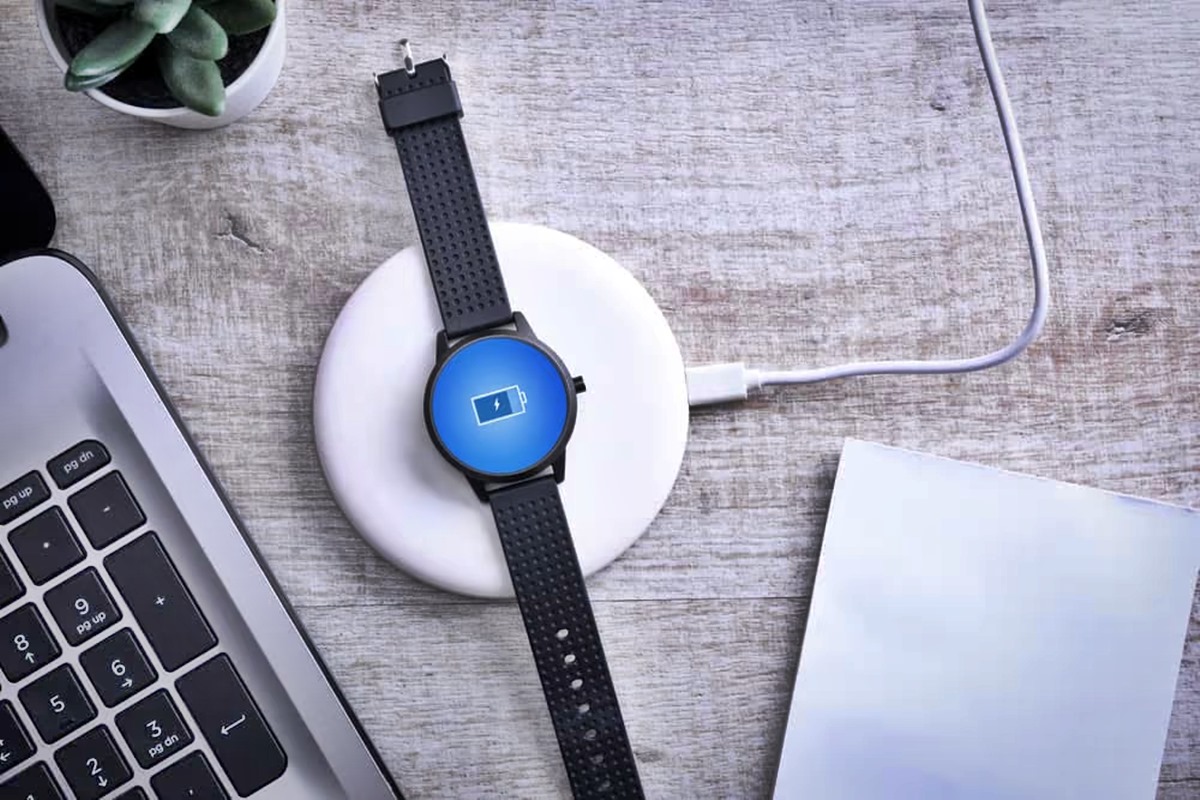
To charge a smart bracelet, you connect its dedicated USB charging cable to a standard 5V USB power source and attach the cable to the device. The correct method depends on your specific model, but most smart bracelets use one of three verified charging methods: a direct USB plug-in, a magnetic cable, or a charging cradle or clip.
Identify how to charge a smart bracelet: The three verified charging methods
Knowing which charging method your smart bracelet uses is the first step to powering it correctly. The three common methods are straightforward to recognize.
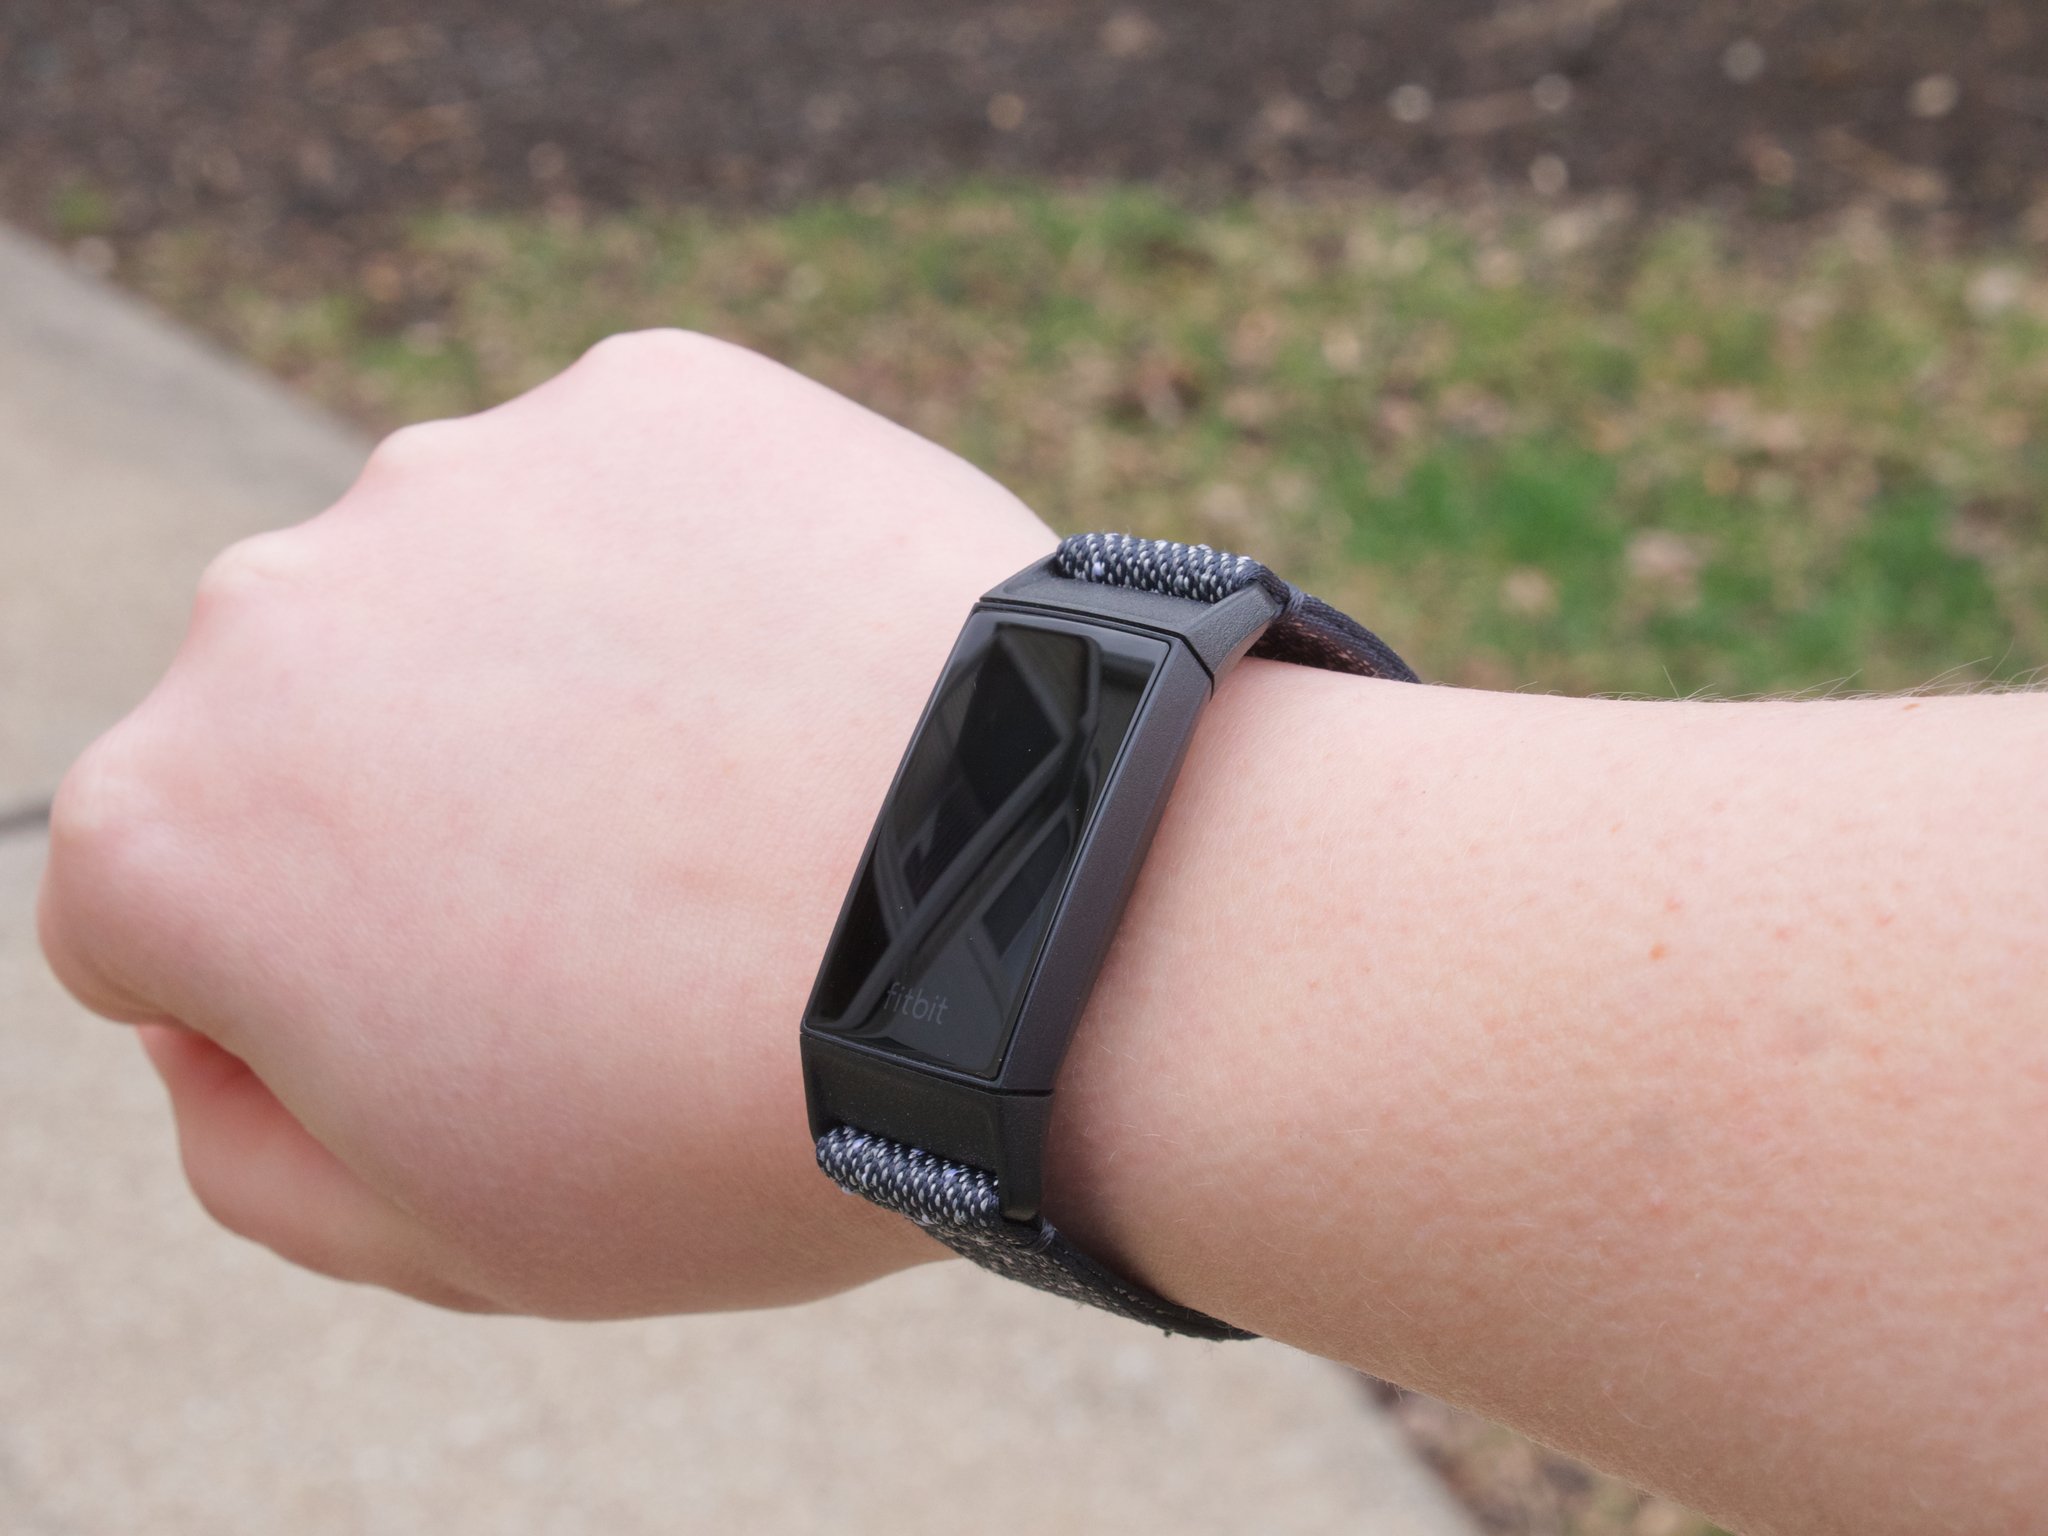
Direct USB plug-in (remove the strap): Some models require you to remove one side of the wrist strap to reveal a USB-A connector built into the bracelet body. You then plug this connector directly into a USB port on a computer, wall charger, or power bank. This method is common on certain fitness trackers.
Magnetic charging cable: A magnetic cable attaches to metal contacts on the back of the smart bracelet, often without needing to remove the strap. The magnet holds the connector in place, making it easy to connect and disconnect.
Charging cradle or clip: A dedicated cradle or clip holds the bracelet securely while charging. You must align the bracelet's metal contacts with the pins on the cradle, then close the clip or place the device in the cradle. This method is typical for many smart bracelets and smartwatches.
Connect your smart bracelet to power safely
Once you have identified your charging method, follow these steps to connect your smart bracelet safely.
- Ensure the charging contacts on both the bracelet and the cable or cradle are clean and dry. Dirt or moisture can cause short circuits or prevent charging.
- Connect the charging cable to the smart bracelet using the correct method: plug the USB connector into the bracelet, attach the magnetic cable, or secure the bracelet in the cradle.
- Connect the charging cable to a USB power source, such as a computer's USB port, a UL-certified USB wall charger, or a compatible power bank.
- It is recommended to use a standard USB adapter with a rated output voltage of 5V and an output current typically between 0.5A and 2A.
Critical warning: Avoid using phone fast-charging adapters, as smart bracelet circuits expect a fixed 5V and variable voltages from fast chargers can cause issues like slow charging, overheating, or potential damage. It is crucial to use the original charging cable provided with your smart bracelet; using non-standard or incompatible cables can cause slow charging, overheating, or even damage to the device. Ensure the charging contacts on both the bracelet and the cable/cradle are clean and dry before charging to prevent short circuits or other risks.
Confirm your smart bracelet is charging correctly
After connecting to power, your smart bracelet should show clear signs that it is charging.
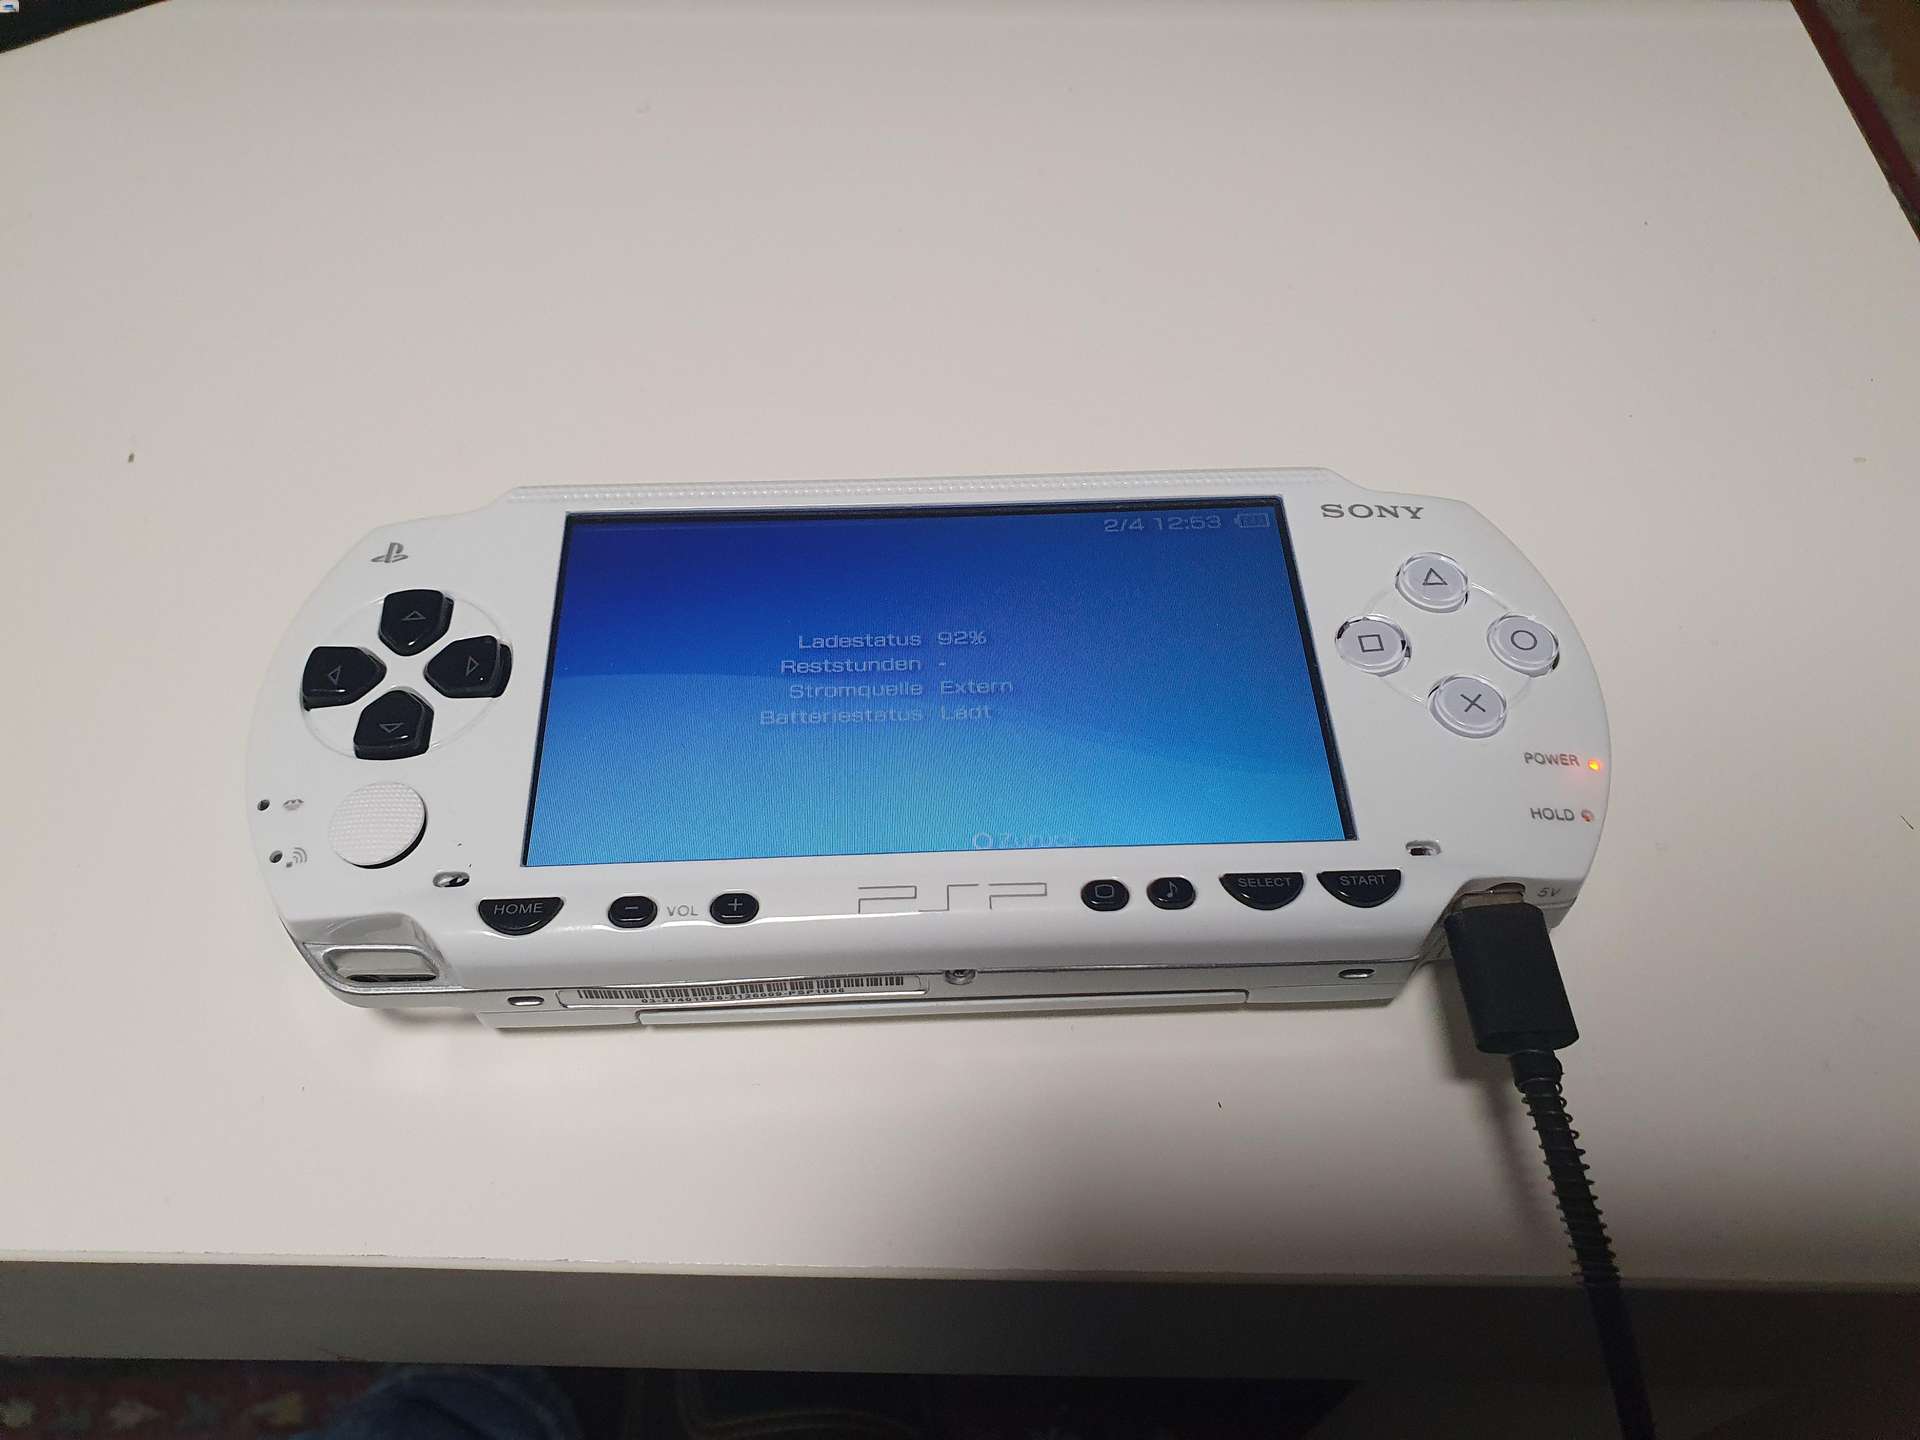
When connected correctly, the smart bracelet will typically vibrate and/or display a charging icon, battery level, or percentage on its screen. You can check the battery level directly on the smart bracelet's screen by tapping it or navigating through menus, or via the connected companion app on your smartphone. A low battery alert, often a vibration or screen notification, will typically appear when the battery level drops below 10% or 20%. Full charging time varies by model, often taking about 1 to 2 hours, but some can take up to 4 hours.
Troubleshoot a smart bracelet that won't charge
If your smart bracelet does not show a charging indicator, try these specific fixes before assuming a hardware problem.
- Adjust the bracelet's position on the cradle: The metal contacts may not be aligned properly. Reposition the bracelet until it clicks or sits flush. If the device doesn't show a charging indicator, try adjusting its position on the charger.
- Reverse the USB plug orientation: For direct USB plug-in models, some are fussy about orientation. Try flipping the USB connector 180 degrees before plugging it in. If the device doesn't show a charging indicator, try reversing the direction of a direct USB plug-in, as some are fussy about orientation.
- Check the ambient temperature: Charging in an environment with an ambient temperature of at least 20°C is recommended for optimal battery safety and charging speed, as current can decrease substantially in low temperatures.
If these steps fail, ensure you are using the original charging cable. If you need to turn on a smart bracelet after a full charge, consult the manufacturer's instructions for your specific model. For a different device, you might also need to know how to charge my smartwatch, as the process can vary between wearables.
Frequently Asked Questions
Can I wear my smart bracelet while it is charging?
It is generally safe to wear a smart bracelet while it is charging, provided the charging cable is securely connected and there are no loose or exposed wires. Avoid exposing the bracelet to water or excessive moisture during charging to prevent damage.
How often should I charge my smart bracelet?
Most smart bracelets have a battery life that lasts several days to a week. As a general guideline, recharge your smart bracelet when the battery level drops to around 20% to 30% to ensure continuous functionality.
Can I use any USB cable to charge my smart bracelet?
It is strongly recommended to use the original charging cable that came with your smart bracelet. Different models have different charging port specifications, and using a non-standard cable can cause slow charging, overheating, or damage. If you lose the original, purchase a replacement specifically designed for your model.
What should I do if my smart bracelet still won't charge after troubleshooting?
If your smart bracelet does not hold a charge or drains quickly after trying the troubleshooting steps, it may indicate a battery problem. Contact the manufacturer's customer support for assistance, as the battery may need to be replaced.
Related reading: How To Charge The "Your Health Steward" Smart Bracelet.