There are four types of AirPods in existence as of this writing. Each type of AirPods promises the best immersive and best quality music experience. And if you are planning to make a switch, what better place to start immersing yourself with an Apple music wearable by learning how to pair AirPods pro, AirPods Max, and AirPods 3rd and 2nd generations to your smartphone, Macbook, or PC?

Before we move further, it’s worth mentioning that the new AirPods also promise new features and functionalities like a 5-hour battery life, Hey Siri recognition, and a wireless charging case. And with those mentioned, making the switch shouldn’t be that hard.
Related: How to Clean AirPods and Airpods Case Properly
Inside This Article
How to Pair AirPods to Smartphone or Macbook?
The AirPods rely on Bluetooth connections in order to pair with your smartphones or Macbooks. Each type of AirPods has Bluetooth 5.0 technology under its hoods — a powerful Bluetooth technology that results in less latency and crystal-clear sound reception.
Normally, in pairing wireless devices, you need to search for an available device, pair with it, then you’ll be able to connect. But in the case of Airpods with IOS devices, you don’t need to go through those painful processes. The pairing process will only seconds to do!
To begin the process, follow these steps:
- Make sure the Bluetooth connection is enabled on your smartphone or Macbook.
- With your AirPods in their case, open the lid.
- Next, press and hold either the setup button on the back of the case (or the noise control button for AirPods Max) until the status light flashes white.
- On your iPhone, go to Settings then Bluetooth. Under Other Devices, tap the name of your AirPods and wait for the devices to pair.
- On your Macbook, click the Apple Logo in the top left corner then select System Preferences. Next, click on Bluetooth and select AirPods in the Devices list.
Now, all there’s left to do is enjoy using your AirPods when streaming via Spotify, Apple Music, or other streaming apps.
How to Pair AirPods Pro, Max, and Other Gens with Apple Watch?

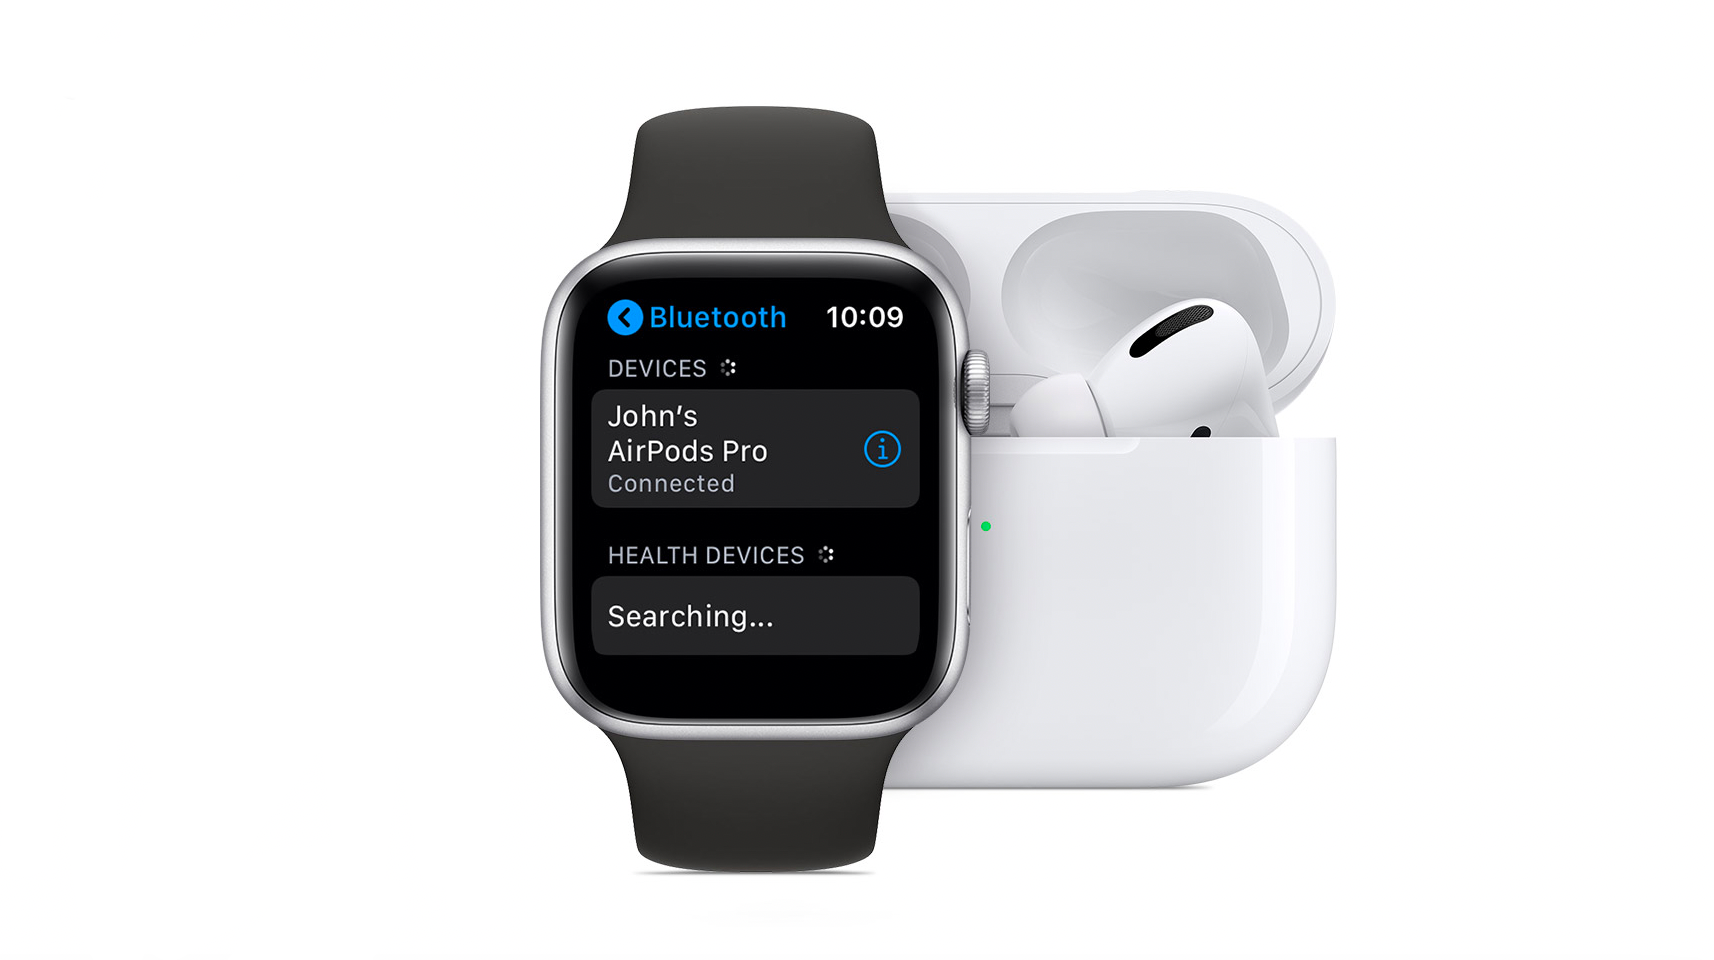
Your Apple Watch can store music from Spotify or Apple Music. This is useful, especially for those who maintain an active lifestyle by going to the gym or for a quick run. You can easily listen to music directly from your Apple Watch instead of your iPhone. Here’s how to pair your AirPods Pro, Max, 2nd, or 3rd Gens with your Apple Watch.
- On your Apple Watch, open Settings then navigate to the Bluetooth connection interface.
- Open the lid of your AirPods Pro, 2nd or 3rd Gens. Or put your AirPods Max in pairing mode.
- When the Apple Watch detects the name of your AirPods, tap on it to start the pairing process.
- When prompted, enter your passkey or PIN.
How to Pair AirPods with Non-Apple Devices?
Yes, you read it right. You can use your AirPods as a Bluetooth headset for non-Apple devices such as Android phones! You can’t use Siri but you can definitely use AirPods to listen to music and make phone calls.
The steps on how to pair AirPods as a Bluetooth headset begin with opening the Bluetooth on your non-Apple device such as an Android phone. Just go to Settings > Connections > Bluetooth> and then turn it on. Once you’re done, open the lid of your case with your AirPods inside, and then press and hold the small button at the back of the charging case until you see the status light flash white. Select the name of your AirPods on your non-Apple device, then you’re already set.
How to Use AirPods Pro, Max, and Other Gens?
Below are highlights of the things you can use your AirPods with. This is because a pair of AirPods isn’t just dedicated to listening to music.
A. Hey, Siri Can Read My Messages

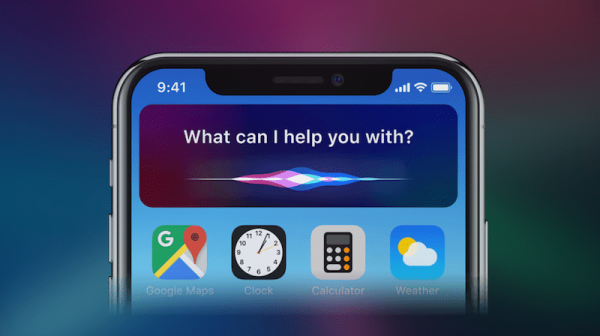
After the setup on how to pair AirPods with your iPhone or iPad, you can now use Siri for AirPods Pro and AirPods 2nd gen. In AirPods Pro, you can do this by holding the force sensor. In AirPods, you have to double-tap to use Siri. If IOS 13.2 is installed on your device, Siri can automatically read incoming messages through your AirPods while you could immediately reply to the message using a voice command.
B. AirPods Serve as Hearing Aid
What’s promising about the new AirPods is you can use them as a hearing aid. With IOS 12 installed and after you finish on how to pair AirPods to your IOS devices, you can now use the app, Live Listen, which can turn your AirPods into a real hearing aid.
To do this, go to Settings > Control Center > Customize Controls > tap on the “+” icon beside the Hearing option. When you need to use this feature, just open the Control Center > Hearing icon > Live Listen.
C. Wireless Charging

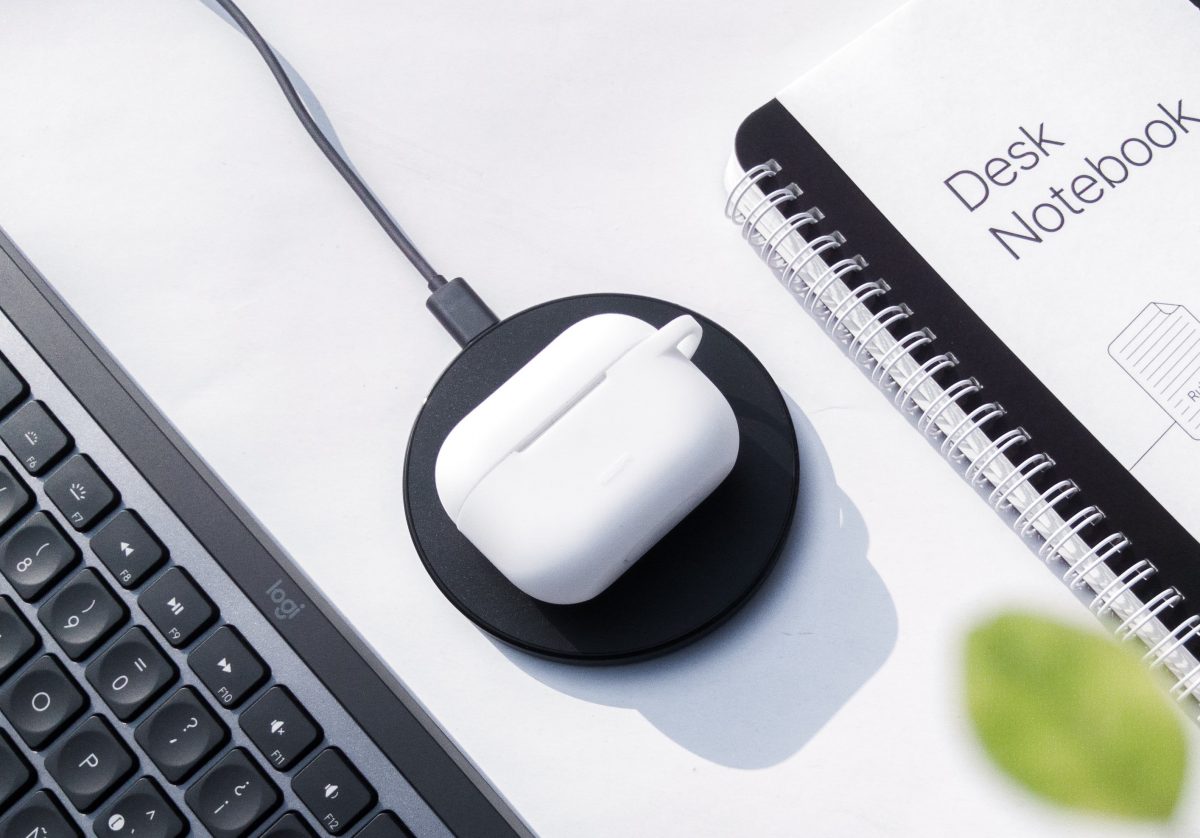
Aside from being able to charge your AirPods through the power cord it comes with, you can also simply lay it down and charge it. This is made possible with Apple offering wireless charging case options when you buy your AirPods. With this, charging can be as simple as placing the AirPods case on a Qi-certified wireless charging mat.
D. Noise Cancellation features
After the setup on how to pair AirPods Pro, you can now control how much you hear in your surroundings. Just press and hold the force sensor to switch to Active Noise Cancellation and Transparency Mode. To switch between modes, press and hold the force sensor until you hear a chime.
E. Long Battery Life
Once you’re paired, you have the choice to use only one AirPod for making phone calls and listening to audio. You can keep the other one in the wireless charger case, and then swap the buds as needed.
Final Thoughts
If you bump into any issues with how to pair your AirPods Pro, Max, or 2nd and 3rd Gens with any device, we highly suggest getting in touch with Apple Support via Twitter or their website. Nonetheless, when you first pair your AirPods with your iPhone, Mac, PC, or other smartphone models, you should be able to do it with no issues at all.
We hope this article has given you new information regarding how to pair and use your AirPods.
