
Popsockets have become an essential accessory for many mobile phone users, providing a convenient and comfortable grip. These versatile and trendy phone grips can be attached to the back of your phone or phone case, giving you a better hold as you use your device. But the question arises – where is the best place to put a popsocket on your phone?
In this article, we will explore the different options for placing a popsocket on your phone and discuss the pros and cons of each placement. Whether you prefer a secure grip near the bottom, a centered position for optimized support, or a more creative and unique placement, we have got you covered. So, let’s dive in and discover the ideal spot to attach your popsocket for an enhanced mobile phone experience!
Inside This Article
- Using the back of your Smartphone
- Attaching it to a Smartphone case
- Applying it to a Tablet or e-reader
- Placing it on other devices such as laptops or gaming consoles
- Conclusion
- FAQs
Using the back of your Smartphone
When it comes to finding the perfect spot to put a Popsocket on your smartphone, one of the most popular options is to attach it to the back of your device. This placement is not only convenient but also offers a secure and stable grip that can greatly enhance your smartphone experience. Here are a few tips on how to effectively use the back of your smartphone to house your Popsocket:
- Find the ideal position: Before attaching the Popsocket, take a moment to consider where it would be most comfortable for you to hold your phone. Try holding the phone in different positions to see which area of the back feels most natural to grip with your fingers.
- Clean the surface: To ensure proper adhesion, make sure to clean the back of your smartphone thoroughly. Use a gentle cloth or wipe to remove any dirt, dust, or oils that may interfere with the stickiness of the Popsocket adhesive.
- Peel and stick: Once the back of your smartphone is clean and dry, peel off the protective layer on the adhesive side of the Popsocket and firmly press it onto the desired spot on the back of your phone. Apply pressure for a few seconds to ensure a strong bond.
- Allow time for adhesive to set: It is important to note that Popsockets typically require a few hours to fully adhere to the back of your smartphone. During this time, avoid excessive handling or placing any weight on the Popsocket to give the adhesive enough time to bond securely.
- Test and adjust: Once the Popsocket is securely attached, test it out by holding your phone in various positions to see how it feels and to ensure it provides the desired grip. If you find that the placement is not comfortable or convenient, it is not too late to remove and reposition the Popsocket while the adhesive is still fresh.
Using the back of your smartphone to house your Popsocket not only offers a practical and functional solution but also allows you to personalize your device. Popsockets come in a wide array of colors, patterns, and designs, so you can choose one that matches your individual style and makes a statement.
Overall, attaching a Popsocket to the back of your smartphone can greatly improve your grip, making it easier to text, take photos, watch videos, and browse the internet with one hand. It offers added comfort and reduces the risk of accidental drops, giving you peace of mind while using your device. So go ahead and find the perfect spot on the back of your smartphone to place your Popsocket and enjoy a more secure and comfortable mobile experience.
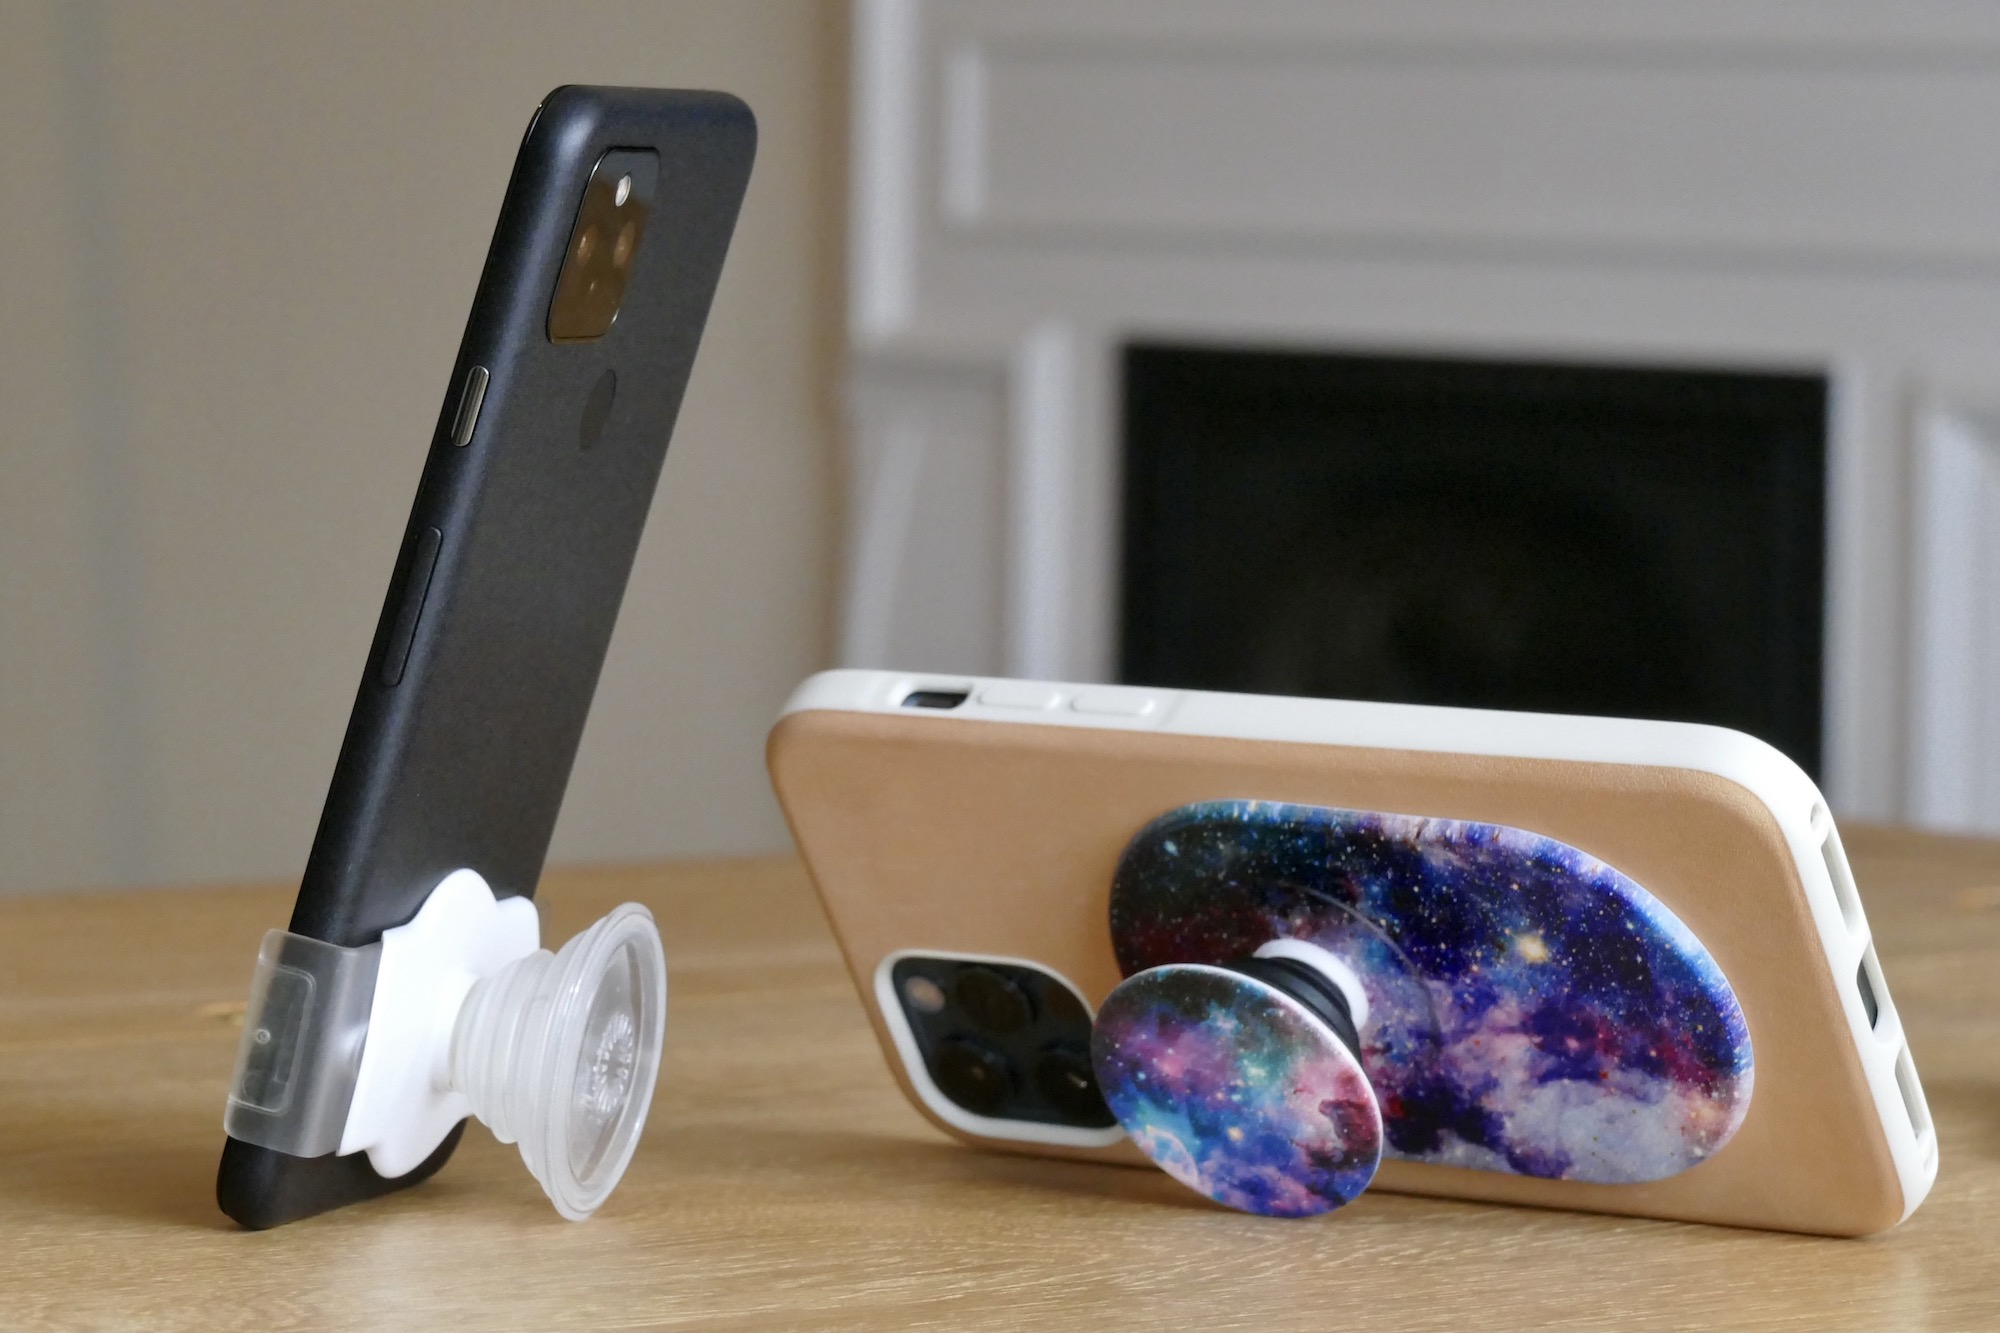
Attaching it to a Smartphone case
Another popular option for placing a Popsocket is to attach it directly to a smartphone case. This is an ideal solution for those who prefer to switch out their cases or have a particular case that they love using. Here’s how you can attach a Popsocket to a smartphone case:
- Select a compatible case: Ensure that your smartphone case is suitable for attaching a Popsocket. Look for a case that has a flat, smooth surface on the back where you can securely attach the Popsocket grip.
- Clean the surface: Before attaching the Popsocket, make sure the back of your smartphone case is clean and free from any dust, oil, or debris. This will ensure a strong and adhesive bond between the case and the Popsocket.
- Remove the adhesive backing: Peel off the protective film on the Popsocket base to expose the adhesive.
- Align and press firmly: Position the Popsocket on the desired spot on the back of your smartphone case. Once aligned, press firmly for about 10-15 seconds to ensure a secure attachment.
- Allow it to bond: Give the Popsocket some time to bond with the smartphone case. It is recommended to leave it undisturbed for at least an hour to ensure a strong adhesive bond.
Attaching a Popsocket to a smartphone case offers the flexibility to change your case while still keeping the functionality of the Popsocket. It also provides an added layer of protection to your phone when the Popsocket is collapsed.
However, it’s important to note that not all smartphone cases are compatible with Popsockets. Some cases with uneven or textured surfaces may not provide a secure attachment. In such cases, it’s best to explore other placement options or consider getting a different case that works well with a Popsocket.
Applying it to a Tablet or e-reader
Popsockets are not just limited to smartphones; they can also be easily applied to tablets or e-readers. Tablets and e-readers are popular devices for reading books, watching movies, or browsing the internet. However, holding these devices for extended periods of time can sometimes be uncomfortable, especially if you have larger hands or if the device is on the larger side.
Applying a Popsocket to your tablet or e-reader can greatly enhance your grip and make it more comfortable to hold. To apply a Popsocket to your tablet or e-reader, follow the same steps as you would for a smartphone:
- Clean the back of your tablet or e-reader with a non-abrasive cloth to remove any dirt or residue.
- Peel off the adhesive backing of the Popsocket.
- Align the Popsocket with the desired position on the back of your tablet or e-reader and firmly press it down for about 10-15 seconds to ensure a strong bond.
- Let the adhesive set for a few hours before fully utilizing the Popsocket.
Once the Popsocket is attached, you can extend or collapse it as needed. When using a tablet or e-reader, you can extend the Popsocket to create a secure grip for your fingers, making it easier to hold the device in one hand. The Popsocket can also be used as a stand by extending it partially and placing it on a flat surface, allowing you to comfortably watch videos or read without having to hold the device.
Furthermore, a Popsocket can serve as a convenient way to store your headphones. By wrapping your headphones around the collapsed Popsocket, you can keep them tangle-free and easily accessible when needed.
With the versatility and functionality of Popsockets, applying them to your tablet or e-reader can greatly enhance your overall user experience. Whether you’re using your device for work, entertainment, or reading, a Popsocket can provide a secure grip and added convenience.
Placing it on other devices such as laptops or gaming consoles
Popsockets aren’t just limited to smartphones and tablets. You can also place them on other devices such as laptops and gaming consoles for added comfort and convenience.
For laptops, attaching a Popsocket to the back of the laptop screen can serve multiple purposes. It can act as a handle, providing a more secure grip when carrying your laptop around. It can also be used as a stand, allowing you to prop up your laptop at a comfortable angle for typing or watching videos.
When it comes to gaming consoles, Popsockets can be a game-changer. Many gamers spend hours playing their favorite games, and having a Popsocket attached to the back of the console controller can vastly improve their gaming experience. By providing a more comfortable grip, it reduces hand fatigue and improves control during intense gaming sessions. Plus, it adds a touch of personalization to your gaming setup.
Not only can you attach a Popsocket directly onto the back of your gaming console controller, but you can also attach it to the console itself. This allows you to securely hold the console without worrying about accidental slips or drops. It can also be used as a convenient stand, propping up the console at a better viewing angle.
Furthermore, Popsockets can be placed on other devices such as e-readers, portable speakers, or even car dashboards. The adhesive back of the Popsocket allows for easy and secure attachment to a wide range of surfaces.
Keep in mind that when placing a Popsocket on a device other than a smartphone or tablet, the size and weight of the device should be considered. It is important to ensure that the Popsocket is securely attached and does not interfere with the functionality or balance of the device.
Overall, the versatility of Popsockets allows you to enhance the usability and convenience of various devices. Whether it’s adding a handle to your laptop, improving your gaming experience, or providing a stand for your e-reader, Popsockets can truly transform the way you interact with your devices.
Conclusion
In conclusion, the Popsocket has revolutionized how we interact with our cell phones. By providing a secure grip and a convenient stand, it has become a must-have mobile accessory for many users. When it comes to the question of where to put a Popsocket, the answer is ultimately up to personal preference.
However, some popular locations to place a Popsocket include the center or lower portion of the back of your phone, where it offers the best balance and stability. It’s important to ensure that the Popsocket is securely attached to avoid any accidental drops.
Whether you decide to place it on a phone case or directly on your phone, the important thing is to find a position that feels comfortable and suits your individual usage habits.
Remember, the primary function of a Popsocket is to improve your grip and enhance your smartphone experience, so experiment with different placements until you find the one that works best for you.
So go ahead, find the perfect spot for your Popsocket and enjoy a more secure and convenient way to use your phone!
FAQs
1. Can I put a Popsocket on any phone?
Yes, you can put a Popsocket on any phone as long as it has a smooth and flat surface. Popsockets are designed to adhere to a variety of materials, including plastic, glass, and metal. Just make sure to clean the surface before applying the Popsocket for better adhesion.
2. Where is the best place to put a Popsocket on my phone?
The best place to put a Popsocket on your phone is on the back near the center. This allows for a comfortable and secure grip while holding your phone. It also ensures that the Popsocket does not interfere with any buttons, camera lenses, or wireless charging functionality.
3. Can I remove and reposition a Popsocket?
Yes, Popsockets are designed to be easily removable and repositionable. If you want to change the position of your Popsocket or remove it temporarily, gently peel it off from the surface of your phone. If the adhesive becomes less sticky over time, you can rinse it with water and let it dry to restore its adhesive properties.
4. Will a Popsocket damage my phone?
No, when used properly, a Popsocket should not damage your phone. The adhesive used on Popsockets is designed to be strong but also removable without leaving residue behind. However, if you forcefully remove the Popsocket or use it on a delicate surface, it may cause damage. Always follow the instructions provided with the Popsocket to ensure proper usage.
5. Can I still use wireless charging with a Popsocket?
Yes, you can still use wireless charging with a Popsocket. Most Popsockets have a collapsible design that allows them to lay flat on the phone when not in use. This enables you to place your phone on a wireless charging pad without any interference. Just make sure the Popsocket is pushed down when charging wirelessly for optimal results.