
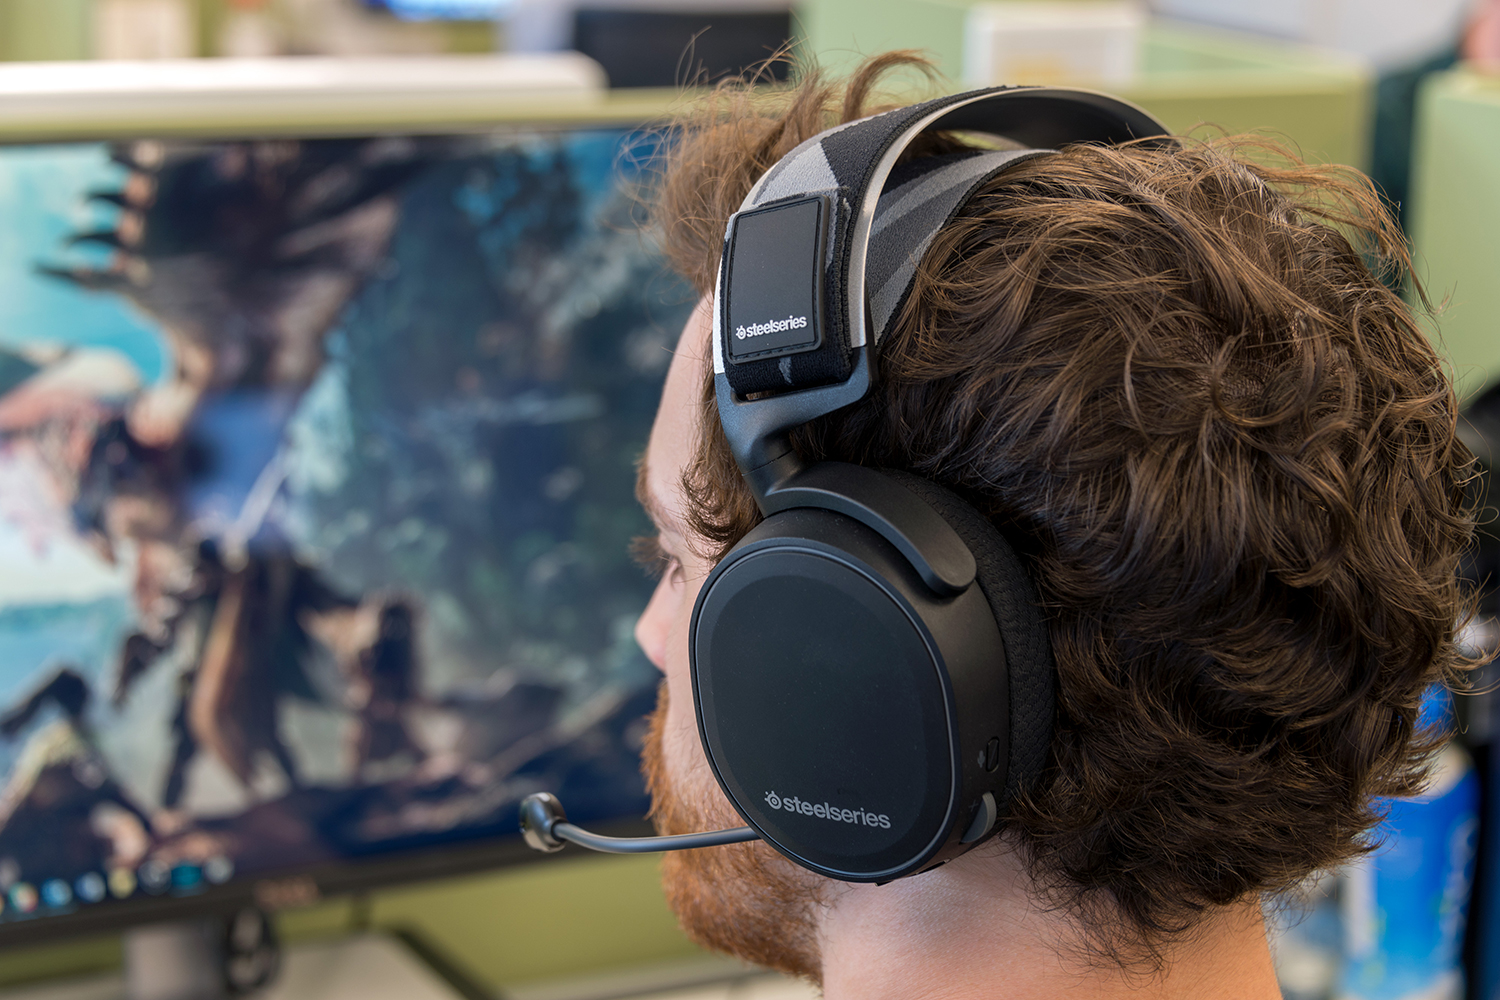
Your Steelseries headset not working? Don’t worry, you’re not alone. Many users experience issues with their headsets not functioning properly. Whether it’s a problem with audio output, microphone functionality, or connection troubles, these issues can be frustrating and impact your gaming or communication experience. In this article, we will explore common reasons why your Steelseries headset might not be working and provide troubleshooting tips to help you get back to enjoying your headset to the fullest. So, if you’re ready to troubleshoot and fix the issues with your Steelseries headset, keep reading. With our expert advice and guidance, you’ll be able to resolve the problem and get back to immersing yourself in your favorite games or enjoying crystal-clear communication with your friends and teammates.
Inside This Article
- Troubleshooting Steps for Steelseries Headset Not Working
- Checking the Connections
- Updating the Headset Drivers
- Adjusting Audio Settings
- Resetting the Headset
- Conclusion
- FAQs
Troubleshooting Steps for Steelseries Headset Not Working
Is your Steelseries headset giving you trouble? Don’t worry, we’ve got you covered. We understand how frustrating it can be when your favorite headset stops working properly. But before you rush to buy a new one, try these troubleshooting steps to get your Steelseries headset back in working condition.
1. Checking the Connections
The first thing to do is check the connections. Ensure that your Steelseries headset is properly plugged into the appropriate ports on your device. Inspect the headset cables for any signs of damage or wear. If you find any loose or damaged connectors, try reconnecting them or consider replacing the cables if necessary.
2. Updating the Headset Drivers
Outdated or faulty drivers can cause issues with your Steelseries headset. Start by visiting the Steelseries website and download the latest drivers for your specific headset model. Once the download is complete, install the updated drivers on your computer. After installation, remember to restart your computer to ensure the changes take effect.
3. Adjusting Audio Settings
It’s crucial to check the audio settings on your device. Make sure that your Steelseries headset is selected as the default playback device. Adjust the volume levels and audio settings to troubleshoot any configuration issues. If possible, try testing your headset on a different device to determine if the problem is specific to your computer.
4. Resetting the Headset
If none of the previous steps have resolved the issue, try resetting your Steelseries headset. Check the manufacturer’s instructions on how to perform a reset, as it may vary depending on the model. Generally, you will need to hold specific buttons or switches on the headset for a set period of time. After the reset, check if the headset is functioning normally.
If none of these troubleshooting steps seem to resolve the problem, it’s recommended to contact Steelseries customer support for further assistance. They have the expertise to provide personalized solutions for your specific headset model.
Remember, it’s essential to regularly maintain and take care of your Steelseries headset to avoid any potential issues. Keeping the headset clean, storing it properly, and handling it with care can significantly extend its lifespan.
So, before you give up on your Steelseries headset, give these troubleshooting steps a try. With a bit of patience and persistence, you might be able to get it working again and enjoy your gaming or audio experience to the fullest.
Checking the Connections
When your Steelseries headset is not working, one of the first things you should check is the connections. Follow these steps to ensure proper connectivity:
- Ensuring the headset is properly plugged in: Check that the headset is securely plugged into the appropriate port on your device. Sometimes, it may appear connected but is not fully inserted.
- Verifying the connection of the headset cables to the device: If your headset has detachable cables, make sure they are securely connected to both the headset and the device. A loose or improperly connected cable can result in no sound or a disrupted audio experience.
- Checking for any loose or damaged connectors: Inspect the connectors on both the headset and the device for any signs of damage or wear. If you notice bent pins, frayed wires, or other issues, it may be affecting the connection. Consider using a different cable or contacting Steelseries support for further assistance.
Once you have checked and ensured the connections are secure, proceed to test your Steelseries headset to see if the issue has been resolved.
Updating the Headset Drivers
When your Steelseries headset is not working, one of the potential solutions is to update the drivers. Drivers are software components that allow the operating system to communicate with the hardware device, in this case, your headset. Outdated or incompatible drivers can cause various issues, including a malfunctioning headset. Follow the steps below to update the drivers and potentially resolve the problem.
Step 1: Downloading the latest drivers from the Steelseries website
The first step is to visit the official Steelseries website and navigate to the support section. Look for the appropriate drivers for your specific headset model and operating system. Download the latest version of the drivers, ensuring that you select the correct version according to your operating system.
Step 2: Installing the updated drivers for the headset
Once the drivers have finished downloading, locate the downloaded file and double-click on it to initiate the installation process. Follow the on-screen instructions to complete the installation of the updated drivers. It is advisable to close any other programs or applications that are running during the installation to avoid potential conflicts.
Step 3: Restarting the computer after driver installation
After the installation is complete, it is important to restart your computer. This allows the newly installed drivers to take effect and ensures that any changes made will be applied correctly. Once your computer has restarted, test your Steelseries headset to see if the issue has been resolved. If not, proceed to the next troubleshooting step.
Adjusting Audio Settings
When your Steelseries headset is not working, one of the troubleshooting steps you can take is to adjust the audio settings on your device. Here’s what you need to do:
- Checking the audio settings on the device: Ensure that your headset is selected as the default playback device. Sometimes, your device may automatically switch to a different audio output, causing your headset to not work. To check the audio settings, follow these steps:
- On Windows: Right-click on the volume icon in the taskbar and select “Playback devices.” Make sure your Steelseries headset is set as the default device. If it’s not, right-click on it and choose “Set as Default Device.”
- On Mac: Go to System Preferences, select “Sound,” and then click on the “Output” tab. Choose your Steelseries headset from the list of available devices.
- Adjusting the volume levels and audio settings: Sometimes, the issue with your headset may be due to incorrect volume levels or audio settings. Try the following:
- On your device, make sure the volume is turned up and not muted. Additionally, check if any audio enhancements or equalizer settings are affecting the sound. Disable or adjust them as needed.
- On Windows: Right-click on the volume icon in the taskbar and select “Open Volume Mixer.” Check if the volume levels for your headset are properly set.
- On Mac: In the Sound preferences, adjust the output volume slider and make sure it’s not set too low.
- Testing the headset on a different device: If adjusting the audio settings on your device doesn’t resolve the issue, it’s worth testing your headset on a different device. This step helps determine if the problem is specific to your device or if it’s an issue with the headset itself. Connect the headset to another computer, smartphone, or tablet and check if it works properly.
By following these steps, you can troubleshoot and adjust the audio settings for your Steelseries headset. If the issue still persists, consider trying the other troubleshooting steps or contacting Steelseries customer support for further assistance.
Resetting the Headset
When your Steelseries headset is not working properly, performing a reset can often help resolve the issue. Resetting the headset involves following specific steps provided by the manufacturer to restore it to its default settings. Here is a step-by-step guide on how to reset your Steelseries headset:
- Locate the reset button or switch on your Steelseries headset. This is usually a small button or switch that may be labeled “Reset” or indicated by an icon.
- Hold down the reset button or toggle the switch for a specified period of time. The duration may vary depending on the model of your headset, so it’s important to refer to the manufacturer’s instructions for the exact timing.
- Release the reset button or switch after the designated time has passed.
- Once the reset has been performed, power on your headset and attempt to use it as you normally would.
Resetting the headset can help resolve various issues, such as connectivity problems, audio glitches, or firmware conflicts. It essentially clears any temporary settings or conflicts that may be causing the problem.
If, after resetting your Steelseries headset, the issue persists, it is recommended to reach out to Steelseries customer support for further assistance. Their dedicated team of experts can provide personalized guidance and troubleshooting steps to help resolve the problem.
Remember, it’s essential to follow the manufacturer’s instructions when resetting your Steelseries headset, as improper manipulation may void the warranty or cause permanent damage to the device.
Conclusion
In conclusion, dealing with a Steelseries headset that is not working can be frustrating, but there are several potential solutions that you can try. Start by checking the basic connections and settings, ensuring that everything is properly plugged in and configured. If the issue persists, you can try updating the headset firmware or reinstalling the Steelseries Engine software. Additionally, troubleshooting audio settings on your computer or gaming console may also help resolve the problem.
Remember, it’s important to understand that headset issues can stem from various factors – hardware, software, or settings. By following the steps mentioned above and referring to the FAQs, you should be able to identify and fix the problem in most cases. If all else fails, reaching out to Steelseries customer support can provide further assistance and guidance to resolve the issue and get back to enjoying your gaming experience with a properly functioning headset.
FAQs
1. Why is my Steelseries headset not working?
If your Steelseries headset is not working, it could be due to several issues. First, make sure that it is properly connected to your device. Check all the cables and ensure they are securely plugged in. Additionally, ensure that the headset is turned on and the volume is not muted. If the issue persists, try resetting the headset or updating the firmware. If none of these solutions work, it may be a hardware issue, and you may need to contact customer support for further assistance.
2. How do I reset my Steelseries headset?
To reset your Steelseries headset, follow these steps:
- Disconnect the headset from your device.
- Remove any external power sources or batteries.
- Hold down the power button for at least 10 seconds.
- Release the power button.
- Reconnect the headset to your device and check if the issue is resolved.
3. How do I update the firmware on my Steelseries headset?
To update the firmware on your Steelseries headset, you will need to download the Steelseries Engine software on your computer. Once installed, launch the software and connect your headset to your computer using the provided USB cable. The software should detect your headset and prompt you to update the firmware if a newer version is available. Follow the on-screen instructions to complete the firmware update process.
4. Why is there no sound coming from my Steelseries headset?
If there is no sound coming from your Steelseries headset, there are a few things you can check. First, ensure that the volume on your headset is turned up and not muted. Next, verify that the headset is properly connected to your device and that the audio settings are correctly configured. Additionally, check if the audio output device on your device is set to the Steelseries headset. If all these settings are correct, try restarting your device and see if the issue resolves. If not, it may be a hardware problem and contacting customer support is recommended.
5. How do I clean my Steelseries headset?
To clean your Steelseries headset, gently wipe the exterior surfaces with a soft cloth dampened with water or a mild cleaning solution. Avoid using harsh chemicals or abrasive materials that may damage the headset’s finish. For the ear cups and cushions, you can remove them if they are detachable and wash them according to the manufacturer’s instructions. Be sure to fully dry the components before reattaching them to the headset. Regular cleaning and maintenance will help ensure the longevity and performance of your Steelseries headset.