
Are you worried about the safety of your iPhone if it happens to get lost or stolen? Well, fret no more! With the “Find My iPhone” feature, you can easily locate your device using GPS technology. But what if you want to freeze the location of your iPhone? Perhaps you want to keep the location private or retain the last known location before the battery dies. In this article, we will guide you through the process of freezing the Find My iPhone location. By following these simple steps, you can have peace of mind knowing that your device’s whereabouts are secure, even in the event of unforeseen circumstances. So, let’s dive in and discover how to freeze Find My iPhone location!
Inside This Article
- Why Freeze Find My iPhone Location
- Steps to Freeze Find My iPhone Location
- Troubleshooting Tips
- Conclusion
- FAQs
Why Freeze Find My iPhone Location
Find My iPhone is a powerful feature offered by Apple that allows you to locate your lost or stolen iPhone using iCloud. This feature can be a game-changer when it comes to recovering a lost device or protecting your personal information from falling into the wrong hands. However, there may be instances when you want to freeze the Find My iPhone location on your device. Here are a few reasons why you might want to consider doing so:
1. Privacy and Security: By freezing the Find My iPhone location, you can prevent anyone from tracking your iPhone’s movements, ensuring your privacy and keeping your whereabouts confidential.
2. Battery Conservation: When the Find My iPhone feature constantly updates the device’s location, it can drain the battery more quickly. Freezing the location will help conserve battery life, especially in situations where you don’t need to track your iPhone’s movements.
3. Prevent Unwanted Actions: If you suspect that someone might gain unauthorized access to your iCloud account, freezing the Find My iPhone location can prevent them from remotely erasing or locking your device.
4. Avoid False Alarms: Sometimes, the Find My iPhone feature can provide inaccurate location information, resulting in unnecessary panic or confusion. Freezing the location can prevent false alarms and ensure that you don’t make any hasty decisions based on faulty information.
5. Peace of Mind: Knowing that you have control over the Find My iPhone feature provides peace of mind. Whether you’re traveling, attending an important meeting, or simply want to disconnect from constant tracking, freezing the location lets you dictate when and how your iPhone’s location is shared.
While freezing the Find My iPhone location can offer benefits, it’s important to remember that this feature is an invaluable tool for recovering a lost or stolen device. Therefore, it’s recommended to only freeze the location when necessary and remember to unfreeze it when you no longer require it.
Steps to Freeze Find My iPhone Location
If you are an iPhone user concerned about your device’s security, you might be familiar with the “Find My iPhone” feature. This powerful tool allows you to track your lost or stolen device using GPS technology. However, there may be situations where you want to freeze the location of your iPhone temporarily. This could be to prevent unauthorized access to your location or to conserve battery life. Whatever the reason, here are the steps you can follow to freeze the Find My iPhone location:
- Step 1: Open Settings. On your iPhone’s home screen, locate the Settings app and tap on it to open.
- Step 2: Tap on your Apple ID. Once you are in the Settings menu, look for your name or profile picture at the top of the screen. Tap on it to access your Apple ID settings.
- Step 3: Select “Find My”. In the Apple ID settings, scroll down and find the “Find My” option. Tap on it to proceed.
- Step 4: Tap on “Find My iPhone”. Under the “Find My” menu, you will see the “Find My iPhone” option. Tap on it to enter the Find My iPhone settings.
- Step 5: Disable “Share My Location”. Inside the Find My iPhone settings, you will find the option to disable “Share My Location”. Toggle the switch to turn it off.
- Step 6: Confirm the action. A confirmation prompt will appear, asking you to confirm the disabling of Share My Location. Tap on “Turn Off” to proceed.
- Step 7: Enter your Apple ID password. You will be prompted to enter your Apple ID password for security purposes. Input your password and tap on “Turn Off” to confirm.
By following these steps, you will be able to freeze the Find My iPhone location. This means that your device’s location will no longer be updated in the Find My iPhone app or iCloud, providing you with extra privacy and control over your data.
Troubleshooting Tips
If you encounter any issues or difficulties while trying to freeze the Find My iPhone location, here are some troubleshooting tips that can help you resolve them:
- Check your internet connection: Ensure that you have a stable and reliable internet connection. The Find My iPhone feature requires an internet connection to function properly, so make sure you are connected to a Wi-Fi or cellular network.
- Ensure your iOS device is up to date: Keeping your iPhone or iPad updated with the latest iOS version is crucial for the smooth functioning of Find My iPhone. Go to Settings > General > Software Update to check if there are any updates available.
- Sign in to iCloud: Make sure you are signed in to your iCloud account on your iOS device. Go to Settings > [your name] > iCloud and enter your Apple ID and password if required.
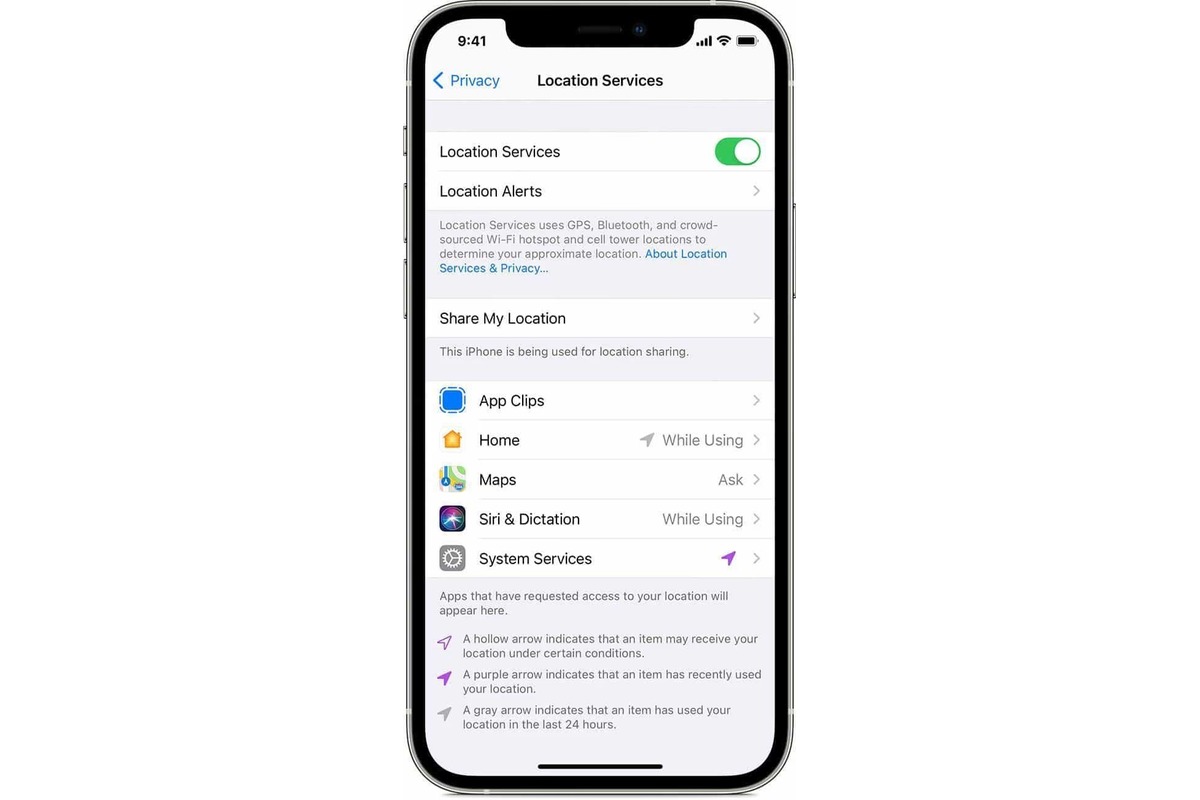
- Enable Location Services: Make sure that Location Services are enabled on your device. Go to Settings > Privacy > Location Services and toggle the switch to enable it.
- Restart your device: Sometimes a simple restart can resolve temporary glitches. Press and hold the power button, then slide to power off. After a few seconds, press and hold the power button again until the Apple logo appears.
- Check Find My iPhone settings: Go to Settings > [your name] > Find My > Find My iPhone and ensure that the toggle switch is turned on. Also, check if the “Send Last Location” option is enabled. This will update your device’s location when the battery is critically low.
- Update Find My app: If you are using iOS 13 or later, make sure you have the latest version of the Find My app installed on your device. You can update it through the App Store.
- Reset network settings: If you are still experiencing issues, you can try resetting the network settings on your device. Go to Settings > General > Reset > Reset Network Settings. Keep in mind that this will remove saved Wi-Fi passwords and other network-related configurations.
- Contact Apple support: If none of the above troubleshooting tips work, it’s best to reach out to Apple support for further assistance. They can provide personalized guidance and help resolve any persistent issues you may be facing.
By following these troubleshooting tips, you should be able to overcome any obstacles you encounter while trying to freeze the Find My iPhone location. Remember to always double-check your settings and ensure that you have a stable internet connection for the best results.
Conclusion
In conclusion, freezing the Find My iPhone location is a valuable feature that offers peace of mind and security for iPhone users. By following the steps outlined in this article, you can confidently protect your device’s location from being accessed by unauthorized individuals. Whether it’s a lost or stolen phone, or simply a desire for added privacy, freezing the Find My iPhone location can be a useful tool in safeguarding your personal information.
Remember to consider the implications of freezing your Find My iPhone location carefully. While it provides numerous benefits, it can also limit your ability to track and locate your device in the event of misplacement. Strike a balance between security and functionality to best suit your needs.
Now that you understand the importance of freezing your Find My iPhone location and how to do it, you can rest assured that your device is well-protected.
FAQs
1. What is Find My iPhone?
Find My iPhone is a service provided by Apple that helps you locate your lost or stolen iPhone, iPad, Mac, Apple Watch, or AirPods. It uses GPS and internet connection to track the device’s location on a map.
2. How can I enable Find My iPhone?
To enable Find My iPhone on your device, go to the Settings app and tap on your Apple ID at the top. Then, select iCloud and scroll down to Find My iPhone. Enable the toggle switch next to it. You can also enable it during device setup or use the Find My app on iOS 13 and later.
3. What should I do if my iPhone is lost or stolen?
If your iPhone is lost or stolen, the first step is to try locating it using the Find My iPhone service. Log in to iCloud.com/find on a computer or use the Find My app on another Apple device. From there, you can play a sound, display a message, lock your device, or erase its data remotely.
4. Can I freeze the location of my iPhone on Find My iPhone?
No, you cannot freeze the location of your iPhone on Find My iPhone. The location updates in real-time, showing you the current location of your device. If you want to keep your location private, you can enable the “Hide My Location” feature within the Find My app.
5. Can I track someone else’s iPhone using Find My iPhone?
You can only track someone else’s iPhone with their explicit consent. They need to share their Apple ID and password with you, and you will need to sign in to Find My iPhone using their credentials. It is important to respect privacy and obtain permission before tracking someone’s device.