
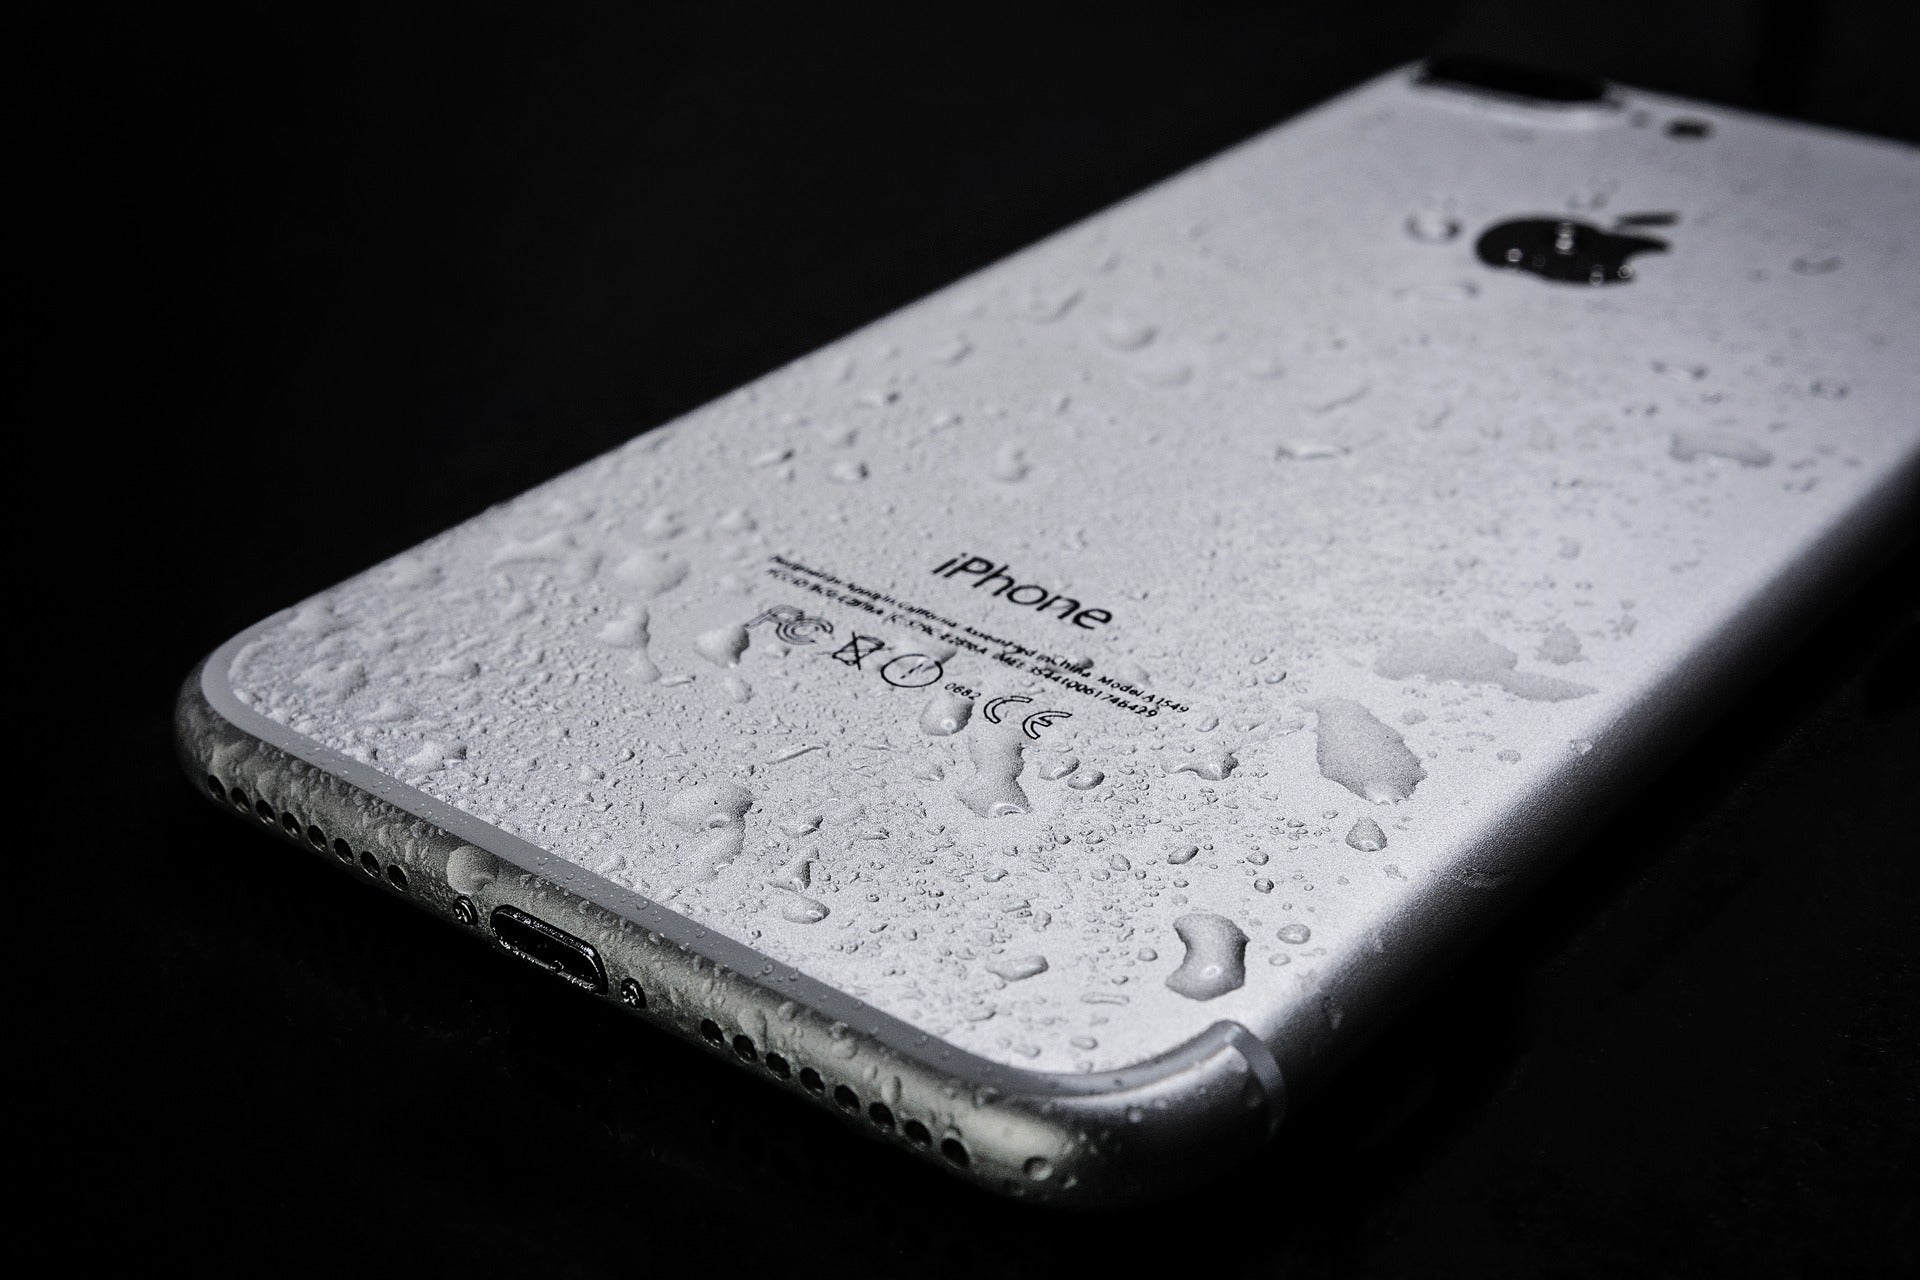
Imagine this scenario: you’re out on a beach vacation, capturing stunning photos with your mobile phone camera. Suddenly, disaster strikes, and your phone takes an unintentional dive into the water. Panic sets in as you frantically retrieve your device, only to find the camera lens covered in droplets of water. You desperately search for a solution, but you remember hearing mixed opinions about using rice to dry out electronics.
Well, fear not! In this article, we will guide you through the process of getting water out of your phone camera without resorting to the rice method. We’ll explore alternative methods that are not only effective but also safe for your beloved device. So, if you’re facing this unfortunate situation, keep reading to discover the steps you can take to salvage your phone camera and capture memories once again.
Inside This Article
- Method 1: Using Silica Gel Packets
- Method 2: Using Desiccants
- Method 3: Using Compressed Air or Vacuum
- Method 4: Taking the Phone to a Professional
- Conclusion
- FAQs
Method 1: Using Silica Gel Packets
Step 1: The first thing you need to do is remove the phone cover and battery, if possible. This will help expose the camera and allow better air circulation.
Step 2: Next, place the phone in a Ziploc bag along with silica gel packets. Silica gel is a desiccant that absorbs moisture from the surrounding environment, making it an effective tool for drying out electronic devices.
Step 3: Once the phone is securely placed in the bag, seal it tightly to prevent any moisture from entering. Make sure the seal is airtight to maximize the effectiveness of the silica gel packets.
Step 4: Leave the phone in the sealed bag with the silica gel packets for at least 24 hours. During this time, the silica gel will absorb the moisture present in the camera, helping to dry it out.
Step 5: After 24 hours, carefully remove the phone from the bag and check if the moisture is gone from the camera. If the camera is still wet, repeat the process for another 24 hours until the moisture is completely gone.
Using silica gel packets is a convenient and effective method for removing water from your phone camera. The packets are readily available and can be easily obtained from various sources, such as electronic stores or online retailers.
Remember, when dealing with water damage, it is important to act quickly and take preventive measures to minimize any potential long-term damage to your phone.
Method 2: Using Desiccants
Step 1: Remove the phone cover and battery (if possible)
Step 2: Fill a container with desiccant packets or materials such as uncooked rice, silica gel, or cat litter. These desiccants absorb moisture from the surrounding environment, helping to dry out the phone camera.
Step 3: Place the phone on top of the desiccants and cover the container. The desiccants will create a dry environment inside the container, facilitating the removal of moisture from the camera.
Step 4: Leave the phone for at least 24 hours. This allows sufficient time for the desiccants to absorb the moisture and for the camera to dry out completely.
Step 5: After 24 hours, check if the moisture is removed from the camera. Carefully inspect the camera lens and surrounding areas for any signs of water or condensation. If the camera appears to be dry, you can reassemble the phone and test if the camera is functioning properly.
Method 3: Using Compressed Air or Vacuum
In situations where your phone’s camera is exposed to water, one of the quickest methods to remove any water droplets is by using compressed air or a vacuum cleaner with a nozzle attachment. This method is effective in dislodging and suctioning away the water from the camera area, helping to prevent any potential damage to the delicate components.
Step 1: Remove the phone cover and battery (if possible)
Before attempting to use compressed air or a vacuum cleaner, it is important to remove any external factors that may hinder the process. This includes removing the phone cover and, if possible, the battery. By doing so, you can expose the camera area and create better access for the airflow or suction.
Step 2: Use a can of compressed air or a vacuum cleaner with a nozzle attachment
If you have access to a can of compressed air, ensure the nozzle is clean and free from any debris. Alternatively, if you have a vacuum cleaner with a nozzle attachment, make sure it is compatible with your device. This will enable proper airflow or suction to target the camera area effectively.
Step 3: Gently blow or suction the camera area to remove any water droplets
Hold the can of compressed air or the vacuum cleaner nozzle a few inches away from the camera area. Begin by using gentle bursts of air or light suction to dislodge any water droplets that may be trapped. Take care not to blow too forcefully or suction too strongly, as this can potentially damage the camera or other internal components.
Step 4: Allow the phone to air dry for a few hours
After using compressed air or a vacuum cleaner, it is important to allow the phone to air dry for a few hours. This will ensure any remaining moisture evaporates naturally. Avoid using the phone during this time to prevent the risk of short circuits or further damage. You can place the phone in a well-ventilated area or use a cool air fan to speed up the drying process.
While using compressed air or a vacuum cleaner can be effective in removing water droplets from the camera area, it is important to note that this method may not be suitable for deeper water damage. If your phone has been submerged completely or for an extended period, it is highly recommended to seek professional assistance to prevent any potential long-term damage.
Method 4: Taking the Phone to a Professional
Dealing with water damage to your phone can be a stressful situation. If the methods mentioned earlier did not completely remove the water from your phone camera, it may be time to consider taking it to a professional. Here is a step-by-step guide on how to go about it:
Step 1: Remove the phone cover and battery (if possible)
Before taking your phone to a professional, it is important to remove the phone cover and, if possible, the battery. This will help prevent any further damage to the internal components of your phone and allow for a more thorough cleaning process.
Step 2: Locate a trusted phone repair shop or technician specializing in water damage
When choosing a phone repair shop or technician, it is crucial to find one that specializes in water damage repairs. Look for reviews, recommendations, and certifications to ensure you are entrusting your device to a knowledgeable and experienced professional.
Step 3: Take the phone to the professional immediately for thorough cleaning and drying
Time is of the essence when dealing with water damage. Once you have found a trusted professional, take your phone to them as soon as possible. The longer the water remains in your phone camera, the higher the chances of corrosion and further damage occur. A professional will have the necessary tools and equipment to clean and dry your phone properly.
Upon reaching the professional, explain the situation and make sure to mention the specific issue with the camera. They will assess the damage and determine the best course of action.
The professional will likely start by disassembling your phone to clean all the individual components. They will use specialized cleaning solutions and tools to remove any dirt, residue, or water from the camera and other affected areas.
After the cleaning process, the professional will thoroughly dry your phone using a combination of air drying techniques and specialized drying equipment. They may also use desiccant materials or heat to expedite the drying process.
Once the cleaning and drying process is complete, the professional will reassemble your phone and test its functionality. They will ensure that the camera is working correctly and that all other components are functioning as expected.
It is important to note that taking your phone to a professional may come with a cost. However, the expertise and specialized tools they bring to the table significantly increase the chances of a successful repair and minimize the risk of further damage to your phone.
Conclusion
In conclusion, getting water out of your phone camera can be a challenging and frustrating experience. However, by following the steps and tips provided in this article, you can increase your chances of successfully removing the water and restoring your camera’s functionality. Remember to act quickly, avoid using heat or direct sunlight, and consider using silica gel packets or desiccants to absorb moisture. If all else fails, don’t hesitate to seek professional help from a reputable phone repair service. By taking proper care of your phone and being proactive in preventing water damage, you can ensure that your camera stays in top condition and continues to capture those precious memories.
FAQs
Q: Can I use something other than rice to get water out of my phone camera?
A: While rice is a popular method, there are other alternatives you can try. Silica gel packets, desiccants, or even using a vacuum cleaner can help absorb the moisture from your phone camera. Check out our article for more tips on removing water from your phone camera.
Q: How long should I leave my phone in rice to dry out the camera?
A: It is generally recommended to leave your phone in rice for at least 48 hours to ensure that all the moisture is absorbed. However, the exact duration may vary depending on the severity of the water damage. It’s always better to be safe and give it a bit more time to dry out completely.
Q: What should I do if I accidentally dropped my phone in water?
A: If your phone gets submerged in water, the first step is to immediately turn it off. Remove it from the water and dry it with a towel. If possible, remove the battery (if it’s removable), SIM card, and any other removable parts. Then, follow the steps in our guide to properly dry out your phone and prevent further damage.
Q: Is it safe to use a hairdryer to dry my phone camera?
A: Using a hairdryer can potentially cause more harm than good. The hot air can damage sensitive components in your phone. It’s best to avoid using a hairdryer or any other heat source to dry out your phone. Stick to safer methods such as rice, desiccants, or silica gel packets.
Q: Can water damage affect the performance of my phone’s camera?
A: Yes, water damage can have a negative impact on the performance of your phone’s camera. It can lead to blurry images, foggy lenses, or even complete camera failure. It’s important to take immediate action to dry out your phone and prevent further damage to ensure optimal camera performance.