
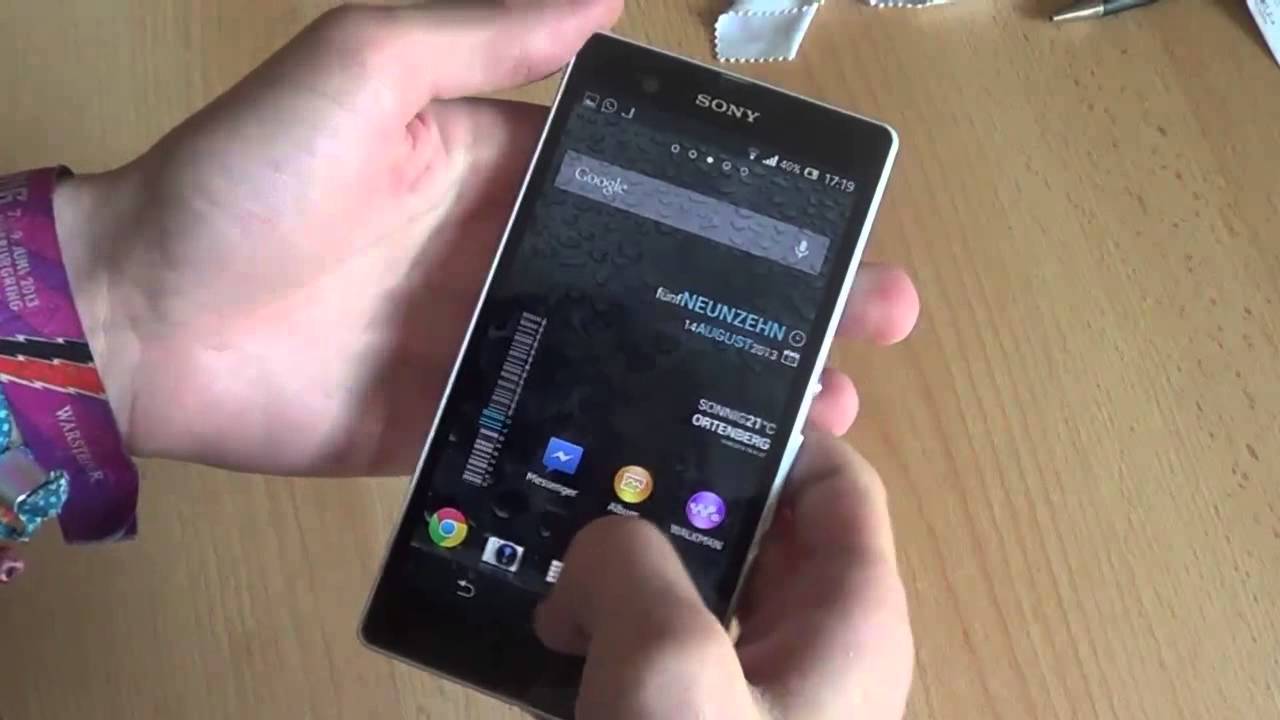
The Sony Xperia Z is a popular smartphone known for its sleek design, powerful performance, and advanced features. However, like any electronic device, it may encounter issues or become unresponsive over time. In such situations, performing a hard reset can be a handy solution to troubleshoot problems and restore the device to its factory settings. A hard reset, also known as a master reset, involves erasing all data and settings on the phone, so it’s important to back up any essential information beforehand. In this article, we will guide you through the step-by-step process of performing a hard reset on a Sony Xperia Z, ensuring a fresh start for your device.
Inside This Article
- Prerequisites for Hard Resetting a Sony Xperia Z
- Method 1: Hard Resetting through the Settings Menu
- Method 2: Performing a Hard Reset using External Keys
- Method 3: Factory Resetting using the Sony PC Companion Software
- Conclusion
- FAQs
Prerequisites for Hard Resetting a Sony Xperia Z
Before you proceed with hard resetting your Sony Xperia Z, there are a few prerequisites that you need to take into consideration to ensure a smooth and successful reset. These prerequisites include:
1. Backup your data: Hard resetting your Sony Xperia Z will erase all data stored on the device. To prevent losing important photos, videos, contacts, and other files, it is crucial to create a backup. You can back up your data using cloud storage services like Google Drive, Dropbox, or by connecting your device to a computer and transferring files.
2. Charge your device: Performing a hard reset can be a time-consuming process, and you don’t want your device to power off during the reset. Make sure your Sony Xperia Z is adequately charged or connect it to a power source before starting the reset.
3. Remove external storage: If you have an SD card inserted into your Sony Xperia Z, it is recommended to remove it before performing a hard reset. This will prevent any accidental formatting or deletion of data stored on the external storage.
4. Remember your Google account: After the hard reset, your Sony Xperia Z will require you to sign in with your Google account to access the device. Ensure that you know your Google account username and password before proceeding with the reset.
5. Disable Factory Reset Protection: If you have enabled Factory Reset Protection (FRP) on your Sony Xperia Z, you need to disable it before performing the hard reset. This can be done by going to the device’s settings, navigating to the “Security” section, and disabling FRP.
By following these prerequisites, you can ensure a hassle-free hard reset of your Sony Xperia Z while safeguarding your data and setting yourself up for a smooth recovery process.
Method 1: Hard Resetting through the Settings Menu
Hard resetting your Sony Xperia Z through the Settings Menu is a straightforward method that allows you to restore your device to its original factory settings. This process erases all data and installed applications, so it is important to back up any important information before proceeding.
To perform a hard reset through the Settings Menu, follow these steps:
- Go to the Settings app on your Sony Xperia Z. You can access it from the app drawer or by swiping down on the notification panel and tapping the gear icon.
- In the Settings menu, scroll down and tap on System or System & update, depending on your device’s software version.
- Next, tap on Reset options or Backup & reset.
- Now, tap on Factory data reset.
- You will be presented with a warning message stating that all data will be deleted. Read through the message and ensure that you have backed up all important data.
- Tap on the Reset phone or Reset device option.
- If prompted, enter your device’s PIN or pattern lock to proceed.
- Finally, tap on Erase everything to initiate the hard reset process.
Your Sony Xperia Z will now start the hard reset process, which may take a few minutes to complete. The device will reboot once the process finishes and you will be prompted to set it up as new, just like when you first bought it.
It is important to note that performing a hard reset through the Settings Menu permanently deletes all data on your device. Make sure to back up any important files, contacts, and settings before proceeding with the hard reset.
Method 2: Performing a Hard Reset using External Keys
If you are unable to access the Settings menu of your Sony Xperia Z, or if the device is unresponsive, you can still perform a hard reset using the external keys. This method allows you to reset your phone to its factory settings and resolve software issues that may be causing performance problems.
Before proceeding with a hard reset, it is important to note that this will erase all data on your device. Make sure to back up any important files or documents beforehand.
Follow these steps to perform a hard reset on your Sony Xperia Z using the external keys:
- Power off your device by pressing and holding the Power button until the Power options menu appears. Select “Power off” and wait for the device to shut down completely.
- Once your device is powered off, press and hold the Volume Up button.
- While holding the Volume Up button, also press and hold the Power button until the device vibrates.
- Release both buttons when the Sony logo appears on the screen. This will boot your device into the recovery mode.
- In the recovery mode, use the Volume buttons to navigate through the options, and the Power button to select an option.
- Select “Wipe data/factory reset” from the menu to begin the hard reset process.
- Confirm your selection by selecting “Yes” when prompted.
- Wait for the process to complete. This may take a few minutes.
- Once the hard reset is completed, select “Reboot system now” to restart your device.
After the reboot, your Sony Xperia Z will be restored to its factory settings. You will need to set up your device again as if it were a new phone, including signing in to your Google account and reinstalling apps.
Performing a hard reset using the external keys is a useful troubleshooting method, especially when your device is unresponsive. It can help resolve issues such as frequent crashes, freezing, or when the device is stuck on the boot screen.
Method 3: Factory Resetting using the Sony PC Companion Software
If you’re looking for a method to perform a factory reset on your Sony Xperia Z, using the Sony PC Companion Software is a viable option. This software allows you to connect your device to a computer and initiate a factory reset with ease. Whether you’re experiencing software issues or want to clear all the data on your device, this method can help you start fresh.
Before proceeding with the factory reset process using the Sony PC Companion Software, there are a few prerequisites that you should keep in mind. First, you will need to ensure that you have the software installed on your computer. You can download it from the official Sony website and follow the installation instructions.
Next, make sure that you have a compatible USB cable and that your Sony Xperia Z has at least a 50% charge. Additionally, back up any important data or files from your device as the factory reset will erase all data stored on the phone.
Once you have completed the prerequisites, you can follow the steps below to factory reset your Sony Xperia Z using the Sony PC Companion Software:
Step 1: Launch the Sony PC Companion Software
Connect your Sony Xperia Z to your computer using the USB cable and launch the Sony PC Companion Software. If it doesn’t open automatically, you can open it manually from your computer’s applications or programs menu.
Step 2: Backup Your Data (Optional)
Before proceeding with the factory reset, the software will give you an option to back up your data. If you haven’t done so already, it’s recommended to take a backup of your important files and data. This will allow you to restore them later, if needed.
Step 3: Initiate the Factory Reset
In the Sony PC Companion Software, navigate to the “Support Zone” or “Support” tab and click on the option that says “Start.” You will be prompted with a warning message that performing a factory reset will erase all data on your device. Read and understand the message, and if you’re ready to proceed, click “Yes” or “OK.”
Step 4: Follow the On-Screen Instructions
Once you’ve clicked “Yes” or “OK,” the Sony PC Companion Software will guide you through the rest of the process. Follow the on-screen instructions carefully and provide any additional information or confirmations as required. The software will initiate the factory reset process and your Sony Xperia Z will be restored to its original factory settings.
It’s important to note that the factory reset process may take some time to complete. Be patient and avoid disconnecting your device from the computer or interrupting the process until it is finished.
After the factory reset is complete, your Sony Xperia Z will restart and you will be greeted with the initial setup screen. You can then proceed to set up your device anew, restoring your backed-up data or starting afresh, according to your preference.
The factory reset via Sony PC Companion Software provides a convenient way to perform a hard reset on your Sony Xperia Z. It can help resolve various software issues or simply give you a clean slate to start afresh. Just ensure that you have all the prerequisites in place and follow the steps carefully to ensure a successful factory reset.
Conclusion
In conclusion, performing a hard reset on your Sony Xperia Z can be a useful solution to various issues that may arise. Whether you are experiencing software glitches, freezing, or other problems, a hard reset can help restore your device to its original state and resolve these issues.
However, it’s important to note that a hard reset will erase all the data on your device, so it’s crucial to back up any important files and information before proceeding. Additionally, following the correct steps, as outlined in this guide, is essential to ensure a successful reset without causing any damage to your device.
Remember, a hard reset should be used as a last resort when all other troubleshooting methods have been exhausted. If you are unsure or uncomfortable performing a hard reset on your own, it is always recommended to seek assistance from a professional or Sony’s customer support for further guidance.
With proper care and maintenance, your Sony Xperia Z can continue to function flawlessly, delivering seamless performance and a great user experience. Whether you’re encountering software issues or simply want to start fresh, a hard reset can be a valuable tool in your troubleshooting arsenal. Just be sure to follow the steps correctly and take precautions to protect your data.
FAQs
Q: What is a hard reset?
A: A hard reset, also known as a factory reset, is a process that restores your device to its original factory settings. It erases all the data and settings on your phone, returning it to the state it was in when it was first shipped from the factory.
Q: When should I perform a hard reset on my Sony Xperia Z?
A: There are several situations when a hard reset might be necessary. If your phone is experiencing software issues, sluggish performance, frequent crashes, or if you’re planning to sell or give away your device, performing a hard reset can help resolve these problems and ensure that your personal data is deleted.
Q: Will a hard reset erase all my data?
A: Yes, performing a hard reset will erase all the data on your Sony Xperia Z. This includes your contacts, messages, apps, photos, videos, and any other personal information stored on the device. It is important to back up your data before performing a hard reset to avoid any loss.
Q: How do I perform a hard reset on my Sony Xperia Z?
A: To perform a hard reset on your Sony Xperia Z, follow these steps:
- Make sure your phone is turned off.
- Press and hold the Volume Up button.
- While holding the Volume Up button, press and hold the Power button until the device vibrates.
- Release both buttons when you see the Sony logo appear on the screen.
- Use the Volume Down button to navigate to the “Factory Reset” option and press the Power button to select it.
- Confirm the reset by selecting “Yes” and press the Power button.
- Your Sony Xperia Z will now begin the hard reset process.
Q: How long does it take to perform a hard reset?
A: The duration of the hard reset process may vary depending on the device and the amount of data stored on it. On average, it usually takes a few minutes for the reset to complete. During this time, your Sony Xperia Z will restart multiple times, so it’s important to let it run its course without interruption.
Q: Will a hard reset solve all software issues on my Sony Xperia Z?
A: While a hard reset can resolve many software-related issues, it is not a guaranteed solution for all problems. If your phone continues to experience issues after performing a hard reset, it is advisable to seek professional assistance or contact Sony customer support for further troubleshooting and assistance.