
Welcome to our guide on how to change the screen on a Sony Xperia Z! The Sony Xperia Z is a popular smartphone known for its sleek design and advanced features. However, accidents happen, and if your Xperia Z’s screen gets cracked or damaged, you’ll need to replace it. While the idea of changing a screen might seem daunting at first, with the right tools and step-by-step instructions, you can do it yourself and save money on expensive repairs. In this article, we will walk you through the process of replacing the screen on your Sony Xperia Z, providing you with all the information you need to successfully complete this repair. So, let’s get started and restore your Xperia Z’s screen to its former glory!
Inside This Article
- Removing the Old Screen – Opening the Sony Xperia Z – Disconnecting the Battery – Removing the Back Cover – Detaching the Damaged Screen
- Installing the New Screen – Attaching the new screen – Reconnecting the battery – Putting back the back cover – Closing the Sony Xperia Z
- Testing and Troubleshooting: Turning on the device, Checking for any display issues, Troubleshooting common problems
- Conclusion
- FAQs
Removing the Old Screen – Opening the Sony Xperia Z – Disconnecting the Battery – Removing the Back Cover – Detaching the Damaged Screen
Before you can start replacing the screen on your Sony Xperia Z, you need to remove the old screen. This process involves opening the device, disconnecting the battery, removing the back cover, and finally detaching the damaged screen.
To begin, you’ll need a set of tools and materials including a small Phillips screwdriver, a plastic opening tool, a heat gun or hairdryer, and a replacement screen for the Sony Xperia Z.
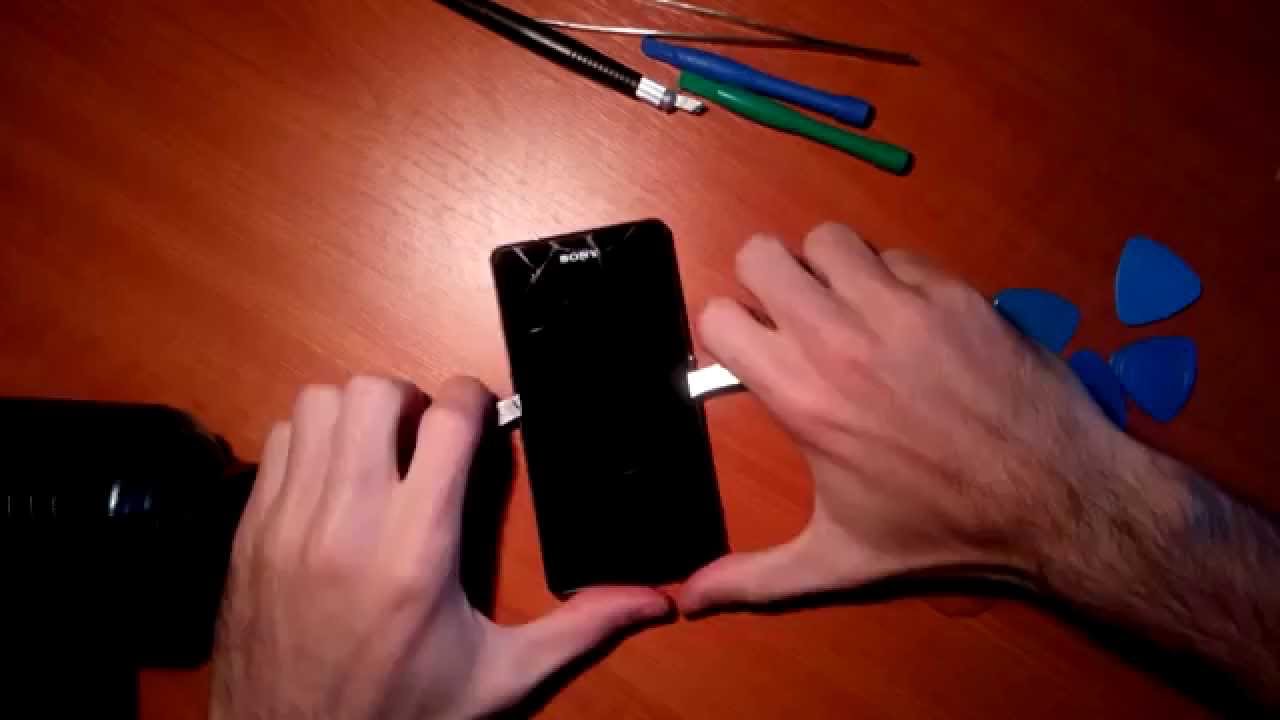
1. Opening the Sony Xperia Z: Start by heating the edges of the device using a heat gun or hairdryer. This will soften the adhesive holding the front and back panels together. Be careful not to overheat the device.
Once the adhesive is heated, use a plastic opening tool to carefully pry open the Sony Xperia Z. Start from the bottom of the device and work your way around the edges, gently separating the front and back panels. Take your time and apply moderate pressure to avoid damaging the device.
2. Disconnecting the Battery: Once the Sony Xperia Z is opened, locate the battery connector on the motherboard. Use a Phillips screwdriver to remove any screws securing the battery connector. Then, gently unplug the battery connector from the motherboard to disconnect the battery.
3. Removing the Back Cover: With the battery disconnected, gently lift the back cover of the Sony Xperia Z to reveal the internal components. Take care not to pull too hard or apply excessive force, as this could damage the connectors or cables inside the device.
4. Detaching the Damaged Screen: Once the back cover is removed, you’ll be able to see the damaged screen. Depending on the model of your Sony Xperia Z, there may be additional screws or connectors holding the screen in place. Carefully remove any screws or disconnect any connectors, keeping track of their locations for reassembly.
With the screws and connectors removed, gently lift the damaged screen from the device, being mindful of any adhesive or flex cables that may still be attached. Take your time and work slowly to avoid causing any further damage.
Once the damaged screen is detached, you’re ready to move on to the next step of installing the new screen on your Sony Xperia Z.
Installing the New Screen – Attaching the new screen – Reconnecting the battery – Putting back the back cover – Closing the Sony Xperia Z
Now that you have successfully removed the old screen from your Sony Xperia Z, it’s time to install the new screen. Let’s walk through the process step by step to ensure a seamless replacement.
1. Attaching the new screen: Carefully take the new screen and align it with the designated spot on the front panel. Gently press it down until it fits snugly into place. Be careful not to apply too much pressure to avoid damaging the screen or any internal components.
2. Reconnecting the battery: Locate the battery connector on the motherboard and carefully reattach the cable. Ensure that it is firmly connected to provide power to the device. Take note of any clips or locking mechanisms that may be present to secure the cable in place.
3. Putting back the back cover: Once the new screen is securely attached and the battery is reconnected, it’s time to put the back cover back on the Sony Xperia Z. Line up the cover with the device and gently press it down until it snaps into place. Ensure that all edges are properly aligned and that there are no gaps or loose areas.
4. Closing the Sony Xperia Z: With the back cover in place, press all sides of the device to ensure a proper seal. Pay attention to any latches or locking mechanisms that need to be engaged. Press firmly but not excessively to avoid damaging the device. Once everything is securely closed, you’re ready to move on to the next step.
Remember, the installation process should be done with care and precision. Take your time and double-check each step to ensure that everything is properly aligned and connected. If you encounter any difficulties or have concerns, it’s always a good idea to consult professional help or reach out to Sony customer support for assistance.
Now that you’ve successfully attached the new screen, reconnected the battery, put back the back cover, and closed the Sony Xperia Z, you’re one step closer to having a fully functioning device once again. In the next section, we will focus on testing and troubleshooting to ensure that everything is working as expected.
Testing and Troubleshooting: Turning on the device, Checking for any display issues, Troubleshooting common problems
Once you have successfully installed the new screen on your Sony Xperia Z, it’s essential to test the device and ensure that everything is functioning properly. In this section, we will guide you through the steps to turn on the device, check for any display issues, and troubleshoot common problems that may arise.
Firstly, to turn on the device, press and hold the power button located on the side or top of the phone. Give it a few seconds, and you should see the Sony logo appear on the screen. If the device doesn’t turn on, make sure that the battery is properly connected and charged. Try connecting it to a power source and repeat the process.
After the device has powered on, visually inspect the display for any issues. Look for any dead pixels, discoloration, or flickering. Swipe through different screens and open some applications to ensure that the touch functionality is working correctly. Additionally, check the screen for any scratches or cracks that may have occurred during the installation process.
If you encounter any display issues, there are a few troubleshooting steps you can take. Firstly, try restarting the device by holding down the power button and selecting the restart option. Sometimes, a simple restart can resolve minor display problems.
If the display issues persist, you can try adjusting the display settings. Go to the Settings menu, select Display, and adjust the brightness, color temperature, and font size. Sometimes, these settings can affect the overall display quality.
If none of the above troubleshooting steps work, you may need to consider reinstalling the screen. Double-check that all the connectors are secure and properly aligned. If necessary, disconnect and reconnect the screen cables, ensuring a firm connection.
If you still experience display issues, it’s recommended to seek professional assistance from a qualified technician or contact the Sony Xperia support team for further assistance. They will be able to provide more advanced troubleshooting steps or guide you through the process of getting a replacement screen if necessary.
Conclusion
Changing the screen on a Sony Xperia Z can seem like a daunting task, but with the right tools and guidance, it can be a manageable DIY project. By following the step-by-step instructions provided and taking necessary precautions, you can successfully replace the screen and have your device looking brand new.
Remember to carefully disconnect the battery and handle the delicate components with care to avoid any damage. Take your time and be patient throughout the process to ensure a successful screen replacement.
If you’re unsure about your technical skills or prefer not to take the risk, it’s always best to seek professional assistance. There are authorized service centers or experienced technicians who can perform the screen replacement for you.
Regardless of whether you choose to do it yourself or seek professional help, a new screen will bring new life to your Sony Xperia Z, allowing you to enjoy a vibrant and clear display once again.
FAQs
1. How do I change the screen on a Sony Xperia Z?
To change the screen on a Sony Xperia Z, follow these steps:
- First, ensure you have the necessary tools. This typically includes a small Phillips screwdriver, a plastic opening tool, and a replacement screen specifically designed for the Sony Xperia Z model.
- Next, power off your device and remove any SIM cards, memory cards, or other accessories.
- Use the plastic opening tool to carefully pry open the back cover of the phone. Start from the bottom and work your way around the edges until the back cover is completely detached.
- Once the back cover is removed, you will see more screws holding the internal assembly in place. Use the Phillips screwdriver to unscrew these screws and gently lift off the internal assembly.
- Locate the damaged screen and disconnect the flex cable connector that attaches it to the main circuit board. This connector is typically secured with small latches that need to be released before disconnecting.
- Carefully remove the damaged screen from the phone and replace it with the new screen, making sure the flex cable connector is securely attached.
- Reassemble the phone by following the steps in reverse order. Start by attaching the internal assembly back onto the phone and securing it with the screws.
- Finally, snap the back cover back into place, ensuring it fits snugly, and power on your device to check if the new screen is functioning properly.
Remember to exercise caution throughout the process to avoid damaging any internal components.
2. Can I change the screen on my Sony Xperia Z myself?
Yes, it is possible to change the screen on your Sony Xperia Z yourself if you are comfortable working with electronics and have the necessary tools. However, it is important to note that phone repairs can be challenging and delicate, and if not done correctly, may further damage your device. Therefore, if you are unsure or inexperienced, it is recommended to seek professional assistance or take your phone to an authorized service center.
3. Where can I purchase a replacement screen for my Sony Xperia Z?
You can purchase a replacement screen for your Sony Xperia Z from various online retailers or electronic parts suppliers. Make sure to choose a reputable seller that offers high-quality replacement screens specifically designed for your model of the Sony Xperia Z. It is also advisable to read reviews and check for warranty or return policies before making a purchase.
4. How much does it cost to replace the screen on a Sony Xperia Z?
The cost of replacing the screen on a Sony Xperia Z can vary depending on several factors such as the availability of replacement parts, the repair provider you choose, and any additional labor charges. Typically, the cost can range from $50 to $150, excluding any shipping or handling fees. It is recommended to research and compare prices from different repair providers or contact authorized service centers for accurate cost estimates.
5. Is it worth replacing the screen on my Sony Xperia Z?
Whether it is worth replacing the screen on your Sony Xperia Z depends on several factors, including the extent of the damage, the overall condition of your device, and your personal preferences. If the screen damage is severe and affects the functionality of the phone, replacing the screen may be the best option to restore its usability. However, if the damage is minor or you are considering an upgrade to a newer model, it may be more cost-effective to replace the entire device. Assess your situation and consider the cost of repair versus the value and longevity of your device before making a decision.