
In the digital age, smartphones have become an indispensable part of our lives. From communication to entertainment, these portable devices keep us connected and empowered on the go. When it comes to productivity, being able to create and edit files directly on our smartphones is crucial. One such file format is PDF (Portable Document Format), which ensures that documents can be viewed consistently across different devices and operating systems.
In this article, we will explore how to make a PDF on an Android phone. Whether you need to convert a document, capture a webpage, or save an image as a PDF, we’ve got you covered. We will guide you through the process step-by-step, offering valuable tips and insights along the way. So, if you’re ready to harness the power of your Android phone to create PDFs, let’s dive in!
Inside This Article
- Installing a PDF Creator App
- Creating a PDF File
- Editing and Customizing the PDF
- Saving and Sharing the PDF
- Conclusion
- FAQs
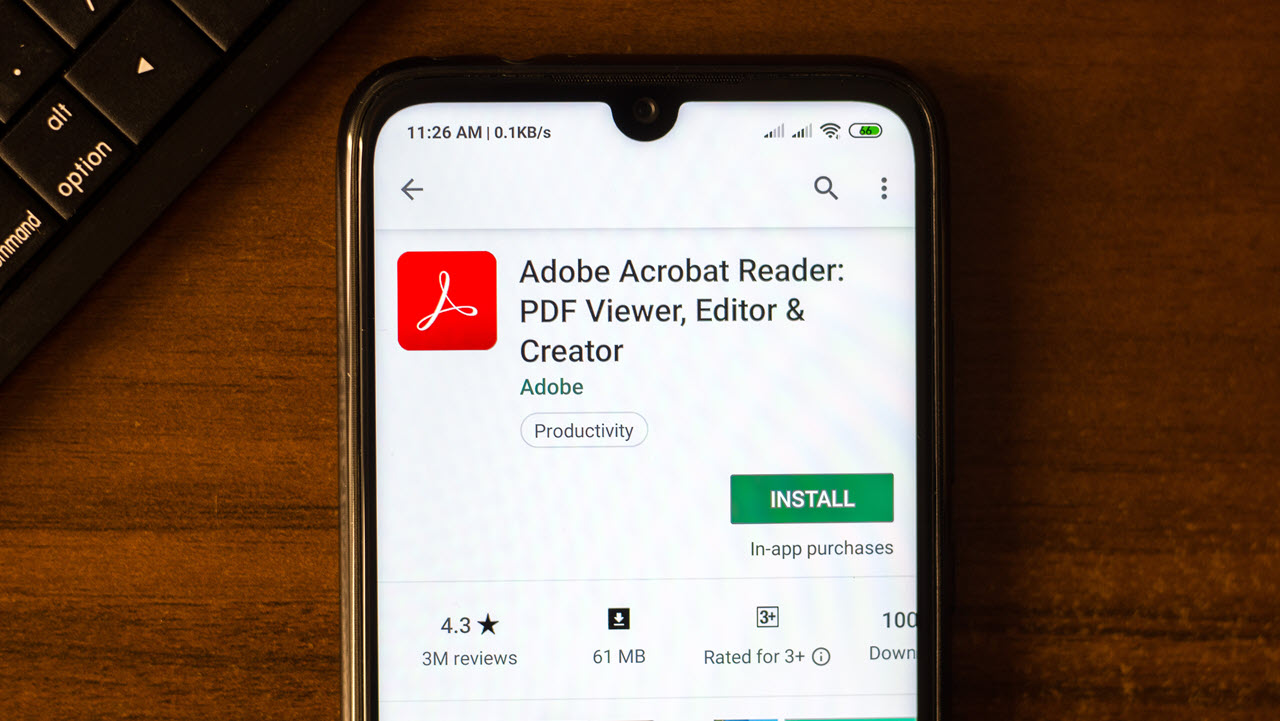
Installing a PDF Creator App
Creating a PDF file on your Android phone is easier than ever with the help of a PDF creator app. These apps can convert various file formats, such as documents, images, and web pages, into PDFs. Here’s a step-by-step guide on how to install a PDF creator app on your Android phone:
1. Open the Google Play Store on your Android phone.
2. In the search bar, type “PDF creator” and press enter.
3. You will see a list of PDF creator apps available for download. Take a moment to read the app descriptions, reviews, and ratings to find the one that best suits your needs.
4. Once you have chosen the app you want to install, tap on the “Install” button next to its name.
5. The app will start downloading and installing on your Android phone. Depending on the size of the app and your internet connection, this process may take a few moments.
6. Once the installation is complete, you will see a notification on your screen. You can either tap on the notification or go to your app drawer to find and open the newly installed PDF creator app.
7. Follow any additional on-screen instructions or prompts to set up the app, such as granting permissions or signing in to your account (if required).
8. Congratulations! You have successfully installed a PDF creator app on your Android phone. Now you can proceed to create PDF files from various sources.
Remember to periodically check for updates for your PDF creator app to ensure you have the latest features and security patches.
Creating a PDF File
To create a PDF file on your Android phone, follow these simple steps:
1. Selecting the file or document you want to convert to PDF:
The first step is to choose the file or document that you want to convert into a PDF. It can be a Word document, an Excel spreadsheet, a PowerPoint presentation, an image file, or any other compatible file format.
2. Opening the file using the PDF creator app:
Next, you need to open the selected file using a PDF creator app. There are several PDF creator apps available on the Google Play Store that you can choose from. Look for one that has good ratings and reviews, and download it onto your Android phone.
3. Adjusting settings and options for the PDF conversion process:
Once you have opened the file in the PDF creator app, you may need to adjust some settings and options before converting it to a PDF. These settings may include page orientation, paper size, margins, and compression settings. Take some time to review and customize these settings according to your preferences.
4. Tapping the “Convert” or “Create PDF” button to generate the PDF file:
After you have made the necessary adjustments, simply tap the “Convert” or “Create PDF” button provided by the app. This will initiate the PDF conversion process. Depending on the size and complexity of the file, it may take a few moments to generate the PDF file.
5. Previewing and saving the created PDF file:
Once the PDF has been generated, the app will typically provide you with a preview of the created PDF file. Take a moment to review the document and ensure that all the content is properly converted. If everything looks good, you can save the PDF file to your Android phone’s storage or to a cloud storage service, such as Google Drive or Dropbox.
That’s it! You have successfully created a PDF file on your Android phone. Now you can access and share it whenever you need to.
Editing and Customizing the PDF
After creating a PDF file using a PDF creator app on your Android phone, you can now access the created PDF file through the app’s interface. This allows you to perform various editing and customization options to make the PDF more personalized and visually appealing.
One of the key features of PDF editing is the ability to add or remove pages as needed. If you want to include additional information or remove certain pages from the PDF document, you can easily do so within the app. Simply locate the option to edit pages and select the specific pages you want to add, delete, or rearrange.
In addition to adding or removing pages, you can also make annotations, highlight text, or add comments to the PDF. This feature is especially useful when you need to provide feedback or make notes on important sections of the document. Whether it’s underlining key points, highlighting passages, or leaving comments for collaboration purposes, the PDF creator app offers a range of annotation tools at your disposal.
To further personalize your PDF, you can customize the layout, font size, and color settings. The layout option allows you to choose between different page orientations such as portrait or landscape, depending on your preference. Adjusting the font size ensures that the text is easily readable, while changing the color settings can add visual appeal to the PDF.
Overall, editing and customizing a PDF file on your Android phone is a straightforward process with the help of a reliable PDF creator app. By accessing the created PDF through the app’s interface, you have the flexibility to add or remove pages, make annotations, highlight text, and customize various aspects of the document. This allows you to create a PDF that meets your specific requirements while making it visually appealing.
Saving and Sharing the PDF
Once you have successfully created your PDF file using the PDF creator app on your Android phone, you have several options for saving and sharing it. Here’s how you can do it:
Saving the PDF file to your Android phone’s storage or cloud storage service: After creating the PDF, the app will typically prompt you to save it. You can choose to save it directly to your Android phone’s internal storage or, if you have a cloud storage service like Google Drive or Dropbox installed, you can save it to your preferred cloud storage location. This allows you to access the PDF from multiple devices and ensures that it is safely stored.
Renaming the file if desired: If you want to give the PDF file a specific name or want to differentiate it from other files, you can easily rename it before saving. Simply tap on the file name or the “Rename” option within the app, and enter the desired name for the PDF file. This makes it easier for you to identify and locate the file later on.
Sharing the PDF via email, messaging apps, or social media platforms: One of the great advantages of having a PDF file is the ability to share it with others. You can use various methods to share the PDF, such as attaching it to an email, sending it through messaging apps like WhatsApp or Telegram, or sharing it on social media platforms like Facebook or Twitter. Simply navigate to the PDF file in the app, choose the share option, select the desired method, and follow the prompts to send or share the PDF with others.
Printing the PDF directly from your Android phone if supported: If you need a physical copy of the PDF, some PDF creator apps offer the option to directly print the document from your Android phone. To do this, make sure your phone is connected to a compatible printer, open the PDF file in the app, and look for the print option. Tap on it, select the printer, adjust any printing settings if necessary, and initiate the print job.
By following these steps, you can easily save, rename, share, and even print your PDF file from your Android phone. This gives you the flexibility to access and distribute your PDFs as needed, whether it’s for work, school, or personal purposes.
Conclusion
Creating PDFs on your Android phone has never been easier. With the right apps and tools, you can conveniently convert various file types into PDF format, whether it’s a document, image, or webpage. Not only does this allow you to preserve the content and formatting, but it also enables you to share files across different platforms and devices effortlessly.
By using apps like Adobe Acrobat, Microsoft Office Lens, or Google Drive, you can quickly generate professional-looking PDFs without the need for a computer. These apps offer a range of features, such as scanning documents, converting images to PDFs, and merging multiple files into a single PDF. With the ability to customize settings and annotate PDFs, you have ample control over the final output.
Now, you have the knowledge and tools to create PDFs on the go, making document management and sharing more convenient than ever. Whether you need to digitize important documents, share articles for work or study, or simply want to organize your files, your Android phone can handle it all. So get started and experience the convenience of creating PDFs directly from your Android device.
FAQs
Q: Can I create a PDF on my Android phone?
Absolutely! Android phones come with various apps and tools that allow you to create PDF files directly on your device. Whether you want to convert documents, images, or even web pages into PDF format, there are several methods available.
Q: How can I create a PDF from a document on my Android phone?
To create a PDF from a document on your Android phone, you can use apps like Adobe Acrobat Reader, Google Drive, or Microsoft Word. These apps provide options to save or export your document as a PDF file.
Q: Can I convert images to PDF on my Android phone?
Yes, you can easily convert images to PDF on your Android phone. Many apps, such as Adobe Scan, Microsoft Office Lens, or CamScanner, allow you to capture or import images and save them as PDF documents.
Q: Is it possible to turn web pages into PDF format on my Android phone?
Definitely! Several web browser apps on Android, such as Google Chrome or Mozilla Firefox, have the built-in functionality to save web pages as PDF. Simply open the web page you want to convert, tap on the “Share” or “Print” option, and choose the “Save as PDF” feature.
Q: What are the benefits of creating PDFs on my Android phone?
Creating PDFs on your Android phone offers numerous advantages. Firstly, it allows you to easily share documents, images, and web pages with others, regardless of the device or operating system they’re using. PDFs also preserve the formatting and layout of your files, making them ideal for professional or official purposes. Additionally, PDFs are compact and can be encrypted to protect sensitive information.