
The Redmi Note 3 is a popular smartphone known for its impressive features and performance. One key aspect of setting up the Redmi Note 3 is inserting a SIM card, which allows users to connect to a mobile network and enjoy the phone’s full functionality. If you’re unfamiliar with how to put a SIM card in the Redmi Note 3, don’t worry! In this article, we will guide you through the process step by step, ensuring that you can get your phone set up and ready to use in no time. Whether you’re a new Redmi Note 3 user or simply need a refresher, read on to learn how to insert a SIM card into your Redmi Note 3 with ease.
Inside This Article
- Preparations
- Step 1: Locate the SIM Card Tray
- # Step 2: Insert the SIM card
- Step 3: Insert the SIM card tray back into the phone
- Conclusion
- FAQs
Preparations
Before we proceed with inserting the SIM card into your Redmi Note 3, there are a few things you need to do to ensure a smooth and hassle-free process.
First, make sure you have all the necessary tools handy. You will need a SIM eject tool or a paperclip to remove the SIM card tray. If you don’t have a SIM eject tool, a paperclip can be easily bent to serve the purpose.
Next, ensure that you have obtained the correct SIM card for your Redmi Note 3. The device requires a micro SIM card, so make sure you have the appropriate size. If you have a larger SIM card, you may need to contact your service provider to request a replacement.
Lastly, power off your Redmi Note 3 before proceeding. This step is crucial to prevent any damage to your device and to ensure the SIM card is properly inserted.
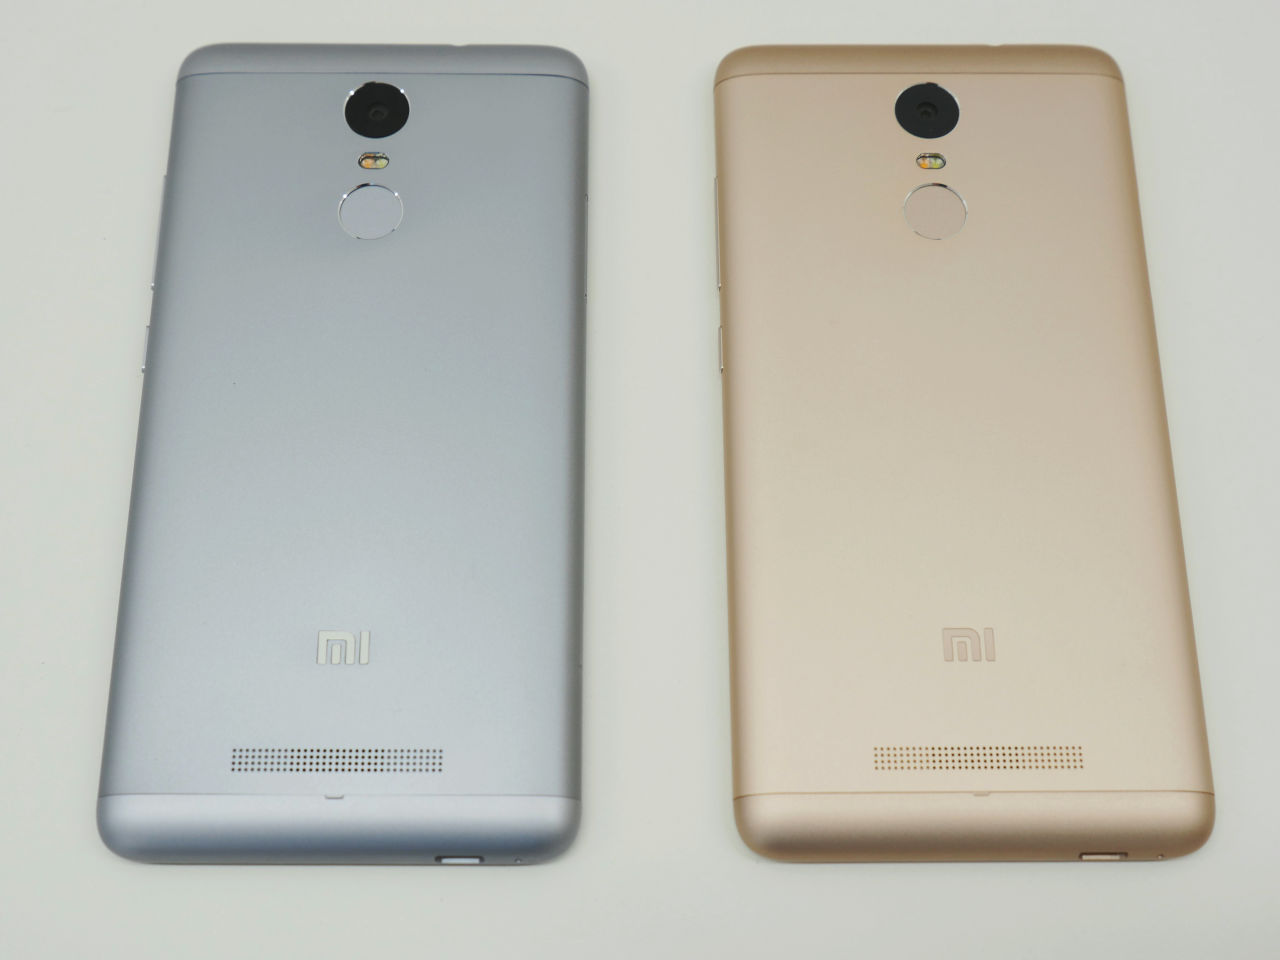
Step 1: Locate the SIM Card Tray
Before you can insert a SIM card into your Redmi Note 3, you need to locate the SIM card tray. The SIM card tray is typically located on the side of the phone.
To find the SIM card tray on your Redmi Note 3, start by holding the phone in your hand with the screen facing you. Look for a small opening along the side edge of the phone.
Once you have located the SIM card tray, you will notice a small hole next to it. This hole is the eject button for the SIM card tray. You will need to use a SIM card eject tool or a small paperclip to push the eject button and open the tray. If you don’t have a SIM card eject tool, a small paperclip can work just as well.
Insert the pointed end of the SIM card eject tool (or the unfolded paperclip) into the hole next to the SIM card tray. Apply gentle pressure until the tray pops out slightly.
# Step 2: Insert the SIM card
After locating the SIM card tray in Your phone’s model, it’s time to insert the SIM card. Here’s how you can do it:
1. Prepare your SIM card: Before inserting the SIM card, make sure it is in the correct form factor for your phone. Most smartphones use a Nano SIM card, but some older models might require a Micro SIM card. If needed, you can easily convert your SIM card to the correct size by using a SIM card cutter or an adapter.
2. Hold the SIM card correctly: Take the SIM card and hold it with the gold contacts facing down and the notched corner aligned with the notch on the SIM card tray.
3. Insert the SIM card: Gently insert the SIM card into the SIM card tray. Make sure it is securely placed and fits properly in the slot.
4. Slide the SIM card tray back: Once the SIM card is inserted, carefully slide the SIM card tray back into the phone until it is fully inserted. Ensure that the tray is properly aligned and sits flush with the phone.
5. Power on your phone: Power on your phone to ensure that it recognizes the SIM card and establishes a network connection. If prompted, enter your SIM card PIN or unlock code.
That’s it! You have successfully inserted the SIM card in your Your phone’s model. Now you can enjoy using your phone with a functioning SIM card and all its associated features.
Step 3: Insert the SIM card tray back into the phone
Now that you have successfully inserted your SIM card into the Redmi Note 3, it is time to put the SIM card tray back into the phone. Follow these simple steps to complete the process:
- Hold the SIM card tray carefully and align it with the slot on the side of the phone.
- Gently slide the SIM card tray back into the phone until it fits snugly and is fully inserted.
- Ensure that the tray is inserted correctly and that it is flush with the side of the phone.
- Once the tray is securely in place, power on your Redmi Note 3.
- Wait for your phone to recognize and activate the SIM card.
It is important to be cautious while inserting the SIM card tray back into the phone to avoid any damage to the SIM card or the SIM card slot. Take your time and make sure that everything is properly aligned before proceeding.
Once the SIM card tray is securely inserted and your phone is powered on, you should see the signal bars indicating that your Redmi Note 3 is connected to your wireless provider’s network. If you encounter any issues, double-check that the SIM card is properly inserted and that it is compatible with your phone and carrier.
By following these steps, you have successfully inserted and activated a SIM card in your Redmi Note 3. Enjoy the benefits of a mobile connection and stay connected wherever you go!
Conclusion
In conclusion, inserting a SIM card into the Redmi Note 3 is a straightforward process that allows you to unlock the full potential of your device. By following the steps outlined in this guide, you can ensure that your phone is connected to a mobile network and ready for seamless communication. Whether you need to make calls, send messages, or access mobile data, having a properly inserted SIM card is essential. Remember to handle the SIM card with care and make sure it fits securely into the SIM tray. With your Redmi Note 3 up and running, you can now enjoy all the features and functionalities it has to offer, keeping you connected wherever you go.
FAQs
1. How do I put a SIM card in the Redmi Note 3?
To insert a SIM card into the Redmi Note 3, follow these steps:
a. Locate the SIM tray on the side of the phone.
b. Use the SIM eject tool or a small pin to push into the SIM eject hole on the tray and gently pull out the tray.
c. Place the SIM card on the tray with the metal contacts facing downward.
d. Reinsert the tray back into the phone until it clicks into place.
2. What type of SIM card does the Redmi Note 3 use?
The Redmi Note 3 uses a micro SIM card. It does not support the larger standard SIM or the smaller nano SIM card sizes. Make sure you have a micro SIM card before inserting it into the device.
3. Can I use two SIM cards in the Redmi Note 3?
Yes, the Redmi Note 3 has dual SIM capabilities, allowing you to use two SIM cards simultaneously. This feature comes in handy for individuals who want to separate work and personal phone numbers or those who frequently travel and need to use different SIM cards for different regions.
4. Is it necessary to turn off the phone before inserting or removing the SIM card?
While it’s not mandatory to turn off the phone when inserting or removing the SIM card, it is generally recommended. Turning off the phone not only ensures that no accidental actions are taken during the process but also minimizes the risk of damaging the SIM card or the SIM card slot.
5. Are there any precautions I should take when handling the SIM card?
When handling the SIM card, it’s important to exercise caution. Avoid touching the metal contacts on the SIM card to prevent any damage or interference. Additionally, ensure that the SIM card is clean and free from any dirt or debris before inserting it into the phone.