
If you’ve ever found yourself in a nostalgic mood, looking through old photo albums or reminiscing about moments captured on your old phone, you may have wondered if there’s a way to retrieve those precious pictures. Fortunately, with the right knowledge and tools, it’s possible to recover photos from an old phone even if you no longer have access to the device itself.
In this article, we will dive into the world of retrieving pictures from old phones and provide you with a step-by-step guide to help you in the process. Whether you want to recover sentimental photos, important memories, or simply some forgotten snapshots, we’ve got you covered.
Inside This Article
- Step 1: Assessing the Phone’s Condition
- Step 2: Connecting the Phone to a Computer
- Step 3: Using Data Recovery Software
- Step 4: Transferring Pictures to a New Device
- Conclusion
- FAQs
Step 1: Assessing the Phone’s Condition
Before beginning the process of retrieving pictures from an old phone, it is essential to assess the phone’s condition. This step will help determine if the phone is functional and if there are any external factors that may affect the retrieval process.
Here are a few things to consider when assessing the phone’s condition:
- Physical Condition: Check for any visible damage or signs of wear and tear. Inspect the screen, buttons, and overall structure of the phone. If there are any significant physical damages, it may affect the phone’s ability to function properly.
- Battery Life: Power on the phone and observe its battery life. An old phone may have a degraded battery that may not hold a charge for an extended period. Ensure that the phone has sufficient battery power to complete the retrieval process.
- Charging Port: Connect a compatible charger to the phone’s charging port and ensure that it charges properly. If the charging port is damaged or doesn’t work, it may impede the retrieval process or prevent the phone from turning on.
- Storage Capacity: Determine the phone’s storage capacity and check how much free space it has. If the phone’s storage is nearly full, it may affect the ability to transfer and retrieve pictures successfully.
- Software Updates: Check if the phone has the latest software updates installed. Outdated software may cause compatibility issues or affect the functionality of the phone.
By thoroughly assessing the phone’s condition, you can identify any potential issues or limitations before proceeding with the picture retrieval process. Addressing these factors in advance will help ensure a smoother and more successful retrieval experience.
Step 2: Connecting the Phone to a Computer
Once you have assessed the condition of your old phone and determined that it is in working order, the next step is to connect it to a computer. This connection will allow you to access the data stored on the phone, including the pictures you want to retrieve.
To establish a connection between your phone and computer, you will need a USB cable. Most older phones use a standard USB 2.0 connection, so make sure you have the appropriate cable on hand. If you are unsure about the type of USB cable your phone requires, consult the user manual or check the manufacturer’s website for specifications.
Begin by finding the USB port on your computer. This port is typically located on the back or sides of your computer tower or on the sides of a laptop. Once you have located the USB port, plug one end of the USB cable into the port.
Next, locate the USB port on your old phone. This port is usually found at the bottom or sides of the phone. Insert the other end of the USB cable into the phone’s USB port.
Once the phone is connected to the computer via the USB cable, you should see a notification on your phone’s screen indicating that it is connected as a “Media Device” or “MTP.” On your computer, a pop-up window may appear, asking you what action you want to take. Select the option to “Open device to view files” or something similar.
If the pop-up window does not appear, you can manually open the phone’s storage by accessing “My Computer” or “This PC” on your computer. In this view, you should see the connected phone listed as a storage device.
Click on the phone’s icon to open its file directory, and navigate to the folder where the pictures are typically stored. This may vary depending on the phone’s make and model, but it is commonly located in a folder named “DCIM” or “Pictures.”
Once you are in the pictures folder, you can either copy and paste the pictures directly onto your computer’s hard drive or select and drag them to a desired location. It is recommended to create a new folder on your computer specifically for these pictures to keep them organized.
After the transfer is complete, safely disconnect the phone from the computer by ejecting it from the system. This ensures that no data is lost or corrupted during the process.
At this point, you have successfully connected your old phone to the computer and retrieved the pictures stored on it. You can now proceed to the next step: using data recovery software to ensure you have retrieved all the pictures you need from your old phone.
Step 3: Using Data Recovery Software
When it comes to retrieving pictures from an old phone, data recovery software is a valuable tool that can help you recover lost or deleted photos. This software is designed to scan the internal memory of your phone and retrieve any recoverable data, including pictures.
Here are the steps to using data recovery software:
- Choose a reliable data recovery software: There are several data recovery software options available, both free and paid. Take the time to research and select a reputable software that is compatible with your phone’s operating system.
- Download and install the software: Once you have chosen the software, download it from a trusted source and follow the installation instructions to set it up on your computer.
- Connect your old phone to the computer: Use a USB cable to connect your old phone to the computer. Make sure the phone is properly recognized by the computer before proceeding.
- Launch the data recovery software: Open the data recovery software on your computer and select the appropriate recovery mode. Most software will have options for different types of data recovery, so choose the one specifically meant for retrieving photos.
- Scan your old phone: Start the scanning process by clicking on the “Scan” button. The software will begin scanning the internal memory of your old phone for any recoverable photos.
- Preview and recover the photos: Once the scanning process is complete, the software will present you with a list of recoverable photos. Take the time to browse through the list and preview the images. Select the photos you want to retrieve and click on the “Recover” button to save them to your computer.
- Transfer the recovered photos: After you have successfully recovered the photos, you can transfer them to your new device using various methods such as email, cloud storage, or USB transfer.
Using data recovery software can significantly increase your chances of retrieving pictures from an old phone. However, it’s important to note that the success of the recovery process depends on various factors, including the condition of the phone and the extent of data loss. It’s always recommended to back up your data regularly to avoid any permanent loss of important photos.
Step 4: Transferring Pictures to a New Device
Once you have successfully retrieved the pictures from your old phone using data recovery software, the next step is to transfer them to a new device. Here are some methods you can use to accomplish this:
1. USB Cable: One of the simplest and most straightforward ways to transfer pictures is by using a USB cable. Connect your old phone to your computer using the cable and then connect your new device to the computer as well. Open the folders containing the pictures on both devices and drag and drop the files from the old phone’s folder to the folder of your new device. This method may vary slightly depending on the devices and operating systems you are using.
2. Cloud Storage: Another convenient option is to upload the pictures to a cloud storage service such as Google Drive, Dropbox, or iCloud. Install the corresponding app on your old phone and upload the pictures to the cloud. Then, install the app on your new device and download the pictures onto it. This method requires an internet connection, but it allows for easy access to your pictures from any device.
3. Bluetooth: If both your old phone and new device support Bluetooth technology, you can transfer the pictures wirelessly. Enable Bluetooth on both devices and pair them together. Then, on your old phone, select the pictures you want to transfer and choose the option to share them via Bluetooth. Accept the incoming file transfer on your new device, and the pictures will be transferred over.
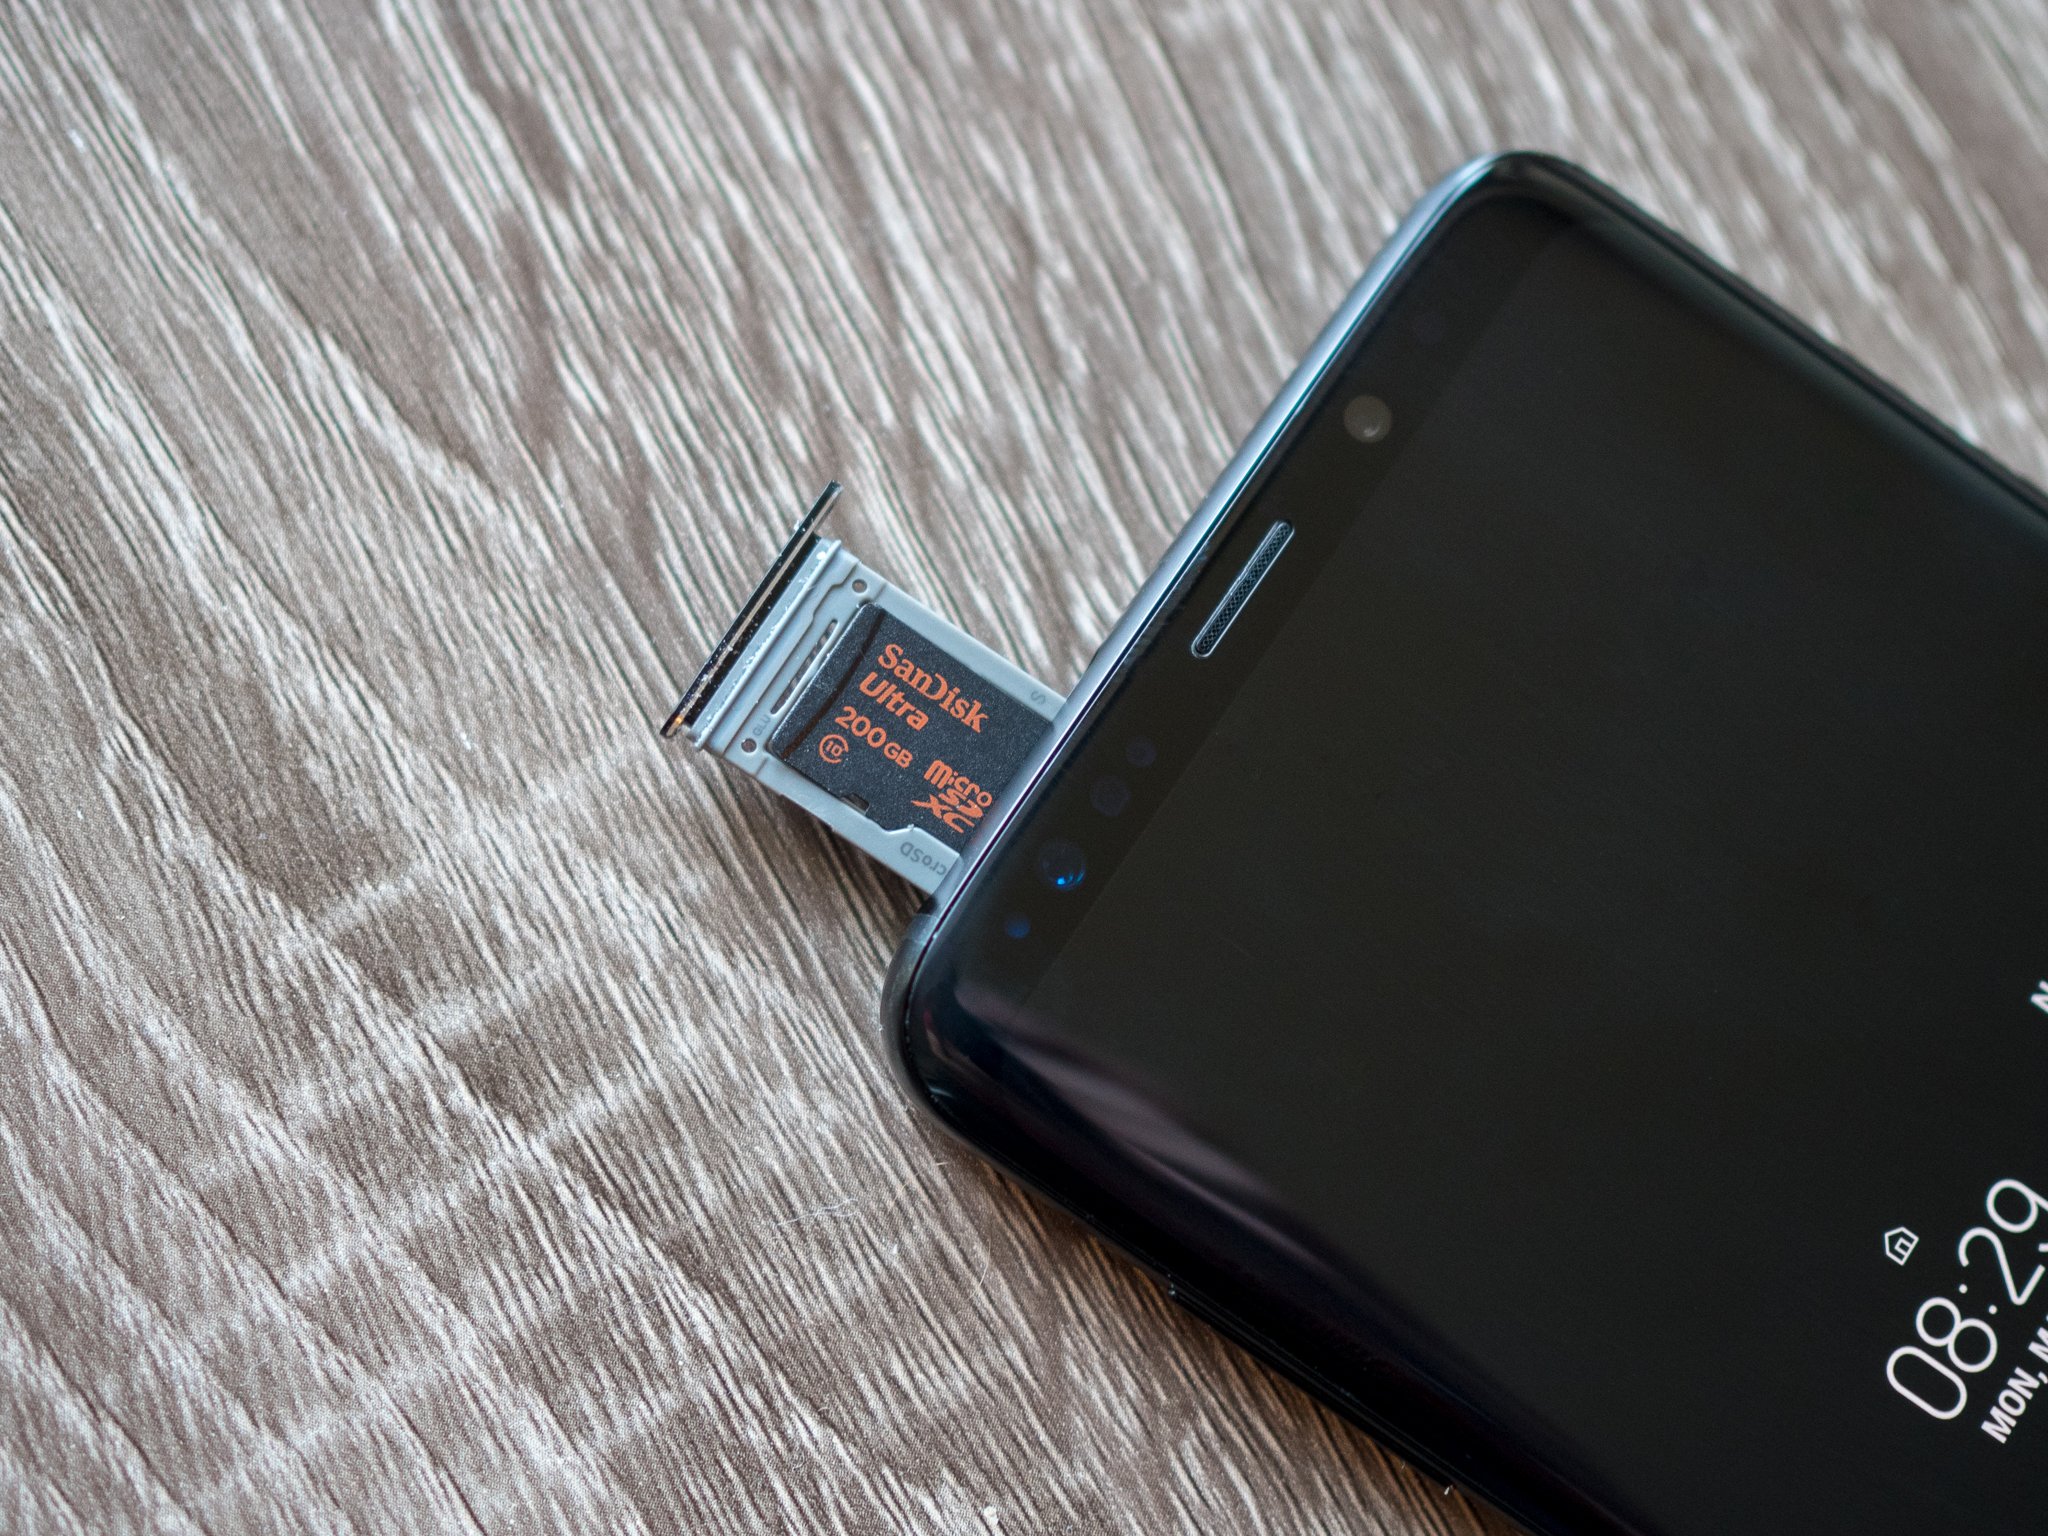
4. SD Card: If your old phone has an SD card slot, you can transfer the pictures directly onto an SD card. Remove the SD card from your old phone and insert it into the new device (if it has an SD card slot). Open the gallery or file manager app on your new device and navigate to the SD card folder to access the pictures. This method is quick and straightforward but is only applicable if your devices support SD card compatibility.
5. Photo Transfer Apps: There are various photo transfer apps available for both Android and iOS devices that can help simplify the process. These apps allow you to transfer pictures wirelessly between devices, usually using a Wi-Fi or hotspot connection. Install the app on both your old phone and new device, follow the instructions to establish a connection, and then select and transfer the pictures you want. This method may require a stable internet connection and downloading the app on both devices.
By following one of these methods, you can easily transfer the pictures from your old phone to your new device. Choose the method that suits your preferences and the devices you are using. Once the transfer is complete, make sure to verify that all the pictures have been successfully transferred and are accessible on your new device.
Conclusion
Retrieving pictures from an old phone can be a simple and rewarding process. Whether you have sentimental photos or important memories stored on your old device, there are several methods available to help you access and retrieve those precious pictures. From using cloud storage services and data transfer apps to connecting your old phone to a computer, these techniques provide seamless ways to salvage your cherished moments.
Remember to back up your pictures regularly to ensure their safety and accessibility. By following the steps outlined in this guide, you can retrieve pictures from your old phone and preserve them for years to come. So, don’t let those treasured photos go to waste – dive into the world of phone data recovery and relive those special moments captured in time.
FAQs
1. How can I retrieve pictures from my old phone?
2. Is it possible to recover pictures from a phone that is not in working condition?
3. What methods can I use to transfer pictures from my old phone to a new phone?
4. Are there any applications or software programs that can help with retrieving pictures from an old phone?
5. Can I retrieve pictures from a phone that has been factory reset or formatted?