
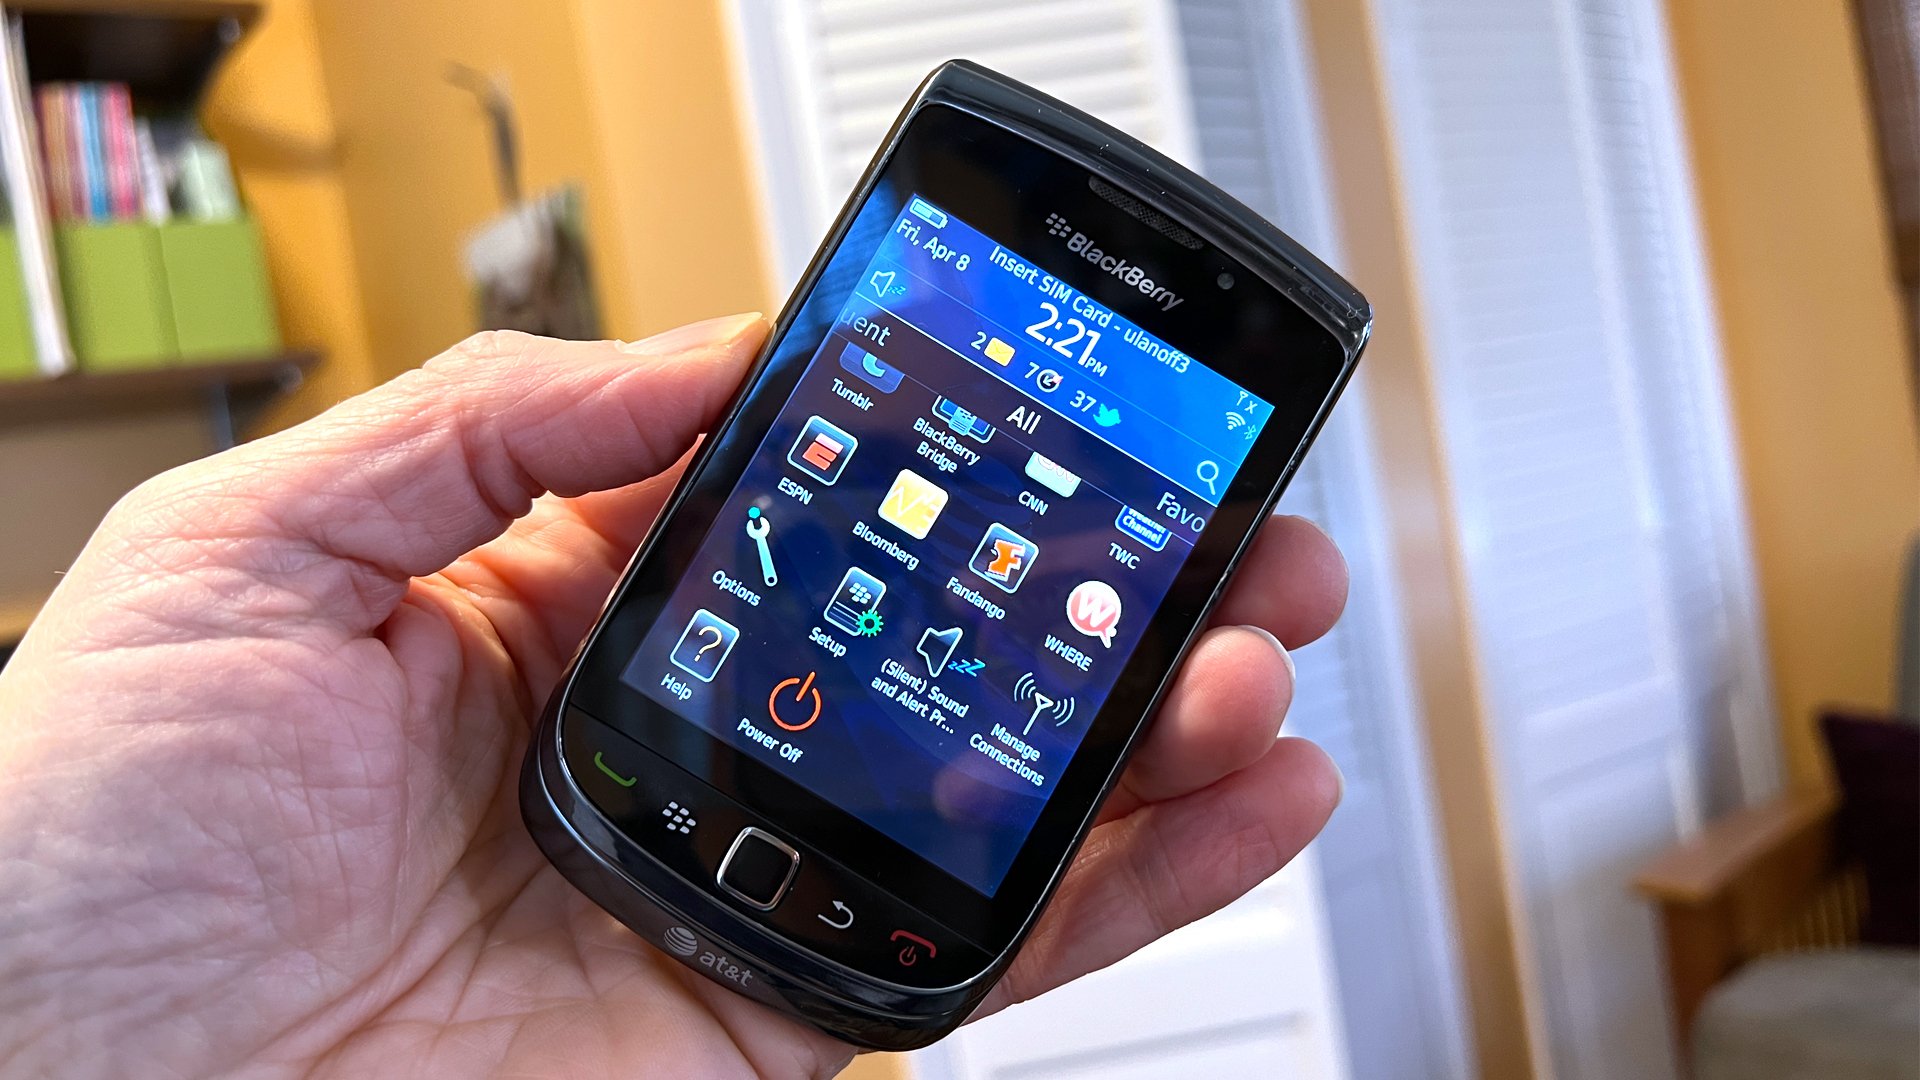
Are you wondering how to get pics off your old phone? We’ve all been there – having a collection of precious memories stored on an outdated device that we don’t want to lose. Whether it’s a nostalgic trip down memory lane or a practical need to transfer photos to a new phone or computer, retrieving pictures from an old phone can be a bit challenging. However, with the right approach and a little know-how, you can successfully extract those valuable images and preserve them for years to come. In this article, we will guide you through various methods and techniques to help you get your pictures off your old phone effortlessly. Whether you have an ancient flip phone or a vintage smartphone, we’ve got you covered with step-by-step instructions and expert tips. So, let’s dive in and unlock the treasure trove of memories stored on your old device!
Inside This Article
- Assessing your phone and its compatibility
- Transferring photos using a USB cable
- Using cloud storage or email to transfer photos
- Utilizing a Memory Card Reader to Transfer Photos
- Conclusion
- FAQs
Assessing your phone and its compatibility
Before you start the process of transferring photos from your old phone, it is important to assess your phone and determine its compatibility with modern transfer methods. Not all older phones support the same data transfer options, so it’s crucial to understand what options are available to you.
First, check the make and model of your phone. Research online to see if there are any specific instructions or limitations regarding photo transfer for your particular phone model. Some older phones may have limited connectivity options, making it more challenging to transfer photos.
Next, check the operating system of your phone. If your phone runs on a discontinued or outdated operating system, it may not be compatible with the latest transfer methods. For example, older phones that run on Symbian or Windows Mobile may require specific software or workarounds to transfer photos.
Consider the storage capacity of your phone as well. Older phones may have limited internal storage or no memory card slot, making it more difficult to transfer a large number of photos. In such cases, you may need to prioritize which photos are most important to transfer and delete unnecessary ones to free up space.
Lastly, assess the physical condition of your phone. If your phone is damaged, particularly the screen or charging port, it may hinder the transfer process. In such cases, you may need to seek professional help or consider alternative methods such as taking out the phone’s memory card and transferring the photos directly.
Assessing your phone and its compatibility is the first step in successfully transferring photos from your old phone. By understanding its limitations and options, you can choose the most suitable transfer method for your specific situation.
Transferring photos using a USB cable
Transferring photos from your old phone to a computer using a USB cable is a straightforward and reliable method. It allows you to directly connect your phone to your computer and transfer photos without the need for an internet connection or additional software.
To begin the transfer process, ensure that you have a compatible USB cable that fits both your old phone and your computer’s USB port. Most modern phones use a USB Type-C cable, while older phones may require a Micro-USB cable.
Start by connecting your old phone to your computer using the USB cable. Once connected, your computer should detect the phone as a removable storage device.
Depending on your computer’s operating system, you may see a pop-up notification or an icon representing the connected phone. Open the file explorer on your computer and navigate to the location of the phone’s storage.
Locate the folder containing your photos on the phone’s storage. This folder is usually labeled “DCIM” (Digital Camera Images) or “Pictures.” Double-click on the folder to open it.
Now, you can select the photos you wish to transfer. You can either choose specific photos by holding the Ctrl key (Command key on Mac) and clicking on each photo or select all photos by pressing Ctrl+A (Command+A on Mac).
After selecting the photos, right-click and choose the “Copy” option from the context menu. Alternatively, you can use the Ctrl+C (Command+C on Mac) shortcut.
Next, navigate to the desired location on your computer where you want to save the transferred photos. This can be a specific folder or the desktop. Right-click on the location and choose the “Paste” option from the context menu. Alternatively, use the Ctrl+V (Command+V on Mac) shortcut to paste the copied photos.
Your computer will start copying the photos from your old phone to the selected location. The transfer time will depend on the number and size of the photos.
Once the transfer is complete, you can disconnect your old phone from the computer by safely ejecting the removable storage device. On Windows, you can do this by right-clicking on the device icon and selecting “Eject.” On Mac, you can drag the device icon to the trash bin to eject it.
Now, you have successfully transferred your photos from your old phone to your computer using a USB cable. You can access them on your computer for further editing, organization, or sharing.
Using cloud storage or email to transfer photos
Transferring photos from your old phone to your new device doesn’t always require physical connections or additional accessories. One convenient and efficient method is to use cloud storage or email to transfer your photos.
Cloud storage services such as Google Drive, Dropbox, and iCloud offer seamless photo syncing across devices. Simply upload the photos from your old phone to your cloud storage account, and then download them onto your new phone. Make sure you have enough storage space in your cloud account to accommodate all the photos. Most cloud storage services offer free storage with the option to purchase additional space if needed.
Email is another straightforward option for transferring photos. You can simply attach the photos to an email and send them to yourself. This method is particularly useful if you only need to transfer a few photos or if you want to send them to someone else as well. Keep in mind that email attachments may have size limitations, so you may need to compress the photos or send multiple emails if you have a large number of photos.
When using cloud storage or email to transfer photos, it’s important to consider the file format and quality. If you want to maintain the original quality, make sure to select the appropriate settings when uploading or attaching the photos. Some cloud storage services also offer the option to automatically resize or compress photos to save storage space.
Before using cloud storage or email to transfer photos, ensure that you have a stable internet connection. Uploading and downloading large photo files can be time-consuming, and a slow or unreliable internet connection can exacerbate this process. Be patient and ensure a stable connection to avoid any interruptions or potential data loss during the transfer.
Utilizing a Memory Card Reader to Transfer Photos
When it comes to transferring photos from your old phone, another effective method is using a memory card reader. This method is especially useful if your old phone uses a removable memory card, such as a microSD card, to store photos.
To begin, you’ll need a memory card reader that is compatible with the type of memory card used in your old phone. Common memory card formats include microSD, SD, and CF cards. You can easily find memory card readers in electronic stores or online marketplaces.
Once you have the memory card reader, follow these steps:
- Remove the memory card from your old phone. Most phones have a slot dedicated to the memory card which can be accessed by opening the back cover or removing a small panel.
- Insert the memory card into the memory card reader. Make sure it fits securely and is properly aligned with the card reader’s slot.
- Connect the memory card reader to your computer or laptop. Most memory card readers have a USB connection, allowing you to easily plug it into a USB port on your device.
- Your computer should recognize the memory card reader and automatically detect the memory card. If prompted, choose the option to open the memory card or access its contents.
- Once you have access to the memory card, navigate to the folder or directory where your photos are stored. This may vary depending on the phone model and settings.
- Select the photos you want to transfer by either dragging and dropping them to a new folder on your computer or using the copy and paste function.
- Once the transfer is complete, safely eject the memory card reader from your computer or laptop. You can do this by right-clicking on the memory card icon and selecting the “Eject” or “Safely Remove” option.
- Now you can remove the memory card from the memory card reader and insert it into your new phone, or store the photos on your computer for future use.
Utilizing a memory card reader is a convenient and reliable way to transfer photos from your old phone. It eliminates the need for cables or an internet connection, making it a suitable option if you prefer a more direct method. Plus, you can reuse the memory card reader for future use with other devices.
Remember to handle your memory card with care and keep it in a safe place to avoid damage or loss of your precious photos. With the help of a memory card reader, you can effortlessly preserve your memories and have them readily available on your new phone or computer.
Conclusion
In conclusion, retrieving pictures from an old phone is a relatively straightforward process that can be done in a few different ways. Whether you choose to transfer them using a USB cable, email them to yourself, or make use of cloud storage, the goal is to preserve those cherished memories captured on your old phone.
It’s important to keep in mind that the specific method you use may depend on the type of phone you have and its operating system. Additionally, if your old phone is no longer functional, you may need to seek professional help to recover the pictures.
Regardless of the method, it’s always a good idea to back up your pictures to multiple platforms, ensuring their long-term preservation. By following the steps outlined in this guide, you can successfully get your pictures off your old phone and onto a device where you can continue to enjoy and share them.
So don’t let those precious memories languish on the confines of an old phone—bring them to life and create new memories for years to come!
FAQs
1. How can I transfer pictures from my old phone to a new one?
There are several methods you can use to transfer pictures from your old phone to a new one. One way is to use a cloud service, such as Google Photos or iCloud, to back up your pictures on your old phone and then restore them on your new phone. Another option is to connect both phones to a computer and transfer the pictures using a USB cable. Additionally, you can use a Wi-Fi transfer app to directly share the pictures between the two devices.
2. Can I extract pictures from a broken phone?
Yes, it is possible to extract pictures from a broken phone. If the phone is still functional despite the broken screen or other damage, you can connect it to a computer using a USB cable and access the files. However, if the phone is completely non-functional, you may need to seek professional help from a data recovery service to retrieve the pictures from the internal storage of the device.
3. Are there any apps that can help with transferring pictures?
Yes, there are several apps available that can help with transferring pictures between devices. Some popular options include SHAREit, Xender, and Send Anywhere. These apps utilize Wi-Fi or Bluetooth to establish a connection between the devices and enable seamless file transfer, including pictures.
4. How can I make sure I don’t lose any pictures during the transfer process?
To ensure that you don’t lose any pictures during the transfer process, it’s crucial to make backups of your pictures before initiating the transfer. You can back them up to a cloud storage service, transfer them to a computer, or use an external storage device such as an SD card. This way, even if something goes wrong during the transfer, you will still have a copy of your pictures saved elsewhere.
5. Can I use a mobile app to get pictures off an old phone?
Yes, there are several mobile apps available that can help you get pictures off an old phone. Some popular options include Google Photos, Dropbox, and OneDrive. These apps allow you to upload the pictures from your old phone to cloud storage and then access them from any other device with the same app installed. This eliminates the need to physically transfer the pictures and provides easy access to your photos on multiple devices.