
In today’s digital age, smartphones have become our go-to devices for capturing memorable moments through photos and videos. With the advancements in camera technology, our smartphones are now equipped with high-resolution lenses that can capture stunning images. And if you’re an iPhone user, you can take your photography skills a step further by using the built-in scanning feature. Whether you want to digitize old printed photos or scan important documents, your iPhone can serve as a convenient and efficient scanning tool. In this article, we will explore how to scan pictures on your iPhone, step by step. So, if you’re ready to unlock this hidden feature and make the most of your iPhone’s camera, let’s dive in!
Inside This Article
Why Scan Pictures on iPhone?
Scanning pictures on your iPhone has become increasingly popular in recent years. With the advancements in smartphone technology, it has become easier than ever to capture high-quality scans of your favorite photographs. But why should you bother scanning pictures on your iPhone? Let’s explore four compelling reasons:
-
Convenience and accessibility
One of the key advantages of scanning pictures on your iPhone is the convenience it offers. With your phone always within reach, you can quickly and easily scan pictures wherever you are. Whether you want to digitize old photo albums or scan important documents, the ability to do it on the go is a game-changer.
-
Quality and resolution
With advancements in camera technology, modern iPhones boast impressive image quality and resolution. This means that when you scan pictures on your iPhone, you can expect clear and detailed scans that rival the quality of traditional scanners. Your scanned pictures will retain their original colors and details, ensuring that your memories are preserved accurately.
-
Instant editing and sharing options
Scanning pictures on your iPhone not only allows you to capture high-quality scans but also provides instant access to editing tools. Built-in apps like Photos offer a wide range of editing options, allowing you to enhance the scanned images by adjusting brightness, contrast, and applying filters. Additionally, you can instantly share the scanned pictures with friends and family via messaging apps, social media, or email.
-
Space-saving and organization benefits
By scanning pictures on your iPhone, you can free up physical space by eliminating the need for bulky photo albums or stacks of documents. Instead, you can conveniently store your scanned pictures in the cloud or on your device, decluttering your living space. Furthermore, organizing and categorizing digital pictures is much easier, allowing for quick search and retrieval of specific images.
Overall, scanning pictures on your iPhone offers a range of benefits. The convenience and accessibility, high-quality scans, instant editing and sharing options, and space-saving and organization benefits make it a worthwhile endeavor. So go ahead and start scanning your cherished pictures and enjoy the benefits of having them readily available at your fingertips.
How to Scan Pictures on iPhone
Scanning physical pictures and documents has become increasingly convenient with the advancements in smartphone technology. iPhones, in particular, offer powerful scanning capabilities right at your fingertips. In this article, we will explore different methods to scan pictures on your iPhone, whether you want to use the built-in Notes app scanner, a dedicated scanning app, or explore third-party options with advanced features. We will also provide some tips to help you achieve the best scan results.
1. Using the Notes app scanner feature
The Notes app is a versatile tool on iPhones, and it comes equipped with a built-in scanner feature. Here’s how you can use it:
- Open the Notes app on your iPhone.
- Create a new note or open an existing one.
- Tap the “+” icon at the bottom of the screen and select “Scan Documents.”
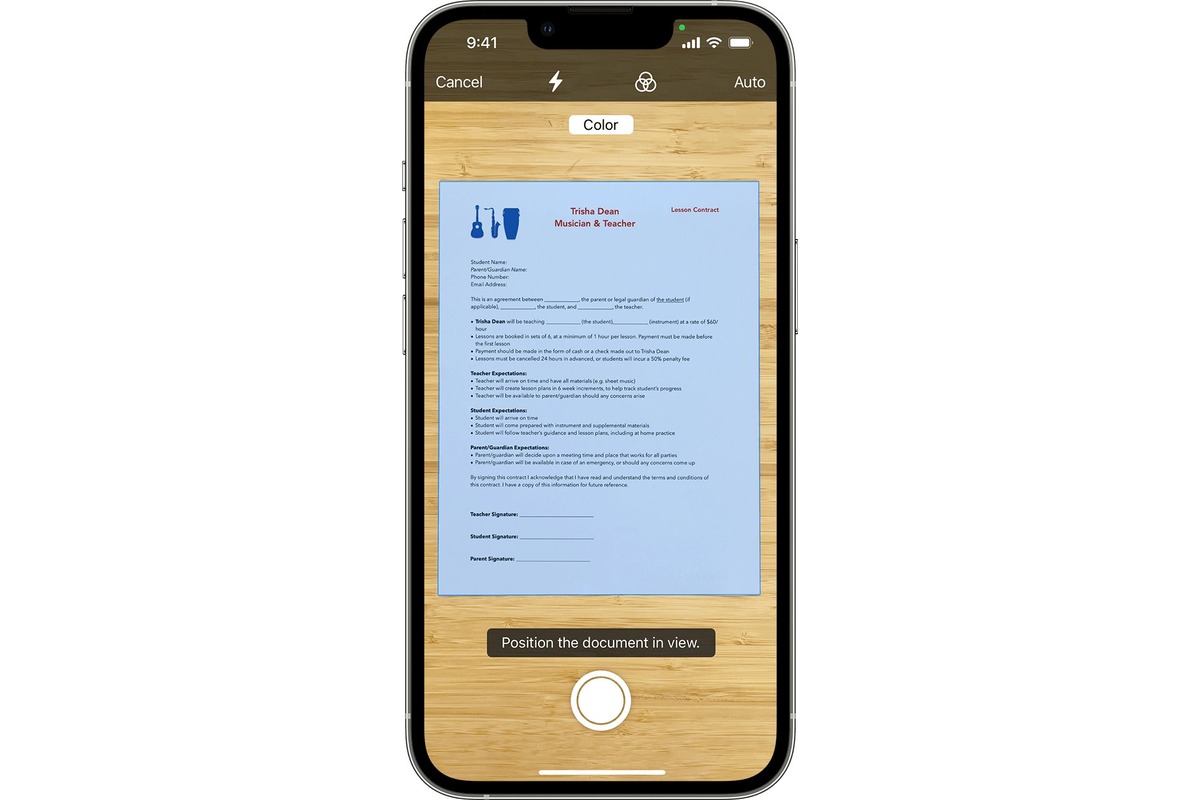
- Position the picture within the frame displayed on your screen.
- Tap the shutter button to capture the image.
- You can adjust the corners or edges of the scan if necessary.
- Tap “Keep Scan” to save the scanned picture to your note.
2. Utilizing a dedicated scanning app
If you are looking for more features and customization options, dedicated scanning apps are a great choice. Here are some popular ones available on the App Store:
- CamScanner: This app offers various scanning modes, image enhancement features, OCR (Optical Character Recognition) capability, and cloud storage integration for seamless access to your scanned pictures.
- Scanner Pro: With Scanner Pro, you can easily capture high-quality scans, crop and adjust image settings, and even create multi-page documents. It also supports OCR and enables sharing via various platforms.
- Adobe Scan: Adobe Scan provides the option to scan pictures, documents, and whiteboards. The app automatically detects edges, optimizes images, and offers OCR functionality to convert scanned text into editable text.
3. Third-party options for advanced scanning features
For those seeking additional features and control over the scanning process, there are third-party apps available that specialize in advanced scanning capabilities. Some notable options include:
- Scanbot: Scanbot offers automatic document detection, smart file naming, text recognition, and support for various cloud storage services. It also allows for collaboration and annotation on scanned pictures and documents.
- Genius Scan: Genius Scan boasts features like smart page detection, perspective correction, batch scanning, and integration with popular cloud storage platforms. It also supports encryption for enhanced data security.
- Microsoft Office Lens: Microsoft Office Lens works seamlessly with other Microsoft applications and services. It offers features like OCR, whiteboard scanning, and integration with OneDrive and other cloud storage solutions.
4. Tips for getting the best scan results
Here are some tips to ensure the best scan results when using your iPhone to scan pictures:
- Good lighting: Adequate lighting is crucial for clear scans. Make sure you are in a well-lit environment or use additional lighting if necessary.
- Steady hand: Keep your hand steady while capturing the picture to avoid blur or distortion.
- Frame the picture properly: Position the picture within the frame provided by the scanning app or align it with the corners in the Notes app scanner for accurate results.
- Scan in high resolution: Choose the highest resolution available to capture finer details and ensure a quality scan.
- Check the scan before saving: Review the scan for any imperfections or misalignments and make any necessary adjustments before saving.
With these methods and tips in mind, you can confidently use your iPhone to scan pictures and store them digitally. Whether you choose to utilize the built-in Notes app scanner, download a dedicated scanning app, or explore third-party options, the convenience and versatility of scanning on your iPhone are sure to make organizing and preserving your pictures a breeze.
In conclusion, scanning pictures on your iPhone is a simple and convenient way to digitize your memories and preserve them for years to come. With the wide range of scanning apps available in the App Store, you can easily transform your phone into a portable scanner and capture high-quality images of your photographs.
Whether you want to share old family photos with loved ones, organize your photo collection, or simply keep a digital backup, scanning pictures on your iPhone offers a quick and efficient solution. The versatility of the scanning apps allows you to adjust settings like resolution and format, ensuring that your scanned images are of the highest quality.
By following the step-by-step instructions provided in this article, you can successfully scan your pictures on your iPhone and unlock the benefits of digitalization without the need for additional equipment or complicated processes. Embrace the convenience of technology and cherish your memories in a digital format with the power of your iPhone.
FAQs
1. Can I scan pictures on an iPhone?
Yes, you can scan pictures on an iPhone. In fact, iPhones come equipped with a powerful camera that can be used to capture high-quality images of your photos.
2. How do I scan pictures on my iPhone?
To scan pictures on your iPhone, you can use the built-in Notes app. Simply open the Notes app, create a new note, tap the camera icon, and select the “Scan Documents” option. Position your iPhone over the picture you want to scan and wait for the app to automatically detect and scan the image.
3. Can I edit scanned pictures on my iPhone?
Absolutely! Once you have scanned a picture on your iPhone, you can take advantage of various editing tools available in the Photos app. You can crop, rotate, adjust brightness/contrast, and apply filters to enhance the scanned image.
4. How can I save scanned pictures on my iPhone?
When you scan a picture using the Notes app on your iPhone, the scanned image is automatically saved within the note. To save the scanned picture separately, you can tap on the share icon in the Notes app and choose the “Save Image” option. This will save the scanned picture to your iPhone’s Photos app.
5. Can I share scanned pictures from my iPhone?
Definitely! Once you have saved the scanned picture to your iPhone’s Photos app, you can easily share it with others. You can share the scanned picture through various methods like messaging apps, social media platforms, email, or even by printing it wirelessly using AirPrint-enabled printers.